Showing posts with label macadamia. Show all posts

Wednesday, January 6, 2021

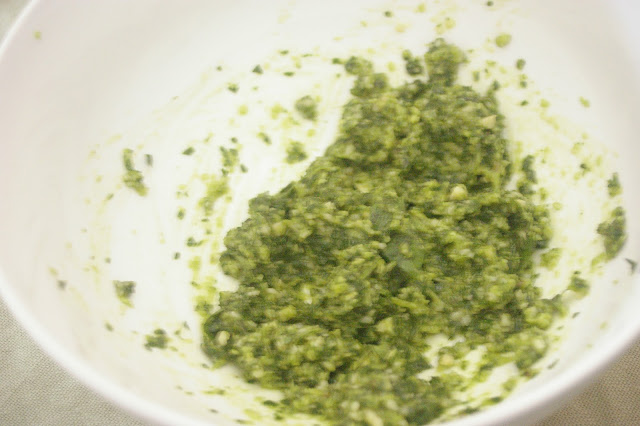
Thai basil & macadamia pesto

Thai Basil & macadamia pesto is a lovely combination. I reckon you can make just about anything into pesto.

Pesto comes from the Italian word pestâ which means ‘to pound’. I’ve made pesto from sun dried tomatoes, spinach, silver beet, traditional basil and any mixture of nuts. At a recent trip to my local farmer’s market, I couldn’t pass up a beautiful bunch of Thai basil.

Thai Basil & Macadamia Pesto Domesblissity.com

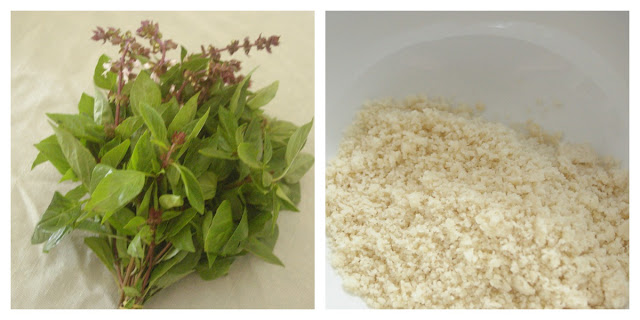
Thai basil leaves are a little smaller and there is an edible purple flower.

Thai Basil & Macadamia Pesto Domesblissity.com

The flavour is a little different to regular basil which lends itself well to Italian tomato based dishes but the Thai basil is better suited to Asian style dishes. I knew I could pick a few leaves to add to a Thai curry or stir fry but I had better things in store.

I also had macadamia nuts in the cupboard so I ground some and made it up into a pesto with olive oil, garlic cloves and parmesan cheese, just whizzing it up in the food processor.

Thai Basil & Macadamia Pesto Topped Fish

Thai basil & macadamia pesto Domesblissity.com

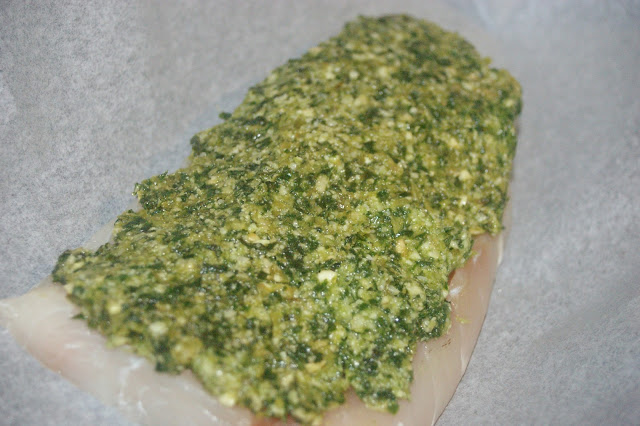
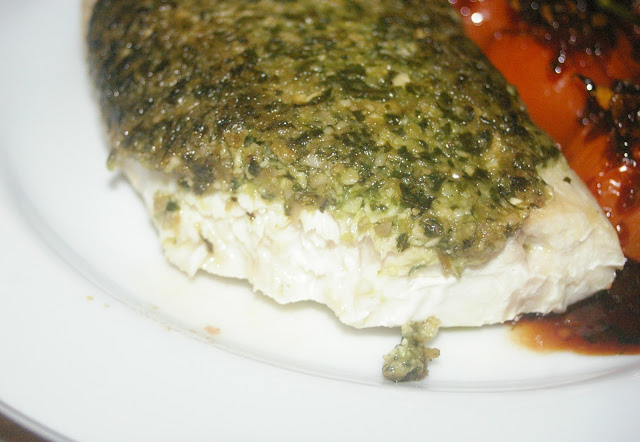
I had a nice piece of snapper in the freezer and that’s what I was topping with my pesto. I just spread the pesto on top of the fish and wrapped in baking paper, baking for about 15 mins in a 170 deg C oven.

Thai Basil & Macadamia Pesto Domesblissity.com

I served the fish with roasted and Thai caramelised truss cherry tomatoes (based on a Karen Martini recipe I saw on BH&G Australia). It was delicious. I’ll be keeping my eye out for more fresh herbs at the markets from now on. Making it in a pesto is a great idea to prolong the life of the herb and capture it at its freshest best.

Tuesday, October 11, 2016

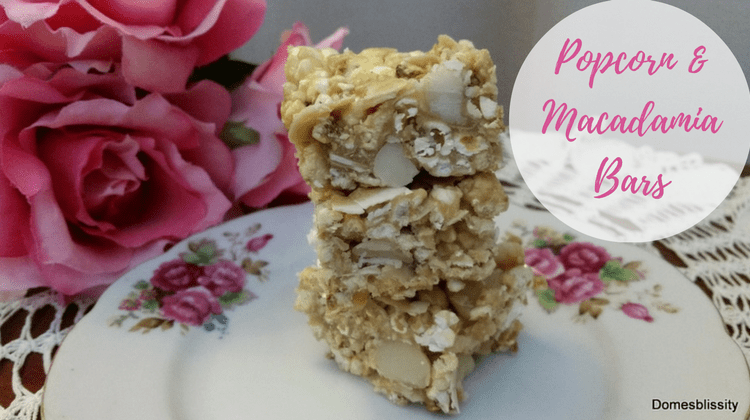
No Bake Popcorn Macadamia Bars

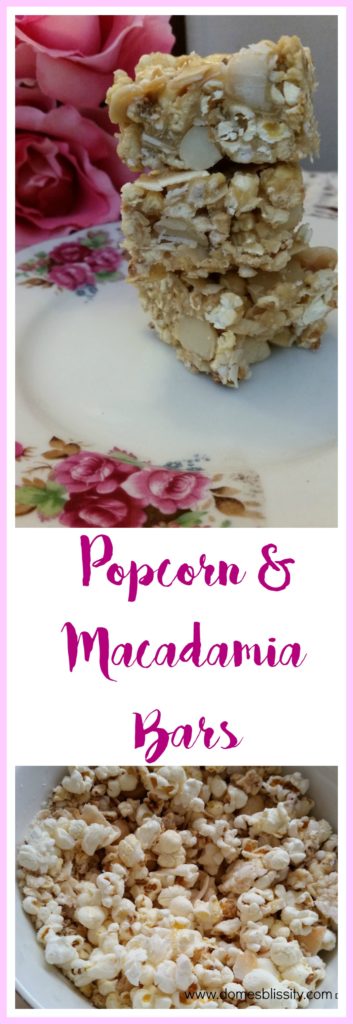
Do you make popcorn for your kids and they always leave a bit leftover? Yes, mine do too! There’s always an argument over who’s going to hold the bowl so I give them each a bowl of their own popcorn and they still leave it. I know it’s only popcorn and it’s cheap but the last time we had popcorn there was so much leftover. I thought about putting it to good use with these No Bake Popcorn Macadamia Bars.

No Bake Popcorn & Macadamia Bars www.domesblissity.com

At least these would be good to ‘pop’ into lunchboxes for snacks and there’s no waste. This recipe is also good to make from freshly made popcorn as it’s a cheap ingredient and can be quickly made.

No Bake Popcorn & Macadamia Bars www.domesblissity.com

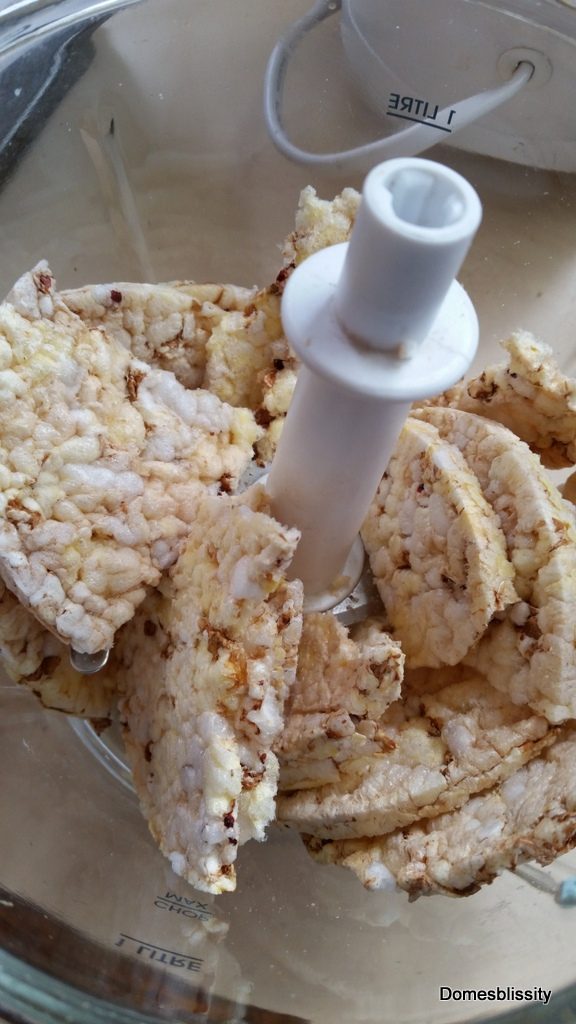
As it turns out, I didn’t have quite enough popcorn as I thought I did so added a few of these rice cakes which I blitzed in the food processor until just broken up.

No Bake Popcorn & Macadamia Bars www.domesblissity.com

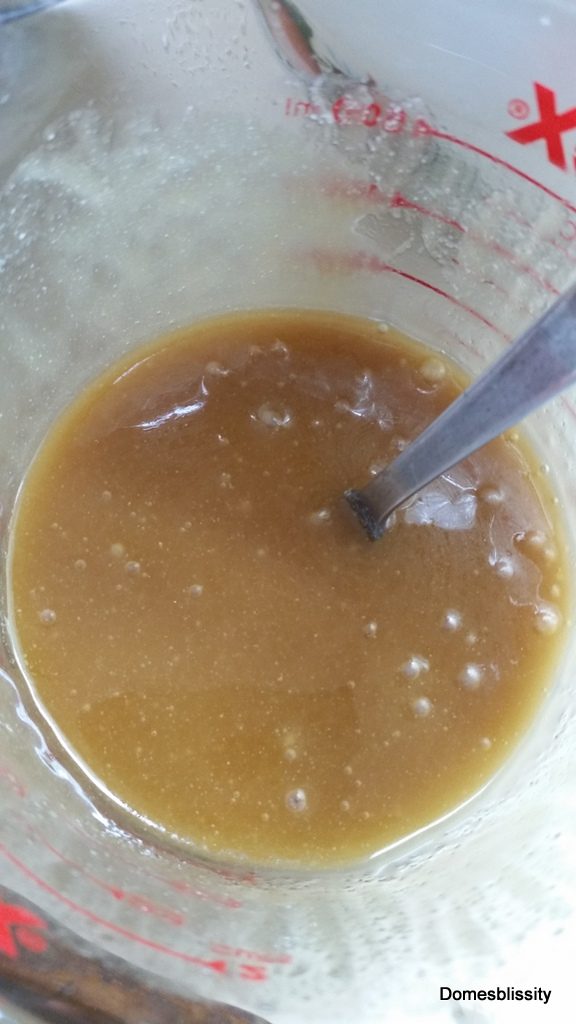
Add butter, brown sugar and honey in a microwave safe dish and heat until melted and sugar is dissolved.

No Bake Popcorn & Macadamia Bars www.domesblissity.com

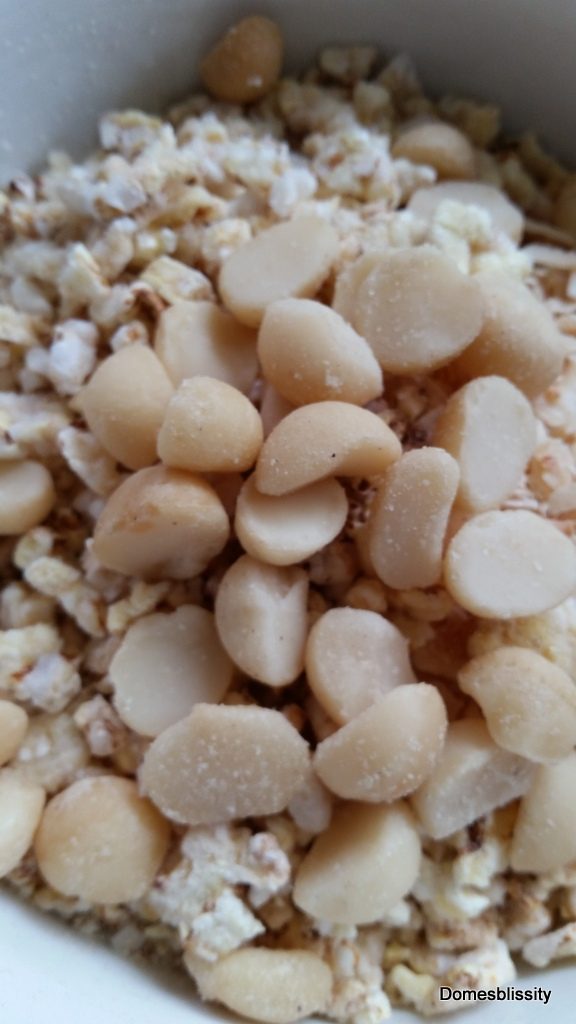
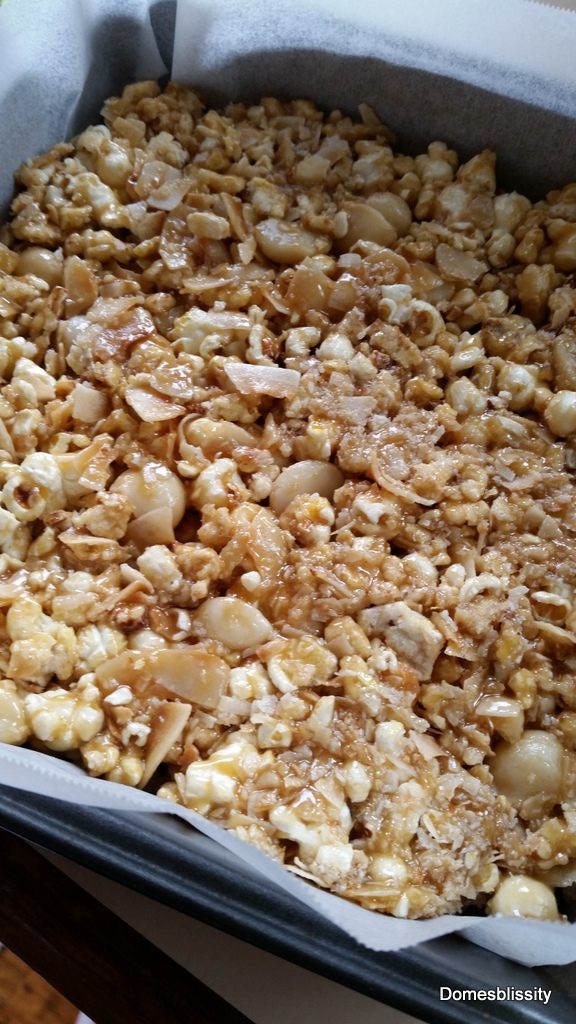
Mix together your popcorn, (blitzed rice cakes if you need them), macadamia nuts and melted sugar/butter mixture. I also had a small quantity of flaked coconut so added that as well. (This is a great recipe for a pantry clean out.)

Once well combined, press into a 9″x 9″ baking pan and refrigerate for approximately an hour. They will set hard. Slice into small squares and serve.

Such an easy, versatile recipe. You can leave out the macadamia nuts or add peanuts, choc chips, coconut or just about anything. The only thing you really need is the popcorn, butter, sugar and honey. What other ingredients you add to it is entirely up to you.

No Bake Popcorn Macadamia Bars

Ingredients

  • 3 cups popcorn
  • 125gm butter
  • 1/2 cup brown sugar
  • 2 tbs honey
  • macadamia nuts (or other nuts, coconut, choc chips, dried fruit optional)

Method

  1. In a microwave proof dish, melt together butter, brown sugar and honey on high for 1 minute.
  2. Stir until sugar is dissolved.
  3. Heat for another minute.
  4. Combine popcorn and macadamia nuts (and/or other ingredients). I didn’t have enough popcorn so added a couple rice cakes which were lightly blitzed in the food processor.
  5. Pour over melted butter, sugar, honey mixture.
  6. Press into a 9″x 9″ baking pan lined with baking paper and refrigerate for approximately 1 hour or until set.
  7. Slice into small squares and serve.

No Bake Popcorn & Macadamia Bars www.domesblissity.com

Wednesday, August 17, 2016

Quick Mix Slice

Domesblissity quick mix slice

If you want to bake something in a hurry, you can’t go past this Quick Mix Slice. You can make it as fancy as you like with whatever ingredients you have. I just happened to have a few macadamia nuts in the pantry and the last bit of white chocolate which I melted and topped the slice with. It was so good.

Domesblissity Day to Day Cookery Quick Mix Slice

I’ve got all the fancy cookbooks you can think of but the one I refer to most is my high school Home Economics cookbook “Day to Day Cookery”. It’s got all your basic recipes in it including one for this Quick Mix Slice. It’s seriously so, so easy. Melt and mix, just the way I like it. It’s very much like a cookie recipe but baked as a slice and cut into bars. 

Domesblissity quick mix slice

Just mix the dry ingredients together, crush the weetbix cereal bars into it, melt the butter and mix.

20160619_115023

You can create cookies if you like by taking small spoonfuls of mixture and squeezing them into cookie shapes on a baking sheet but the easiest way to cook this recipe is to press it into a slice pan 20x25cm.

20160619_123208

Bake for approximately 25 to 30 minutes or until golden brown.

20160620_155157

You can eat it like that or top it with icing or melted chocolate like I did. The flavour combinations are endless. This is a great recipe for using up all those bits and pieces you have lying in the pantry. Dried fruit, nuts, sprinkles, lollies/candy, chopped cookies or chocolate, chocolate chips can all be used in this wonderfully easy recipe.

Quick Mix Slice

A quick melt'n'mix slice that can be made in no time. A great recipe to use up all those bits and pieces lying in the pantry.
Prep Time 5 minutes
Cook Time 25 minutes
Total Time 30 minutes
Servings 18
Author Anne

Ingredients

  • 1 cup self raising flour
  • 1 cup coconut
  • 3 weetbix breakfast cereal bars crushed
  • 3/4 cup brown sugar
  • 125 gm butter melted

Instructions

  1. Mix dry ingredients together.
  2. Add any additional ingredients, eg roughly chopped macadamia nuts, dried fruit, chocolate chips etc
  3. Add melted butter and mix well.
  4. Press mixture into a 20x25cm slice pan lined with baking paper.
  5. Bake for approximately 25 to 30 minutes or until golden brown in a 180 deg C oven.
  6. Top with icing or melted chocolate.

Recipe Notes

Possible flavour combinations:
White chocolate and macadamia
Sultana, dried apricots, dried figs, other dried fruit
Chocolate chips or chunks
Lollies/candy
Nuts of any kind

quick mix slice pin

Sunday, June 14, 2015

Chocolate Macadamia Drop Cookies

You know when you find a product that you absolutely adore and you want to use it every way which you can? Well, I was lucky enough to receive a jar of a brand new product on the market, Macabella. A beautifully smooth, rich cholate spread with fine chunks of macadamia nut mixed through. If you’re a fan of other chocolate nut spreads on the market, forget it. You’ll never go back to it once you’ve tried Macabella.
Besides eating it straight out of the jar (which I’ve done on more than one occasion), I’ve been adding it to all my recipes. It’s just so, so good. It’s fantastic as a substitute for icing/frosting, spread on pancakes and various other things. I had some whole macadamia nuts in the pantry so I thought I’d come up with a variation on my famous Nanna’s Jam Drops with these Chocolate Macadamia Nut Cookies. They were good!

The cookie is full of finely chopped macadamias and the centre pressed down with the end of a wooden spoon before baking so you can put a spoonful (or two) of Macabella in the centre. Similar to a thumbprint cookie.

This recipe is slightly different to my Nanna’s Jam Drop recipe so a much crunchier cookie but ever so nice.

Once cooked, allow to cook ever so slightly and add Macabella while still warm. It will fill the hole nicely and gently spread over the top of the cookie. These didn’t last long in my house and will become a family favourite.

With winter upon us, I made a batch of these Chocolate Lava Cakes (or Chocolate Pots) and half filled the moulds, added a good tablespoon of Macabella and topped with more cake mixture. Yummo! Pop a spoonful into the centre of a cupcake or muffin before baking too. I couldn’t think of anything more delicious.
 
I’m going to try replacing the Nutella with Macabella in these Nutella cookies.
And I’ll replace the Nutella and hazelnuts with Macabella and fresh macadamias in these Mini Chocolate Cheesecake Cups. Adding half a cup of Macabella to my banana cake recipe is also high on my list. So many ways to use it, if it lasts that long. It won’t be long before they’ll have to bring out a 1kg tub, just for me! Look out for it at your local supermarket.
{Macabella} Chocolate Macadamia Drop Cookies
  • 1 egg, beaten
  • 1 tsp bicarb soda
  • 1/2 cup brown sugar
  • 2 cups plain flour
  • 1/2 tsp salt
  • 1/2 cup sugar
  • 1 tsp vanilla
  • 1/2 cup butter, melted
  • 1/2 cup macadamia nuts, finely chopped
  • 1/2 cup Macabella chocolate macadamia spread

  1. Preheat oven to 170 deg C.
  2. Mix melted butter, brown sugar and sugar until sugar is melted.
  3. Add beaten egg and vanilla.
  4. Add chopped nuts, flour, bicarb soda and salt and mix well.
  5. Form into walnut sized balls and place on baking paper lined cookie sheet. (Allow for spreading.)
  6. Dip the end of a wooden spoon into flour and press down into cookie ball.
  7. Bake for approx 20 minutes or until golden brown.
  8. Allow to cool, just slightly, and add a teaspoon of Macabella chocolate macadamia spread into the centre of each cookie. (Spread will melt slightly and fill hole completely.)
Disclaimer:  I was given a jar of Macabella Chocolate Macadamia Nut spread to try. All thoughts, opinions and photos are mine.

Sunday, January 6, 2013

Mango & Macadamia Frozen Trifle

Every Christmas, for the last few years when I’ve been asked to bring dessert, I’ve relied on an ice cream dessert that changes from year to year, based on what fruit I decide to put in it. This Christmas just gone, I decided to go one step further and add sliced sponge cake as you would a trifle. I had an abundance of mangoes so mangoes it was.

This is such a great recipe for a dinner party or event like Christmas because it can be made ahead, days in advance. You can use up cake, if you want to, or use a store bought cake. I was going to add a layer of jelly but I was pressed for time. I would’ve had to wait for each layer to freeze before adding the next but that would work perfectly if you had the time.

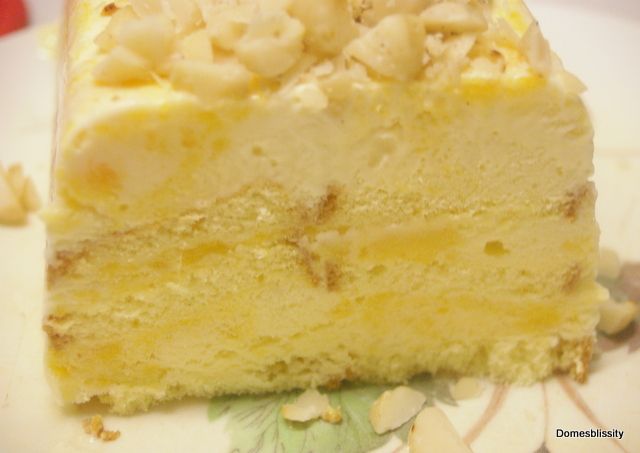
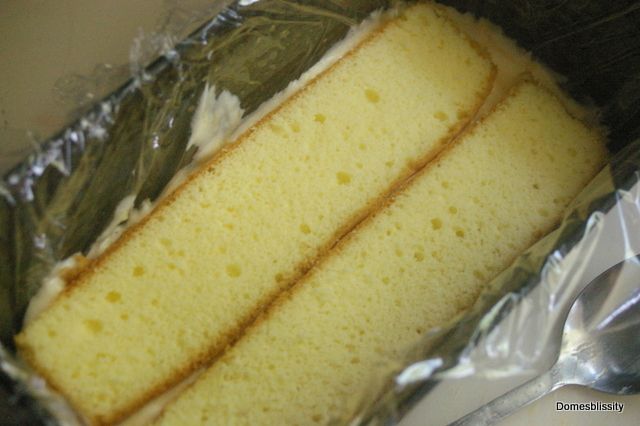
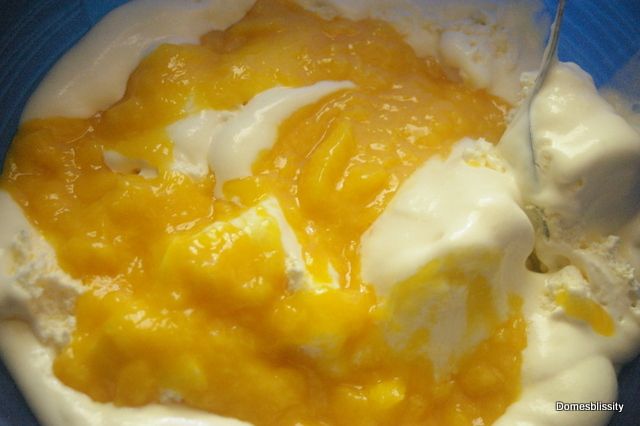
It’s as simple as softening half a tub of ice cream (around 1 litre), mixing through the desired filling. In this case it was a whole mango which had been pureed, with a few small chunks left in if you like. Fold through lightly and layer alternatively with cake in a cling film lined loaf pan. Finish with another layer of cake and cover in cling film then freeze.

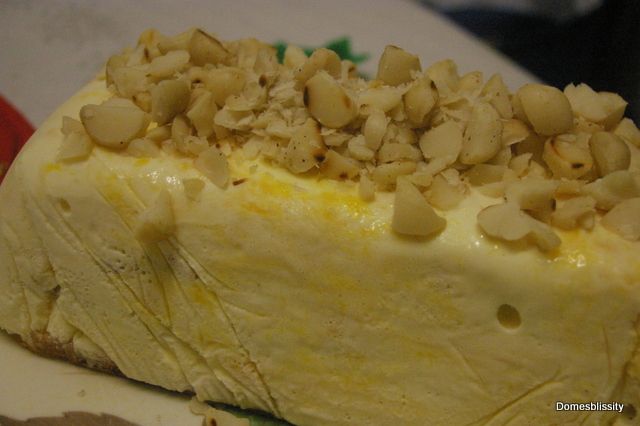
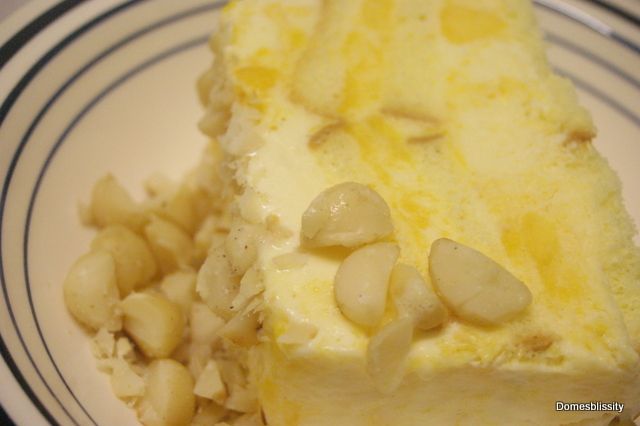
Turn out and top with roasted macadamias. Slice and serve.

I’ve made a few different http://www.buildajam.com/profile/Paulsen_41-1720.htm variations of this over the years, adding a layer of mango sorbet instead of adding the mango to the vanilla ice cream. I added chopped macadamias to the vanilla ice cream and topped with slivers of fresh mango.

Mocha Toffee Crunch Terrine by Bake at 350

Another one I did was with chocolate and cherries. I added coconut to the vanilla ice cream layer, chopped fresh cherries to the chocolate layer and topped with chopped Cherry Ripe bars. You could use any flavour ice cream (I prefer the plain flavoured ice creams and add chopped candy bars, nuts or fruit purees) Layer with cake, biscuits, caramel, chocolate. Go as decadent as you like. You can make them individually, in loaf pans, round pans, ring pans or even back in the ice cream tub and turn out, top with fresh cream and sprinkles and you’ve got yourself an ice cream cake ideal for a child’s birthday party. Whichever way you do it, you’ve got a yummy, cold, creamy dessert that looks like you’ve gone to a lot of trouble and it was actually very easy. And remember. Just use what you have and go for a reasonably good quality ice cream. They’re usually on special around Christmas time (or every other week).

Tuesday, March 15, 2011

Plum & Macadamia Pastry Braid


I’ve been kindly allowed to join in “The Mum & The Chef“, a group of bloggers who have got together, pick an ingredient and make it into something delicious. “The Mum” is Mish Lilly of Mish Delish fame and “The Chef” is Katrina Higham of the Windsor Deli in Windsor, Melbourne, Victoria. I’m yet to get to know who all the other participants of this challenge are but will list their blogs at the end of this post.

The cut glass bowl I’ve photographed the plums in was my Nanna’s. I’ve inherited a lot of her lovely things. As you can see on the below photo, it still has a small piece of ribbon which she glued on and wrote “W.P.”, which was my grandfather’s initials. I guess, in those days, everything belonged to the ‘man of the house’.

This month’s challenge is plums. I’ve got to say, as much as I would’ve loved to create something totally out of the ordinary and a real test of my skills, I have to be practical and come up with something that I know my family of 2 adults and 2 children will eat (a girl aged 6 who is the fussiest eater in the world and a son aged 4 who will eat just about anything). I also like to be frugal in everything I cook and not go to too much expense when buying ingredients, rather using up what I have already stocked in the pantry. I’d rather spend my money on quality rather than quantity. I had to buy plums but because they were in season, were reasonably priced.

I decided to try my hand at my Nanna’s Fruit Plait. Besides having freshly baked scones coming out of the oven when we visited my Nanna, she always made this beautiful fruit plait. A basic soft, sweet, shortcrust pastry filled with prunes, apples, sultanas or whatever fruit she had on hand. I loved the peach one the best.

One of the best gifts I’ve ever received from anyone was an exercise book of my Nanna’s favourite baking recipes. She hand wrote all her favourite recipes and gave it to me for Christmas one year. My poor Nanna has been http://cosm.co.nz/community/profile/paulsen deceased for over 10 years now but I refer to this book all the time for her classics like Jam Drops, Ginger Nuts, puddings and other sweet treats.  She even drew diagrams of how to plait the pastry.

So this is her fruit plait, filled with plums, drizzled with icing and sprinkled with chopped macadamia nuts. Not overly difficult or challenging but it’s something I probably wouldn’t have gotten around to trying and a good way to use up seasonal plums. I probably could’ve rolled my pastry thinner and made the ‘plaiting’ pieces longer but I’ll know next time. It tasted delicious anyway.

Plum & Macadamia Pastry Braid

4oz (125gm) butter
11oz (350gm approx) Self Raising flour
4oz (125gm) sugar
1 egg
3/4 cup milk

Filling:
4 large plums (I chose less ripe, firm Tegan Blue plums)
3 tbs water
3 tbs brown sugar
1/4 tsp cinnamon

Icing:
4 tbs icing sugar
1 tbs boiling water
chopped nuts to sprinkle on top (I chose macadamias but flaked almonds are just as nice)

Halve plums, remove stone with a teaspoon and cut again into quarters. (I like my fruit filled sweet treats chunky.) Add water, brown sugar and cinnamon. Allow plums to soften slightly over medium heat and until sugar has dissolved. Allow to cool before using.

Sift flour and salt, add butter and rub butter into flour until it resembles fine breadcrumbs. Add sugar. Add beaten egg and milk. Mix until a firm dough forms. (You may need to add more flour, as I did.) Knead slightly until pastry is smooth.

Roll out dough on a floured surface to a rectangular shape (approx 20x25cm), trim ends to form rectangle shape. Add fruit to the centre of the dough. Cut strips approx 1.5cm wide on the diagonal on either side of the fruit. Wrap each strip over the fruit, forming a plait pattern. Bake for approx 30 mins in a 180 deg C oven.

Serve warm as is for afternoon tea, warm with custard and/or ice cream for dessert or just dig in, as I did, as soon as it came out of the oven! I hope I did my Nanna proud.

Thanks Katrina for allowing me to join in. Can’t wait for the next challenge!

“The Mum & The Chef” participants: