Showing posts with label Cookies. Show all posts

Tuesday, August 28, 2018

Old Fashioned Crispy Coconut Cookies

You know when you get that craving for something simple, like an old fashioned, crispy coconut cookie? Well anything simple and cooked with a couple of ingredients? I had been dreaming of a particular cookie and how I would make it so thought I’d start with this old fashioned crispy coconut cookie.

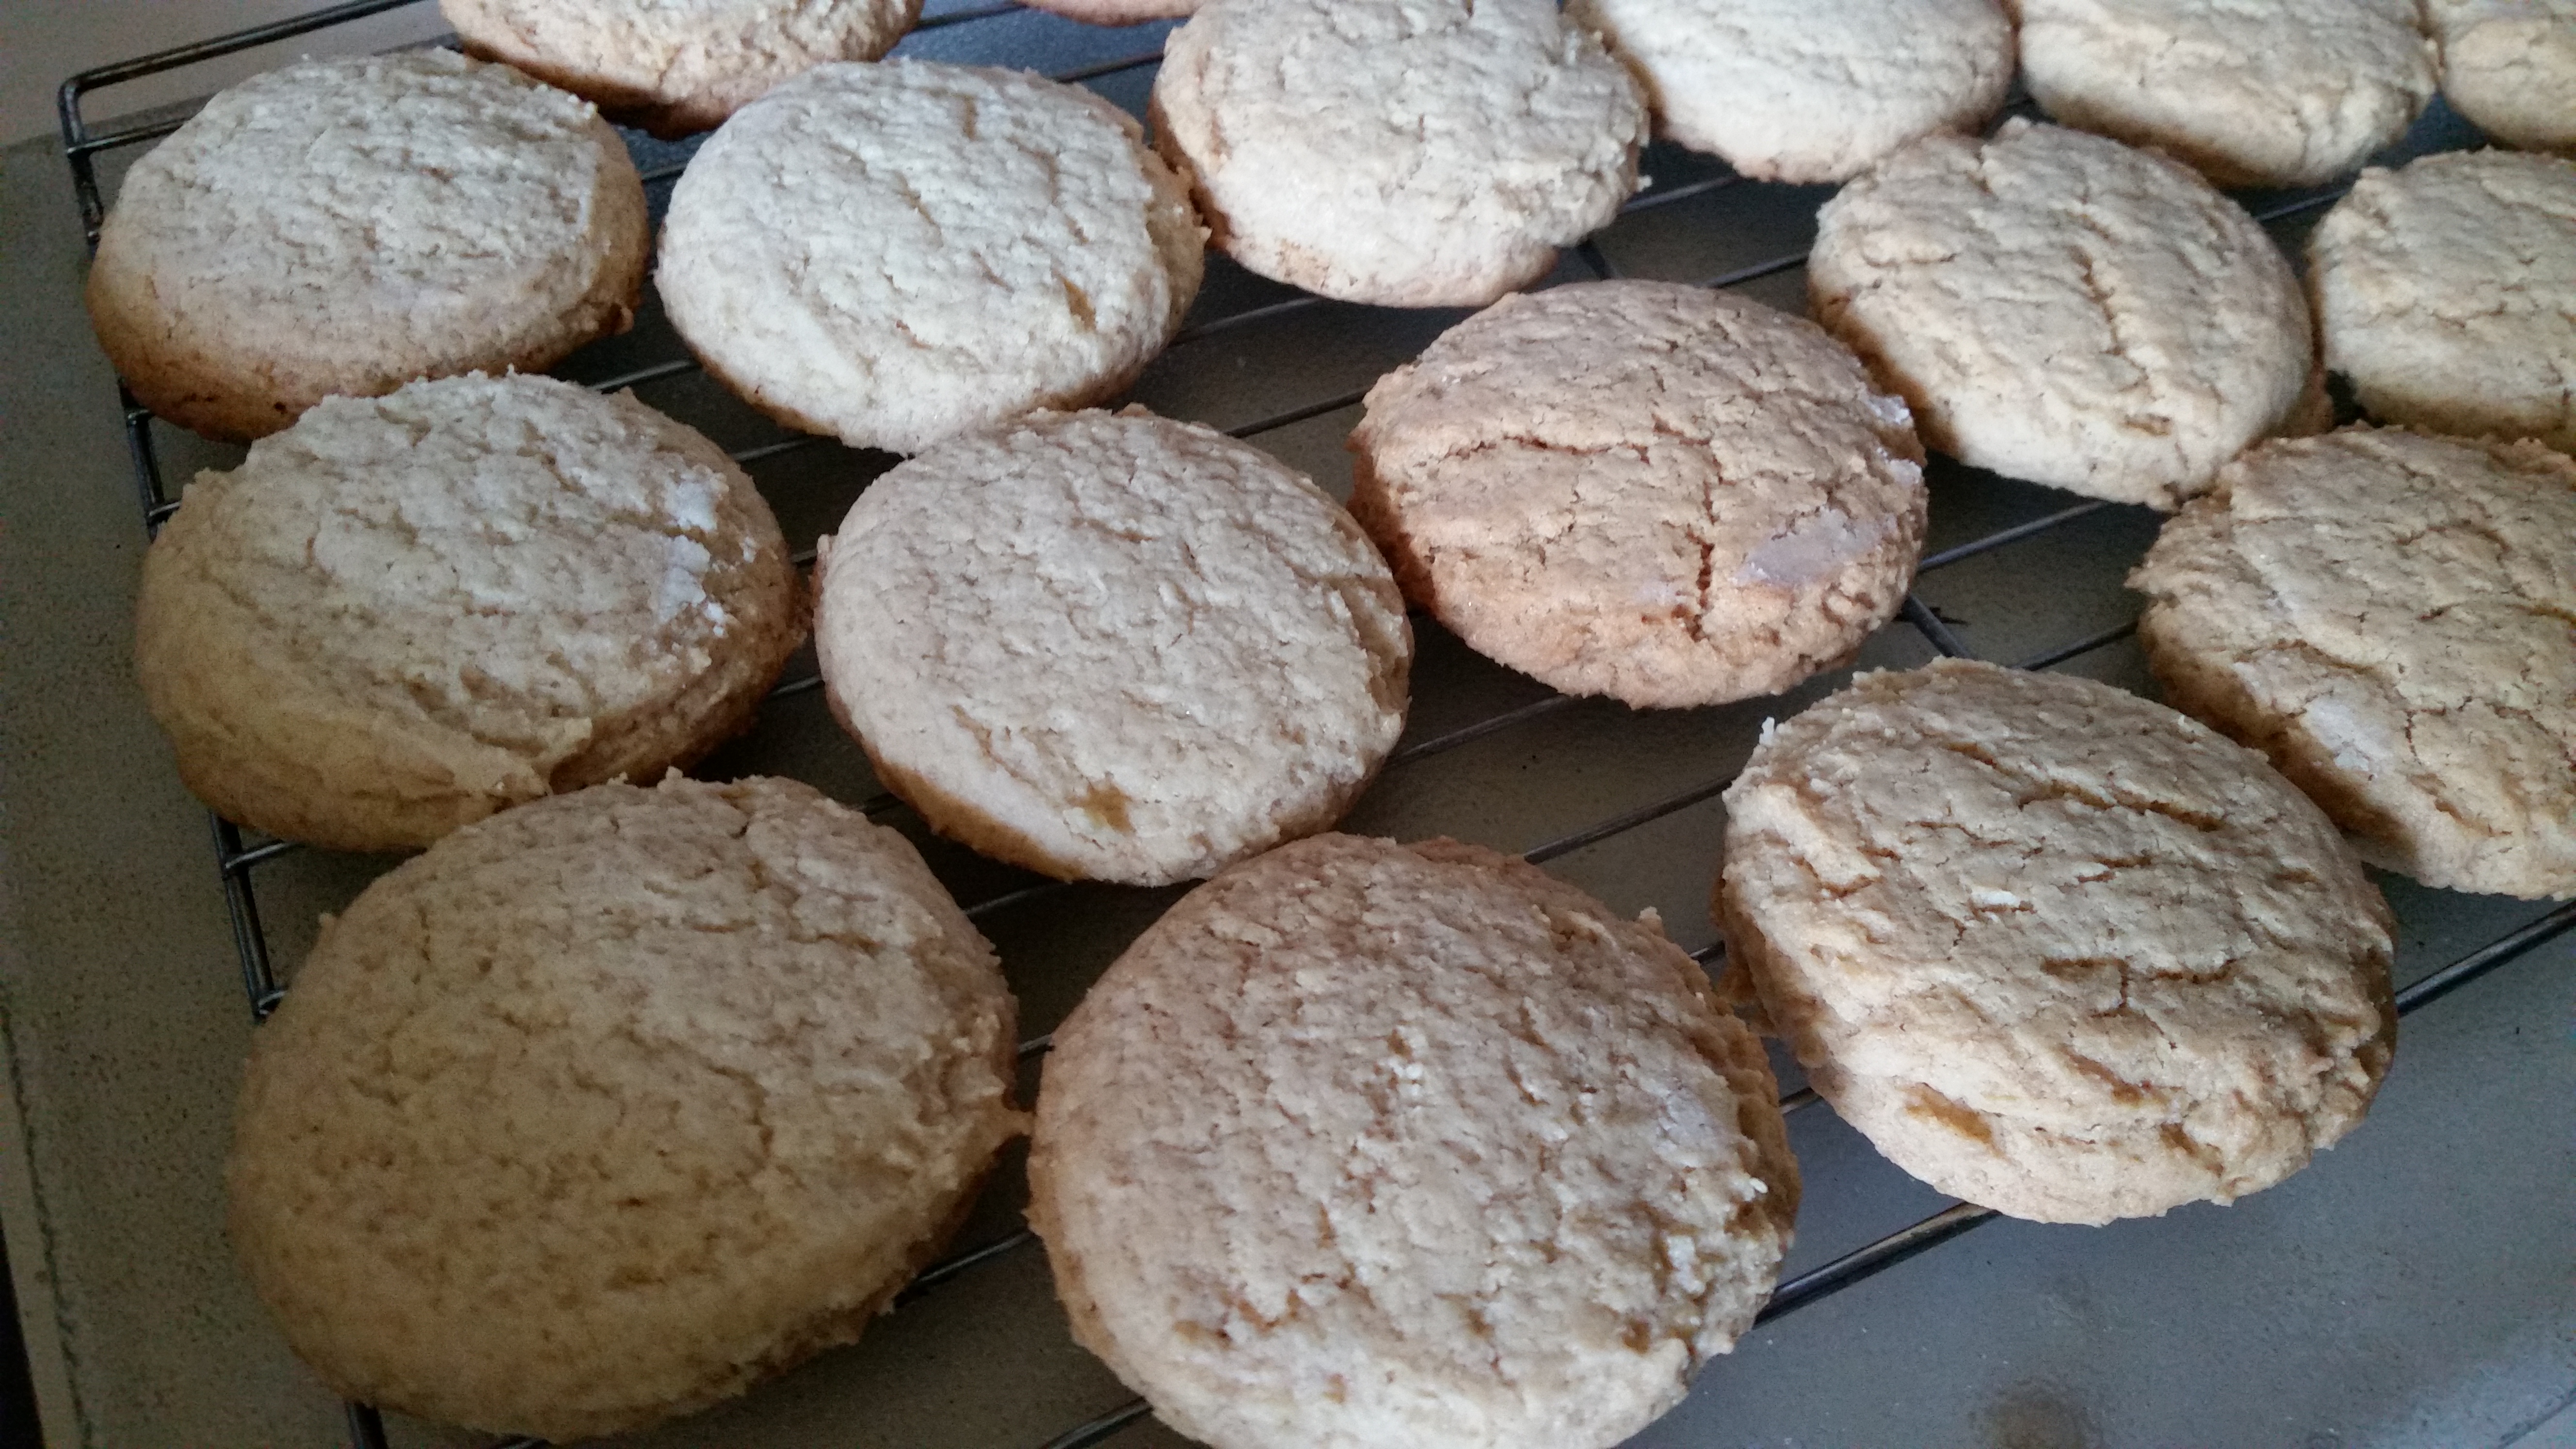
Old fashioned crispy coconut biscuits www.domesblissity.com

I found this recipe online which reminded me of a recipe my Mum used to make. If I went through Mum’s old recipe book I’m sure I would’ve found it. It’s one of those ‘melt and mix’ recipes which I love so much.

Old fashioned crispy coconut cookies www.domesblissity.com

I love these easy melt and mix recipes. Anything that’s quick and easy for me.

Old fashioned crispy coconut cookies www.domesblissity.com

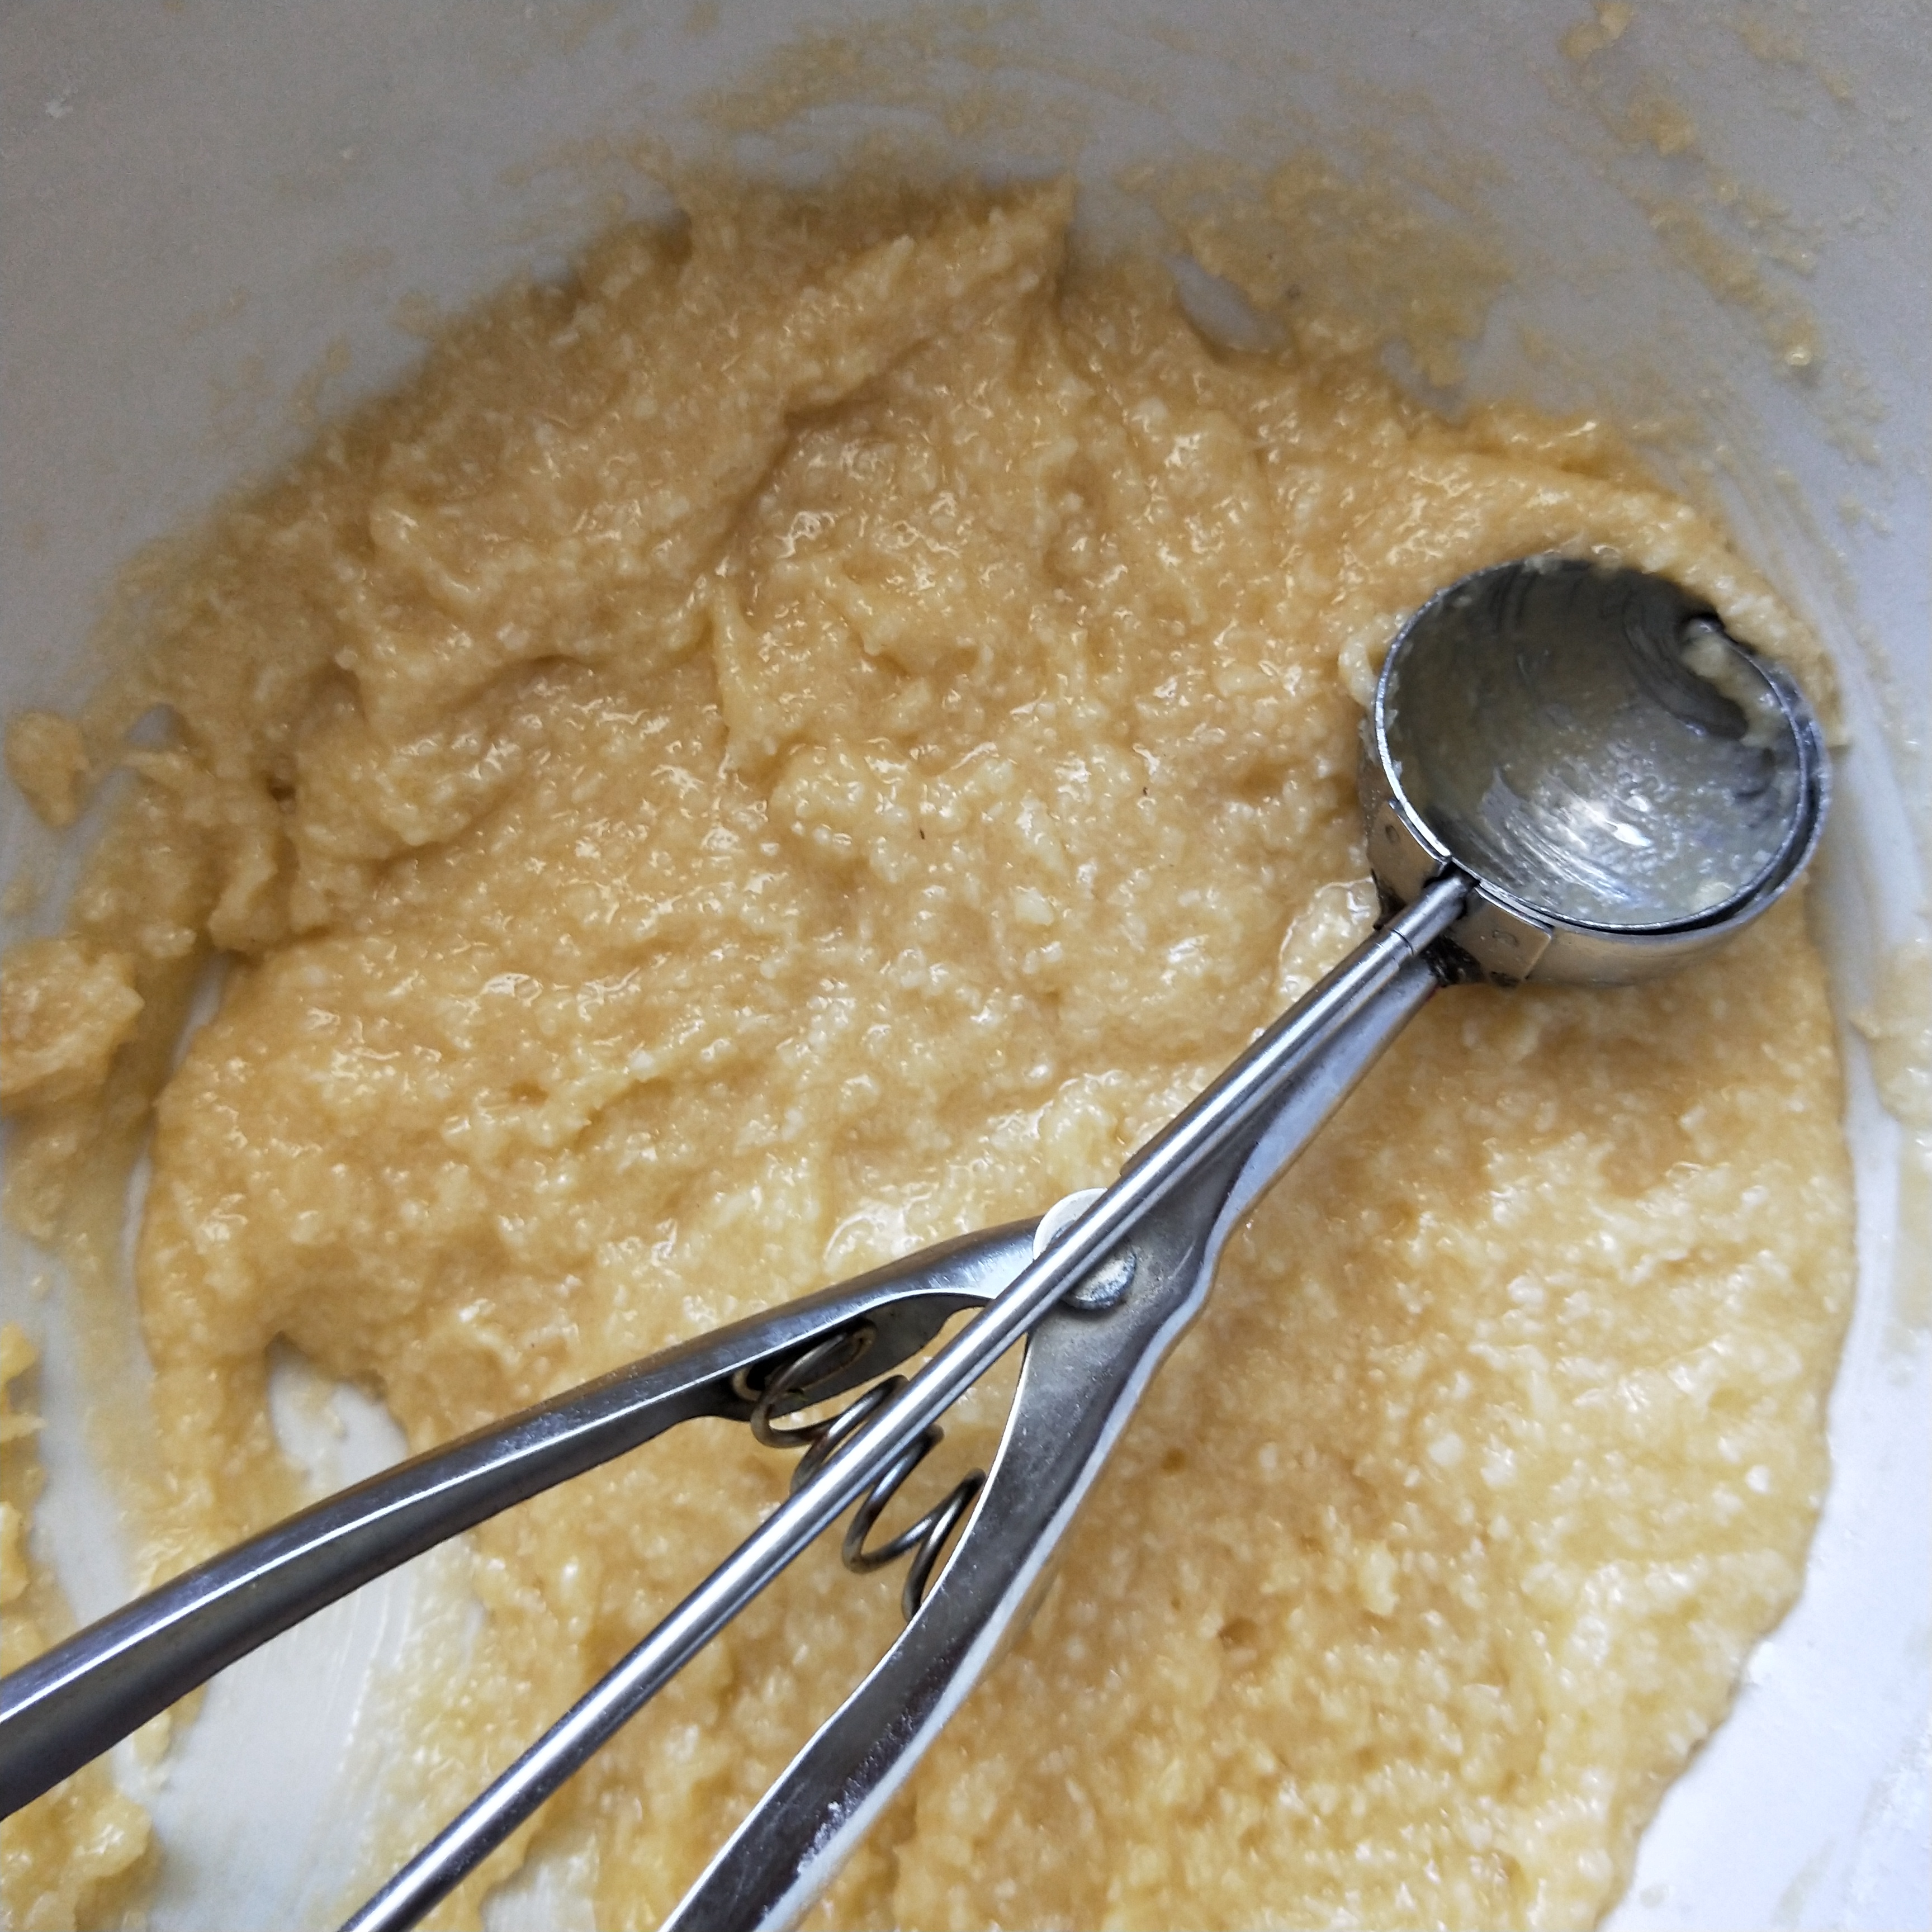
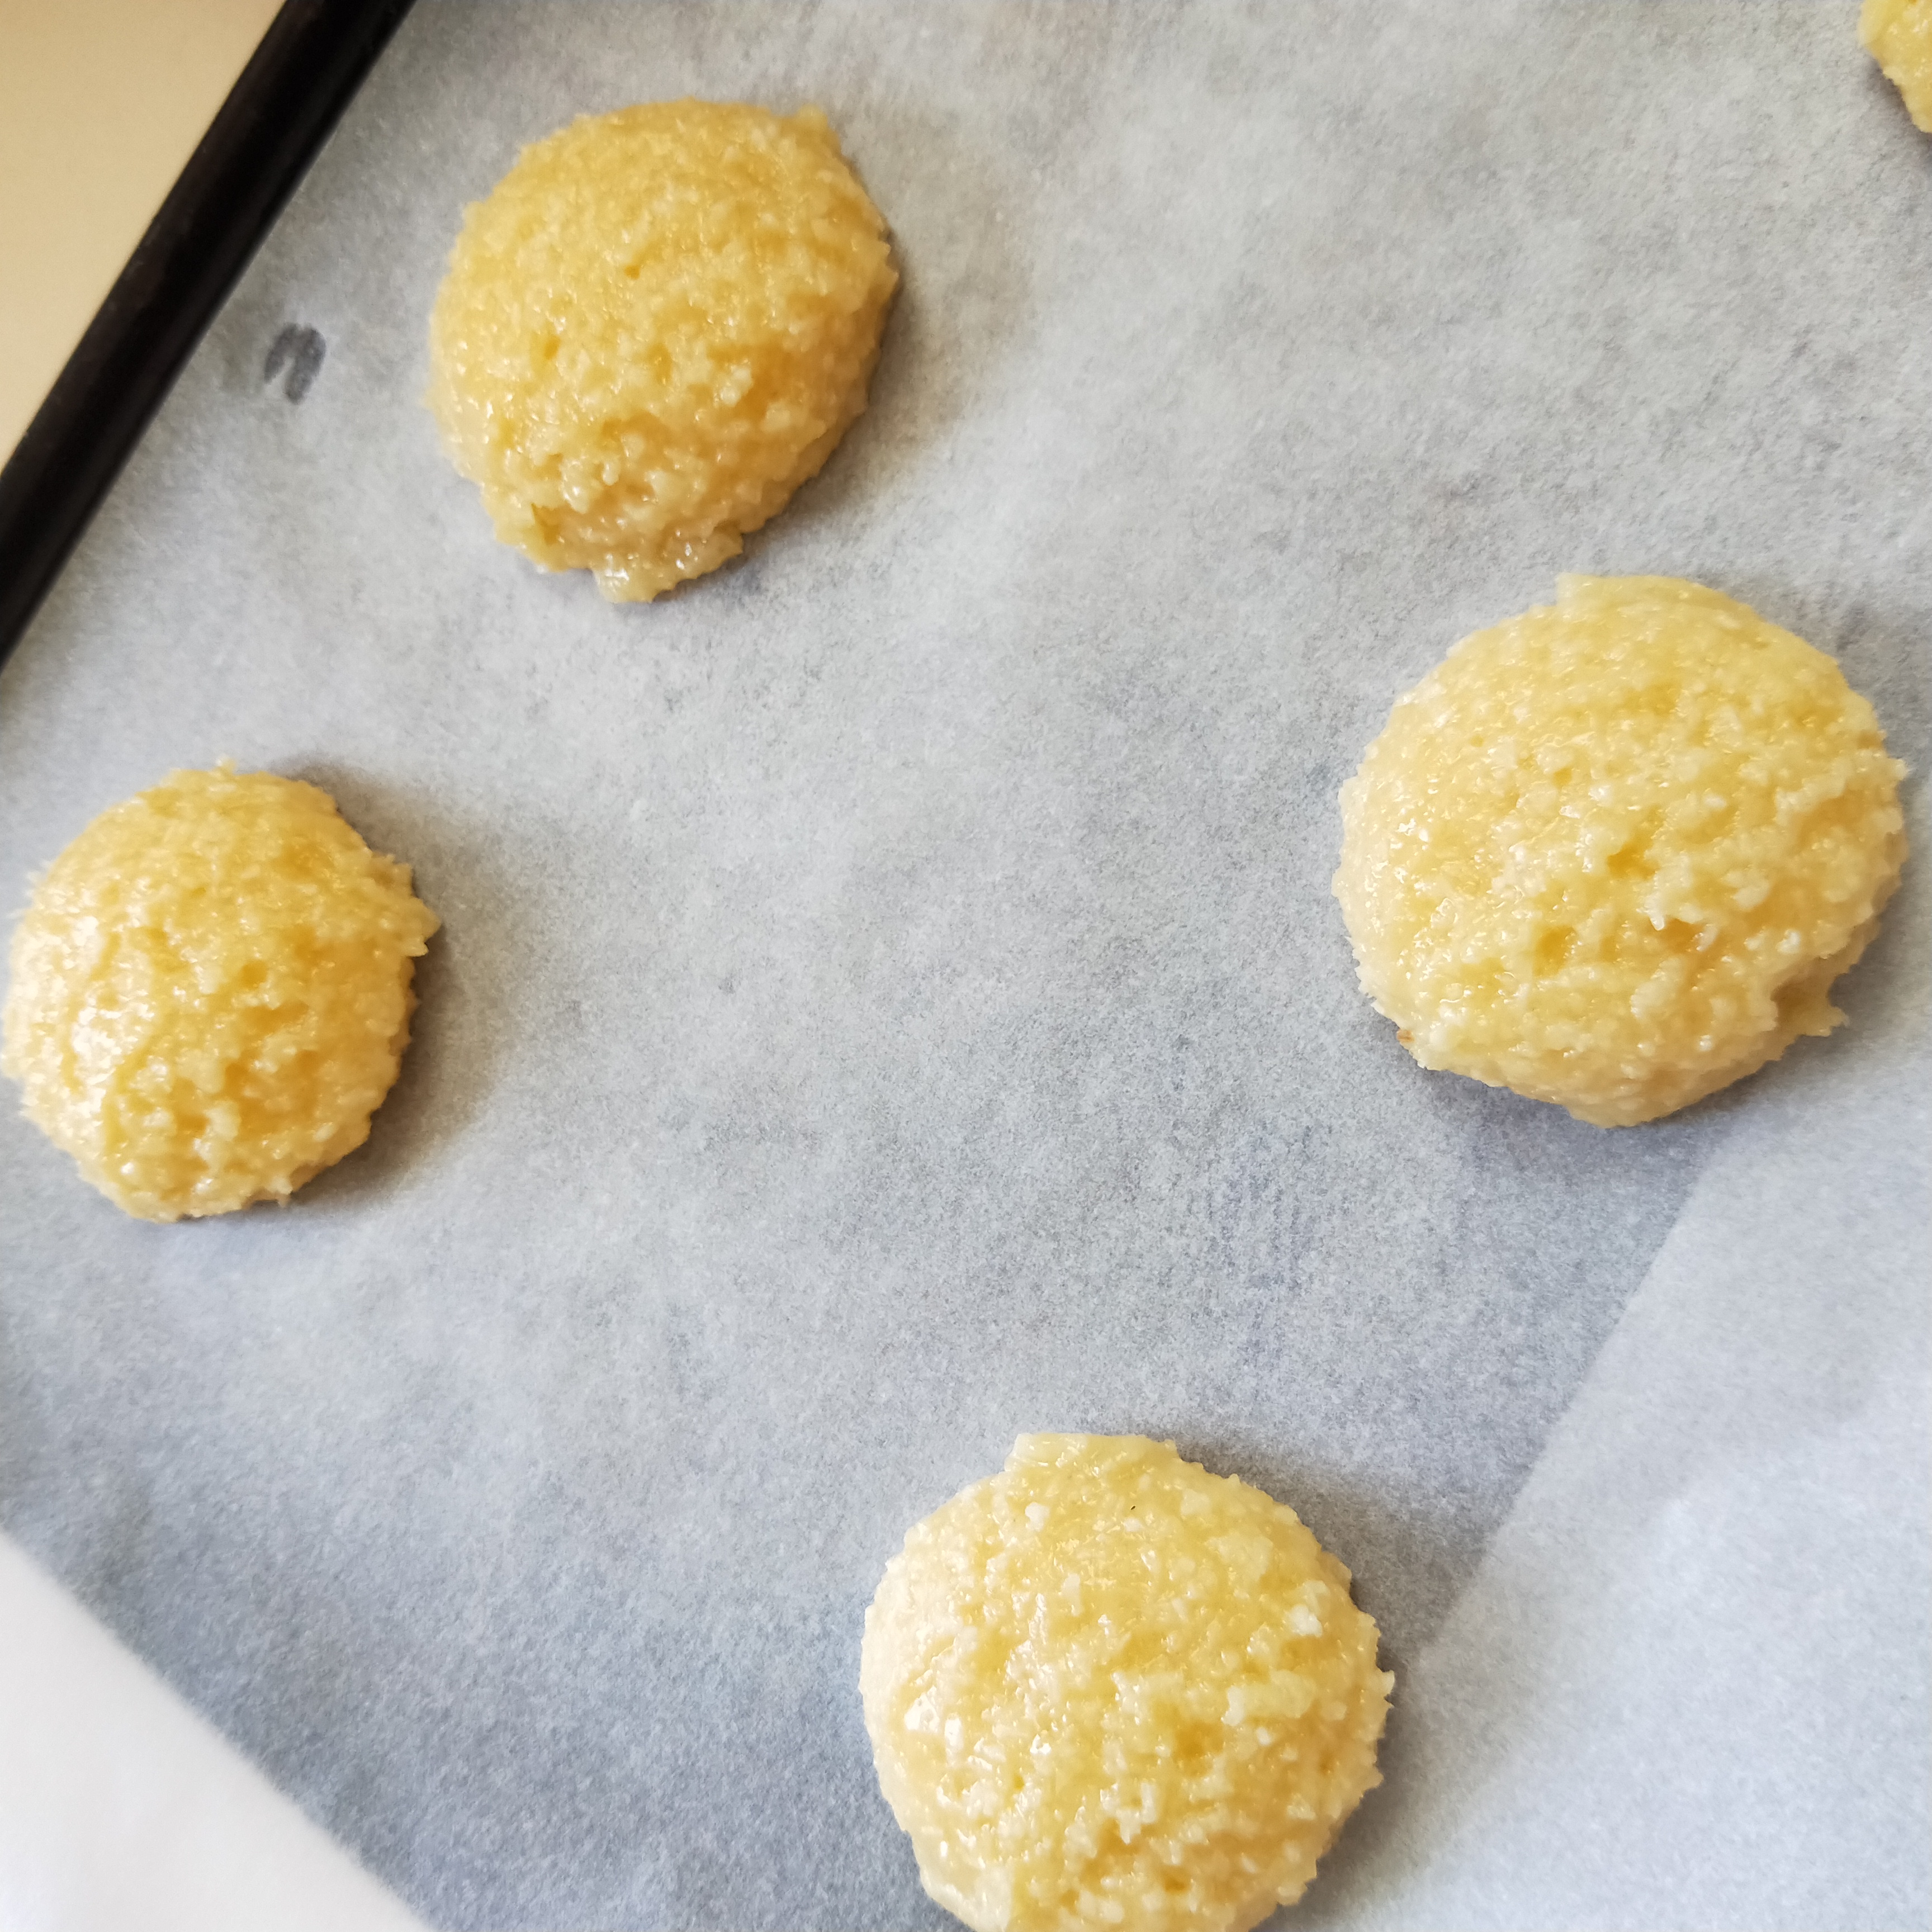
I used my small ice cream scoop for the cookies. They did turn out a bit larger than I would’ve liked so you would get a lot more cookies if you used say a teaspoon to drop the mixture onto the baking tray.

Old fashioned Crispy Coconut Cookies

A simple and quick, melt and mix cookie recipe with only 5 ingredients everyone should have in their pantry.

Keyword coconut, cookies, melt and mix
Prep Time 5 minutes
Cook Time 20 minutes
Total Time 25 minutes
Servings 16 large cookies
Author Anne Murphy

Ingredients

  • 1 cup self raising flour
  • 1 cup coconut
  • 1 cup sugar
  • 1 egg
  • 1/2 cup butter melted

Instructions

  1. Combine all ingredients.

  2. Add spoonfuls (or I used a small ice cream scoop) to a baking tray lined with baking paper. 

  3. Bake in a 180 deg C oven for approx 20 minutes or until lightly golden.

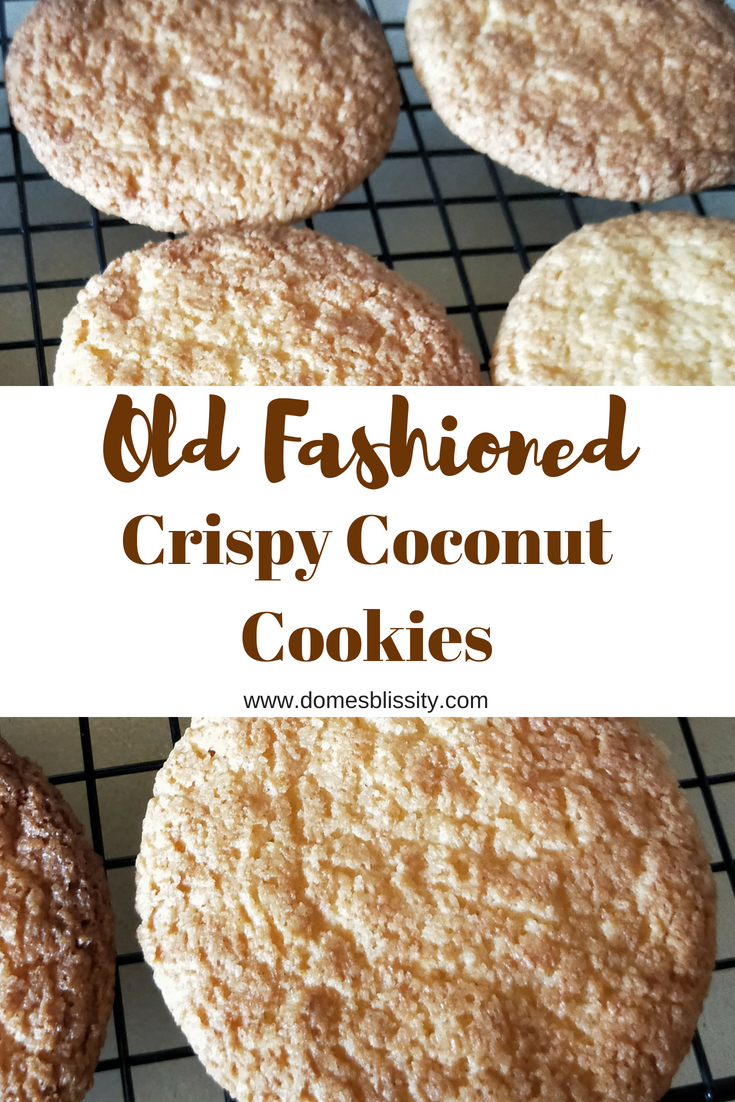
  4. Allow to cool. They will go crispy upon cooling.

Old fashioned crispy coconut cookies www.domesblissity.com


Monday, November 21, 2016

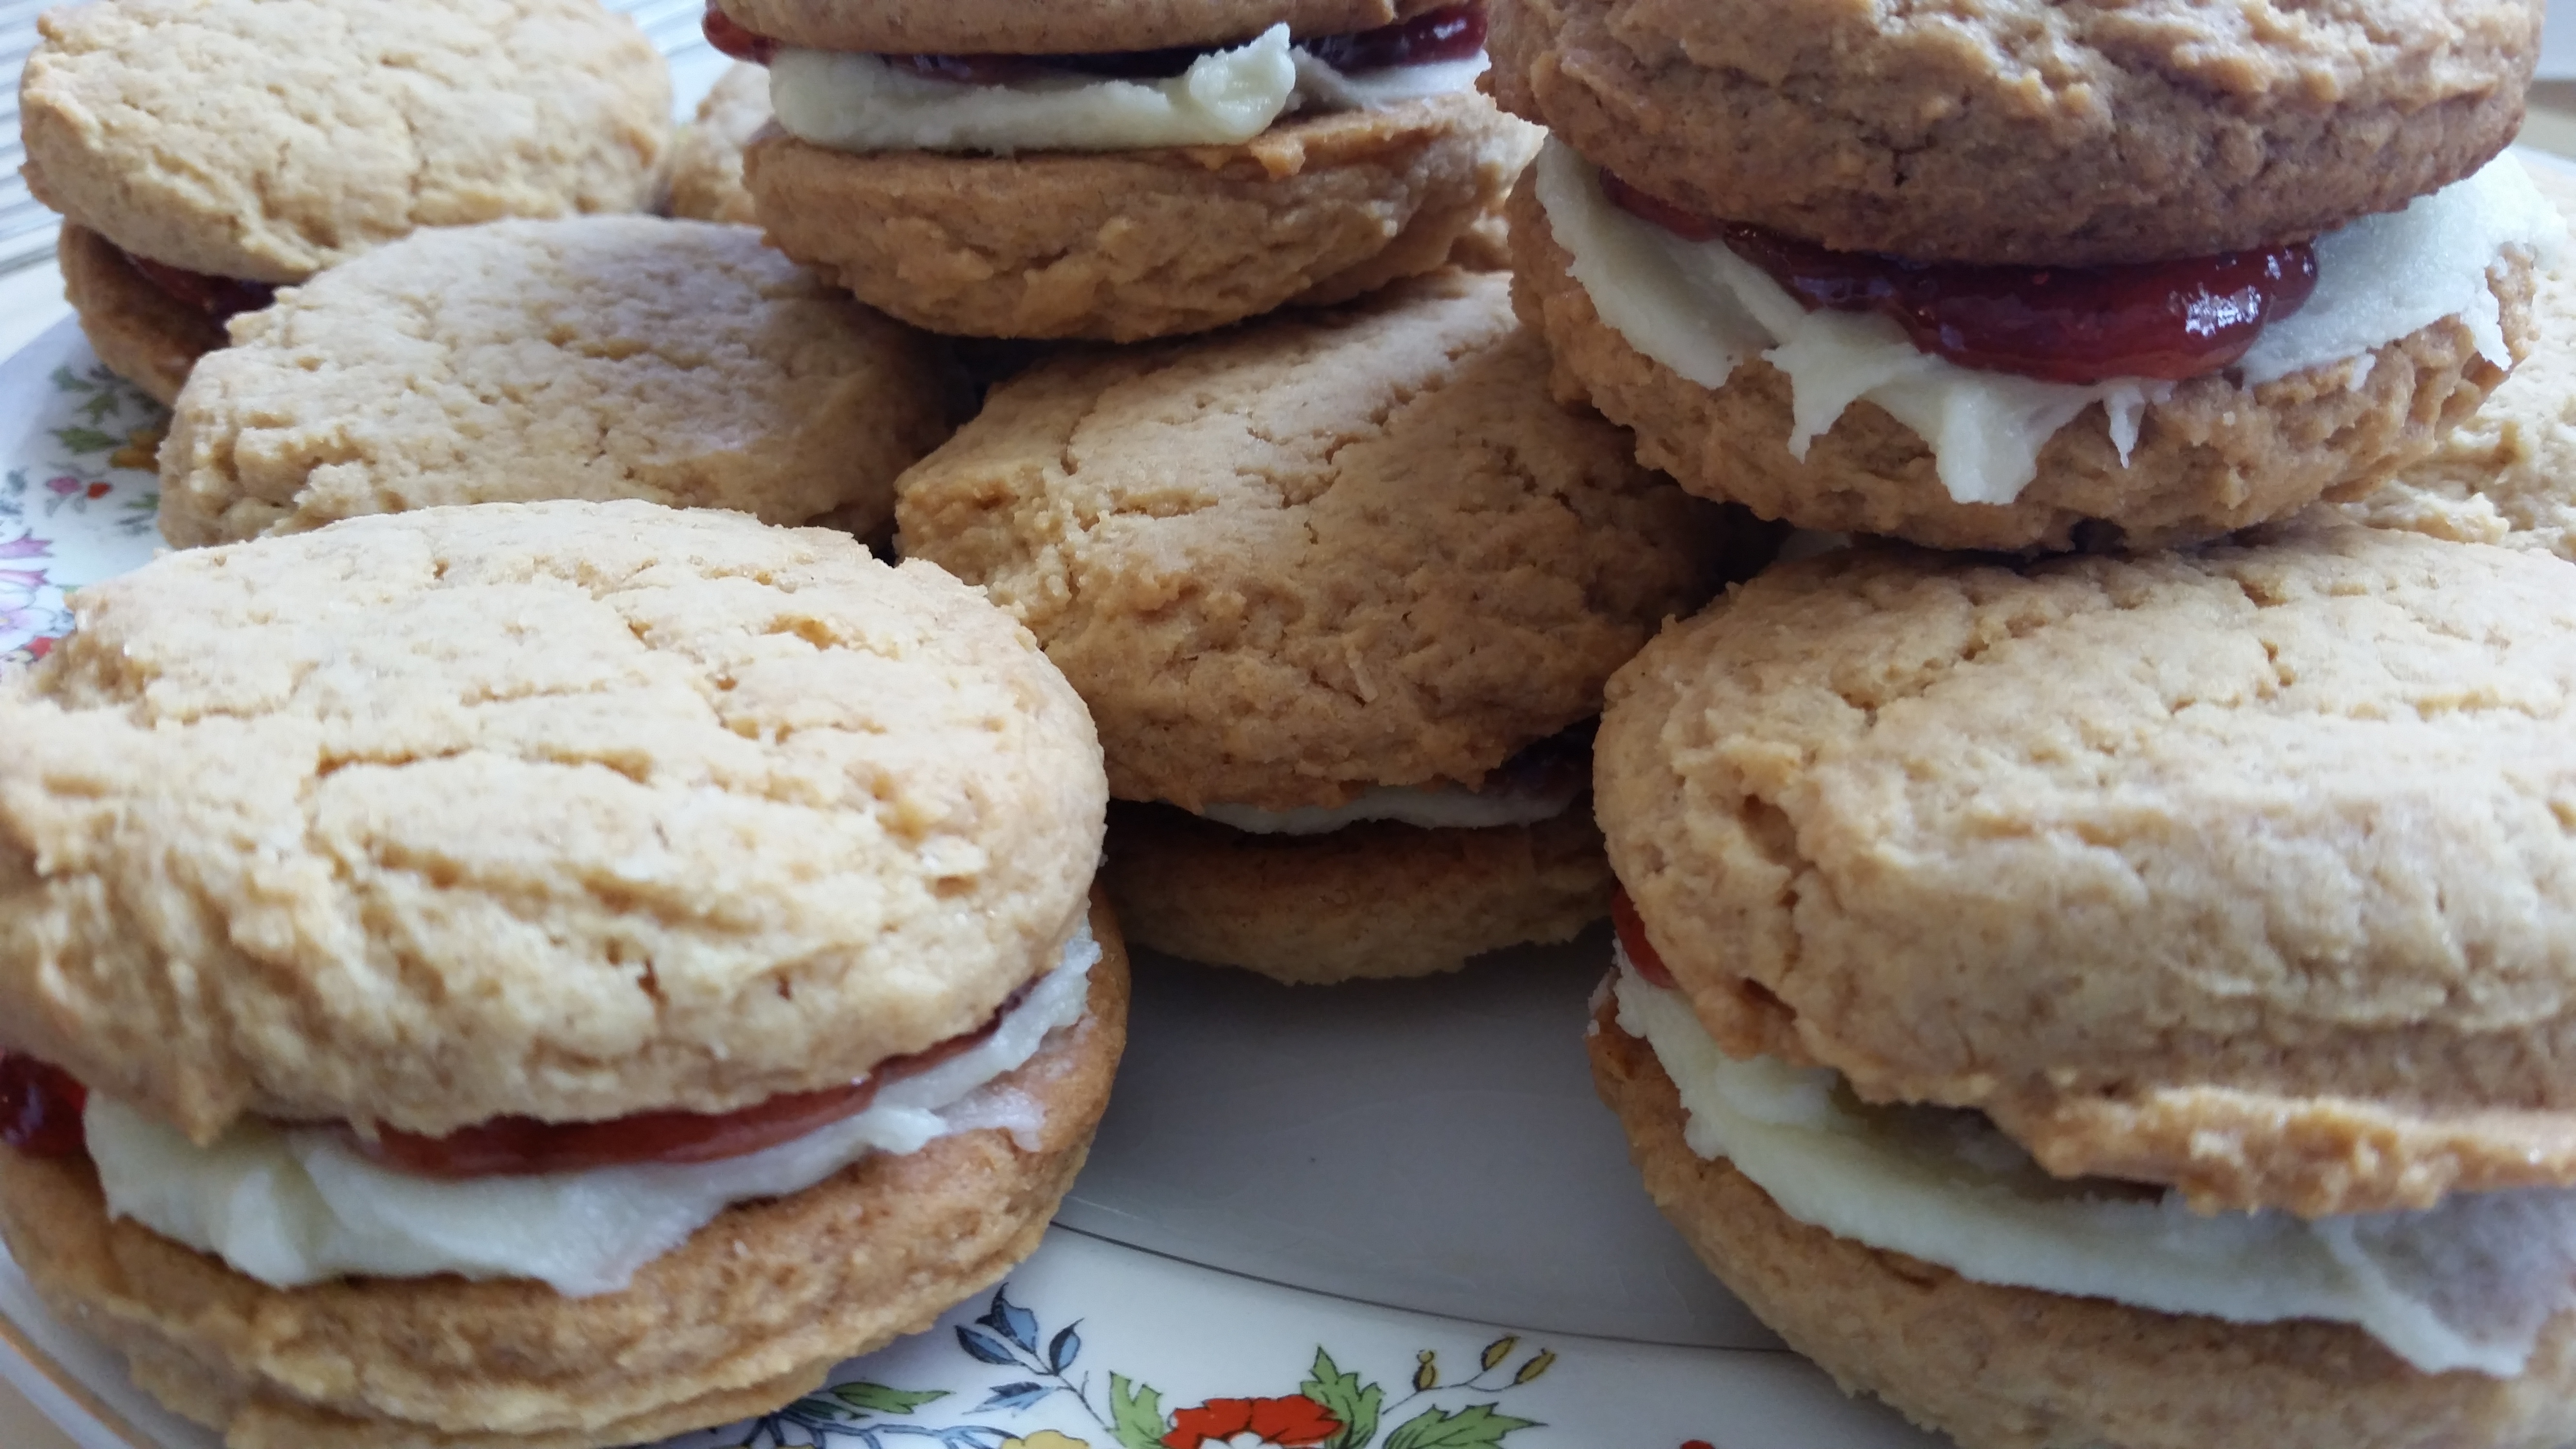
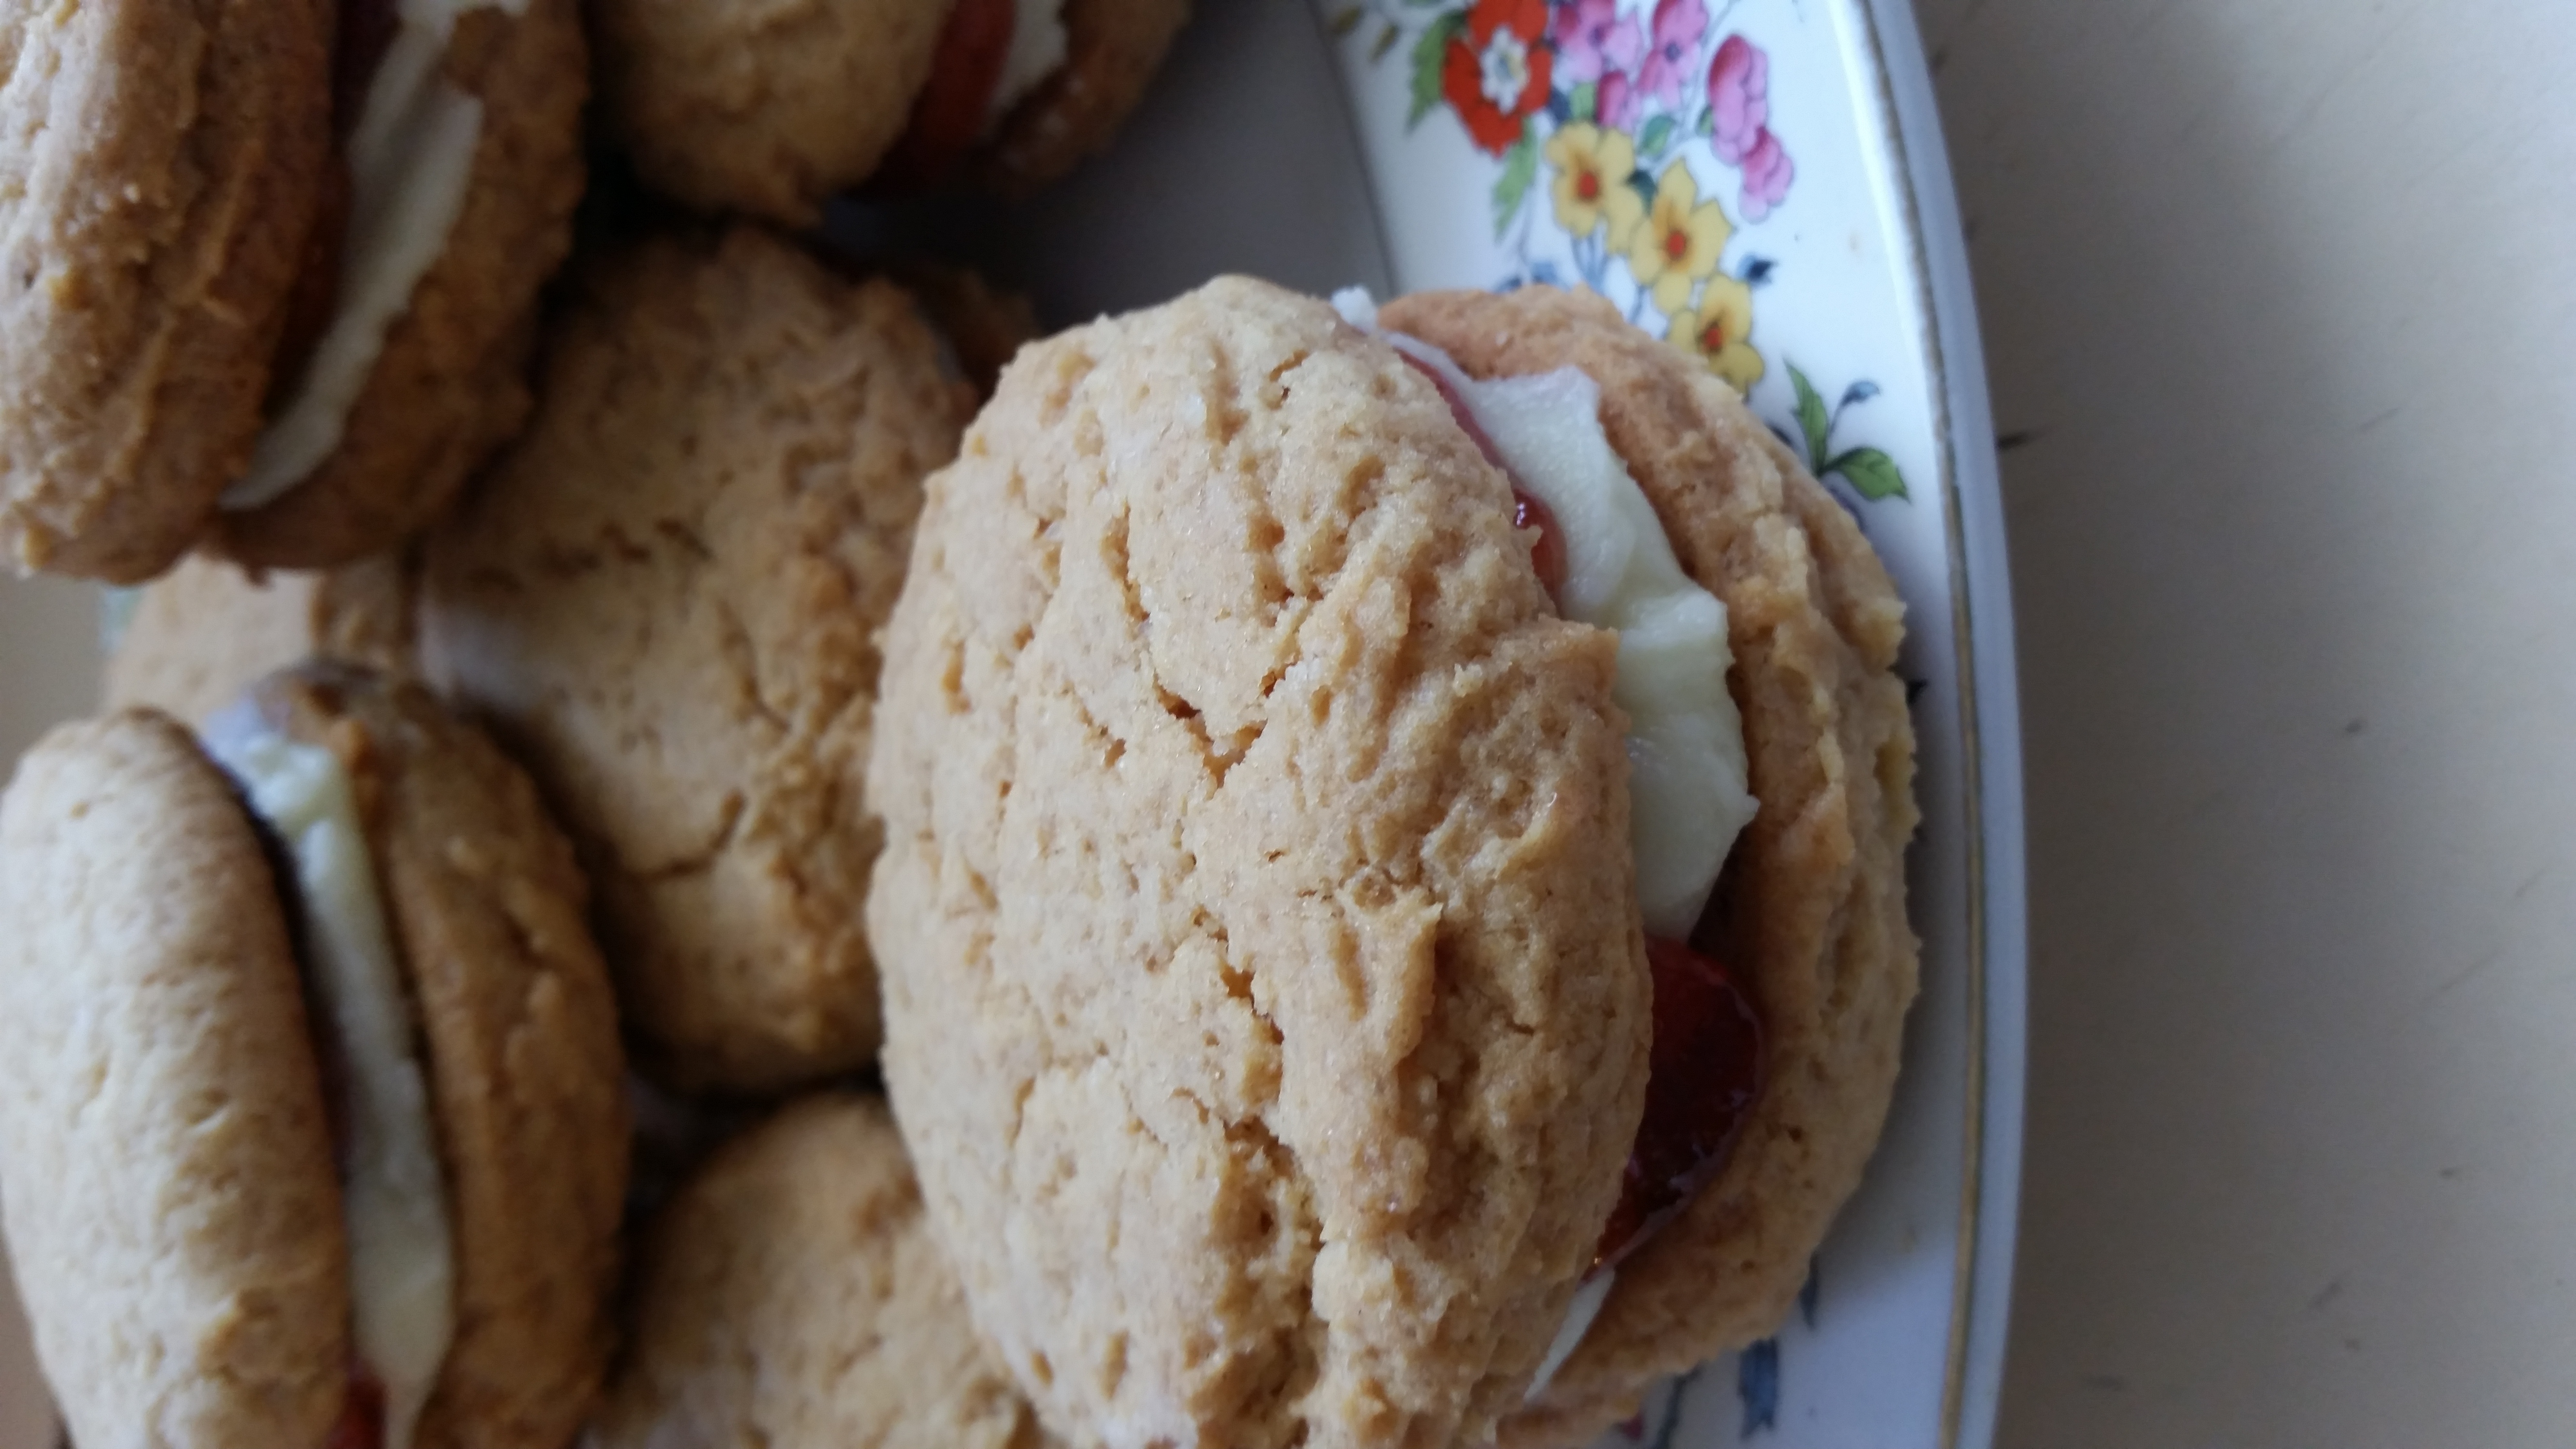
Homemade Monte Carlo Biscuits Recipe


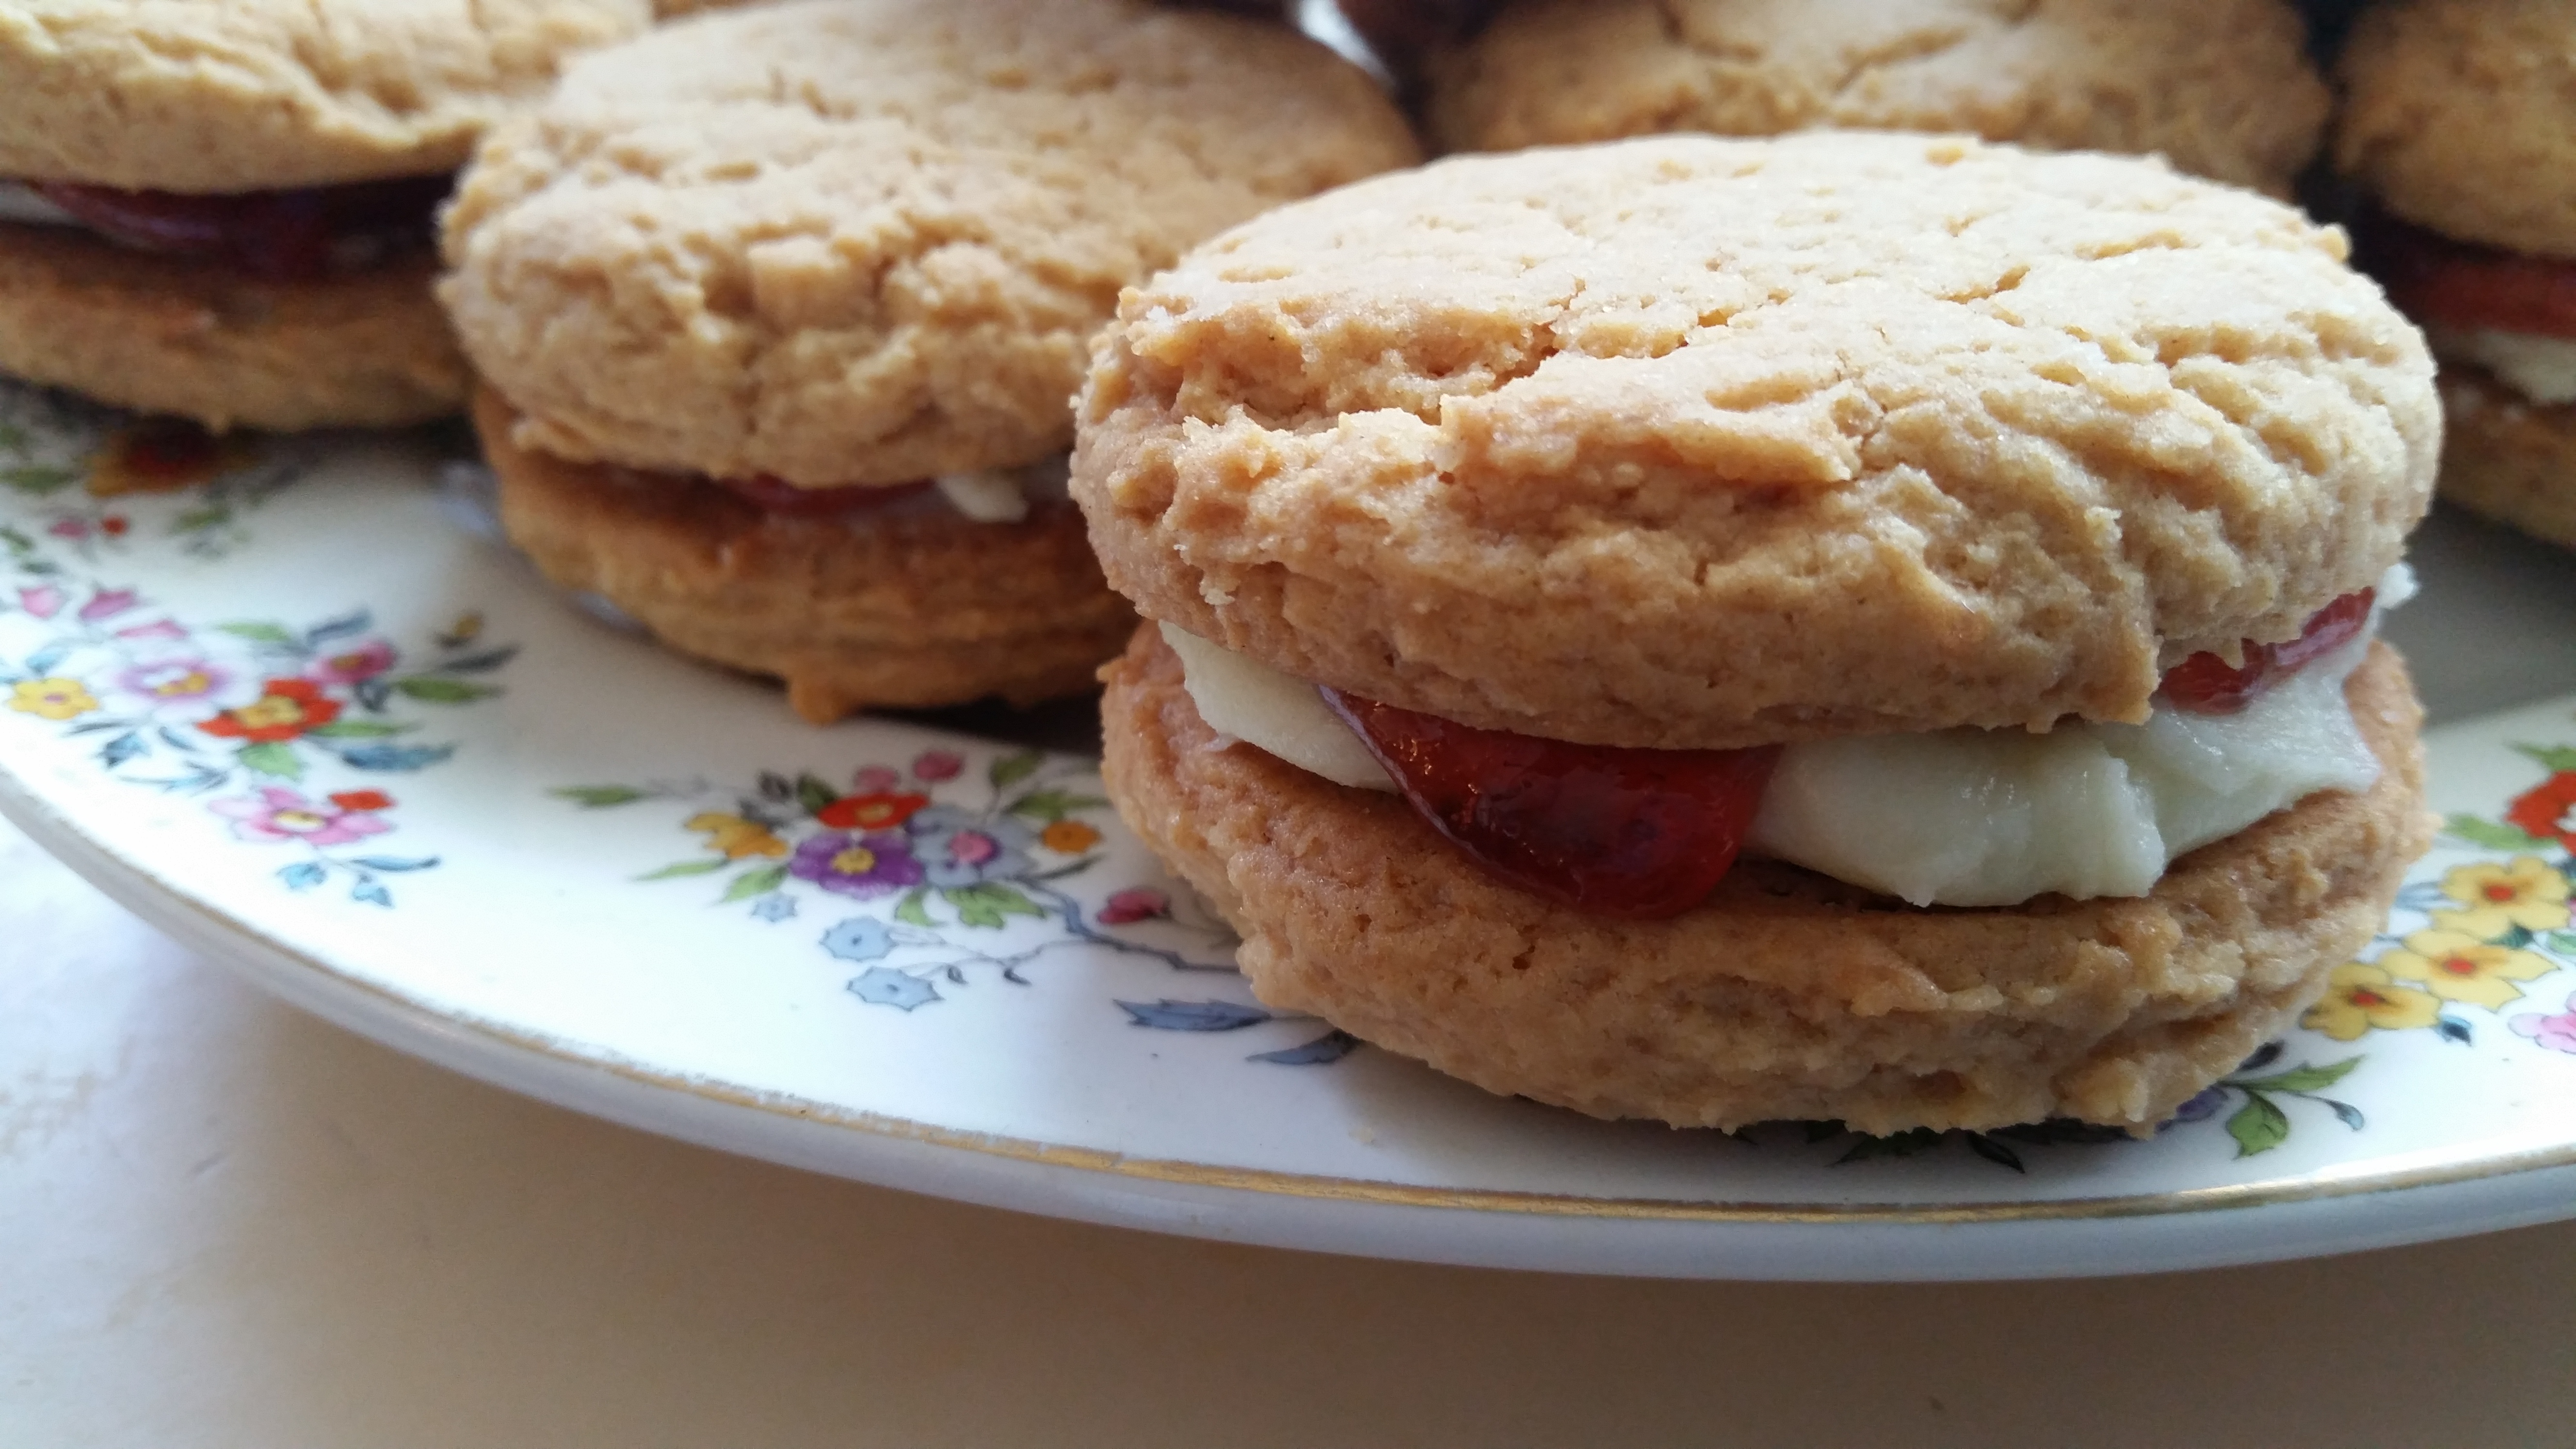
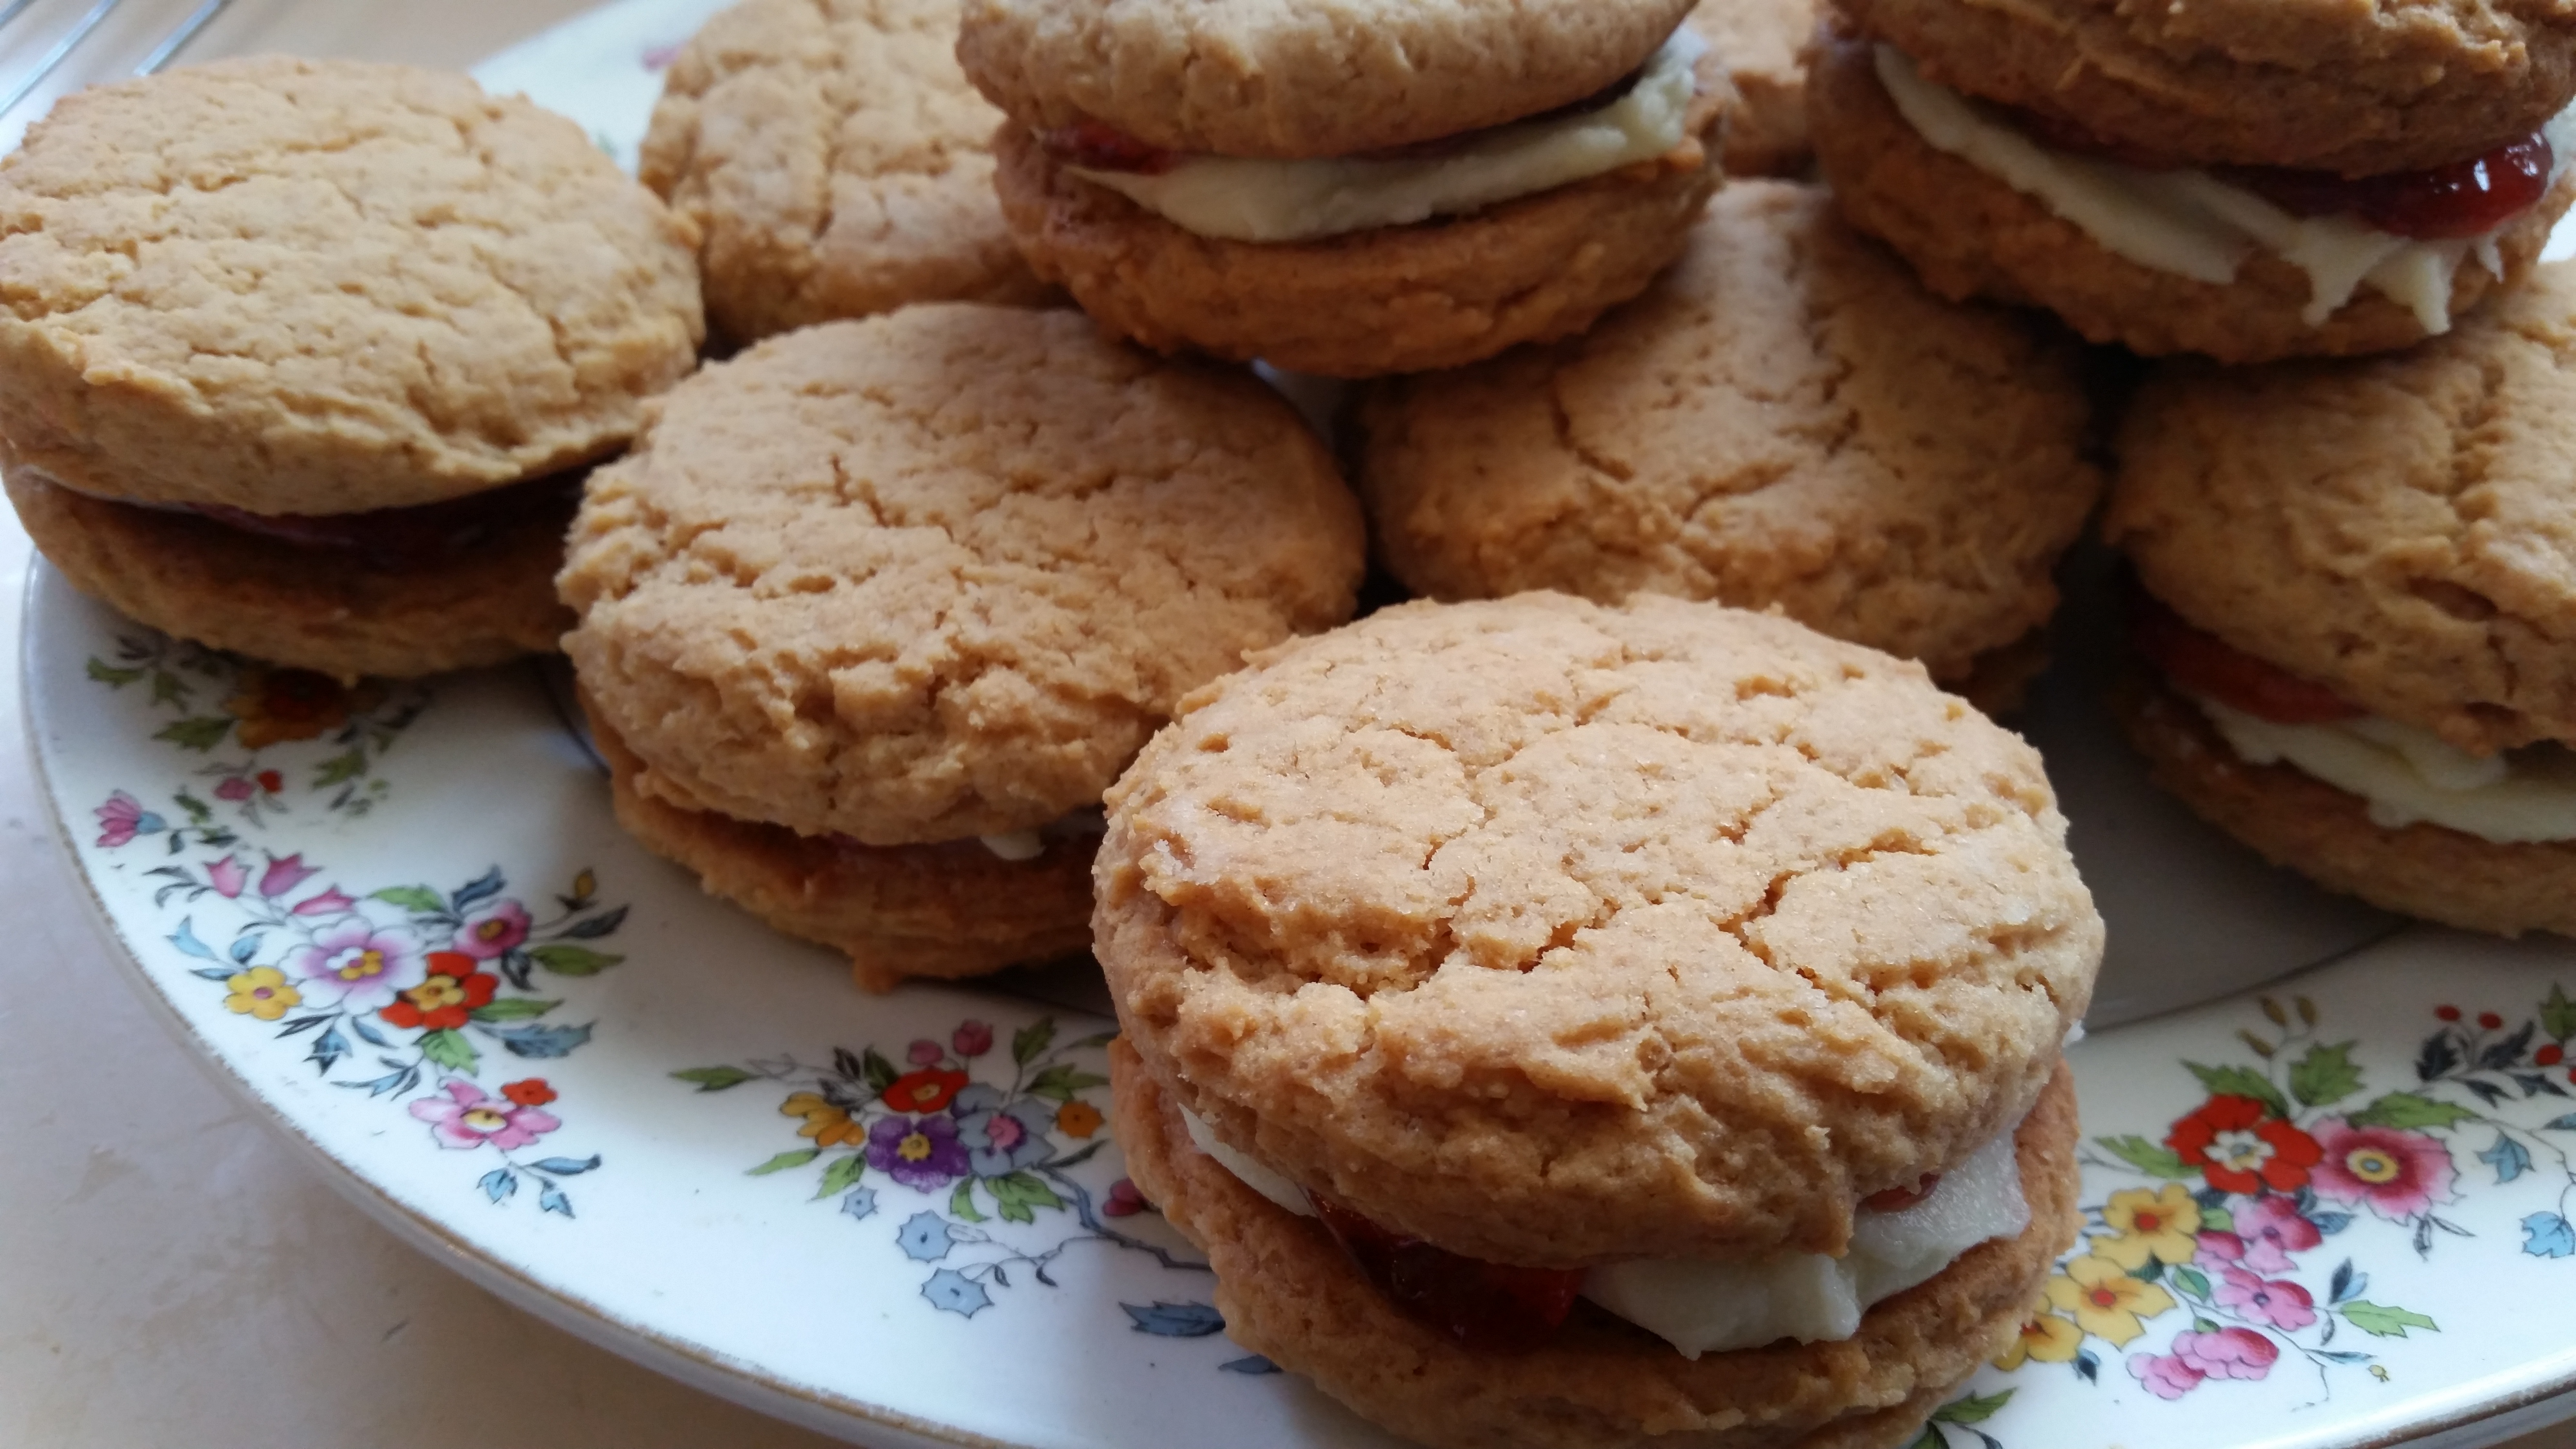
Here in Australia we have a selection of biscuits (cookies) called Assorted Creams made by Arnotts and one of those biscuits in the assortment is called a Monte Carlo. It’s a crisp, honey/coconut flavoured biscuit sandwiched with vanilla icing and raspberry jam, a favourite of mine from my childhood. Unfortunately, like with anything these days, the biscuits are getting smaller and they just don’t taste the same as they did when I was young so I decided to try and make my own homemade Monte Carlo biscuits.
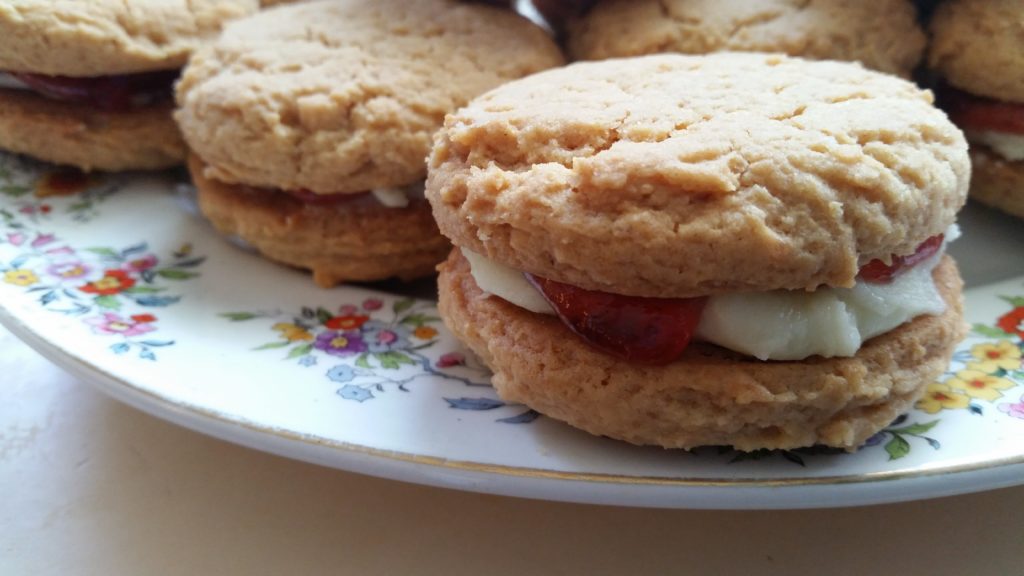
Homemade Monte Carlo Biscuits www.domesblissity.com

Arnotts have been making these biscuits since 1926 so they’ve been a favourite of many generations. If I knew how easy they were to make, I would’ve been making them a long time ago.
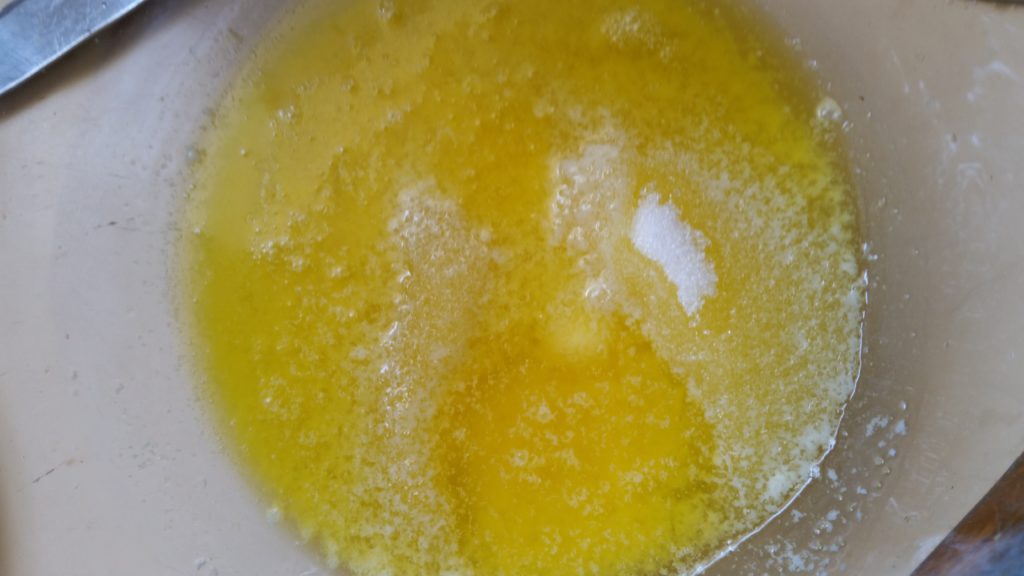
Homemade Monte Carlo Biscuits www.domesblissity.com

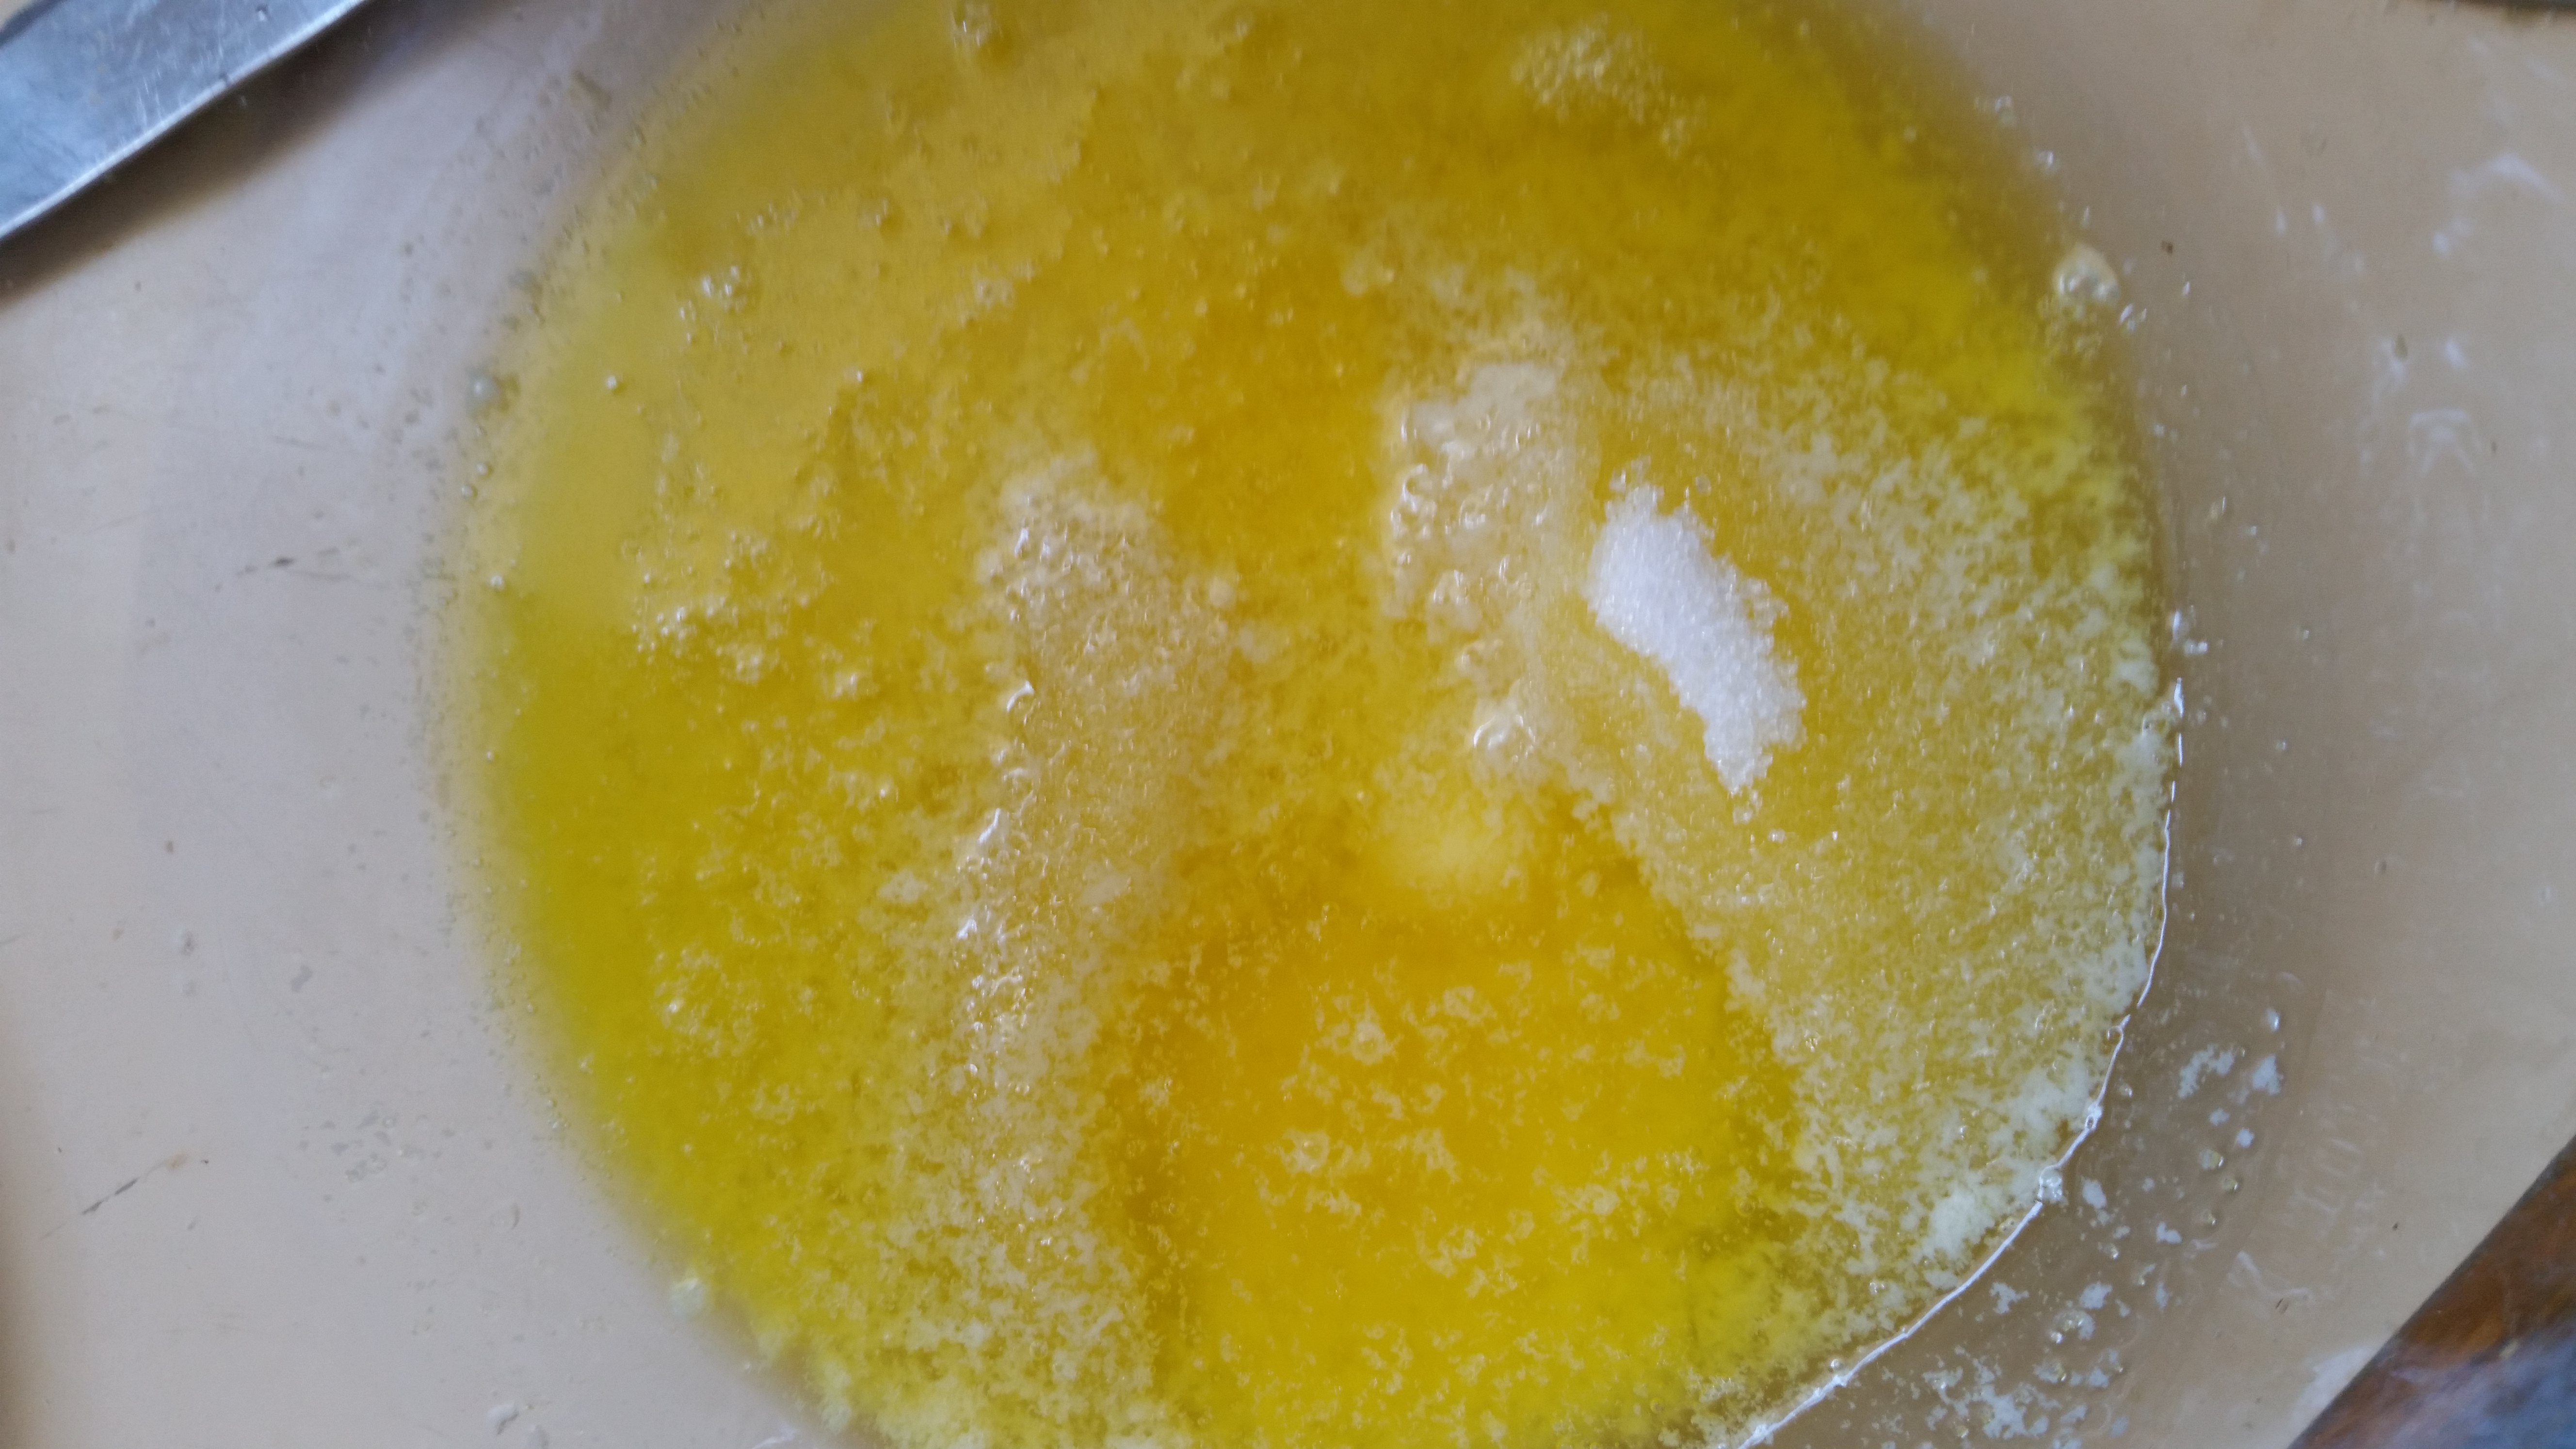
If you know me by now, I’m all about getting things made quickly so no creaming butter and sugar together for me. Melt the butter in the microwave and add the brown sugar.
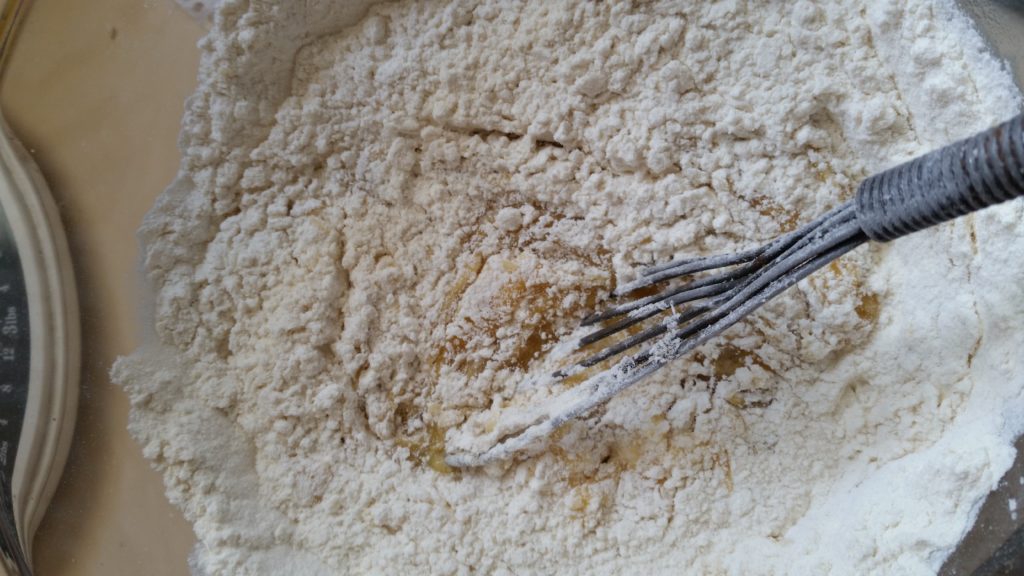
Homemade Monte Carlo Biscuits www.domesblissity.com


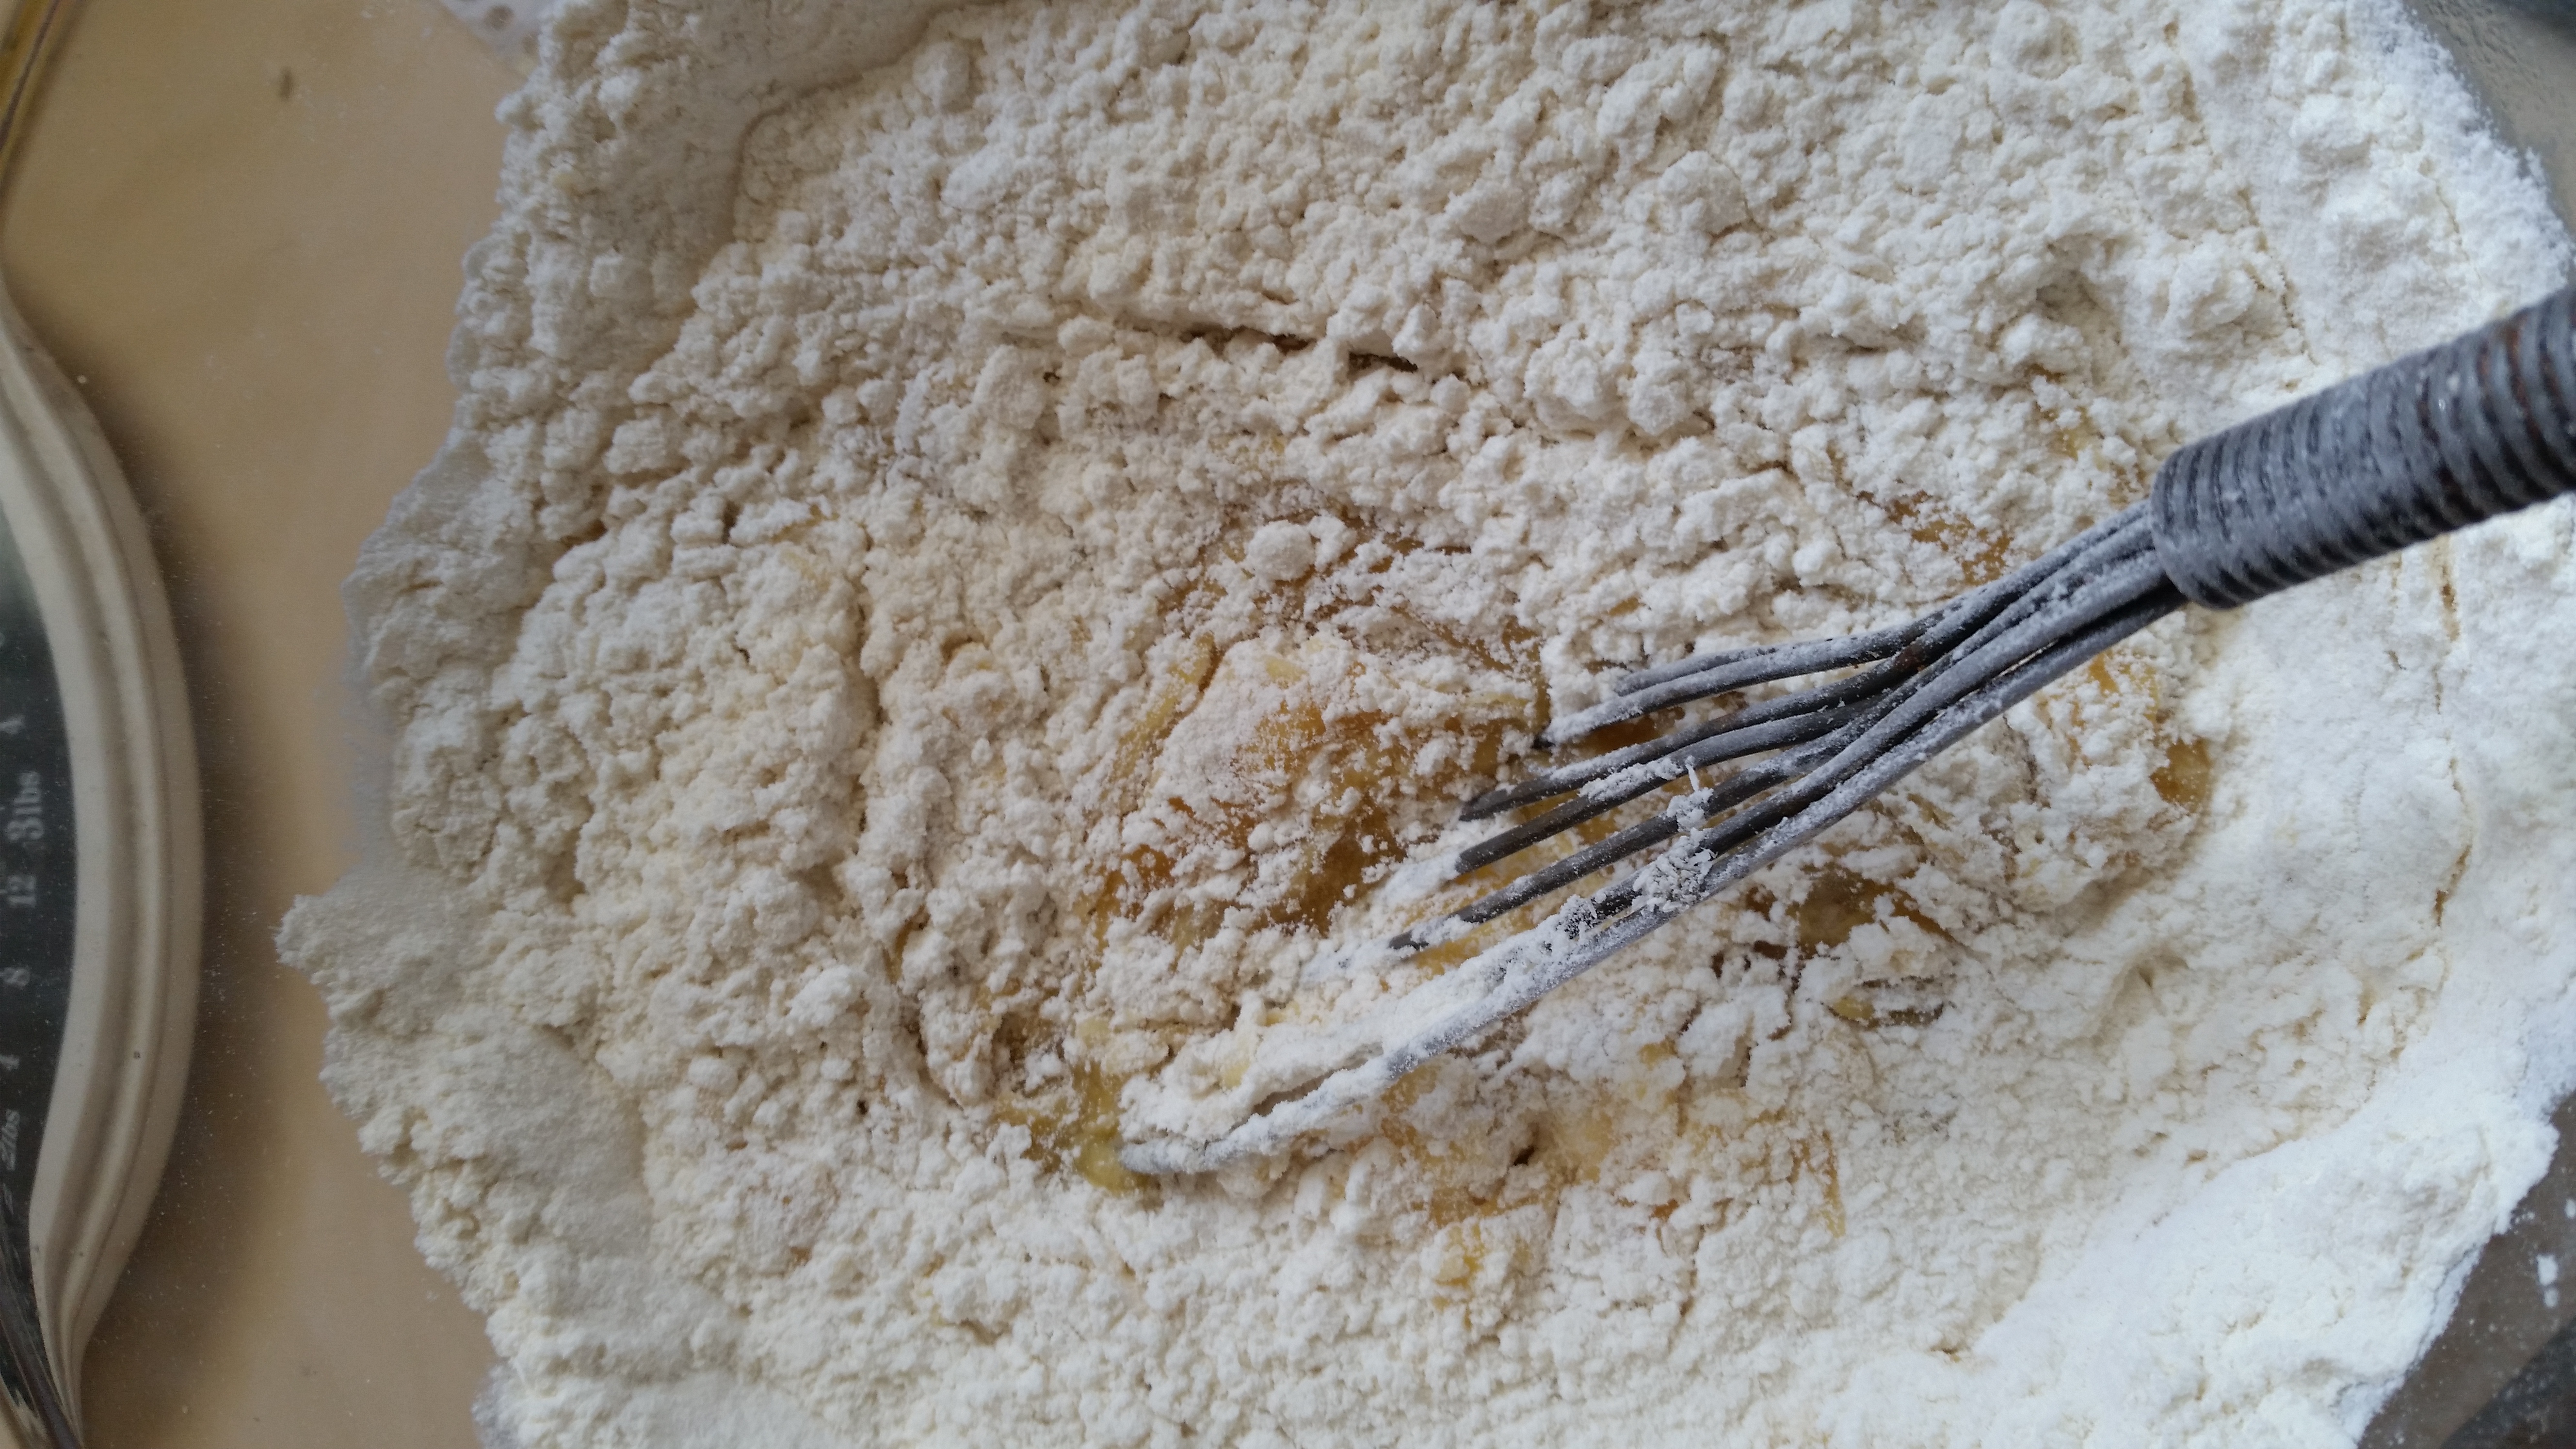
Add the rest of the ingredients and that’s it. You can see in the photo above, I always use my Nanna’s trusty wire whisk for all my baking. No mix masters in this house.

This recipe can be made as is, without sandwiching together with icing and jam. It’s a versatile recipe that makes a lovely crunchy biscuit.
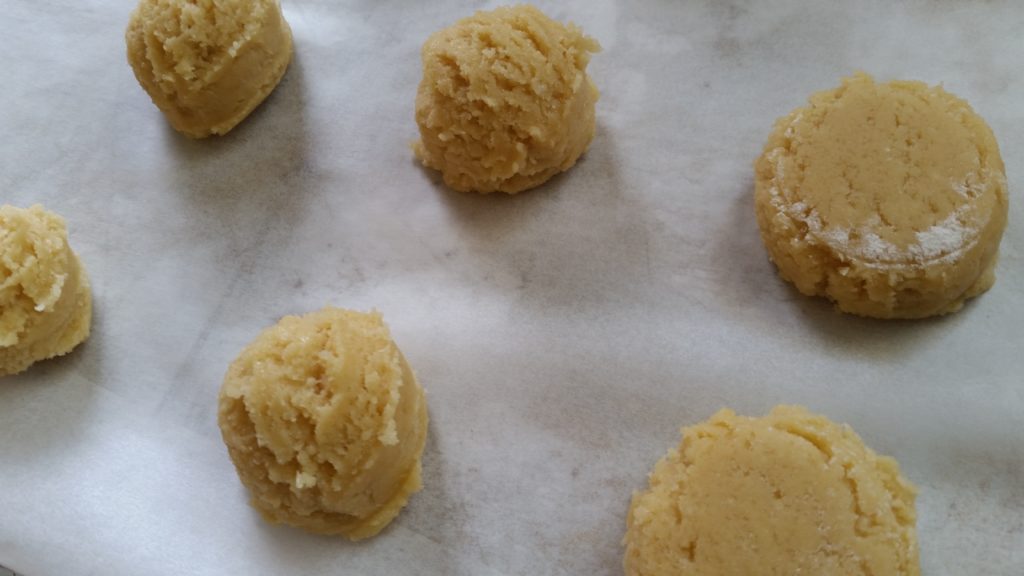
Homemade Monte Carlo Biscuits www.domesblissity.com

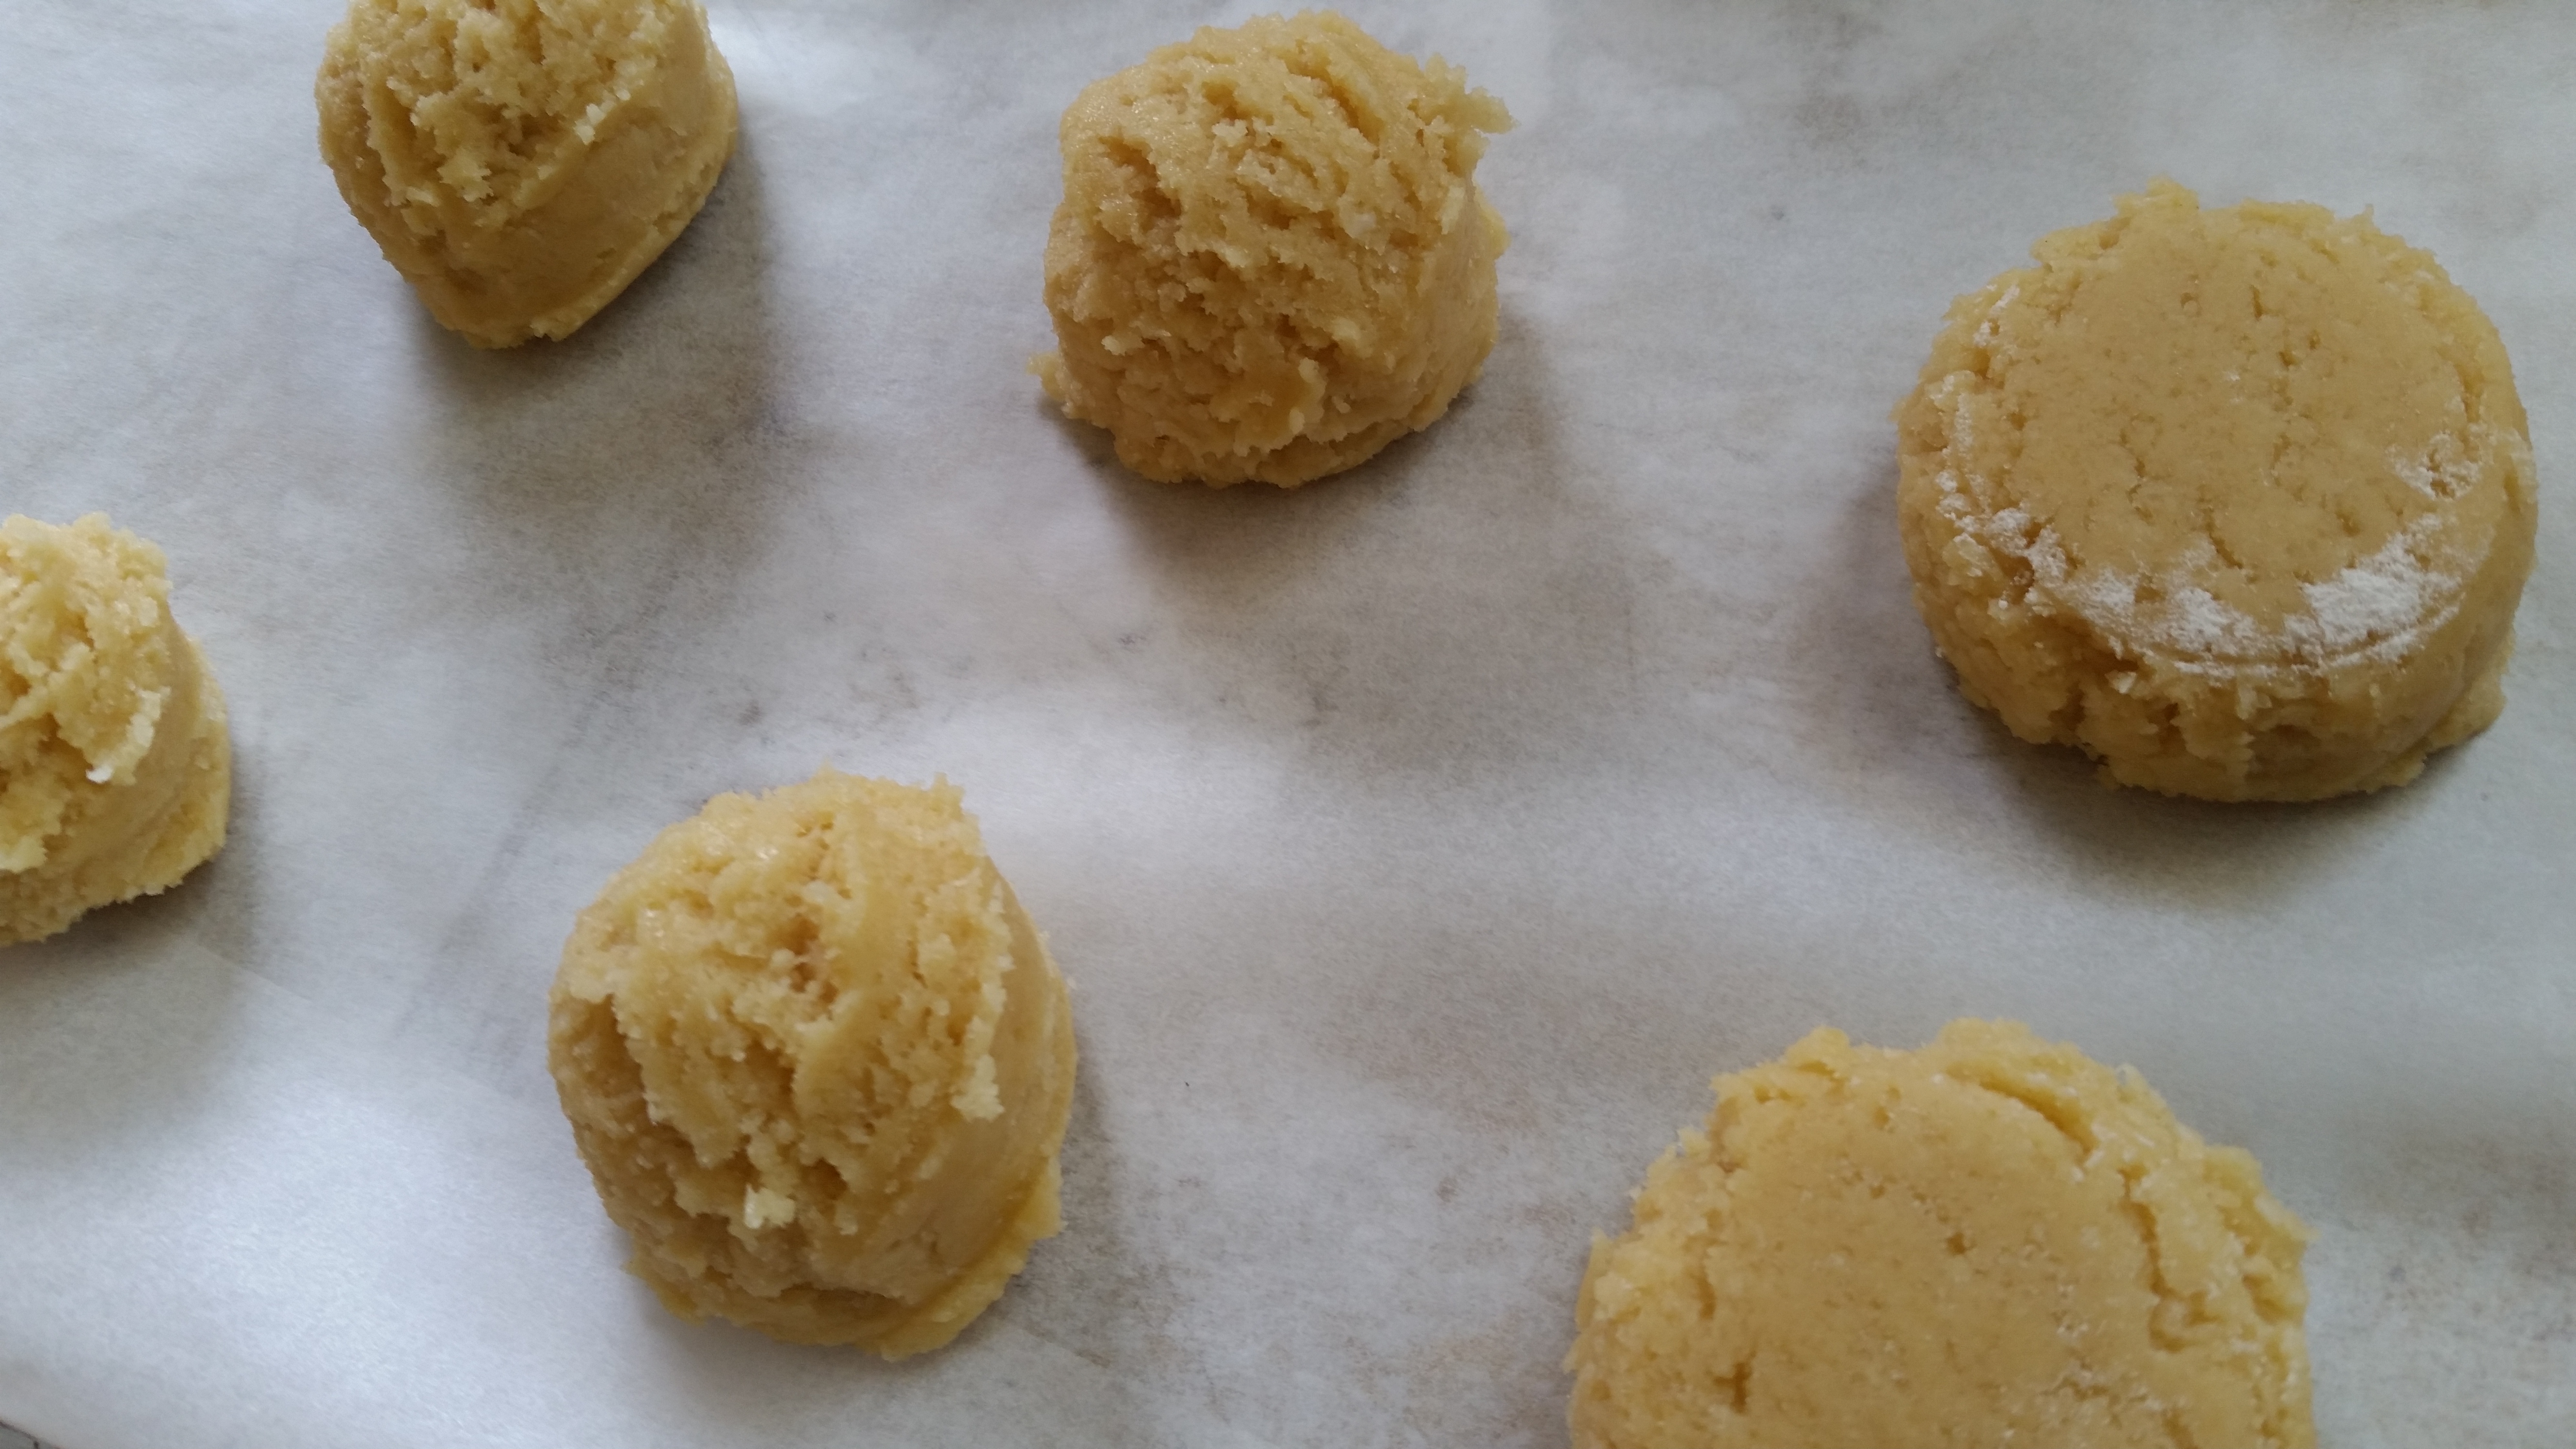
I use a small ice cream scoop to put cookies on the baking sheet. You get a nice even round biscuit doing it this way. These biscuits won’t spread so you’ll have to press down with a fork or the bottom of a glass dipped in flour, like I have done above.
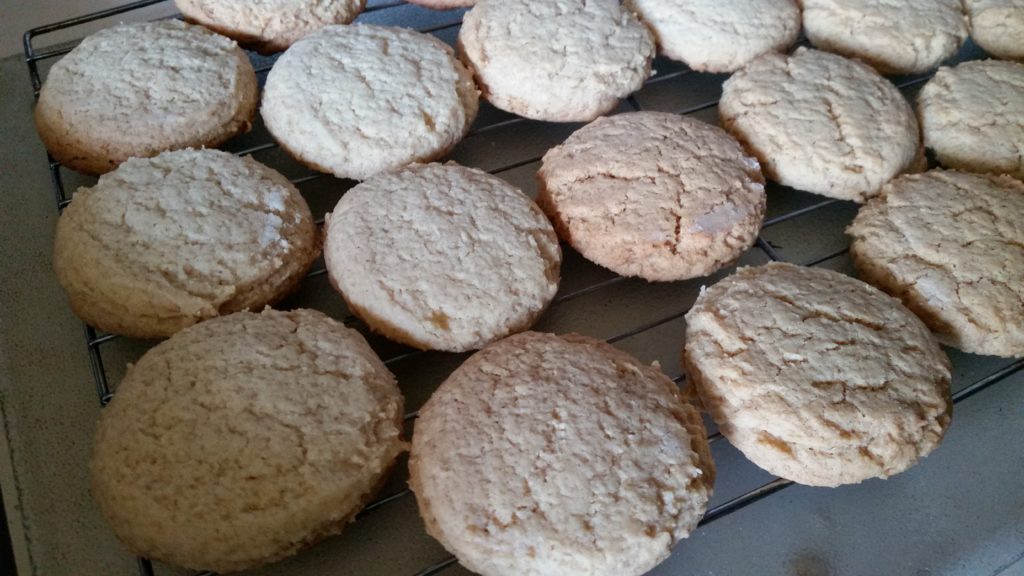
Homemade Monte Carlo Biscuits www.domesblissity.com

Bake for about 15 to 20 minutes or until golden and allow to cool.
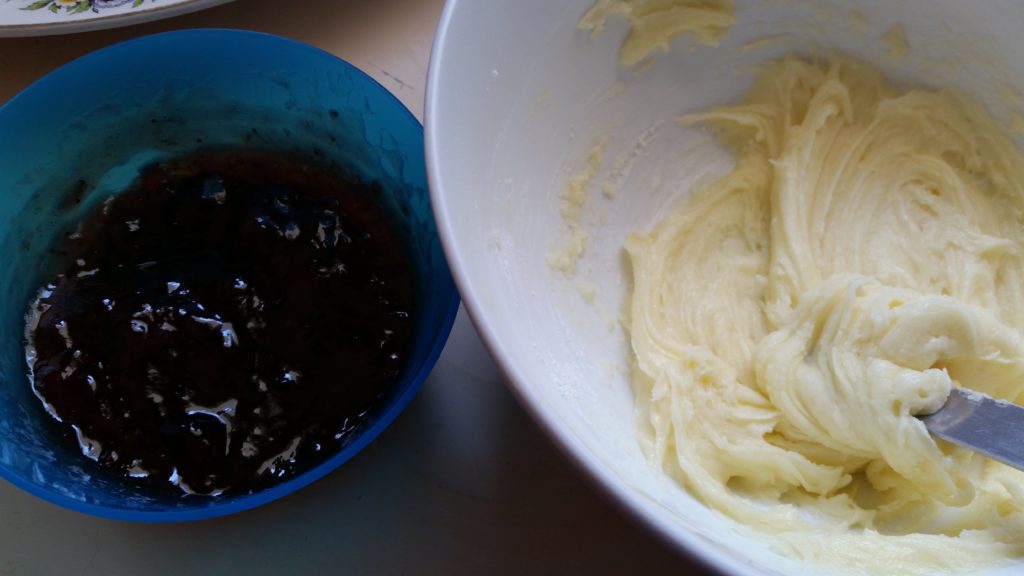
Homemade Monte Carlo Biscuits www.domesblissity.com


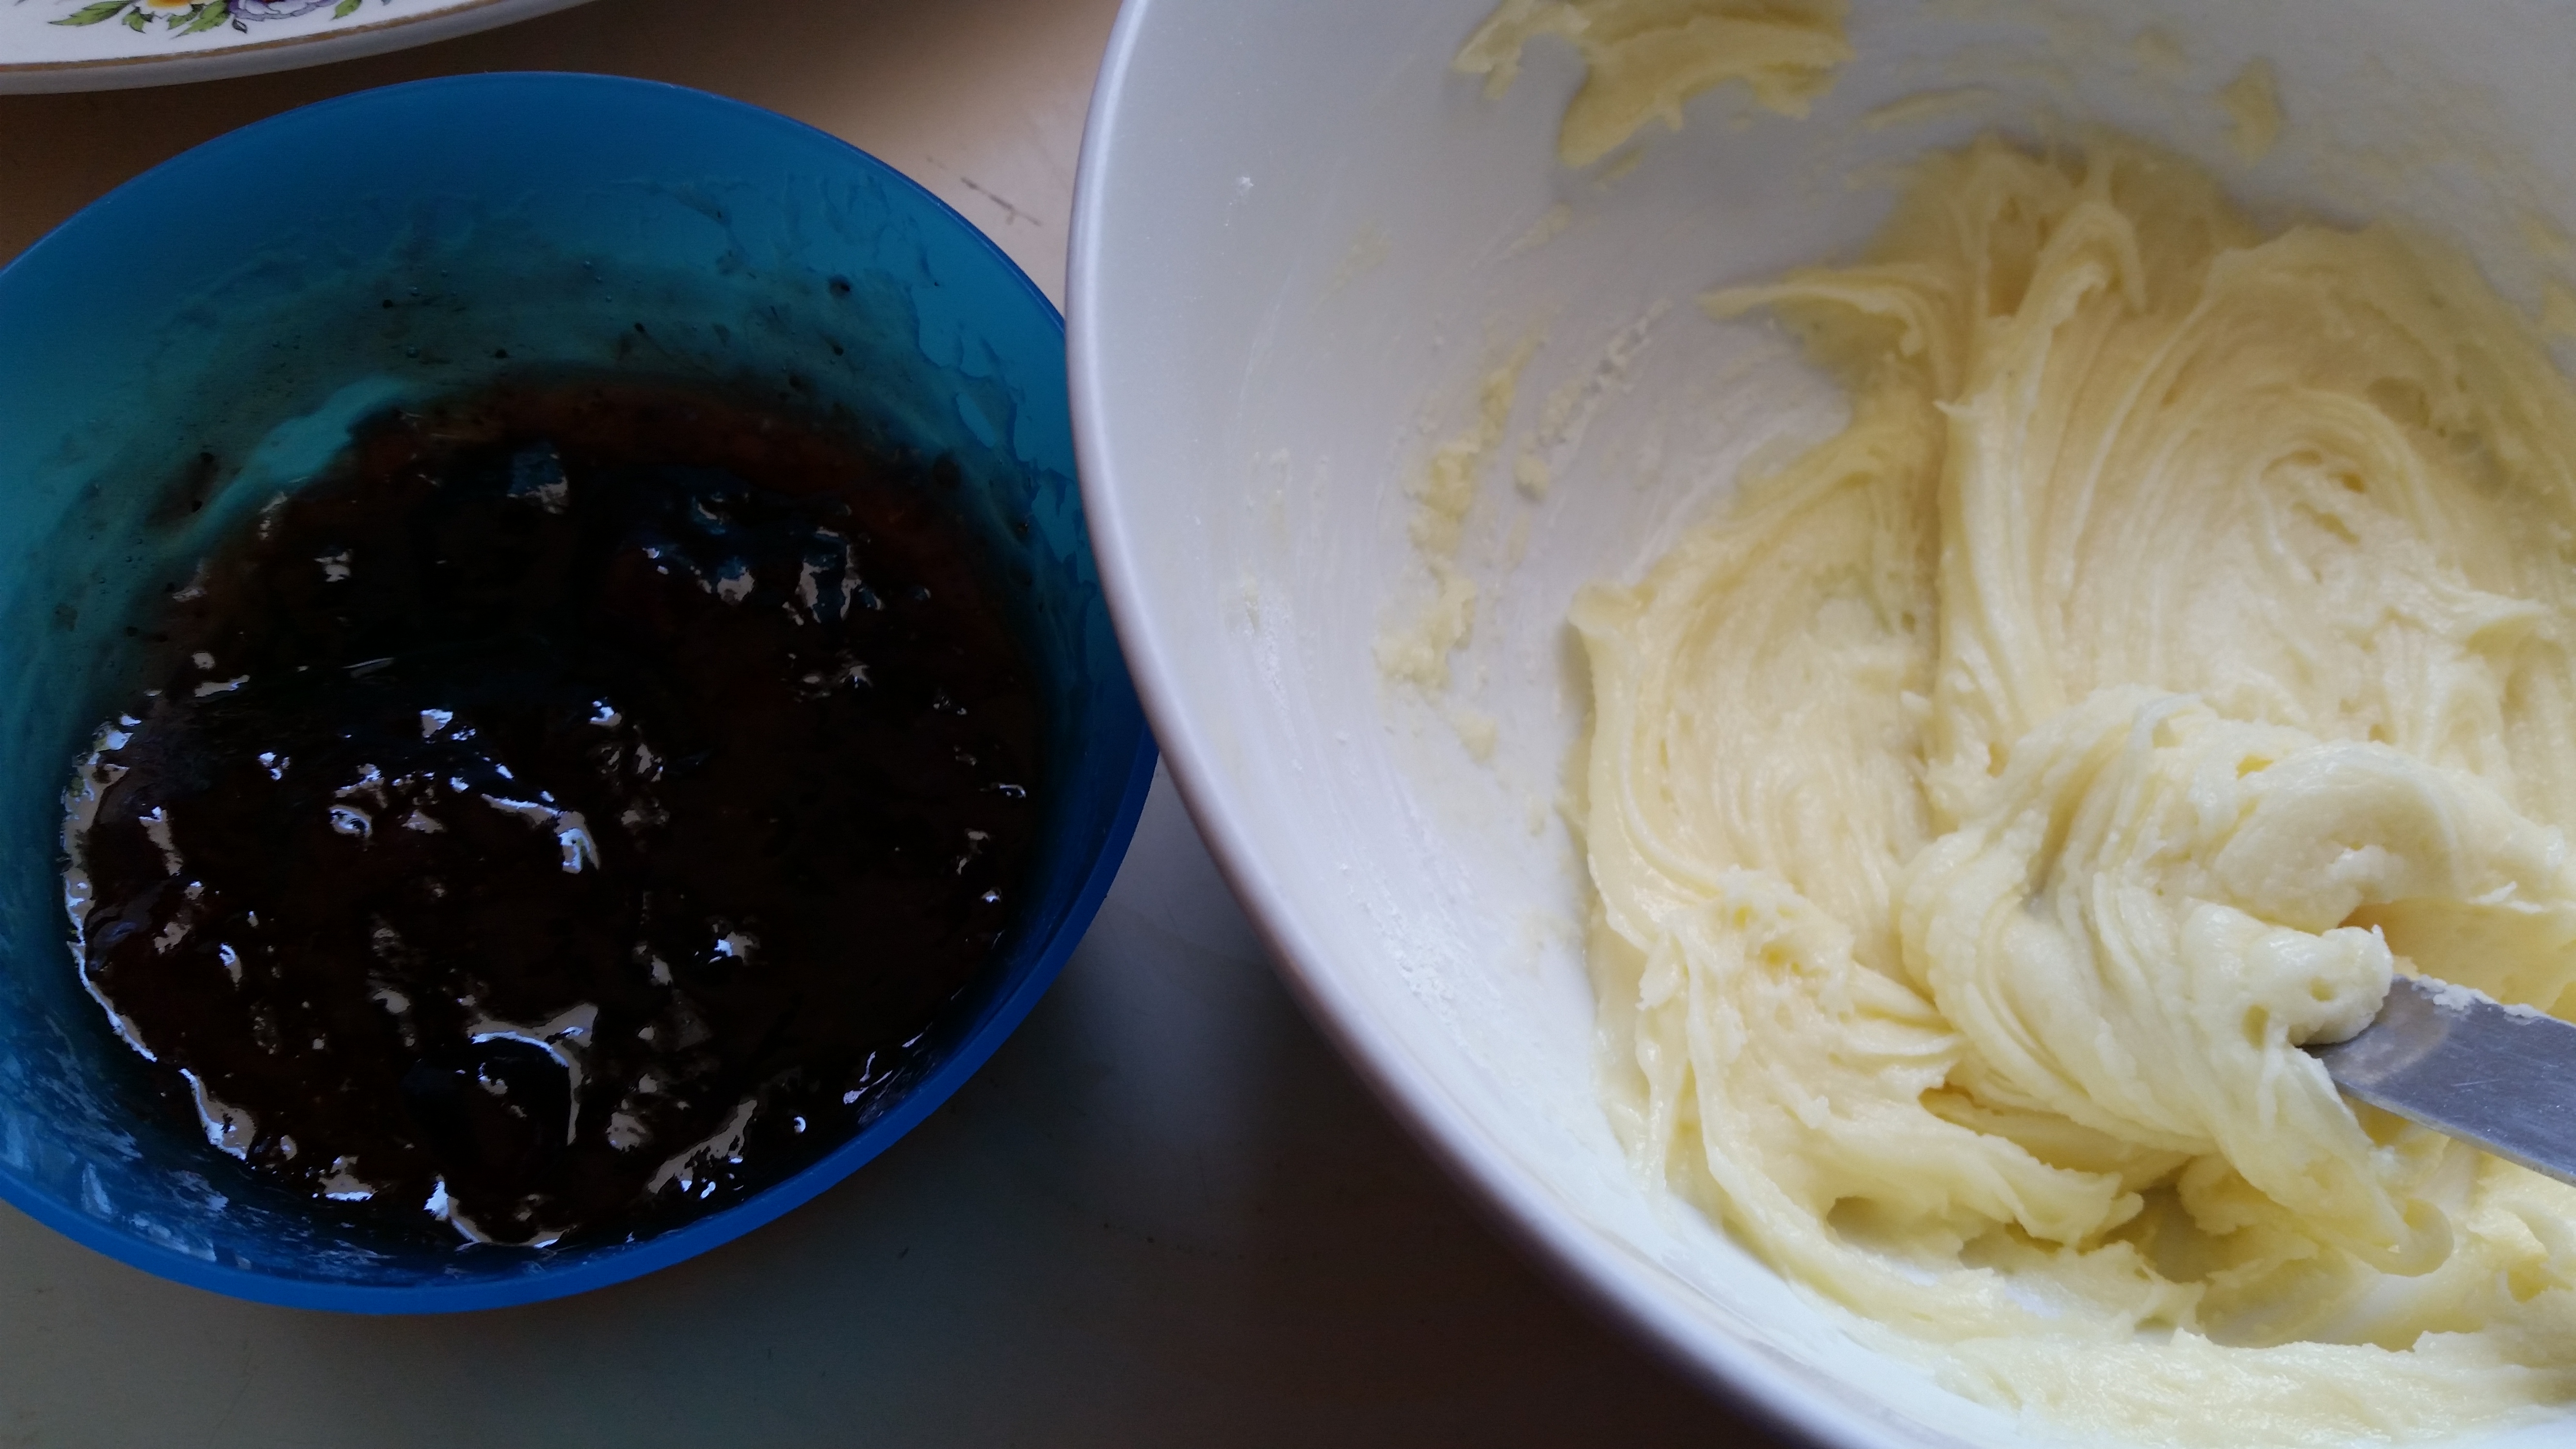
Prepare your vanilla icing and spoon out some raspberry jam. I didn’t have raspberry so used strawberry. You could use any flavoured jam you like.
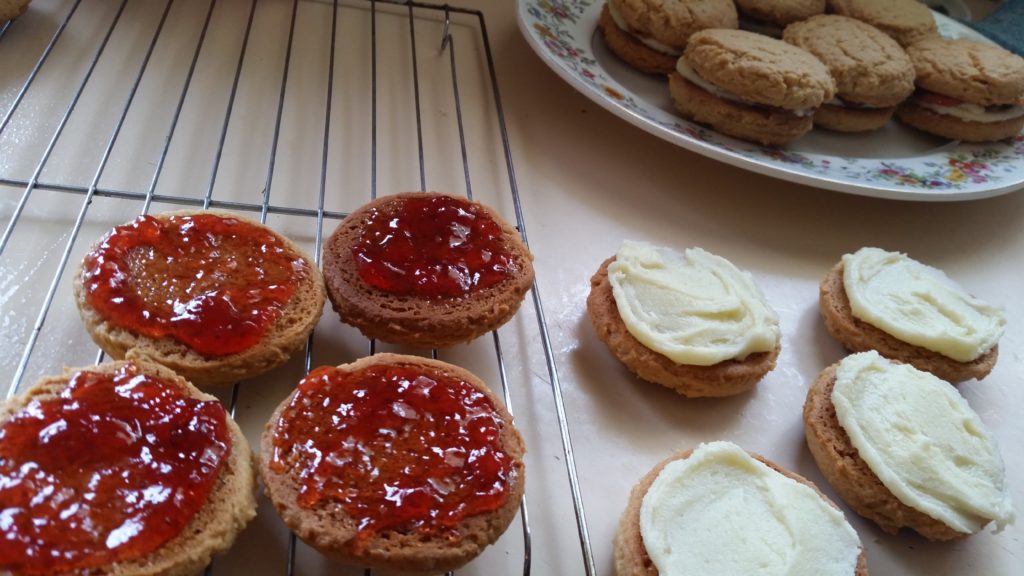
Homemade Monte Carlo Biscuits www.domesblissity.com


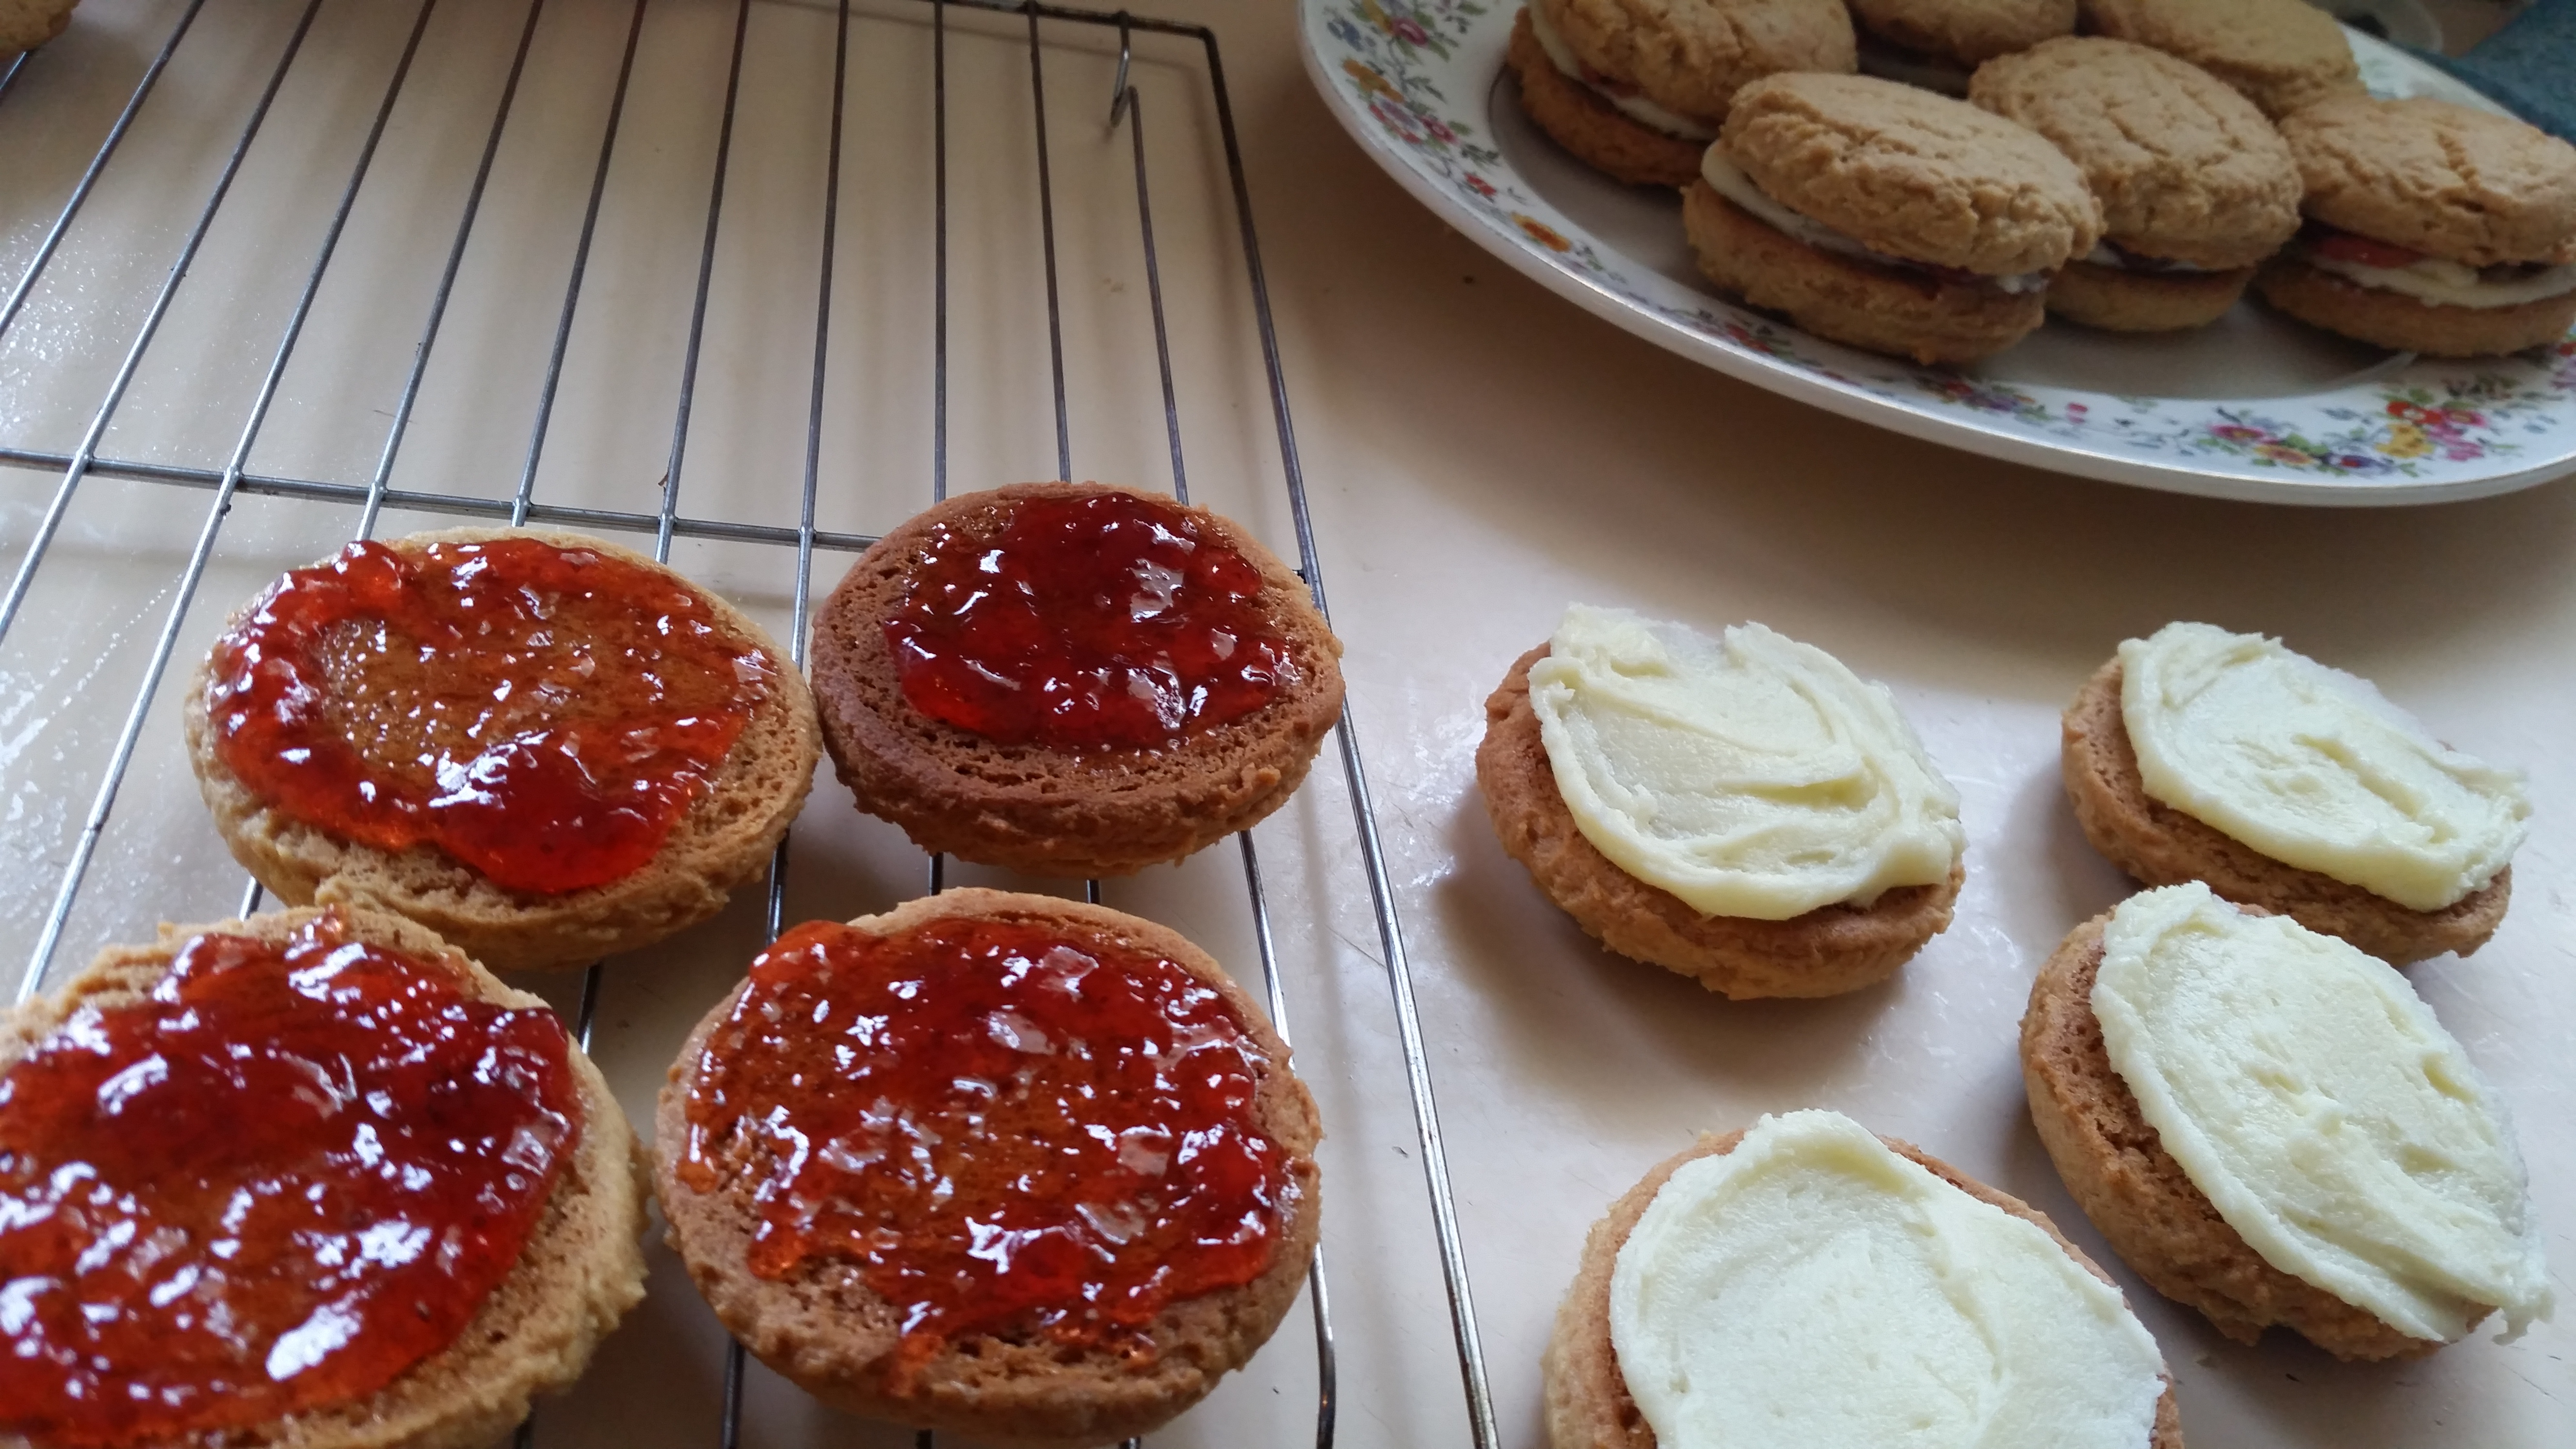
Once the biscuits have cooled, spread half a teaspoon of jam on one side and a teaspoon of icing on the other side and sandwich together. The icing will harden and keep them sandwiched together nicely.
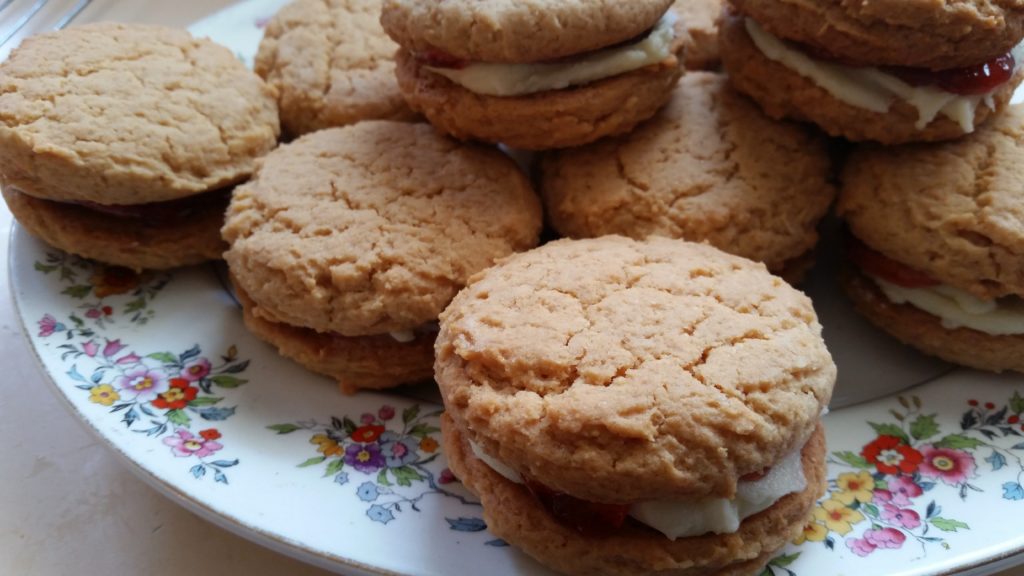
Homemade Monte Carlo Biscuits www.domesblissity.com


A beautiful tasting biscuit and so much better than the store bought variety. You could change the flavour of the icing to anything, use any flavoured jam, fill with a nut spread (eg Nutella) or just let your imagination go wild. These biscuits also make a wonderful ice cream sandwich cookie. Instead of filling with vanilla icing and jam, fill with a spoonful of vanilla ice cream and roll in chopped nuts, chocolate, sprinkles or anything. My kids love them!
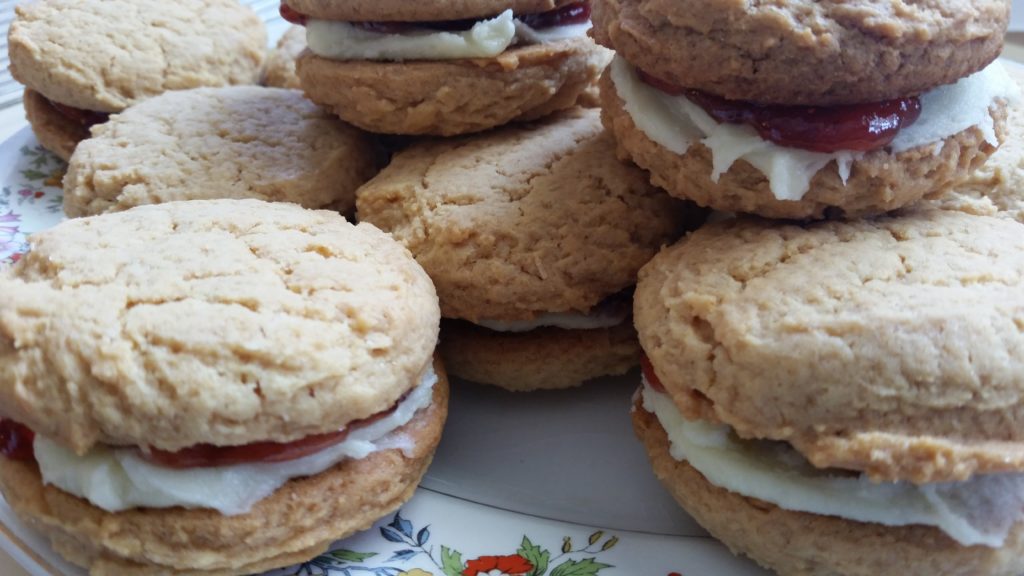
Homemade Monte Carlo Biscuits www.domesblissity.com


Even if you have basic baking skills, you’ll find this recipe really easy. I hope you enjoy them.

RECIPE

  • 125gm butter, melted
  • 3/4 cup brown sugar
  • 2 tbsp golden syrup
  • 1 egg
  • 1 tsp vanilla
  • 2 cups self-raising flour
  • 1/2 cup coconut
  • 1/4 cup jam (I used strawberry)

Vanilla Icing:

  • 1 cup icing sugar
  • 2 tbs softened butter
  • 1 tsp vanilla extract
  • a little milk to the desired consistency
  1. Preheat oven to 180 deg C.
  2. Line baking trays with baking paper.
  3.  Mix together melted butter, brown sugar and golden syrup
  4. Add egg and vanilla.
  5. Add flour and coconut and using a small ice cream scoop, place on baking sheet.
  6. Using the back of a drinking glass, dip glass in flour and gently press down on biscuits until they are about 1cm flat.
  7. Bake for approximately 15 to 20 minutes or until golden brown.
  8.  Allow to cool and sandwich together with vanilla icing and jam.
  9. Icing: Combine softened butter, icing sugar and vanilla and add a little milk until you reach a stiff consistency suitable for spreading. Icing will harden after a few minutes.
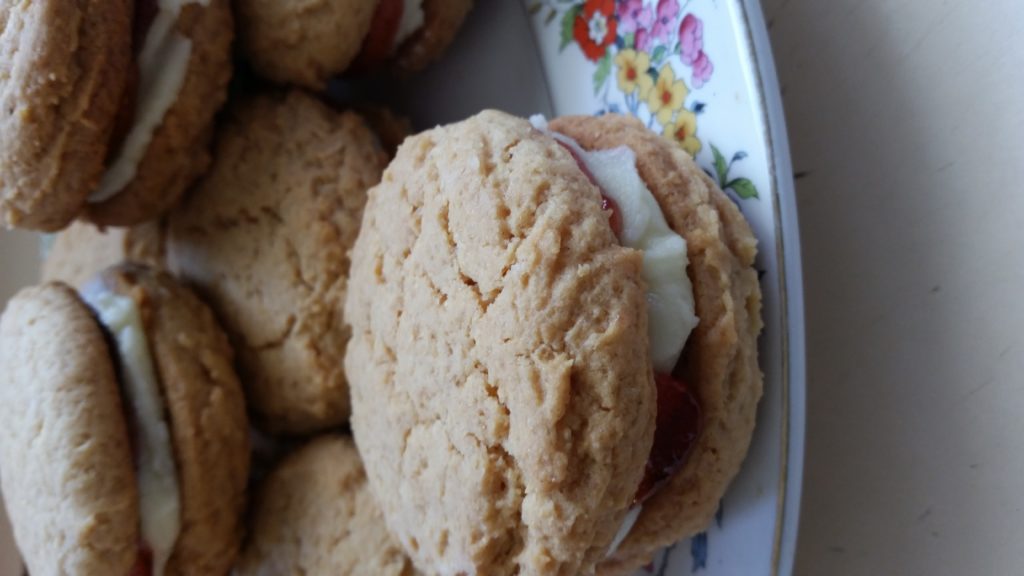
 

Homemade Monte Carlo Biscuits www.domesblissity.com

Wednesday, September 7, 2016

Mint Chocolate Cream Cookie Brownies

domesblissity mint chocolate cream cookie brownies

Mint and chocolate, a match made in heaven as was the case with these Mint Chocolate Cream Cookie Brownies I made recently. My rich chocolate cake recipe, baked as a brownie and flavoured with mint chocolate coffee and chopped mint chocolate cream cookies. There was only a few cookies left and it was either trying to share them out fairly or chop them up and use them in these brownies so there was more to go around. The brownies won on all counts.

20160704_140114

I was sent these samples of Beanies flavoured coffee. My favourite was the Cinder Toffee. A really rich, cafe style instant coffee but the Mint Chocolate one, as well as being delicious to drink on it’s own, is perfect for flavouring a chocolate cake. Coffee naturally enhances the flavour of chocolate so this is a perfect blend.

20160704_140243

This cake mix is my favourite chocolate “crazy” cake recipe that I use for all cakes like round cakes, cupcakes, loaves and brownies. If baked in a slice pan, they turn out like a rich, fudgey brownie. Start by mixing 2 tablespoons of Mint Chocolate coffee into 1 cup of hot water.

20160704_140605

Like I said earlier, we had a few of these mint chocolate cream cookies left and there wasn’t going to be enough to go around. (I could’ve hidden them from the kids but they were onto me this time.) I thought by roughly chopping them and adding them to the brownies would add more richness and a nice crunch which it did. There was definitely more of everything to go around too so no arguments.

20160704_140247

Mix up the dry ingredients and add the coffee liquid and other wet ingredients. 

20160704_140809

The add the chopped mint cream cookies.

20160704_152507

Bake for approximately 25 minutes and once cooled, top with chocolate ganache.

20160706_150220

A rich fudgey brownie with the additional crunch of mint cream cookies. These were so good and so full of mint chocolate flavour. This recipe doesn’t contain any dairy or eggs (other than what’s in the ready made cookies) so it can be made in a hurry with basic pantry staples. A quick way to makeover a basic chocolate cake recipe by adding chopped leftover cookies (if that’s even such a thing). A piece of this brownie with a cup of Beanies Mint Chocolate flavoured coffee was the perfect combination.

Recipe

  • 1 1/2 cups plain flour
  • 1/2 cup sugar
  • 3 tablespoons cocoa
  • 2 tablespoons mint chocolate flavoured coffee (or 1 tsp peppermint flavoured essence)
  • chopped mint chocolate cream cookies (eg Arnotts “Mint Slice”)
  • 1 cup boiling hot water
  • 1 tsp bicarbonate of soda
  • 6 tablespoons of oil (I use vegetable or canola oil)
  • 1 tablespoon of white vinegar
  • 1/2 teaspoon salt
  • dark chocolate and cream for ganache topping (optional)
  1. Mix together flour, sugar, cocoa, bicarb soda and salt.
  2. Add coffee (or peppermint essence) to cup of hot water.
  3. Add white vinegar and add to dry ingredients.
  4. Stir through chopped cookies.
  5. Mix well.
  6. Pour mixture into a 20x25cm slice pan lined with baking paper and bake in a 170 deg C oven for approximately 25 minutes or until a skewer inserted comes out clean.
  7. Allow to cool and top with chocolate ganache (equal quantities of dark chocolate and cream).


Disclaimer:  I was sent samples of Beanies flavoured instant coffee to try. All photos, thoughts and opinions are my own. This isn’t a sponsored post.


mint-chocolate-cream-cookie-brownies


Tuesday, September 8, 2015

Double chocolate peanut butter cookie bars


If you're reading this blog post and recipe, I don't have to tell you just how good this flavour combination is. I must confess, I have been known to smear peanut butter directly onto squares of chocolate in order to get a chocolate/peanut butter fix. But enough of that. I haven't done that for a long time but what I discovered is that the humble chocolate cookie bars that we cook so often here only need a third of a cup of peanut butter to take them to a whole new dimension.


This is one of those one bowl, melt and mix recipes that I love so much. Such a good recipe to make when the oven is on and you need something in a hurry. You start by melting the butter and peanut butter together either in the microwave or on the stove top.


Once cooled slightly, add a beaten egg and vanilla.


Mix together your dry ingredients of flour, brown sugar, cocoa and chocolate chips. (I don't normally have chocolate chips, rather opting for cutting a whole block of chocolate but they were on special at the supermarket.)


Mix the dry ingredients together well.


Add the wet ingredients to the dry and mix until well combined. (I only use crunchy peanut butter in this house. I don't even know why anyone would bother with smooth. Like, what's the point?)


Once combined, press into a slice baking pan and bake.


Smother with chocolate frosting for extra indulgence or leave as is, cutting into smaller 'finger' sized pieces.


I'm going to have to check my oven because there always seem to be a corner missing after I've finished baking. I wonder where on earth it could've gone? (Hey, someone has to be the official taste tester. I wouldn't want my family to eat anything that didn't taste nice, right? *wink wink*)

Double Chocolate Peanut Butter Cookie Bars

  • 125gm butter
  • 1/3 cup peanut butter
  • 1 egg, beaten
  • 1 tsp vanilla
  • 1 cup brown sugar
  • 1/3 cup cocoa powder
  • 1 cup plain flour
  • 1/2 cup chocolate chips
  • quantity of chocolate frosting (optional)


  1. Preheat oven to 170 deg C.
  2. Melt together butter and peanut butter using either microwave or over the stop top.
  3. Allow to cool slightly then add beaten egg and vanilla.
  4. Combine flour, brown sugar, cocoa and chocolate chips.
  5. Add wet ingredients to dry and mix well.
  6. Press into a 20x25cm slice pan and bake for approximately 25 minutes or until firm. (If you cook for less time, the bars will be soft and more fudge-like.)
  7. Once cooled, cover with chocolate frosting and slice to serve.

Monday, September 7, 2015

Double chocolate peanut butter cookie bars

If you’re reading this blog post and recipe, I don’t have to tell you just how good this flavour combination is. I must confess, I have been known to smear peanut butter directly onto squares of chocolate in order to get a chocolate/peanut butter fix.

But enough of that. I haven’t done that for a long time but what I discovered is that the humble chocolate cookie bars that we cook so often here only need a third of a cup of peanut butter to take them to a whole new dimension.

This is one of those one bowl, melt and mix recipes that I love so much. Such a good recipe to make when the oven is on and you need something in a hurry. You start by melting the butter and peanut butter together either in the microwave or on the stove top.

Once cooled slightly, add a beaten egg and vanilla.

Mix together your dry ingredients of flour, brown sugar, cocoa and chocolate chips. (I don’t normally have chocolate chips, rather opting for cutting a whole block of chocolate but they were on special at the supermarket.)

Mix the dry ingredients together well.

Add the wet ingredients to the dry and mix until well combined. (I only use crunchy

peanut butter in this house. I don’t even know why anyone would bother with smooth. Like, what’s the point?)

Once combined, press into a slice baking pan and bake.

Smother with chocolate frosting for extra indulgence or leave as is, cutting into smaller ‘finger’ sized pieces.

I’m going to have to check my oven because there always seem to be a corner missing after I’ve finished baking. I wonder where on earth it could’ve gone? (Hey, someone has to be the official taste tester. I wouldn’t want my family to eat anything that didn’t taste nice, right? *wink wink*)

Double Chocolate Peanut Butter Cookie Bars

  • 125gm butter
  • 1/3 cup peanut butter
  • 1 egg, beaten
  • 1 tsp vanilla
  • 1 cup brown sugar
  • 1/3 cup cocoa powder
  • 1 cup plain flour
  • 1/2 cup chocolate chips
  • quantity of chocolate frosting (optional)
  1. Preheat oven to 170 deg C.
  2. Melt together butter and peanut butter using either microwave or over the stop top.
  3. Allow to cool slightly then add beaten egg and vanilla.
  4. Combine flour, brown sugar, cocoa and chocolate chips.
  5. Add wet ingredients to dry and mix well.
  6. Press into a 20x25cm slice pan and bake for approximately 25 minutes or until firm. (If you cook for less time, the bars will be soft and more fudge-like.)
  7. Once cooled, cover with chocolate frosting and slice to serve.

Monday, August 17, 2015

Glazed Orange Cookies


There's nothing the like smell of orange when it's used in baking. That's one of the great things about using seasonal fruit and vegetables. It's winter here at the moment so the oranges are absolutely beautiful. I often have the spare one leftover from the children's school lunches and I love nothing more than to use it in baking. I usually opt for some kind of cake recipe like my Easy Orange Cake which is so easy to whip up but today I opted for cookies. I was inspired by the Glazed Lemon Cookie recipe by Two Peas and Their Pod. It's absolutely dead simple and so gorgeous.


Start off with zesting all that beautiful rind off the orange. That's what gives it that deep, beautiful orange flavour.


Mix the dry ingredients together.


Then mix the combined wet ingredients. I always use the 'melt and mix' method when baking just about anything. I've not had any failures to date. No need to use an appliance to cream the butter and sugar.


I use my small ice cream scoop to form uniform sized balls and then press down gently to form a flat cookie.


Bake until golden brown. The house will be filled with a lovely, warm orange smell which is perfect for a cool winter's afternoon.


You can see all those lovely flecks of orange zest through the cookie.


After the cookies have cooled, mix together 1 cup of icing sugar and 2 tablespoons of the juice from the orange to form a glaze.


Spoon the glaze over the cookies and allow to set (if you can wait that long). As much as I love to get my kids involved in baking, which they love to do most times, there was a fight over who was going to juice the orange using my vintage glass juicer. There's something about the old fashioned way of doing things. Getting hands on and doing it the simple way is often the best. It worked back then and it still works today.


The glaze has set and the cookies are ready to be enjoyed. The recipe I used called for lemon but these would be good with any citrus like lime, mandarin, grapefruit, tangello or even cumquat, if you could manage zesting the small fruit. I'm happy to give any of them a try. This is a really good recipe and one that I'll use again.

Glazed Orange Cookies
(from Two Peas and Their Pod "Glazed Lemon Cookies")
  • 2 1/4 cups plain flour
  • 1/2 tsp baking powder
  • 1/2 tsp salt
  • 3/4 cup sugar
  • 2 tbs orange zest
  • 250gm butter, melted
  • 1 egg
  • 1 tsp vanilla extract

Glaze:
  • 1 cup icing sugar
  • 4-5 tsp orange juice

  1. Preheat oven to 170 deg C.
  2. Mix together flour, baking powder, salt and sugar.
  3. Combine melted butter, orange zest, beaten egg and vanilla extra.
  4. Pour wet ingredients into dry and mix to a firm dough.
  5. Form small balls of dough and flatten with fingers on the baking try.
  6. Bake until golden brown or approximately 15 minutes.
  7. For the glaze, stir orange juice into icing sugar and pour spoonfuls onto cooled cookies.