If you’re looking for an easy ANZAC Biscuit recipe, this is mine. It’s the same one I used when I was a child and is probably the same one (or similar) used back in the days of World War I. This is my easy ANZAC Biscuits in less than 30 minutes recipe.
Today is ANZAC Day, a day all Australians (and New Zealanders) commemorate the day the ANZAC soldiers landed on the beach at Gallipoli, Turkey in 1915 and remember the fallen soldiers (and still serving soldiers) in all conflicts since. We have a day off from school and work and every town and city in Australia marks the occasion with a dawn service at an ANZAC Memorial and a morning march.
Everybody usually makes Anzac Biscuits for ANZAC Day (or any time of the year really). They’re so easy to make and it was thought the women back home baked these biscuits for the soldiers overseas during World War I as they traveled and kept well.
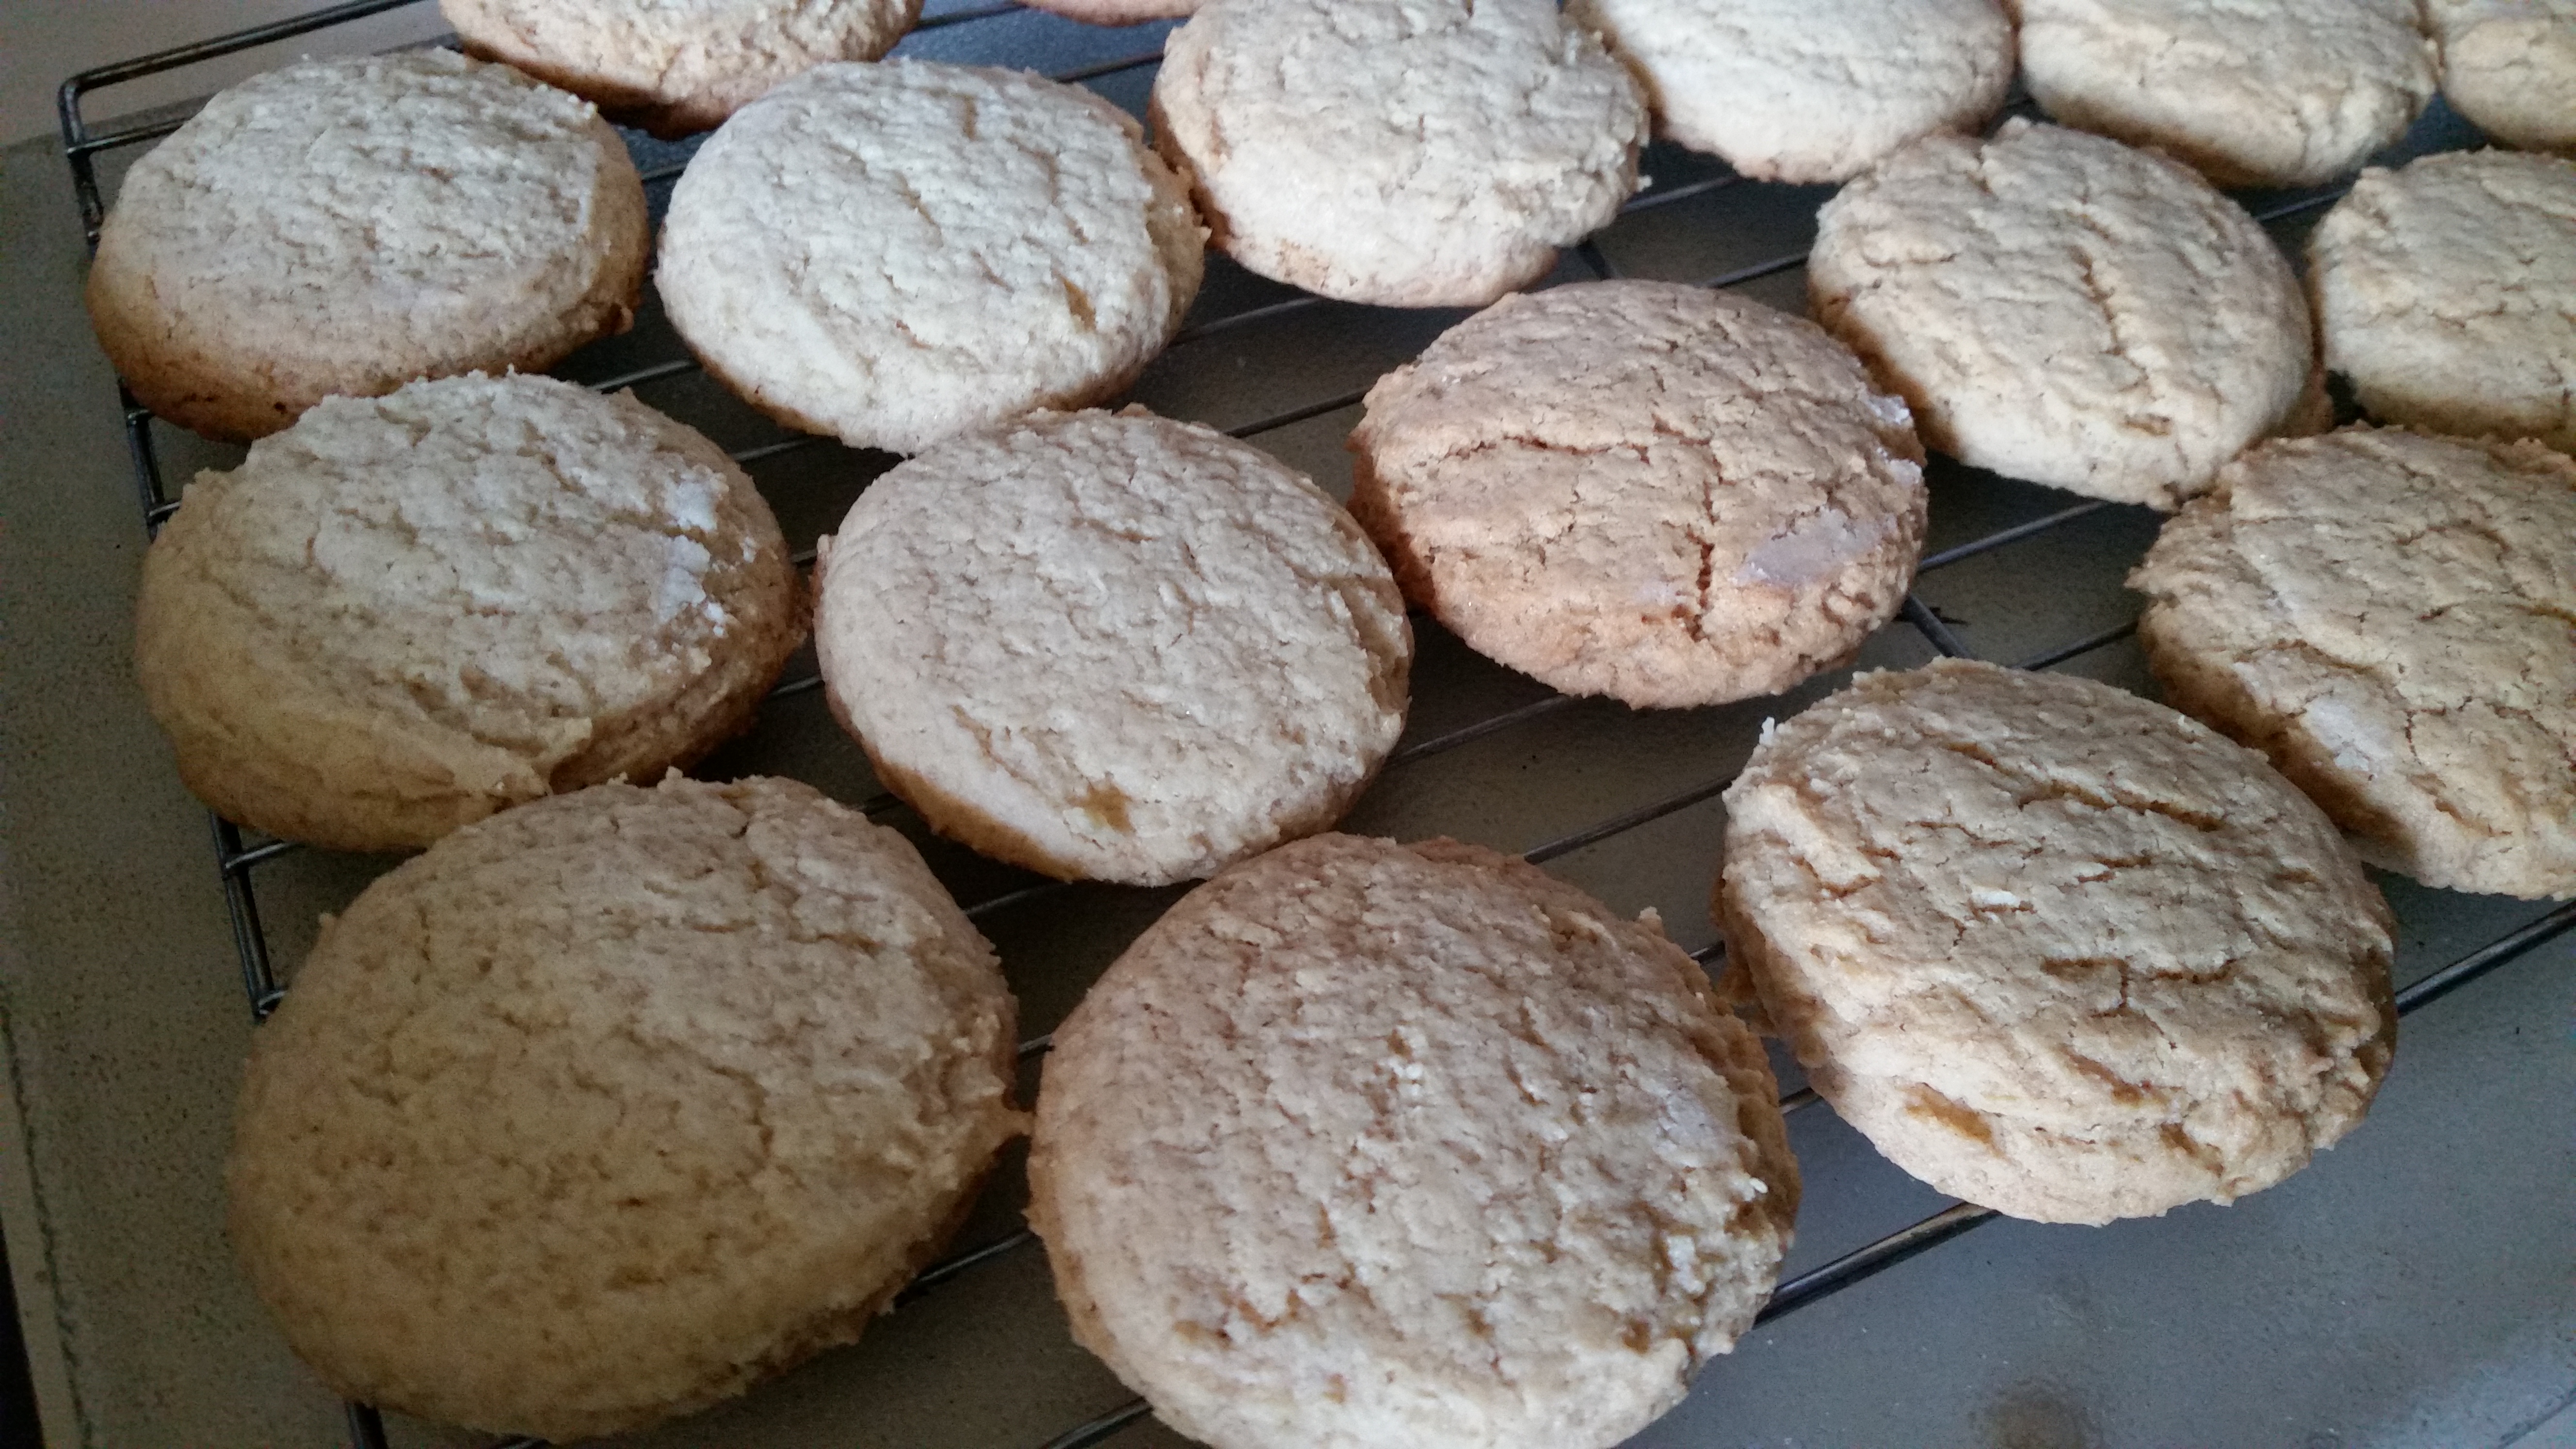
I’m all out of rolled oats so we won’t be making them tomorrow. The above photo is from a previous time I made them. The kids enjoy making them (and eating them). The kids have had their fair share of sweet things for a while. The following is the recipe I use all the time, from my high school Home Economics text book “Day to Day Cookery”.
Anzac Biscuits
1 cup plain flour 1 cup rolled oats 3/4 cup coconut 3/4 cup sugar 140g butter 3 tsp golden syrup 3 tbs boiling water 1 tsp baking soda
Mix dry ingredients. Melt butter in saucepan, add syrup and water. Add baking soda, allow to foam and pour into dry ingredients. Mix well and drop spoonfuls onto baking tray. Allow room for spreading. Bake in a 160 deg C oven until golden brown.
The Ode of Remembrance
They shall grow not old, as we that are left grow old; Age shall not weary them, nor the years condemn. At the going down of the sun and in the morning We will remember them.
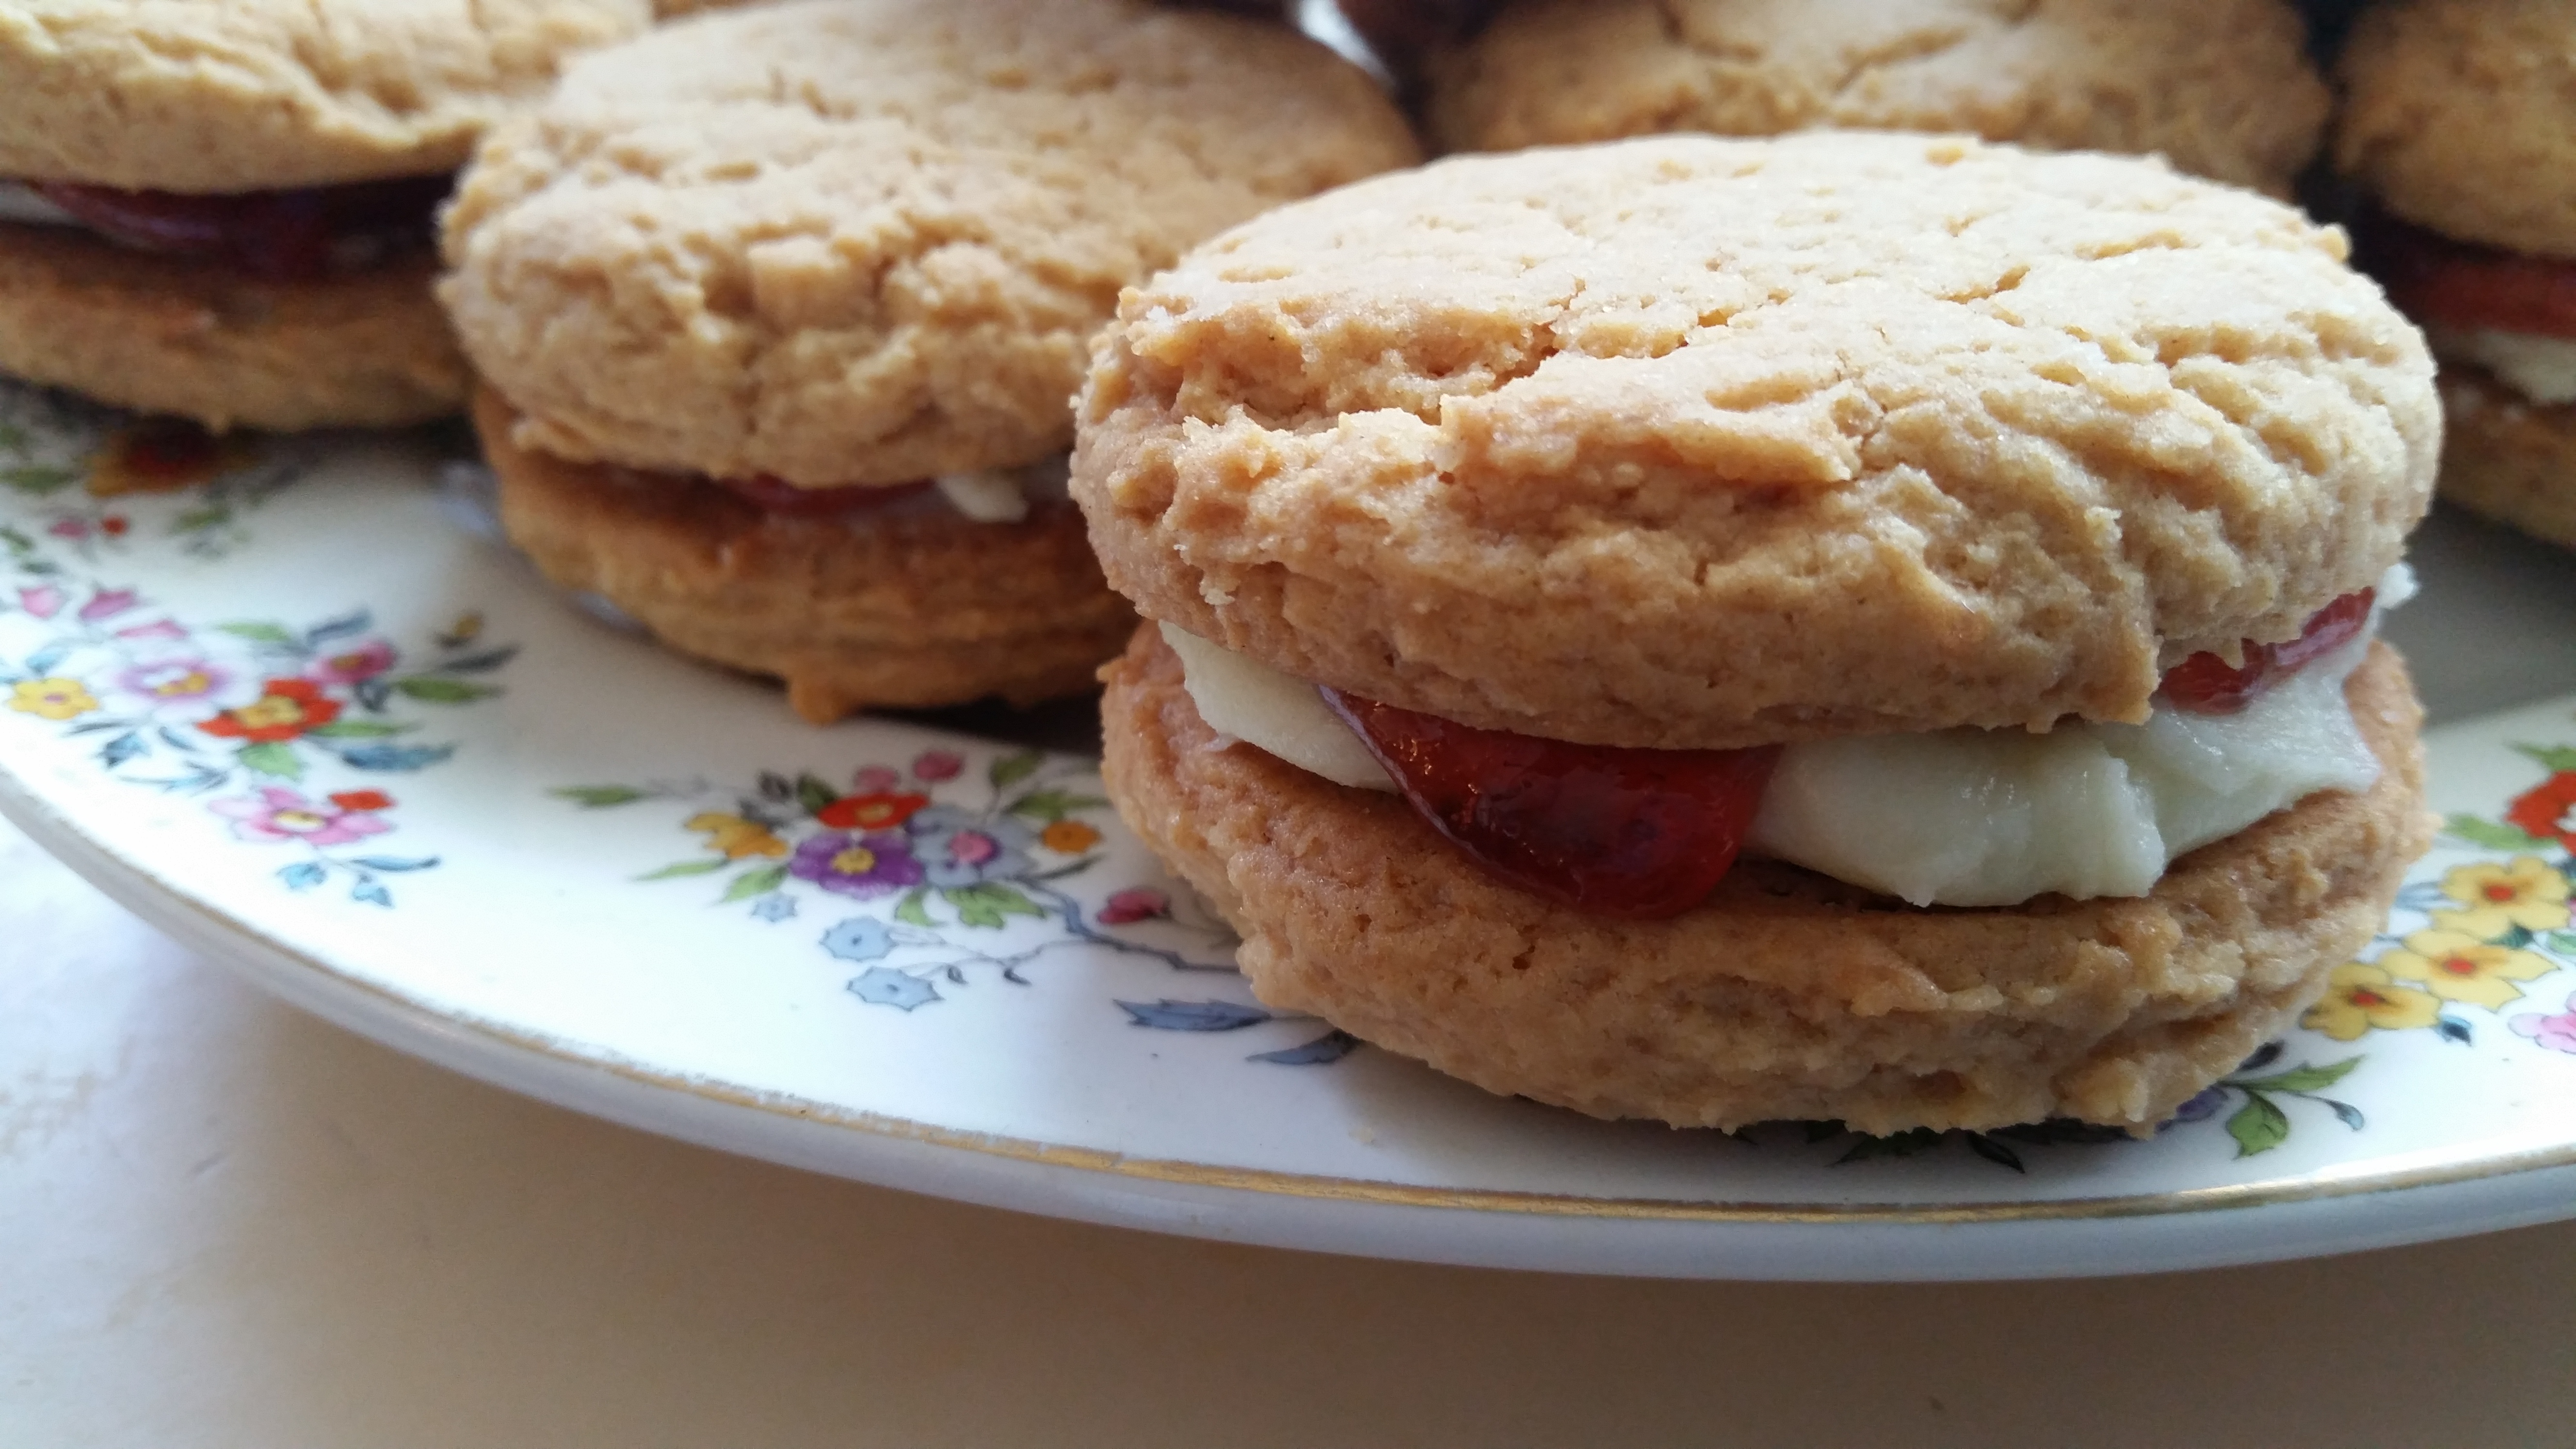
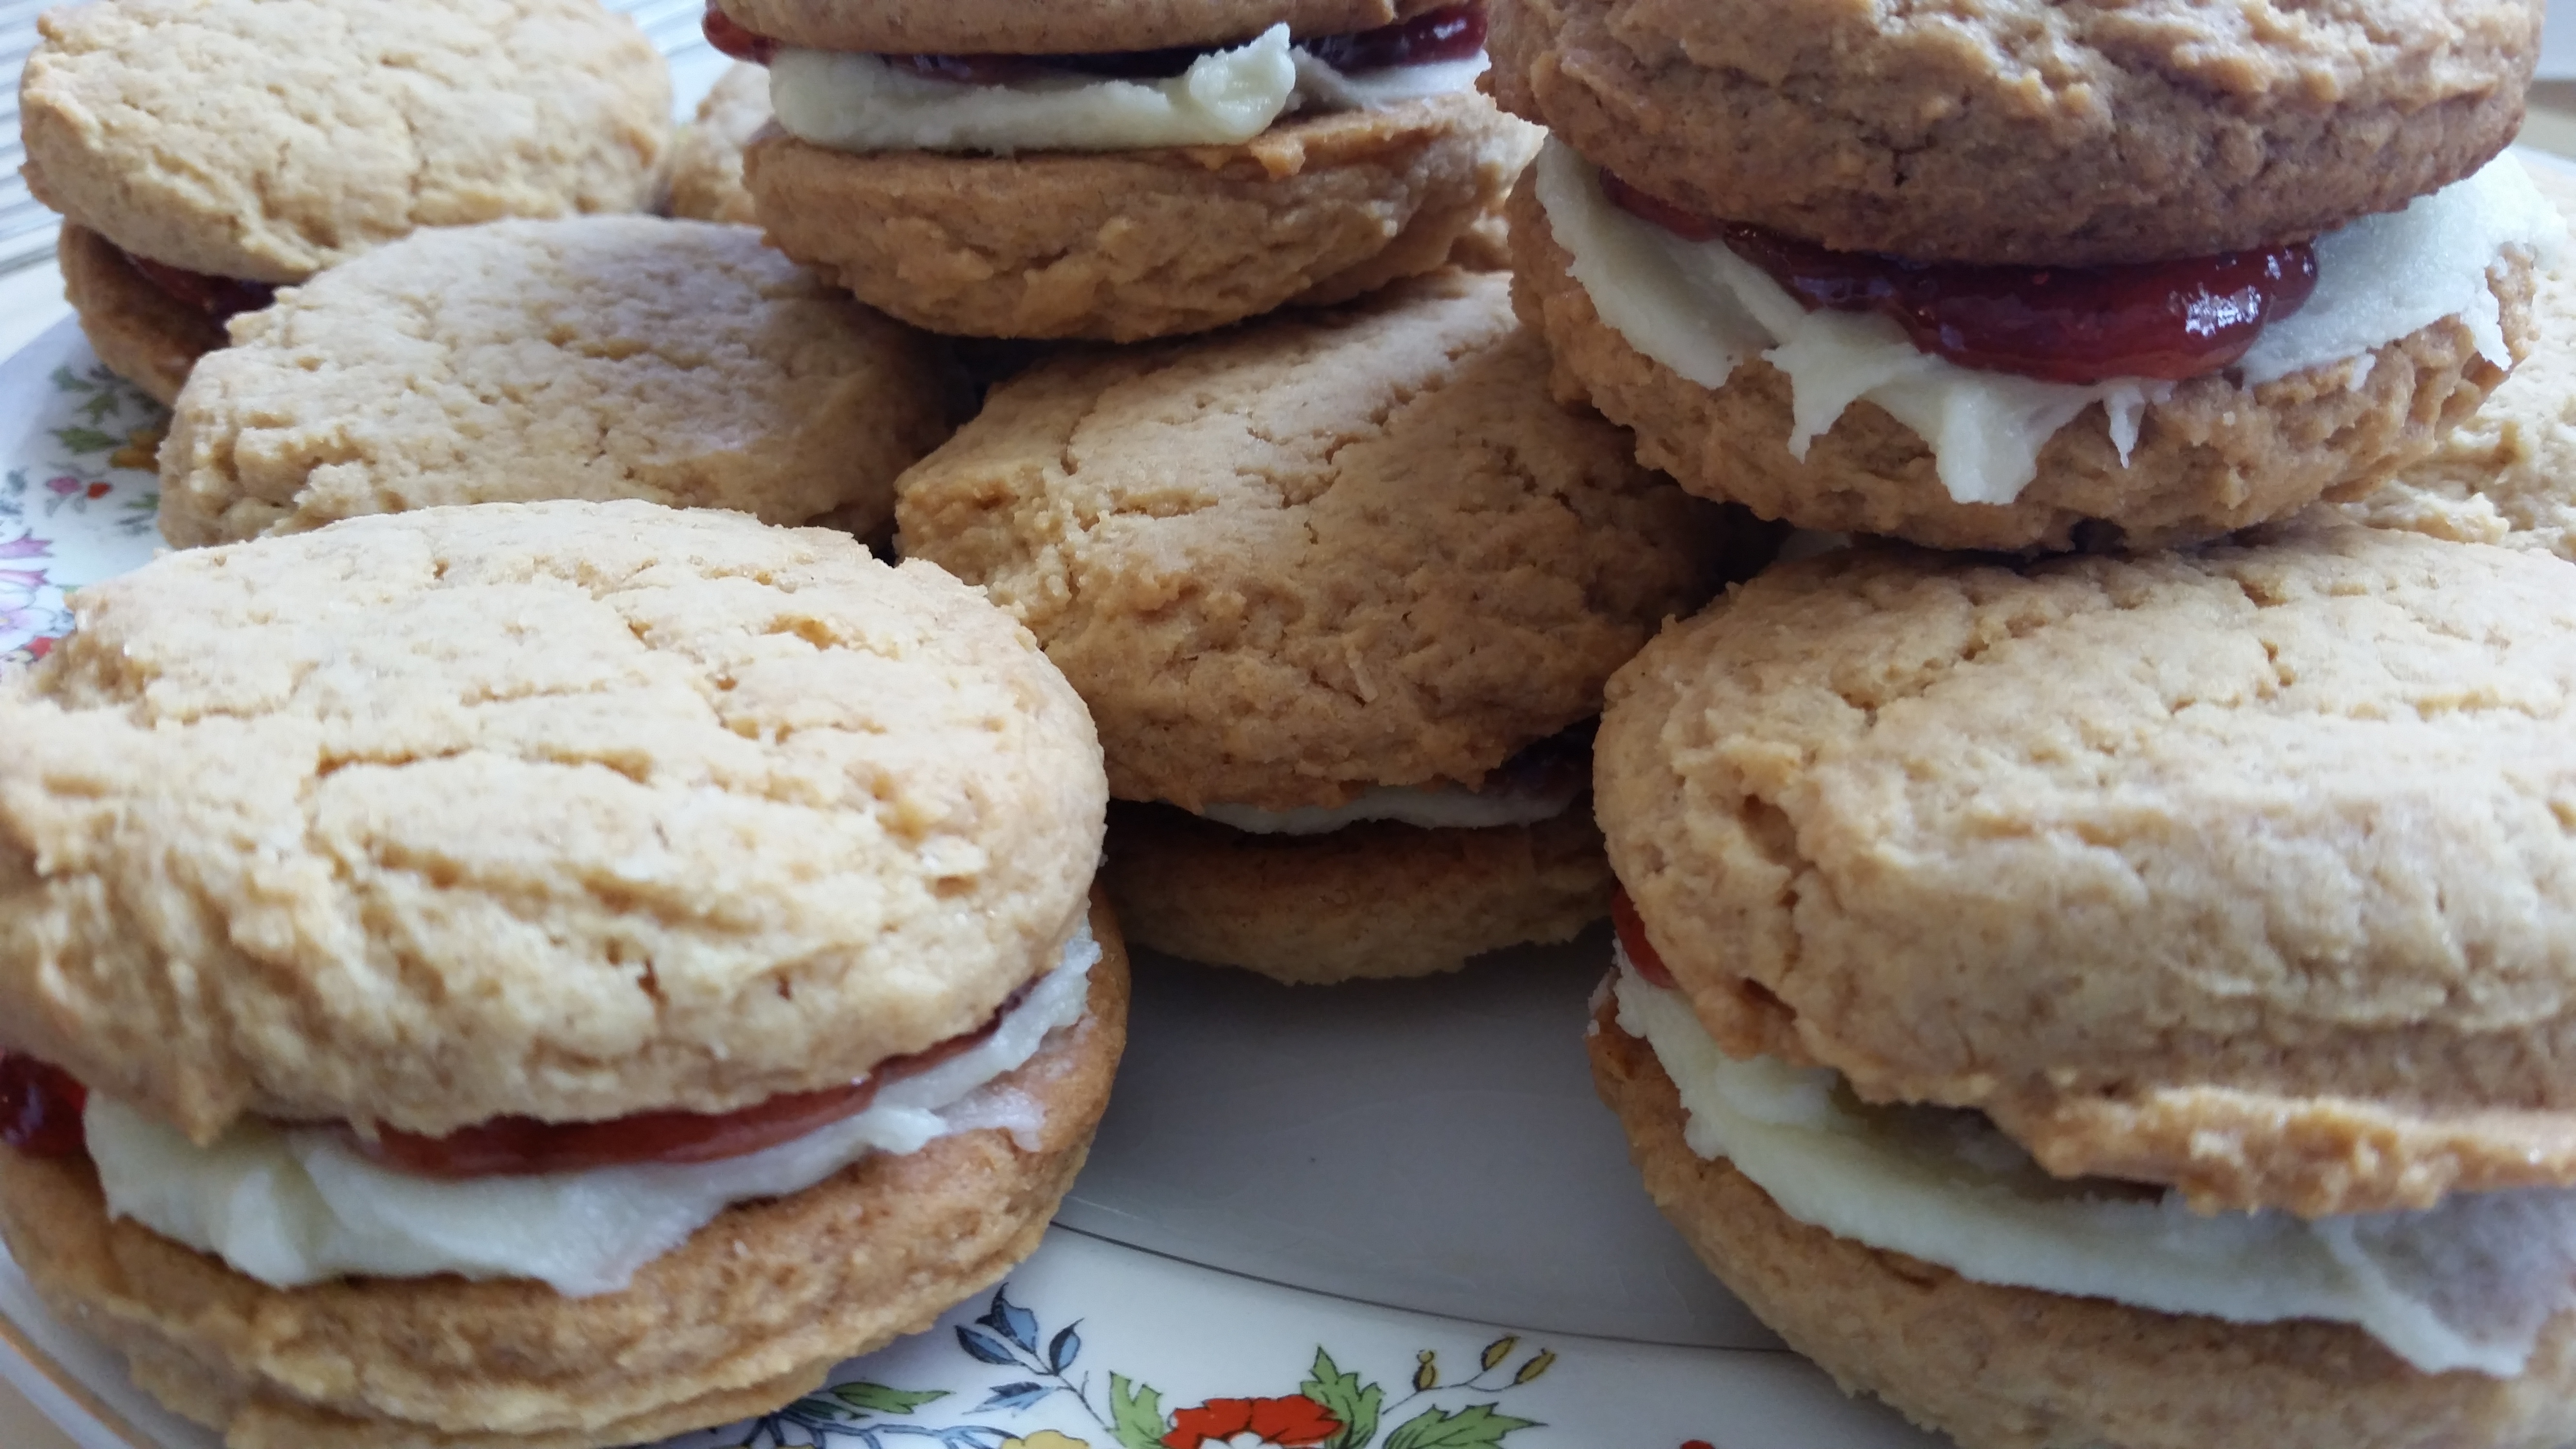
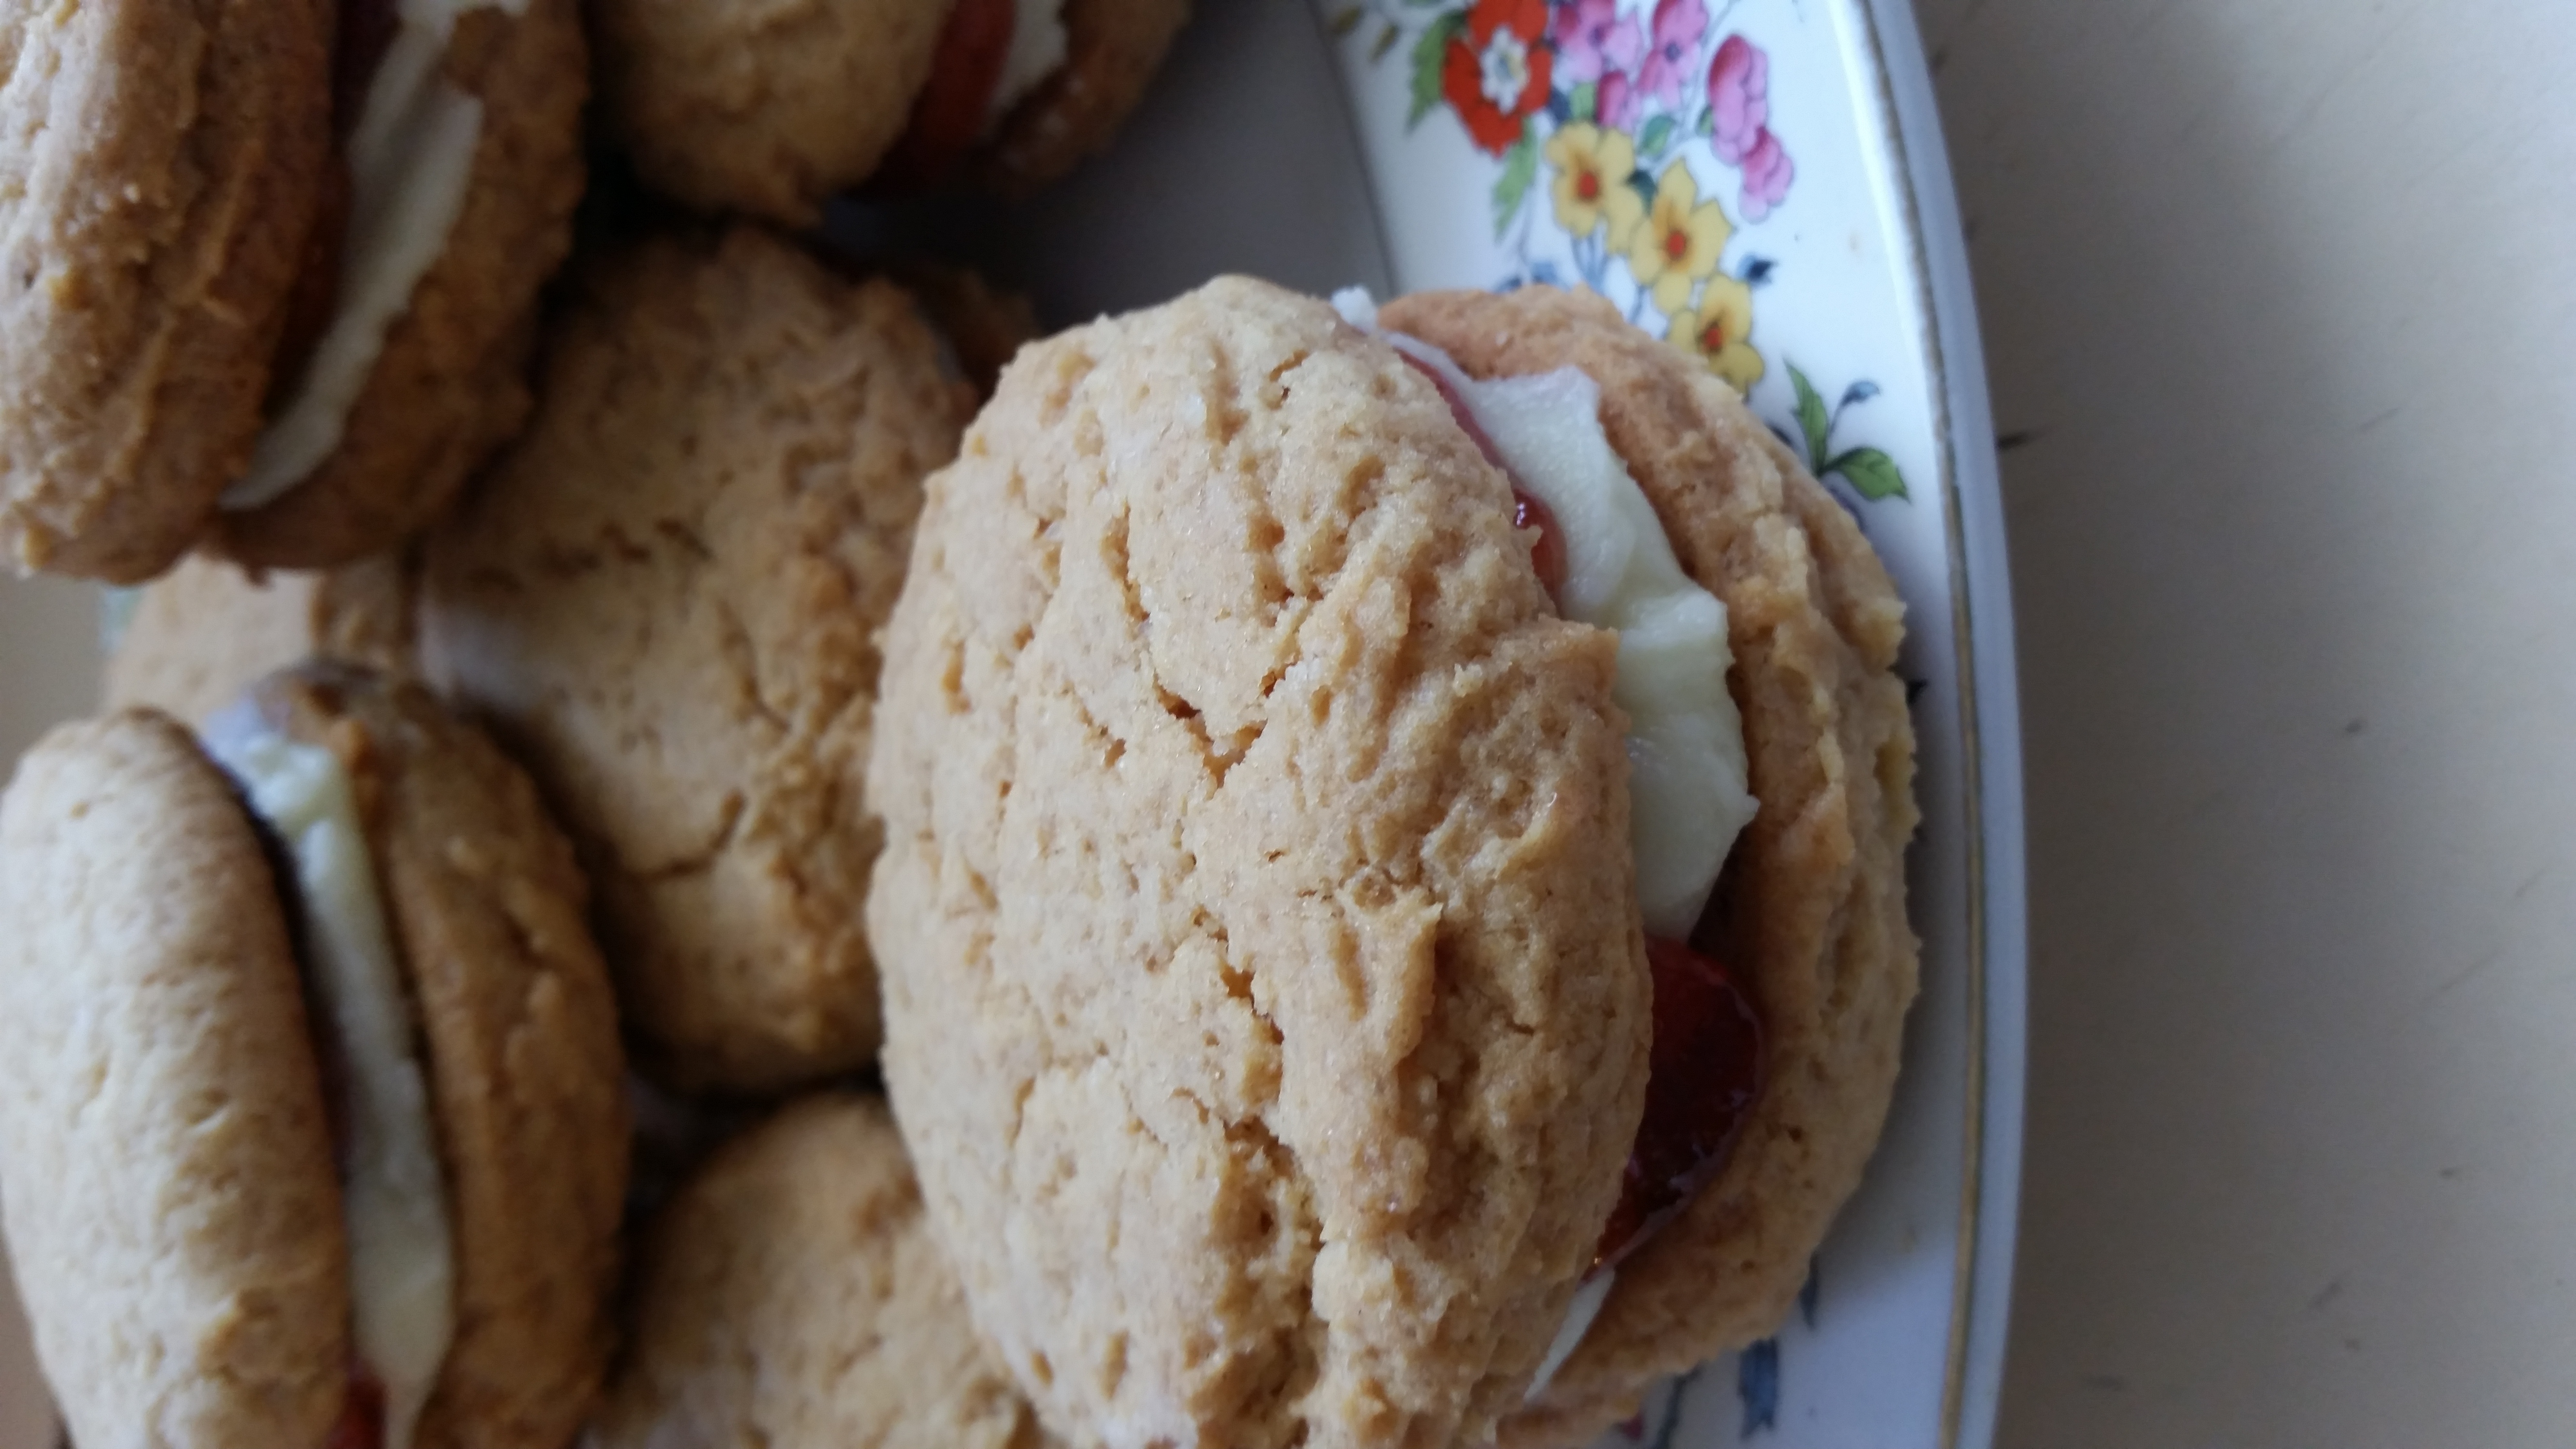
Here in Australia we have a selection of biscuits (cookies) called Assorted Creams made by Arnotts and one of those biscuits in the assortment is called a Monte Carlo. It’s a crisp, honey/coconut flavoured biscuit sandwiched with vanilla icing and raspberry jam, a favourite of mine from my childhood. Unfortunately, like with anything these days, the biscuits are getting smaller and they just don’t taste the same as they did when I was young so I decided to try and make my own homemade Monte Carlo biscuits.
Arnotts have been making these biscuits since 1926 so they’ve been a favourite of many generations. If I knew how easy they were to make, I would’ve been making them a long time ago.
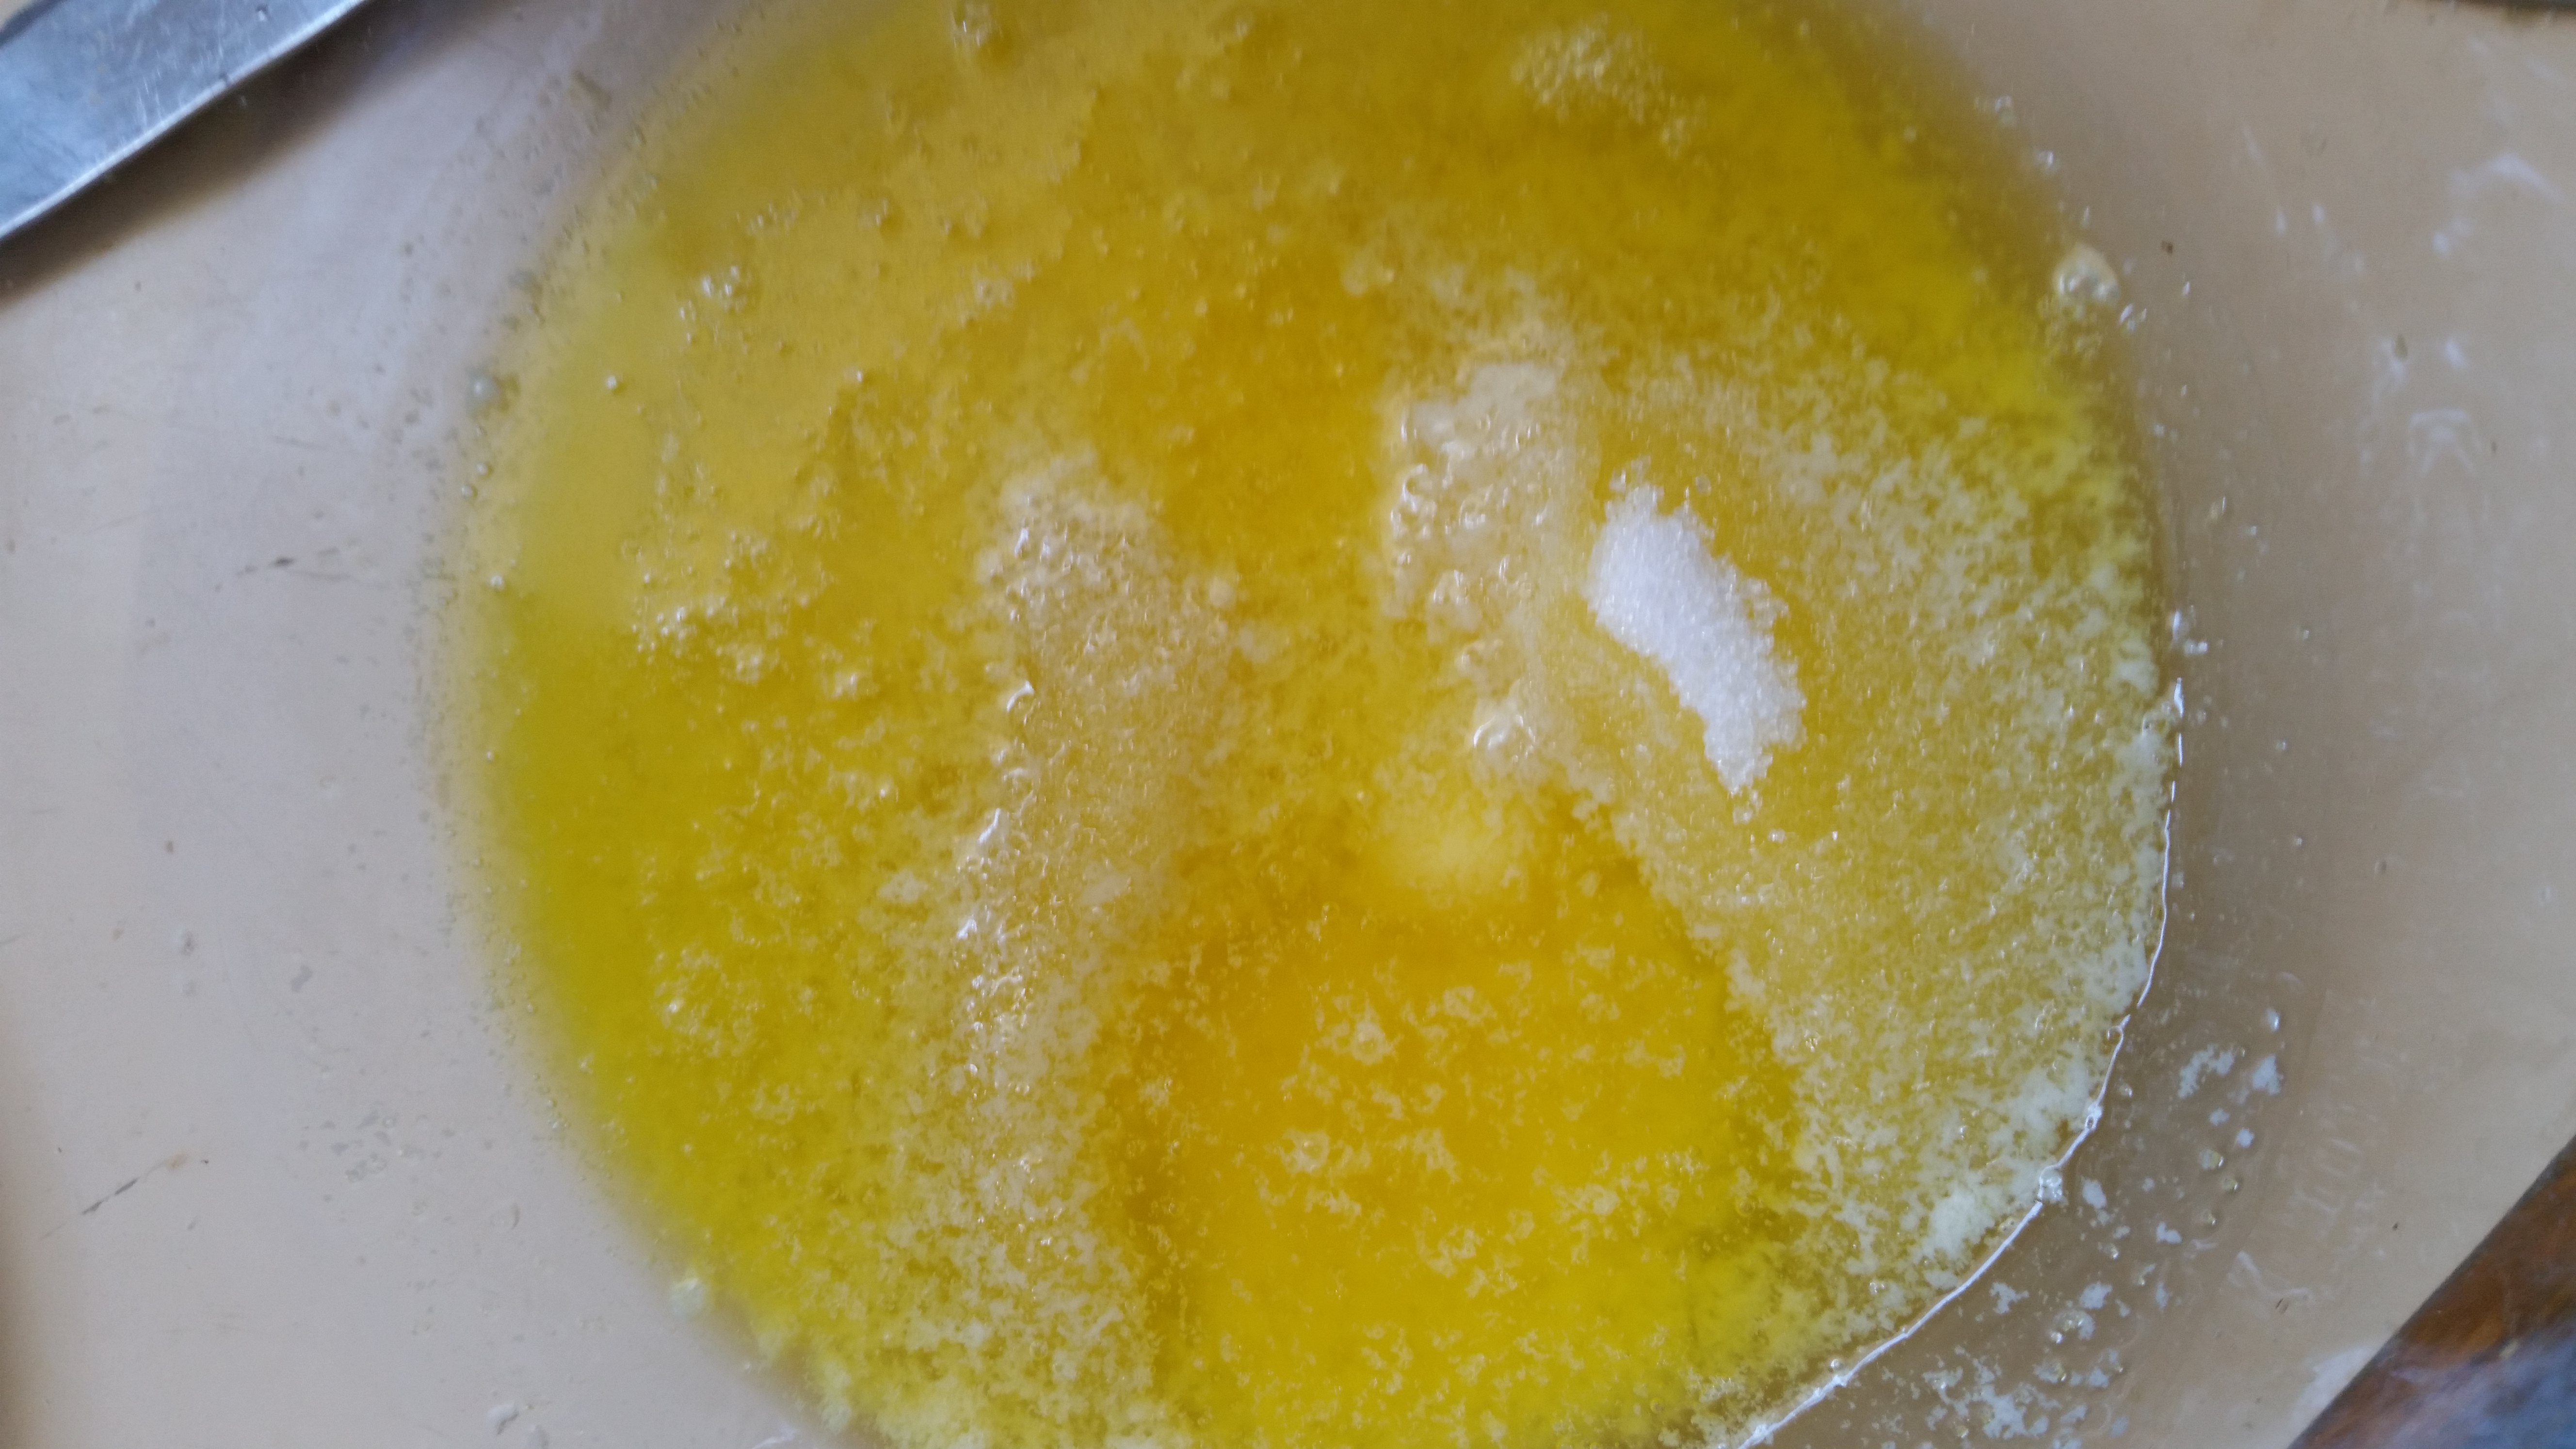
If you know me by now, I’m all about getting things made quickly so no creaming butter and sugar together for me. Melt the butter in the microwave and add the brown sugar.
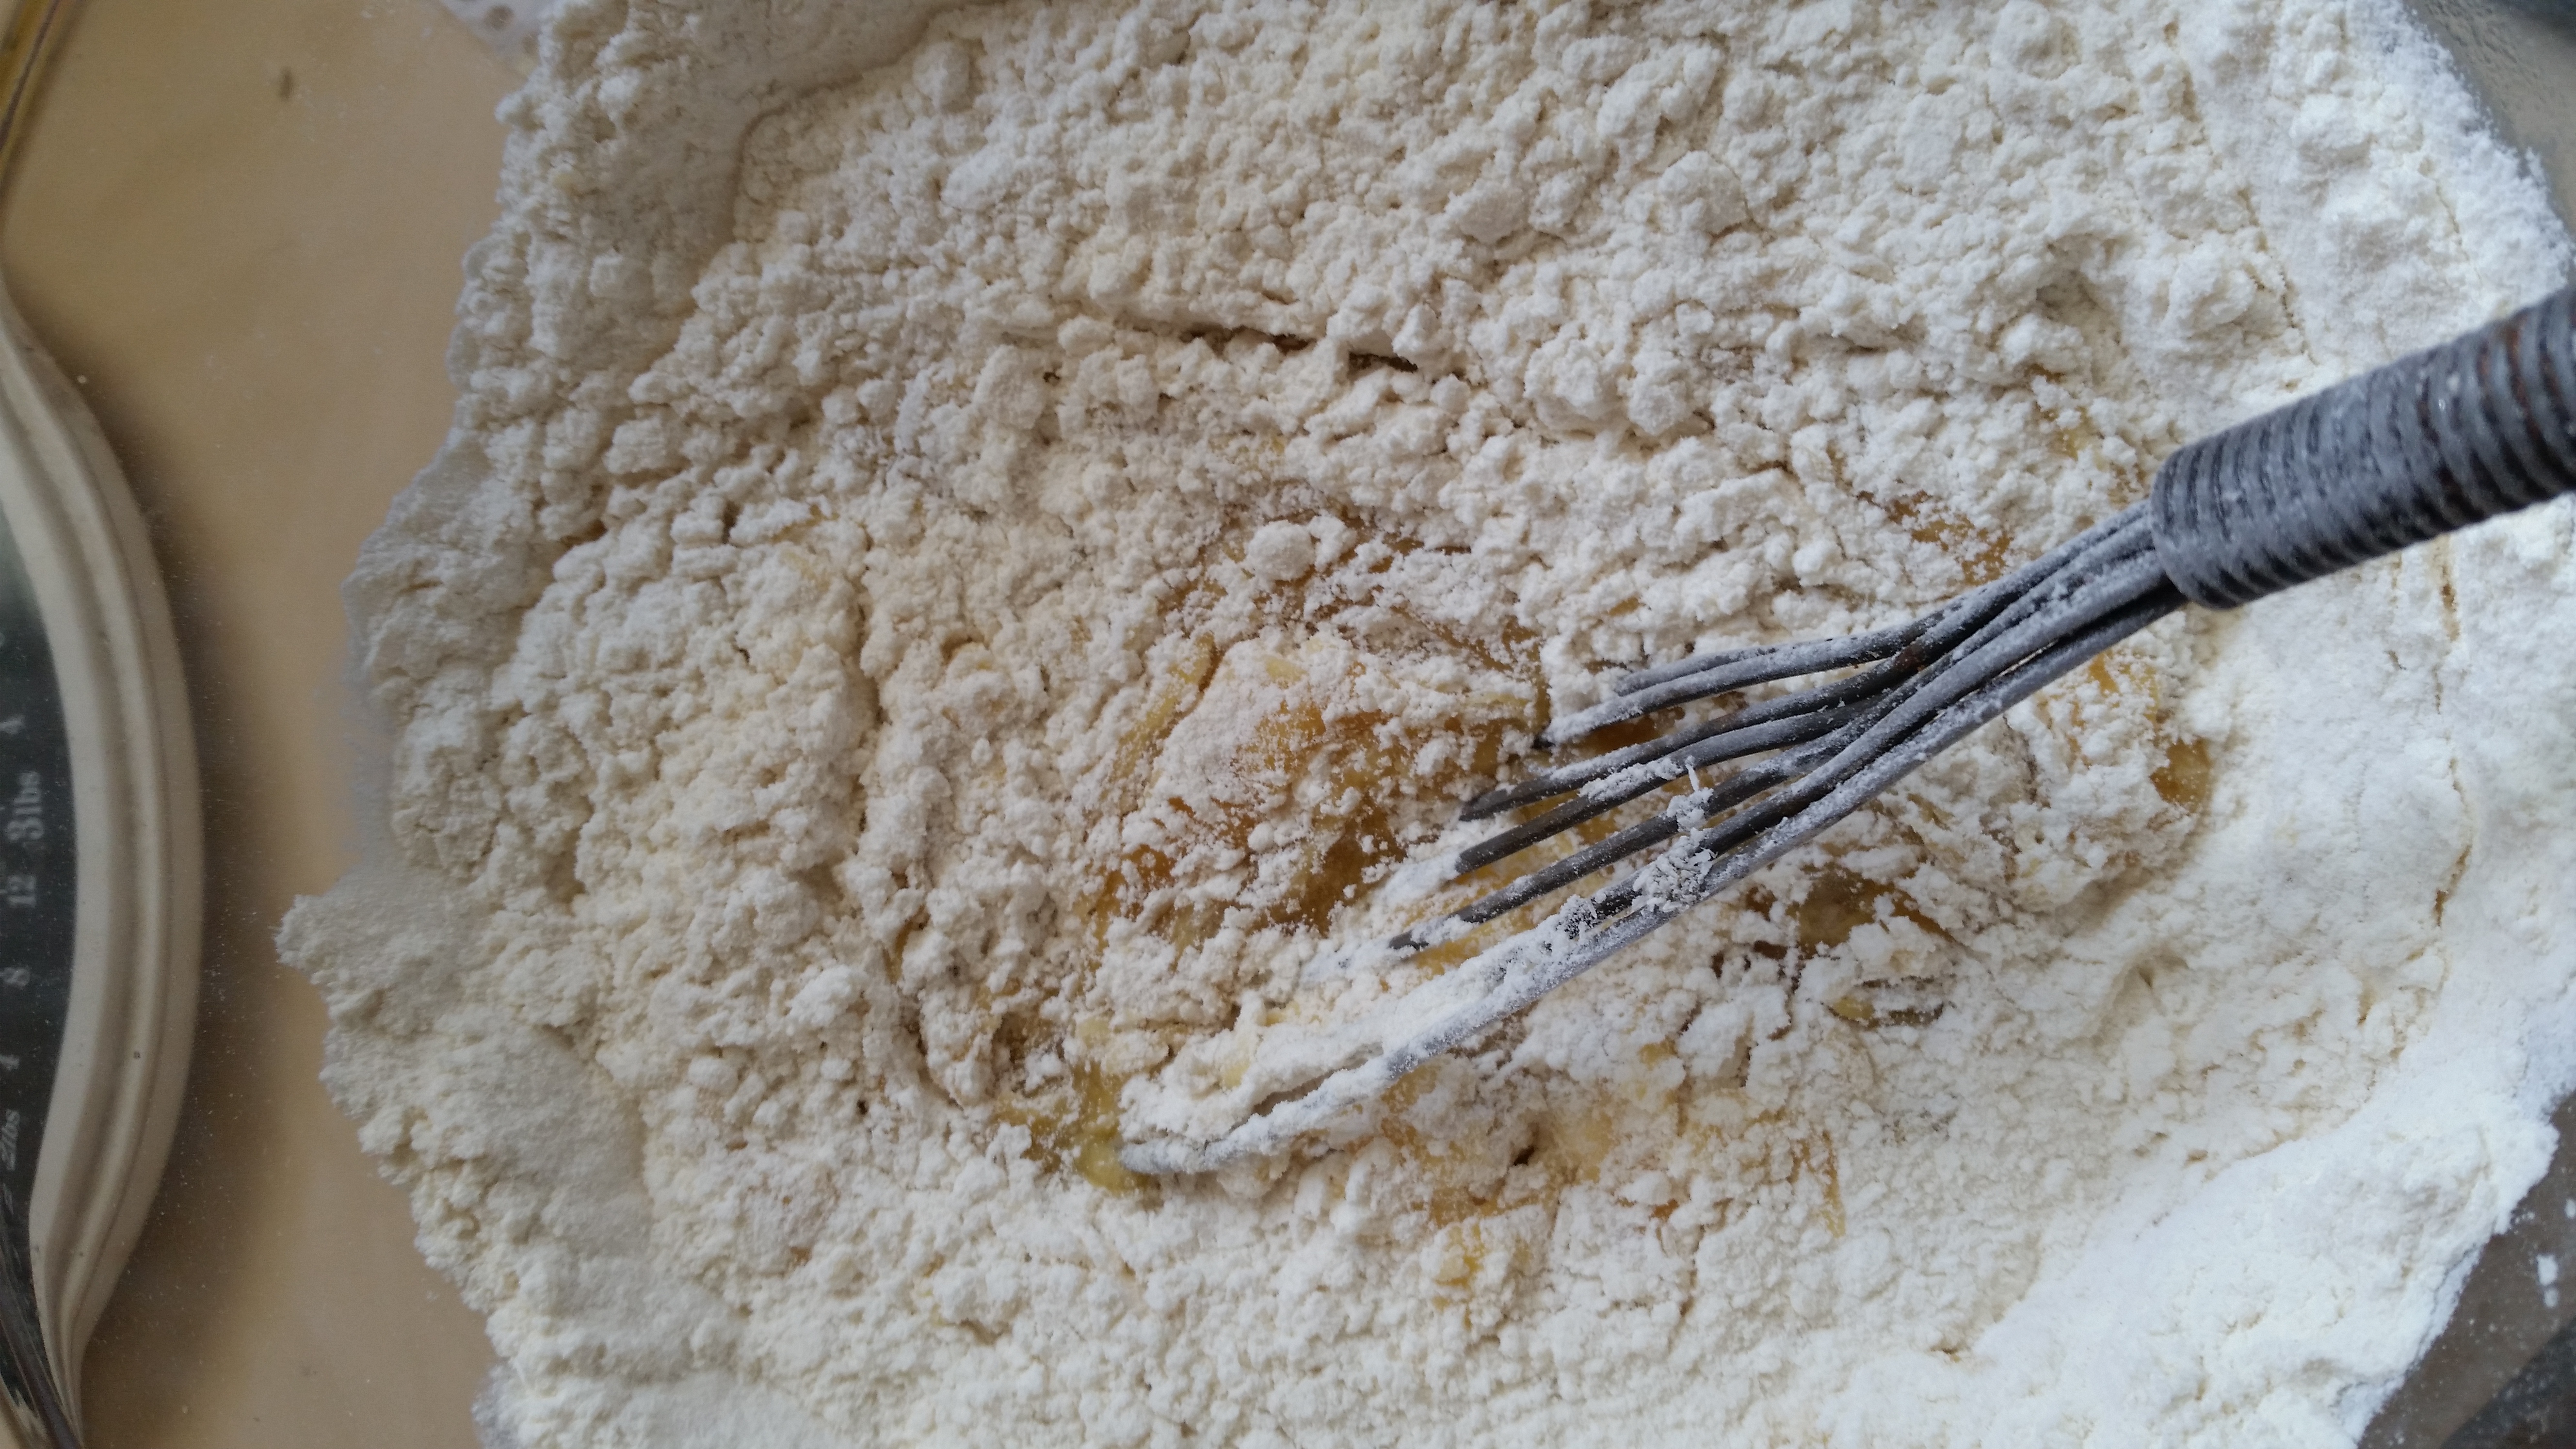
Add the rest of the ingredients and that’s it. You can see in the photo above, I always use my Nanna’s trusty wire whisk for all my baking. No mix masters in this house.
This recipe can be made as is, without sandwiching together with icing and jam. It’s a versatile recipe that makes a lovely crunchy biscuit.
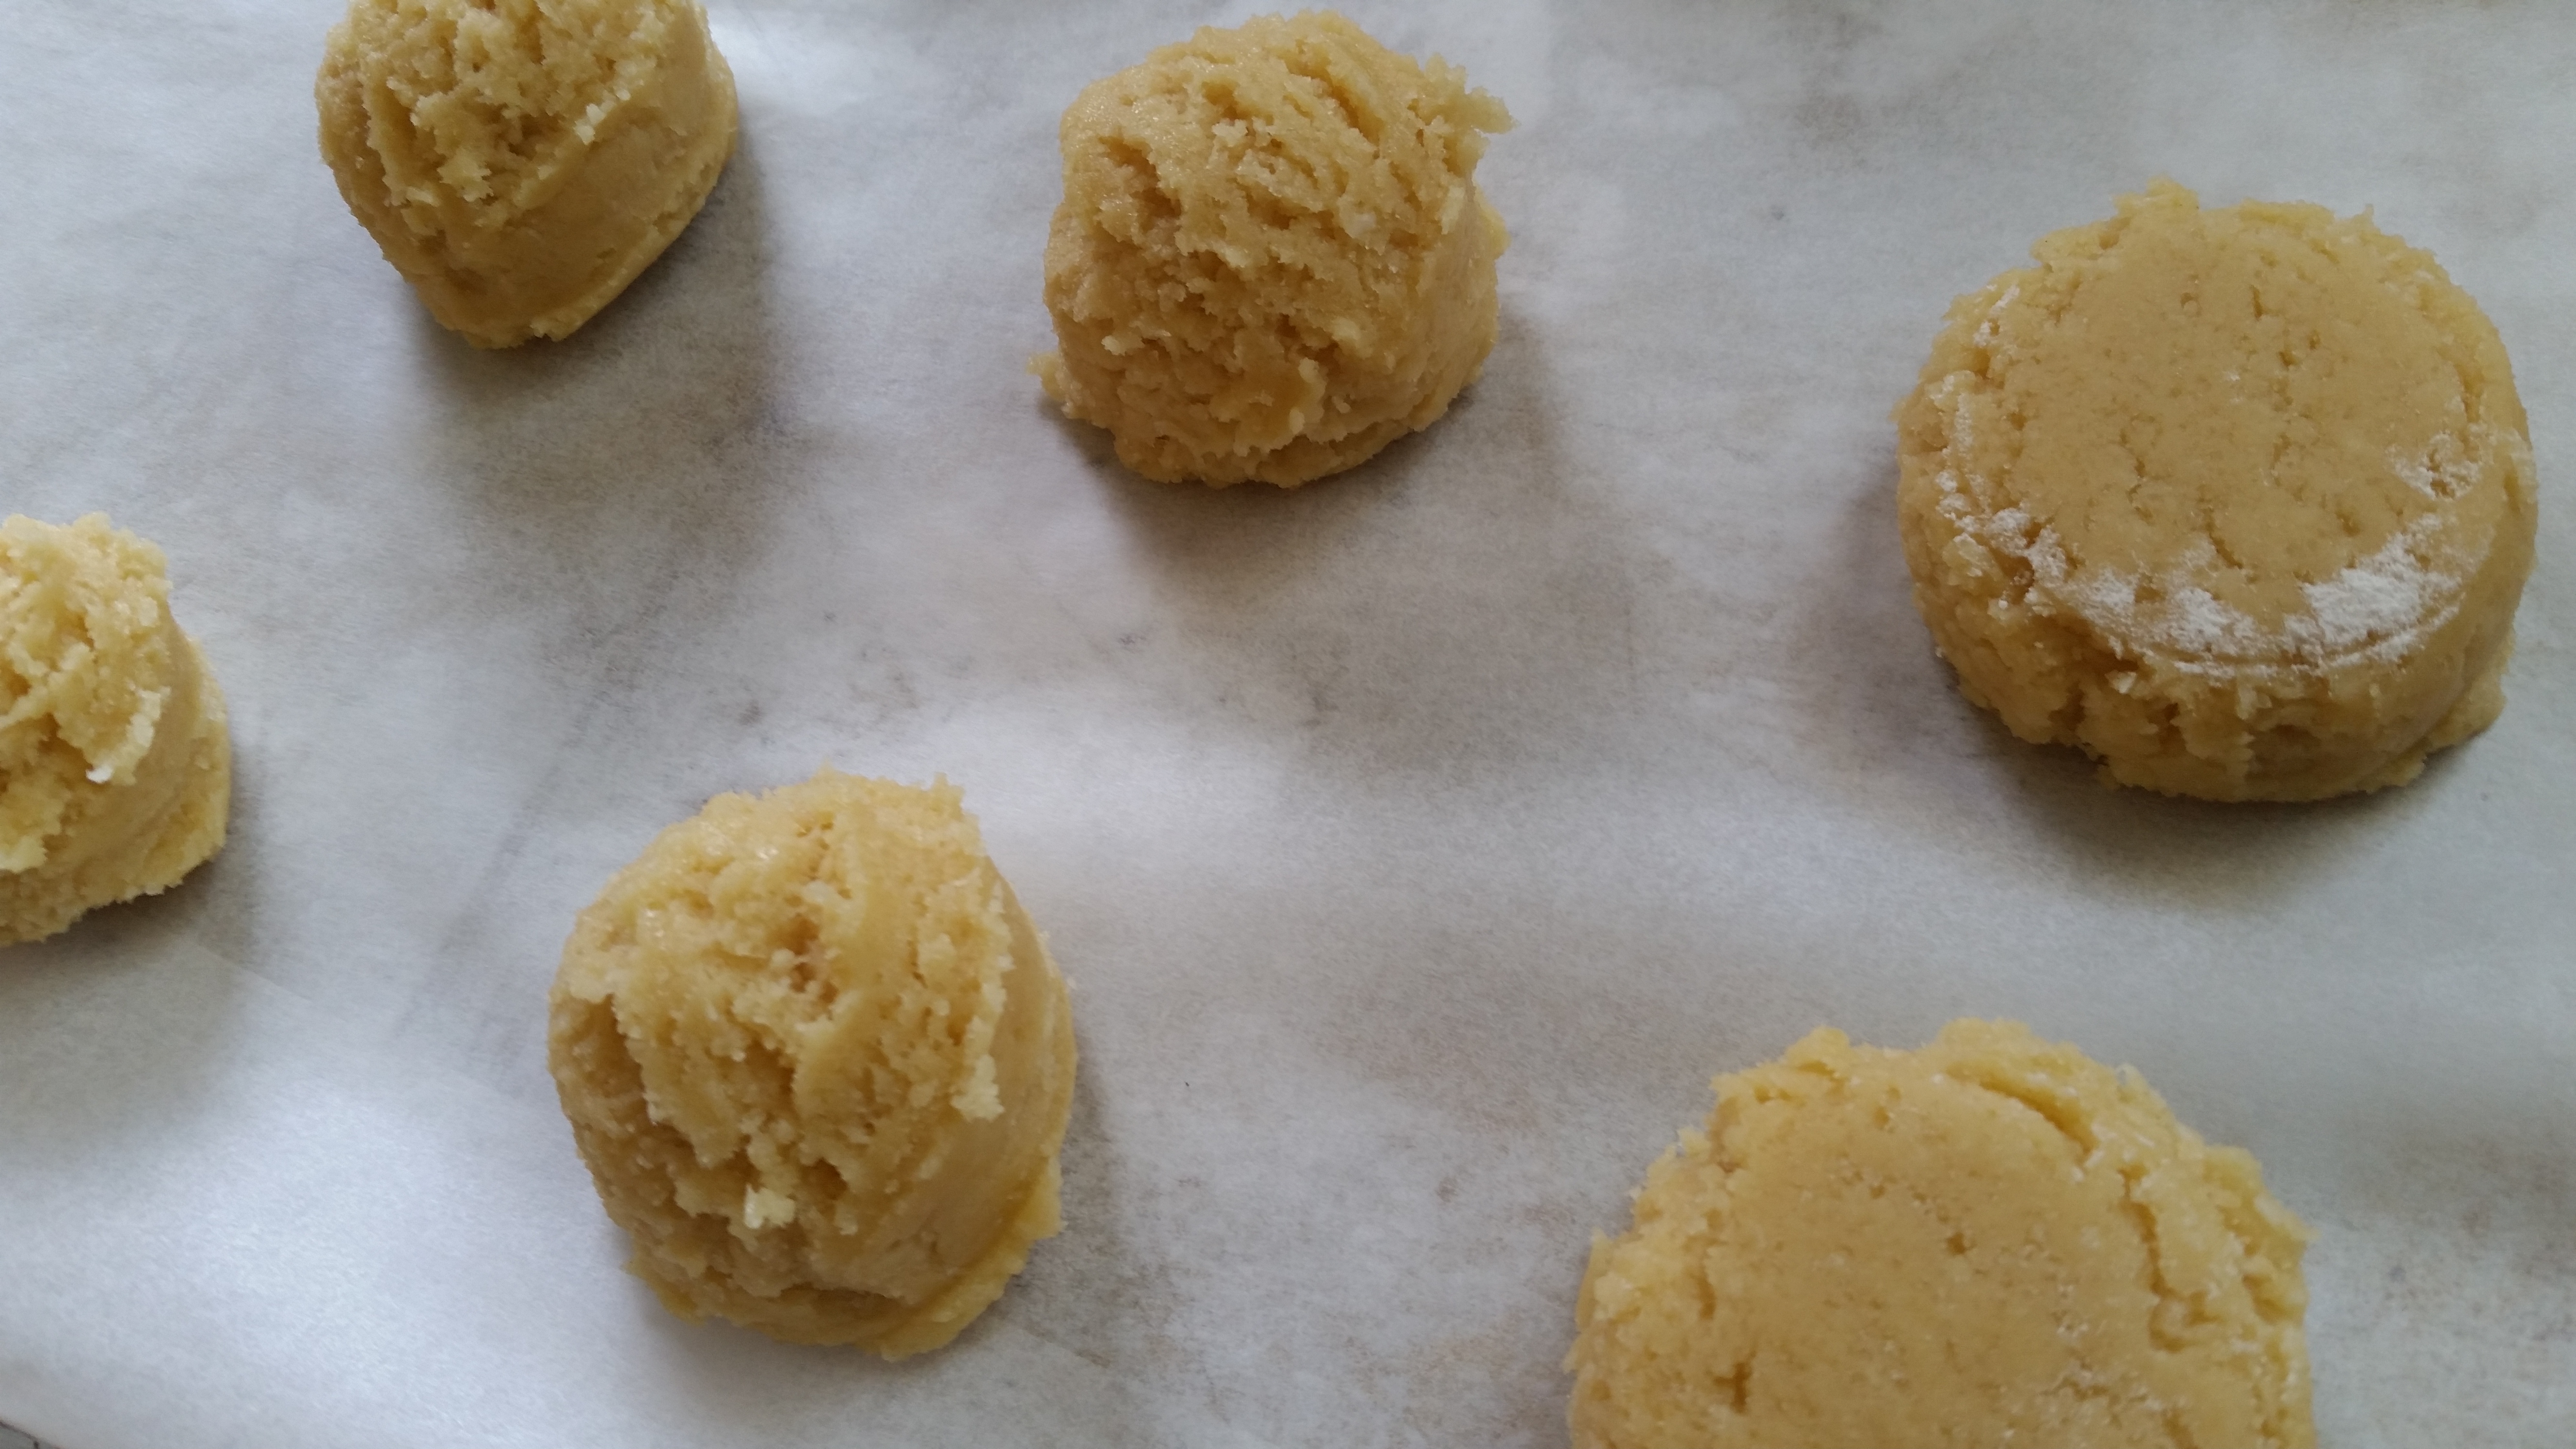
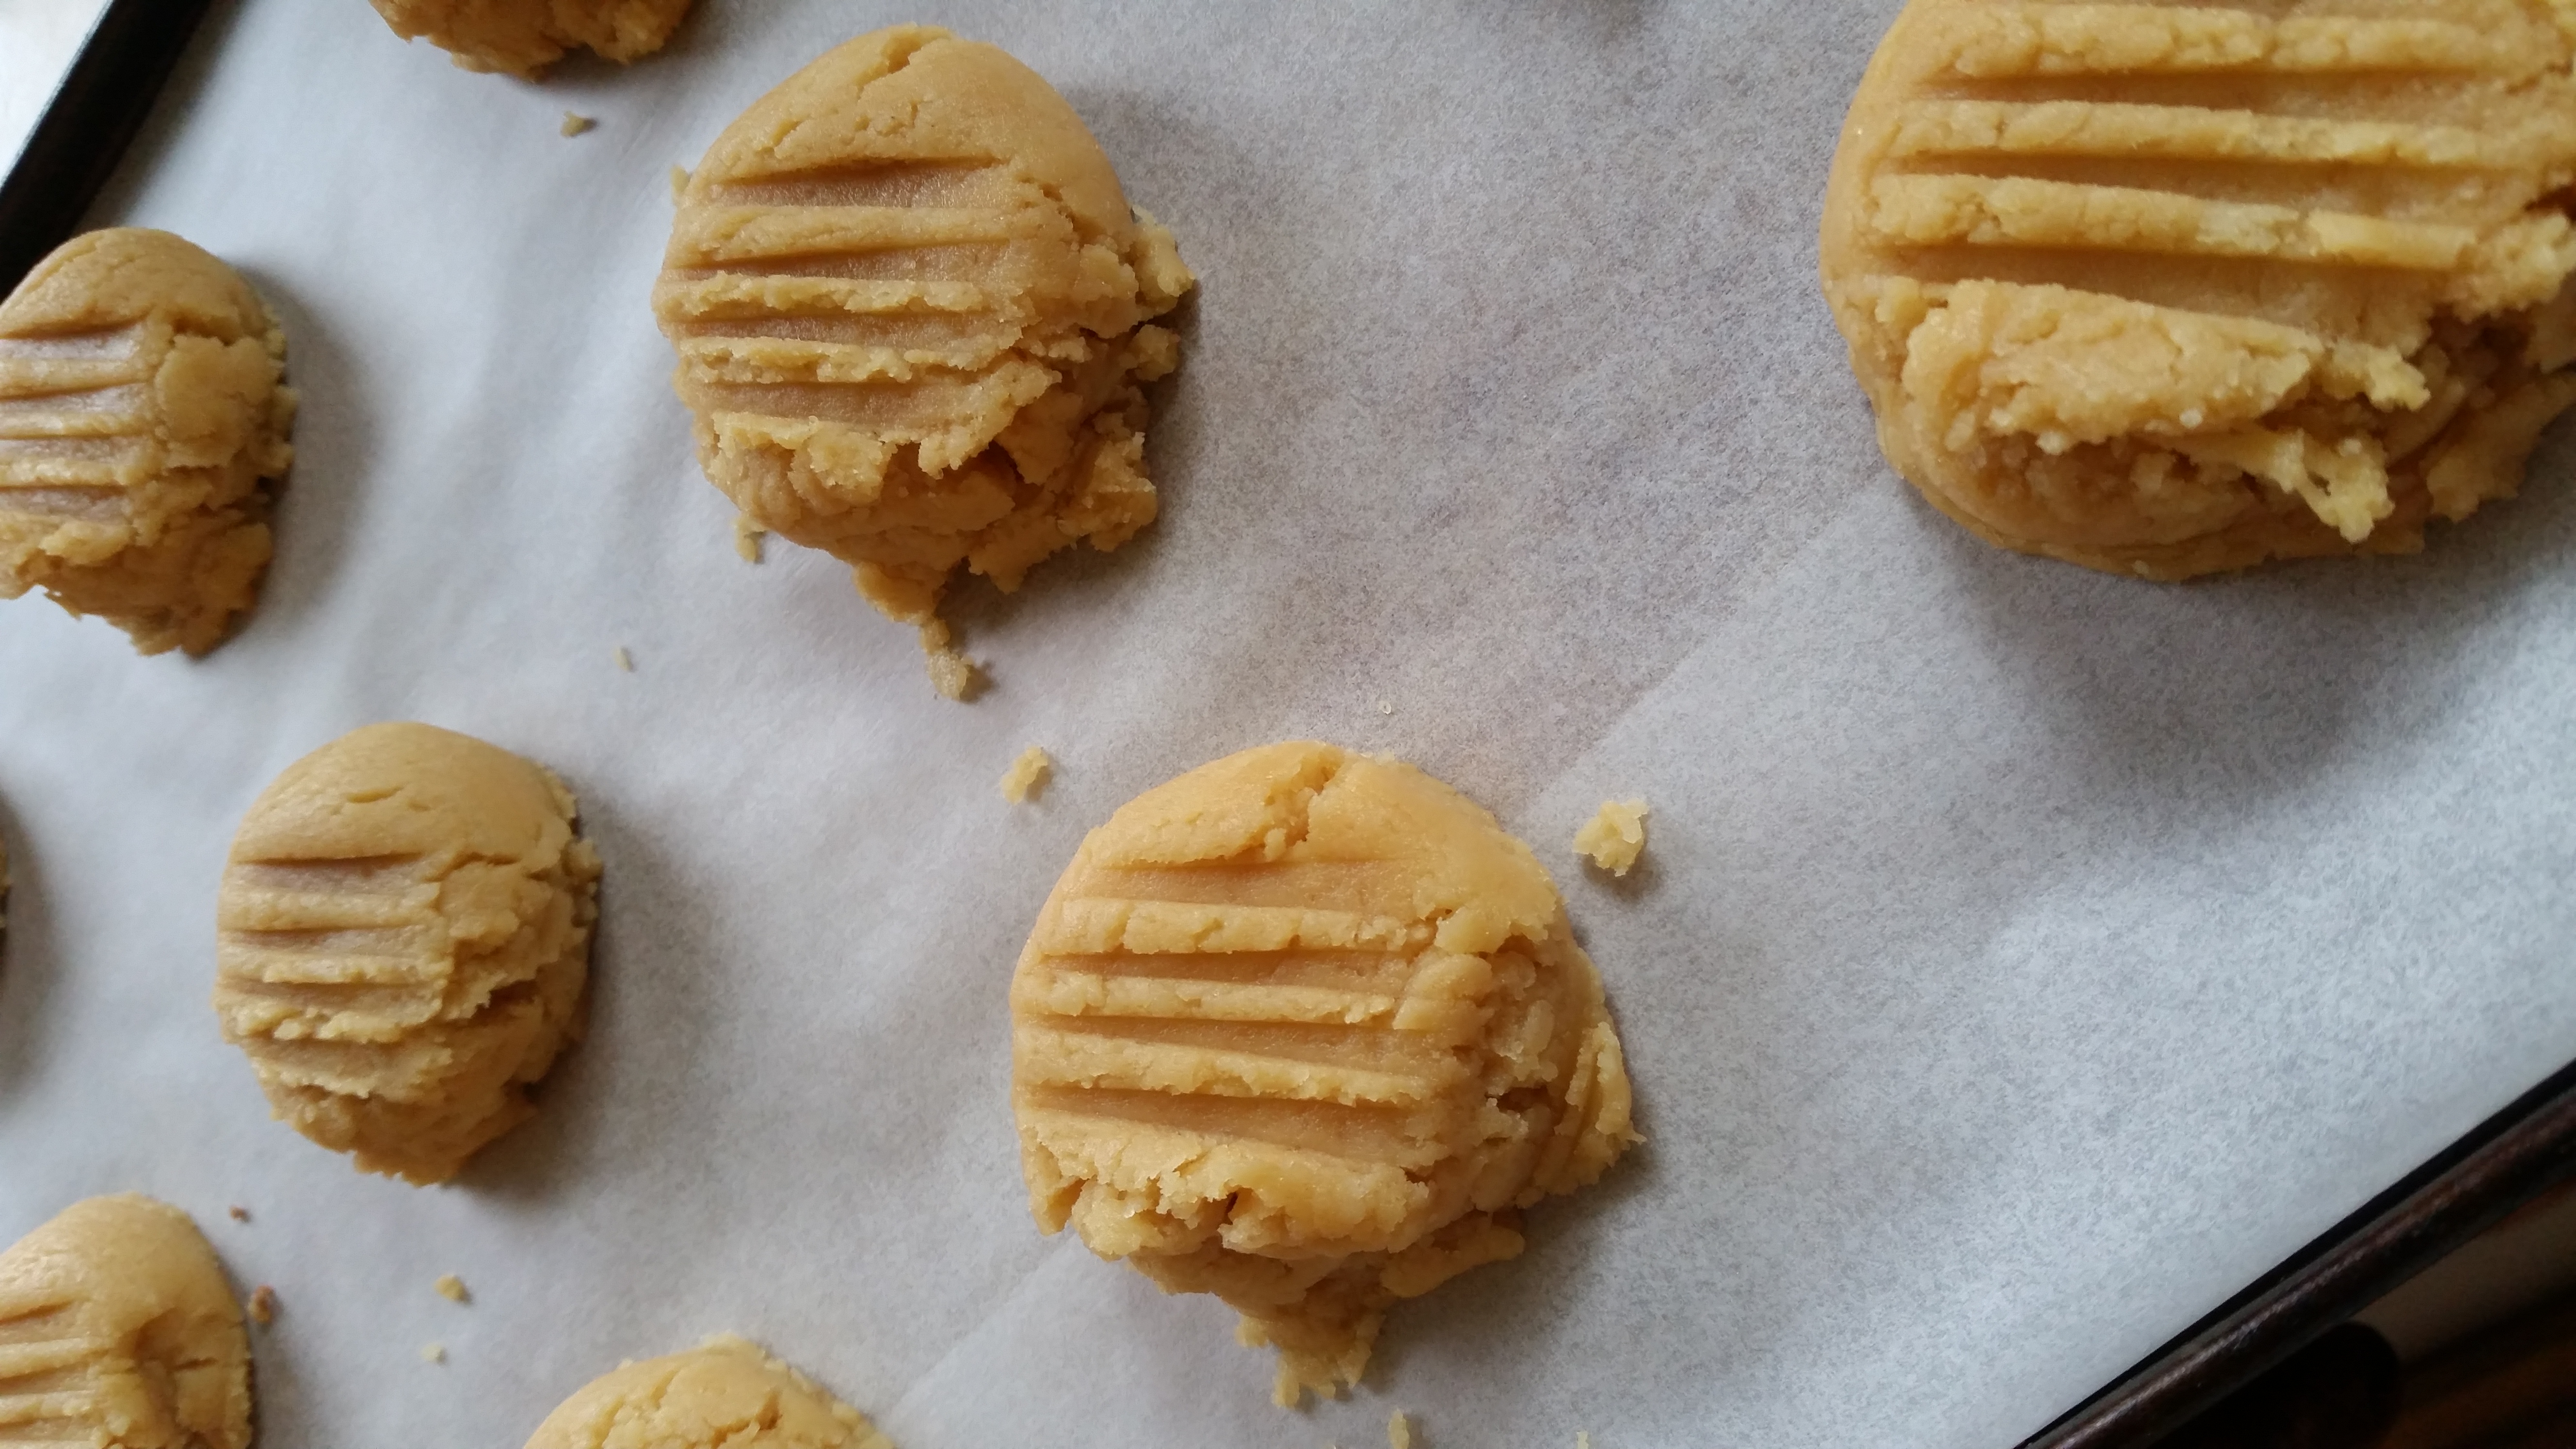
I use a small ice cream scoop to put cookies on the baking sheet. You get a nice even round biscuit doing it this way. These biscuits won’t spread so you’ll have to press down with a fork or the bottom of a glass dipped in flour, like I have done above.
Bake for about 15 to 20 minutes or until golden and allow to cool.
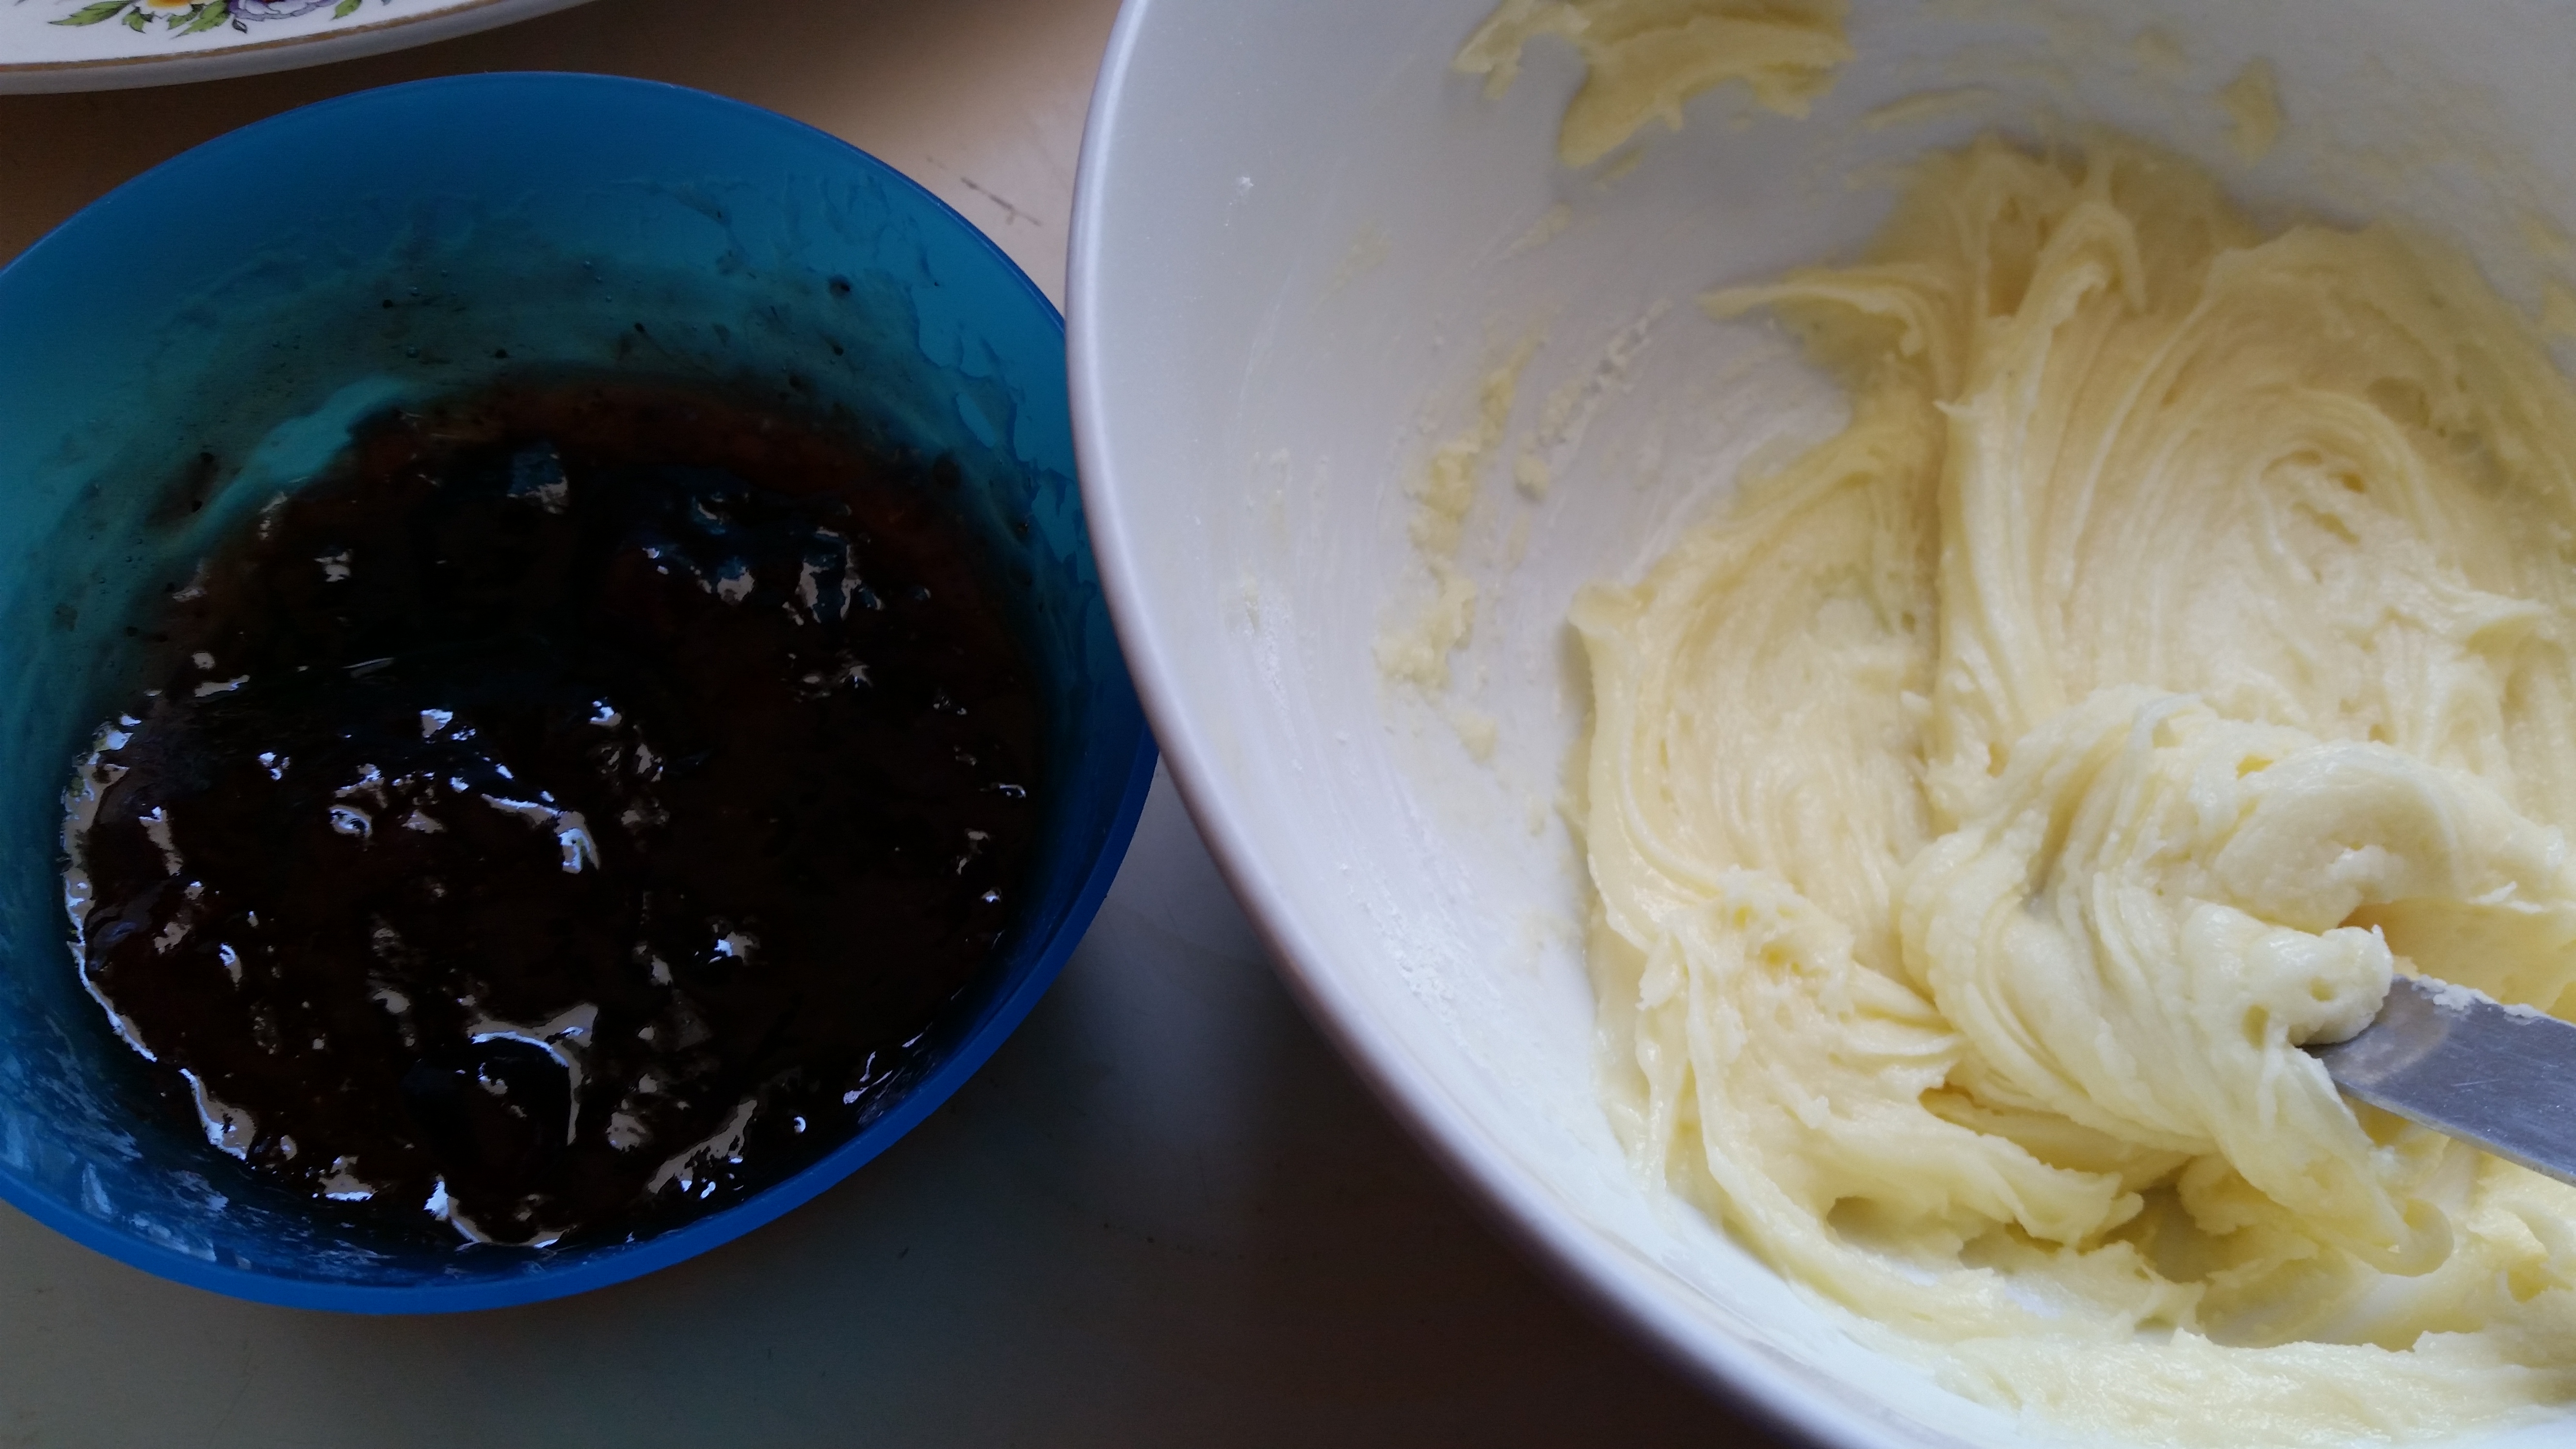
Prepare your vanilla icing and spoon out some raspberry jam. I didn’t have raspberry so used strawberry. You could use any flavoured jam you like.
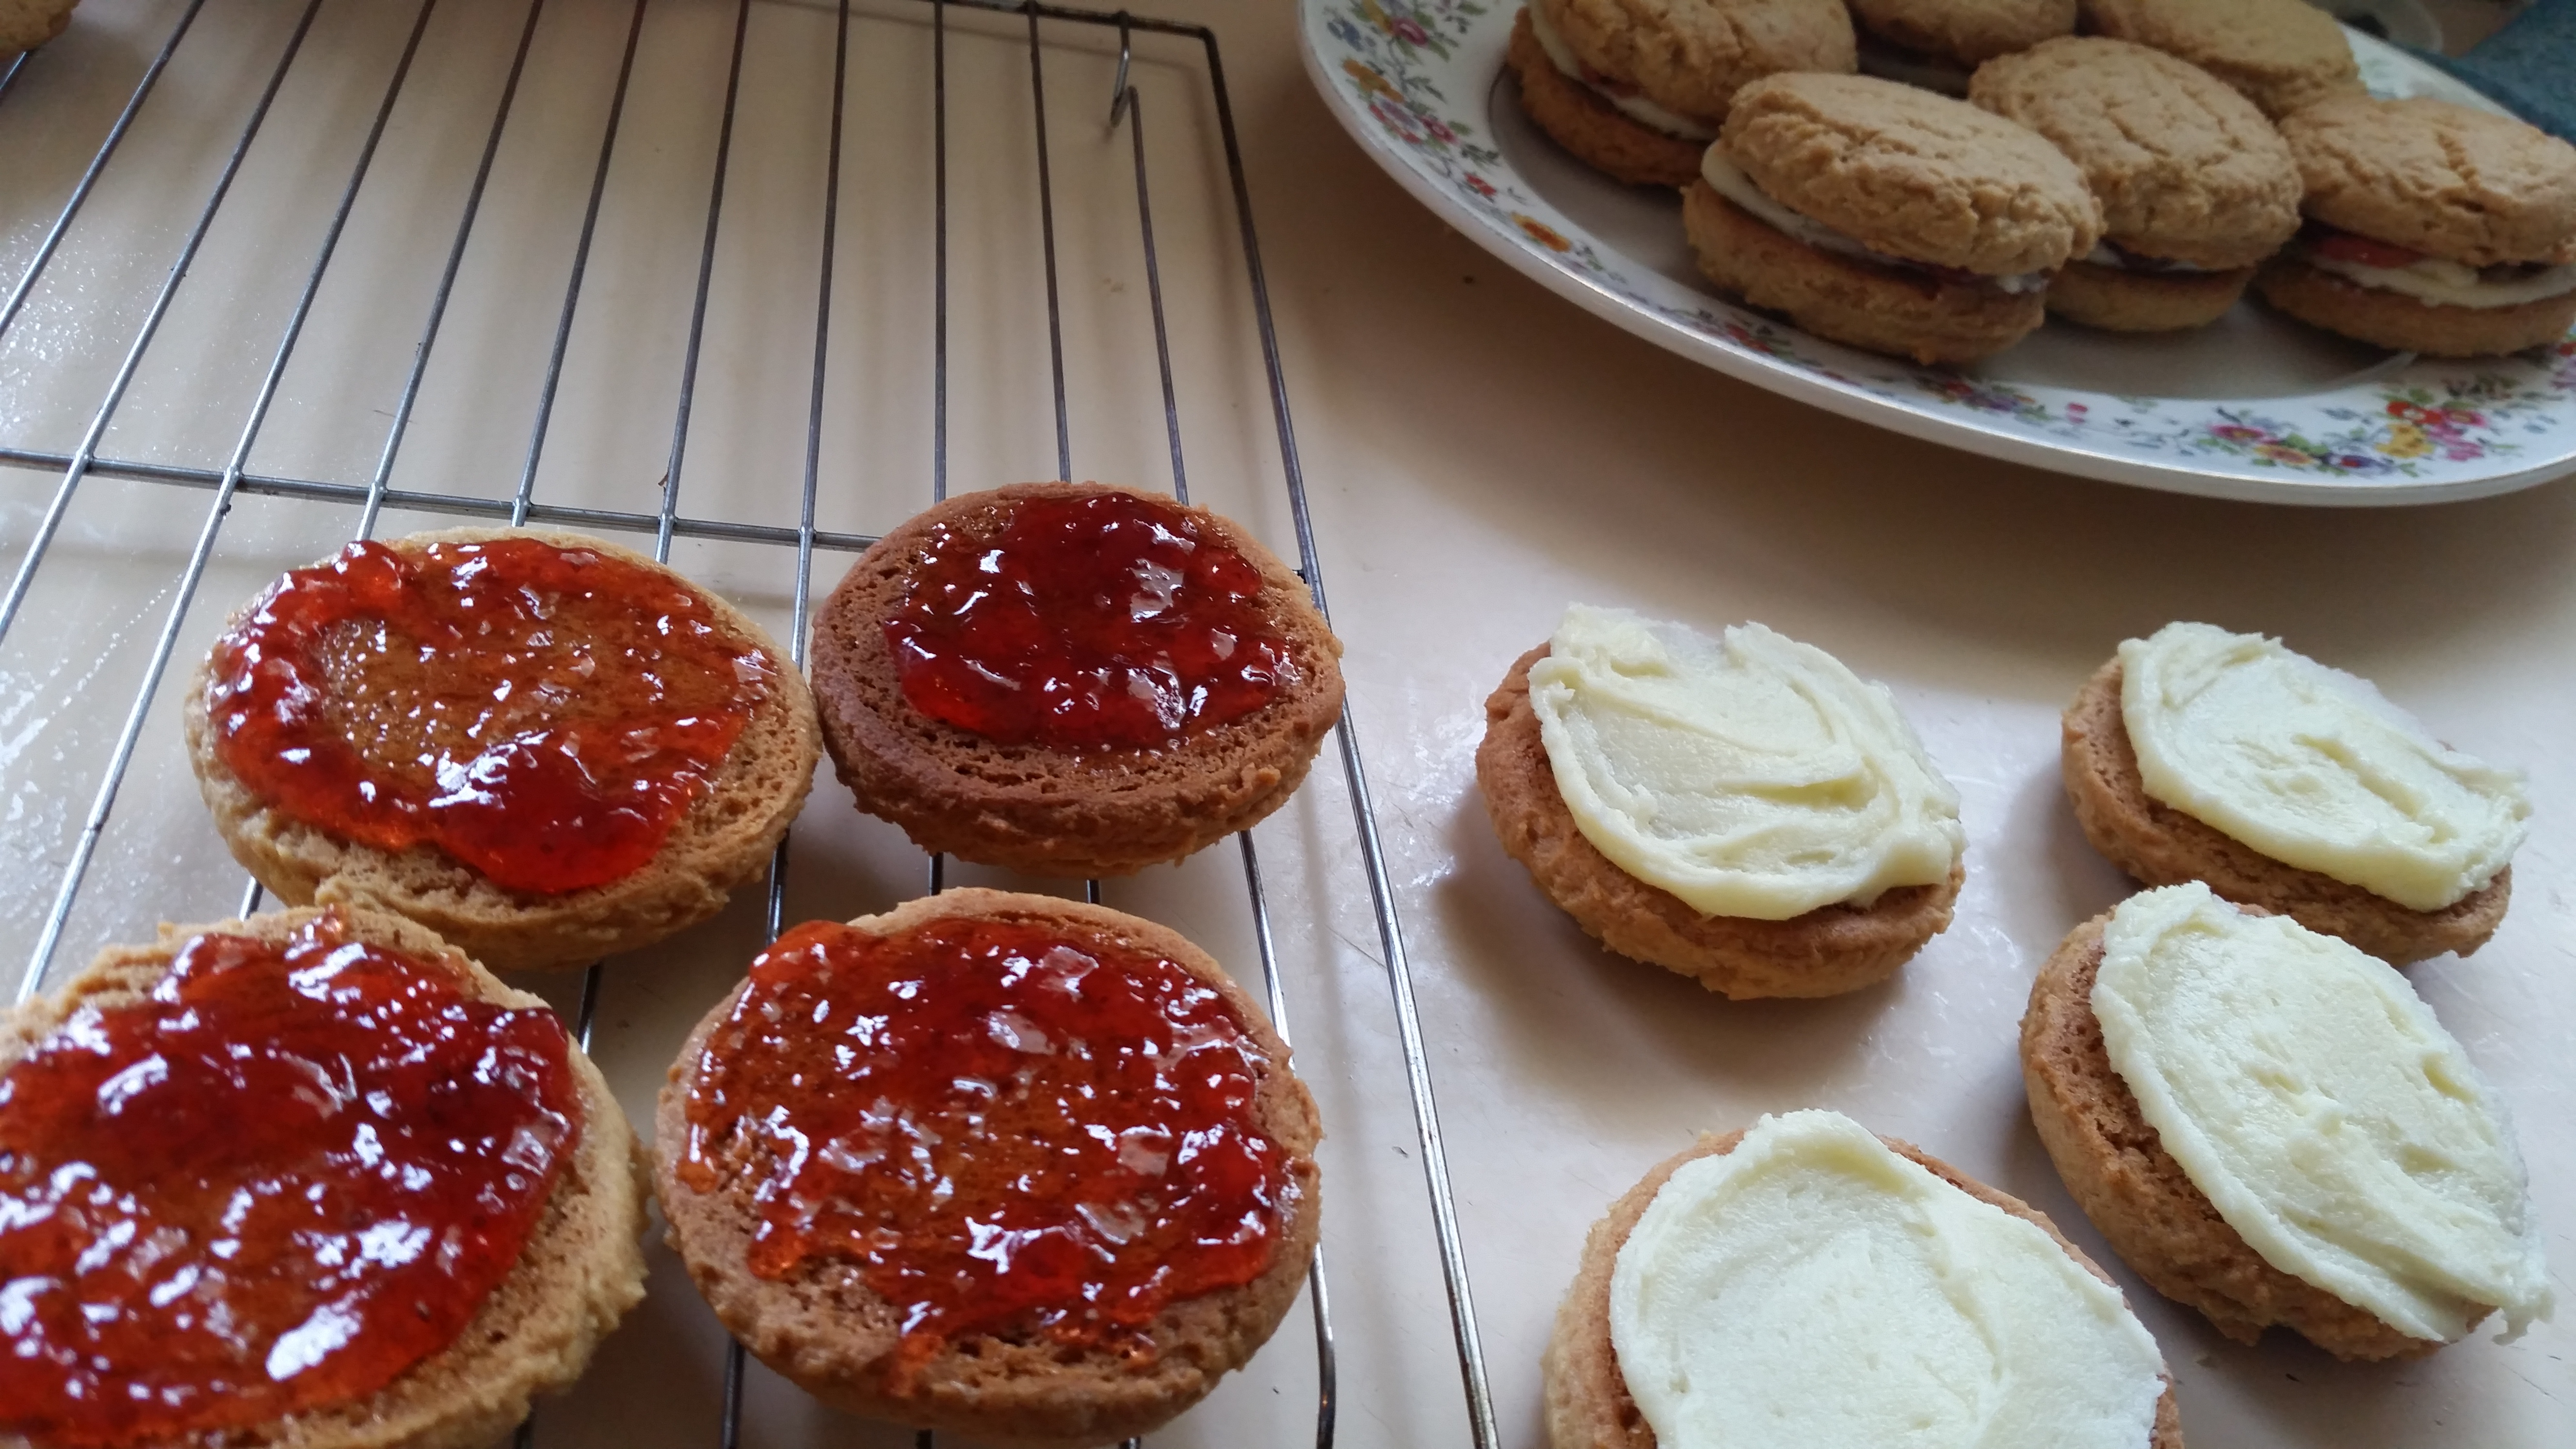
Once the biscuits have cooled, spread half a teaspoon of jam on one side and a teaspoon of icing on the other side and sandwich together. The icing will harden and keep them sandwiched together nicely.
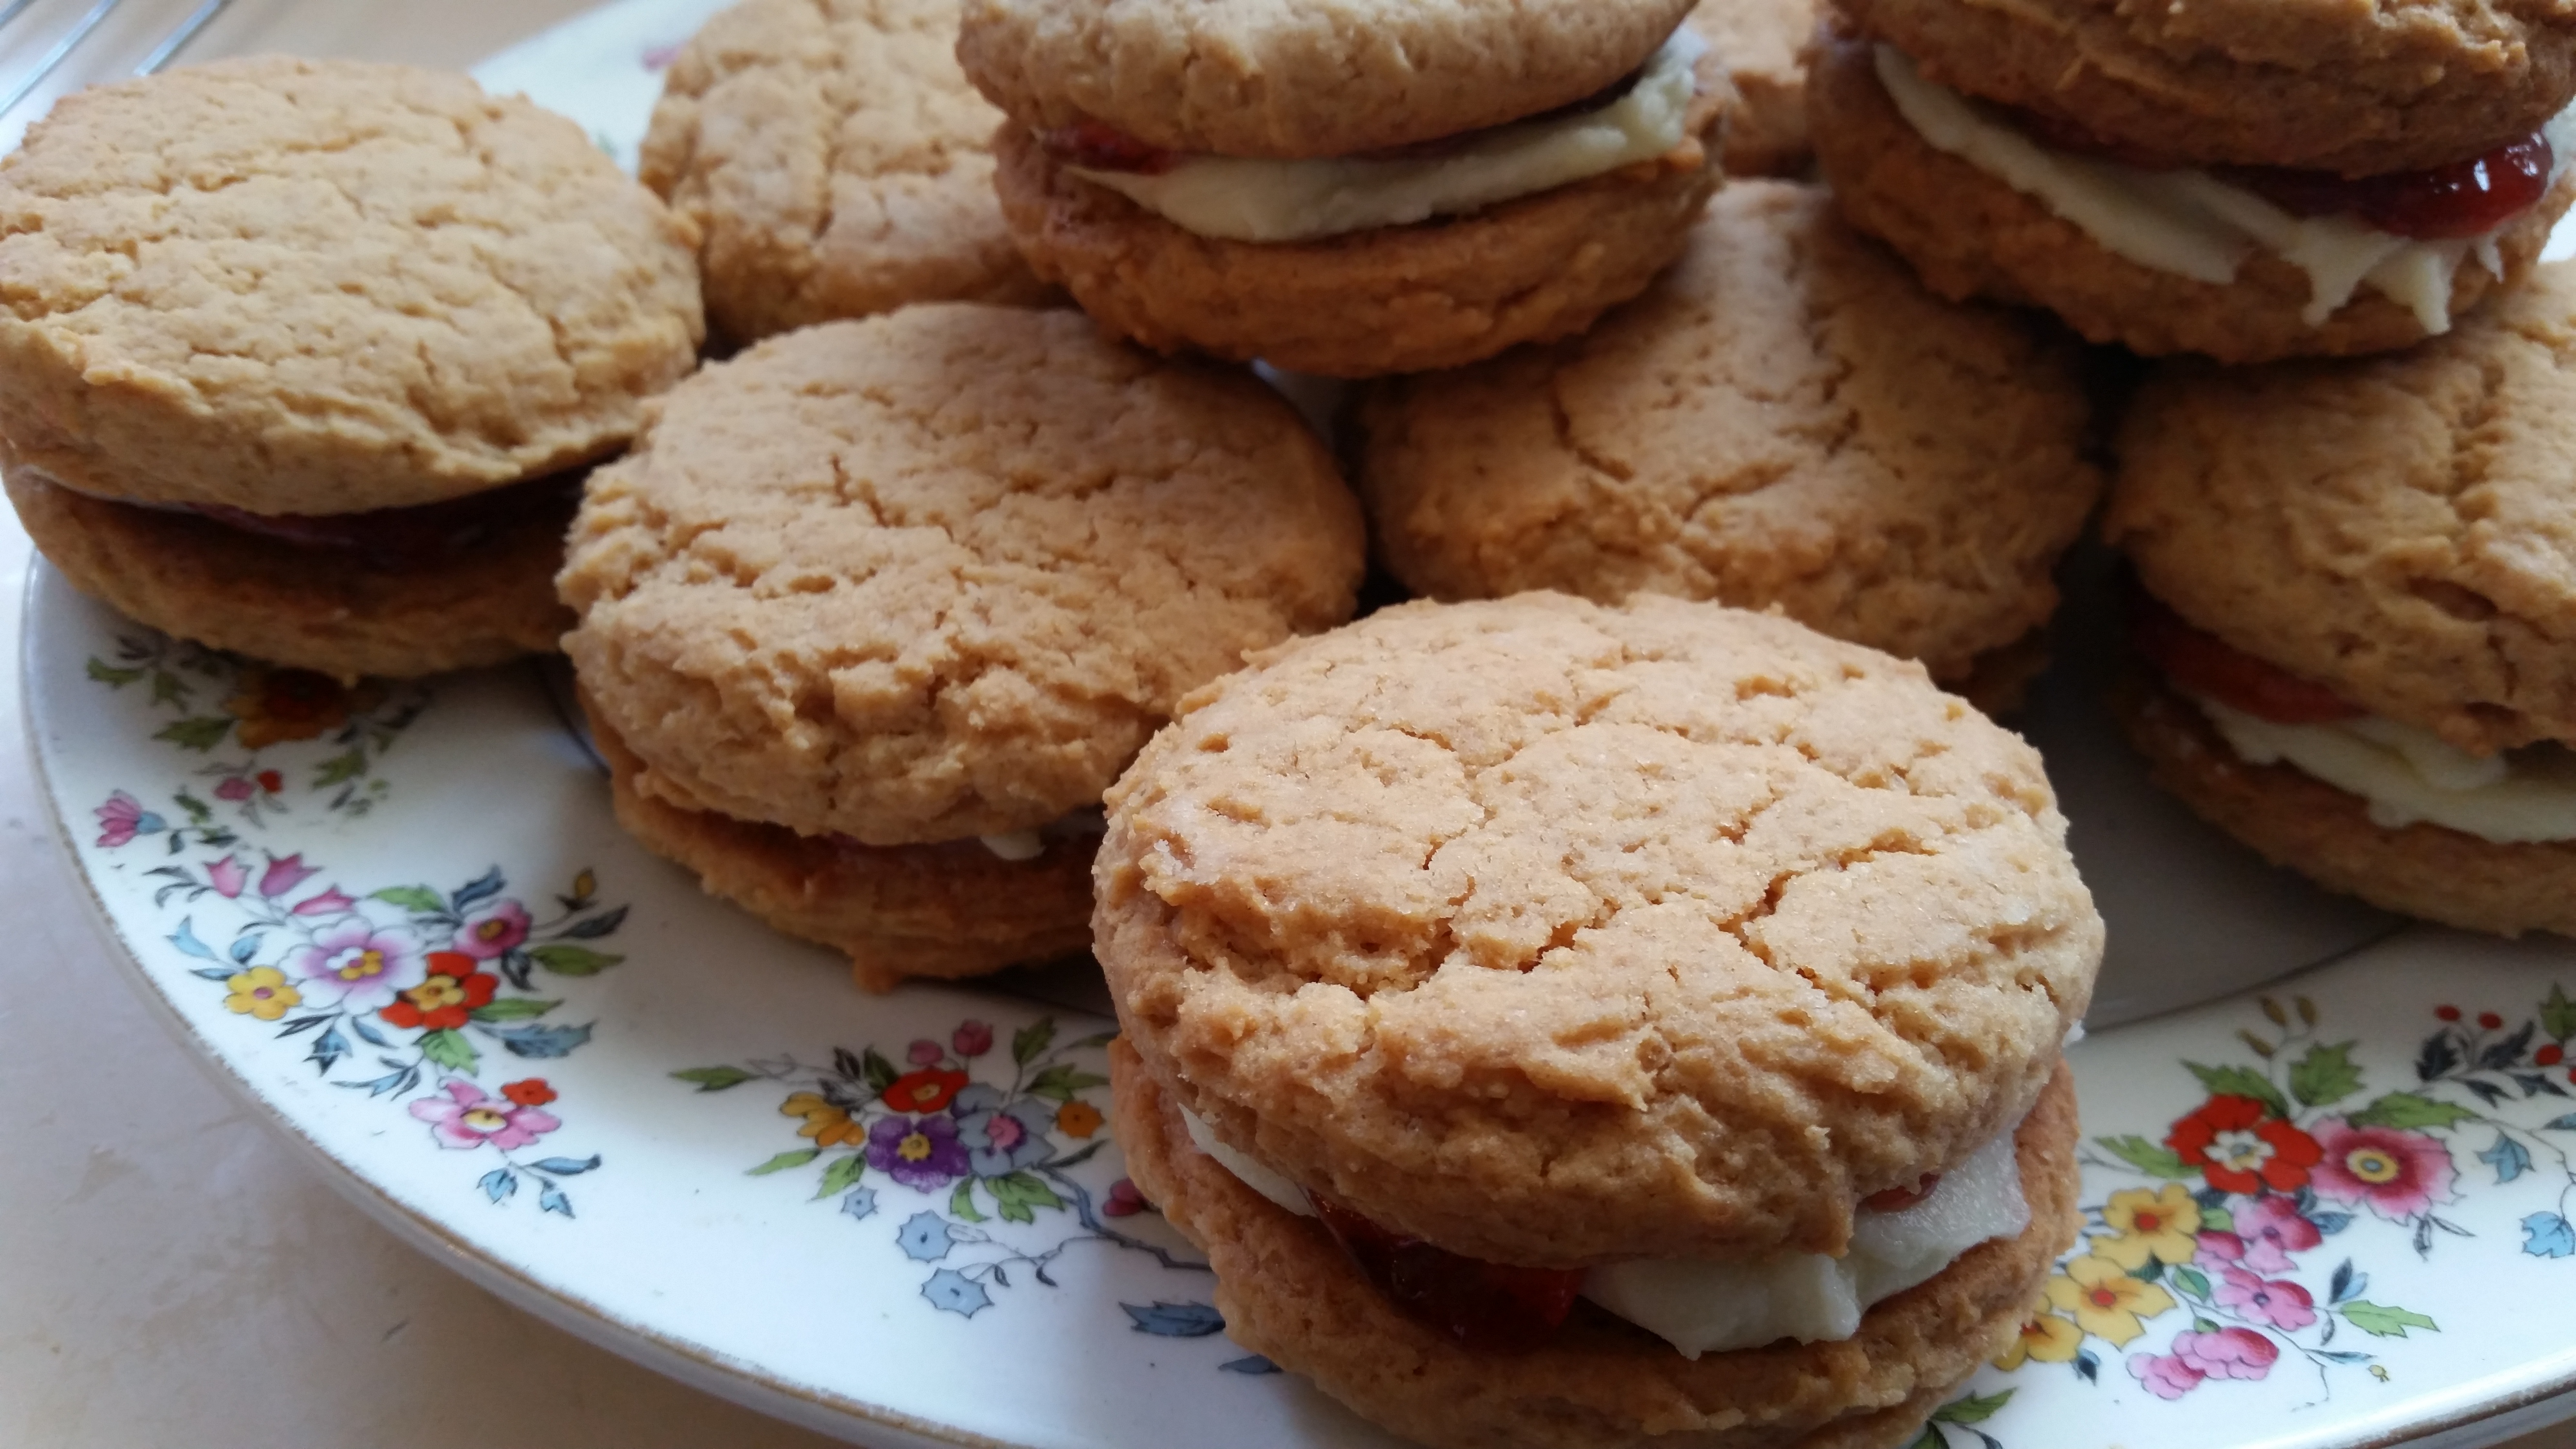
A beautiful tasting biscuit and so much better than the store bought variety. You could change the flavour of the icing to anything, use any flavoured jam, fill with a nut spread (eg Nutella) or just let your imagination go wild. These biscuits also make a wonderful ice cream sandwich cookie. Instead of filling with vanilla icing and jam, fill with a spoonful of vanilla ice cream and roll in chopped nuts, chocolate, sprinkles or anything. My kids love them!
Even if you have basic baking skills, you’ll find this recipe really easy. I hope you enjoy them.
RECIPE
125gm butter, melted
3/4 cup brown sugar
2 tbsp golden syrup
1 egg
1 tsp vanilla
2 cups self-raising flour
1/2 cup coconut
1/4 cup jam (I used strawberry)
Vanilla Icing:
1 cup icing sugar
2 tbs softened butter
1 tsp vanilla extract
a little milk to the desired consistency
Preheat oven to 180 deg C.
Line baking trays with baking paper.
Mix together melted butter, brown sugar and golden syrup
Add egg and vanilla.
Add flour and coconut and using a small ice cream scoop, place on baking sheet.
Using the back of a drinking glass, dip glass in flour and gently press down on biscuits until they are about 1cm flat.
Bake for approximately 15 to 20 minutes or until golden brown.
Allow to cool and sandwich together with vanilla icing and jam.
Icing: Combine softened butter, icing sugar and vanilla and add a little milk until you reach a stiff consistency suitable for spreading. Icing will harden after a few minutes.
If you need to bake a lot of cookies at once or want to make up a HUGE bulk cookie dough recipe to bake some now and freeze , this recipe, I swear is the BEST bulk cookie recipe with only 5 ingredients!
I first heard of a 100+ cookie recipe using condensed milk many years ago and having young children I thought, “wow!”, how convenient. I set about using all the ingredients and was so disappointed with the result. The cookies are really soft. Like seriously, if you want a cookie it should be crunchy, right? If it’s not wouldn’t you just make cake? I never made it again and still can’t believe how it’s still so popular today.
Not to be put off, I’d often thought, with just a bit of ‘tweaking’ this recipe could be just right. It obviously has too much self raising flour in it so I adjusted the quantity of self raising flour and added plain flour to the dough and they were spot on.
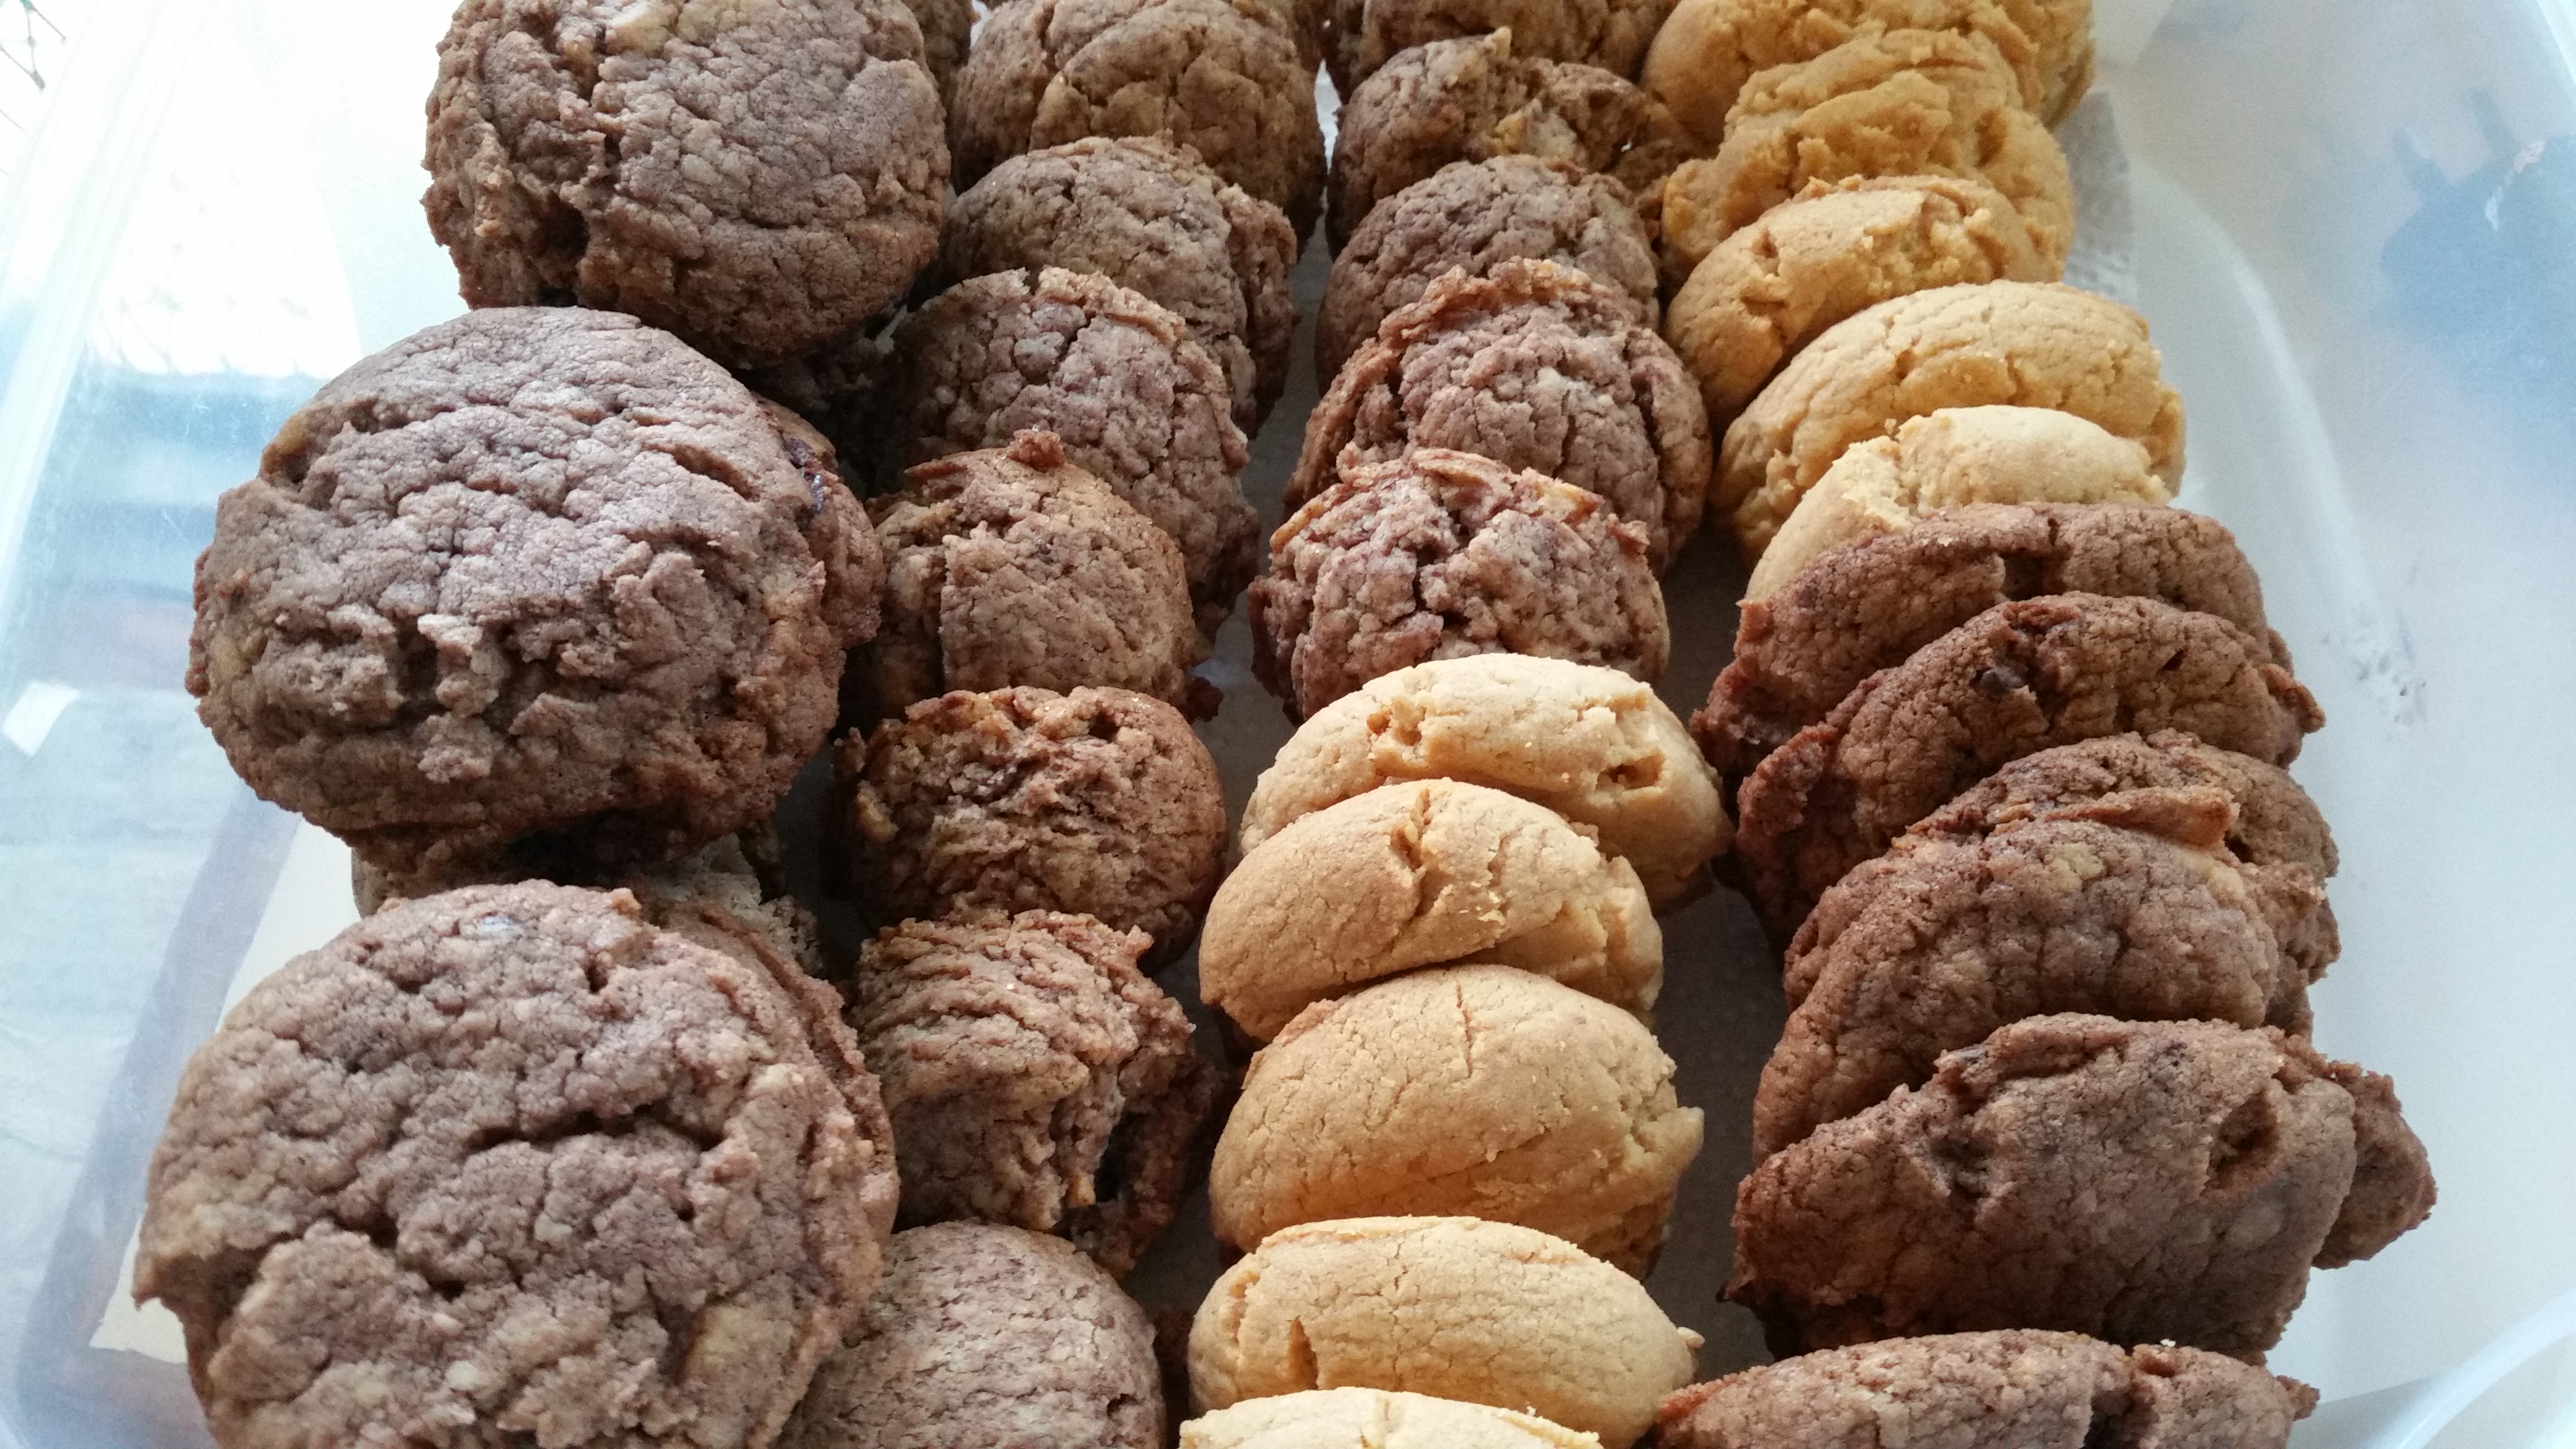
The good thing about this recipe is that you can make them all plain or you can divide the dough up and add whatever other flavours you like. So you could have 30 chocolate chip cookies, 30 peanut butter and 30 coconut cookies, all made at once.
The other great thing is you can bake all of the dough at once and freeze some cookies for later on or bake some of the cookies now and freeze the dough later. There is also no eggs used in this recipe so if you want to make cookie dough for ice cream, for example, this is a beautiful recipe.
How To Make the Bulk Cookie Recipe
Melt the butter, add the sugar and add a can of condensed milk.
Add both types of flour and mix thoroughly. (I highly suggest adding any powdered flavouring with the flour at this stage. I added chocolate malt drink powder once the dough had been made and it was hard to incorporate. The same goes for cocoa. It can be added once the dough has been made but the cookies may appear ‘mottled’.)
Divide your dough into as many different bowls as you’re going to flavour your cookies. I was planning on a Nutella Choc Chip, Peanut Butter and Choc Malt.
As mentioned previously, when you add a powder (the above is choc malt drink powder) to an already made dough, the end result may be mottled. It doesn’t detract from the flavour of the cookie whatsoever and my kids didn’t mind at all.
Nutella Choc Chip
The Nutella Choc Chip flavour were a huge hit. You can add the choc chips (or chunks in my case) or leave them out.
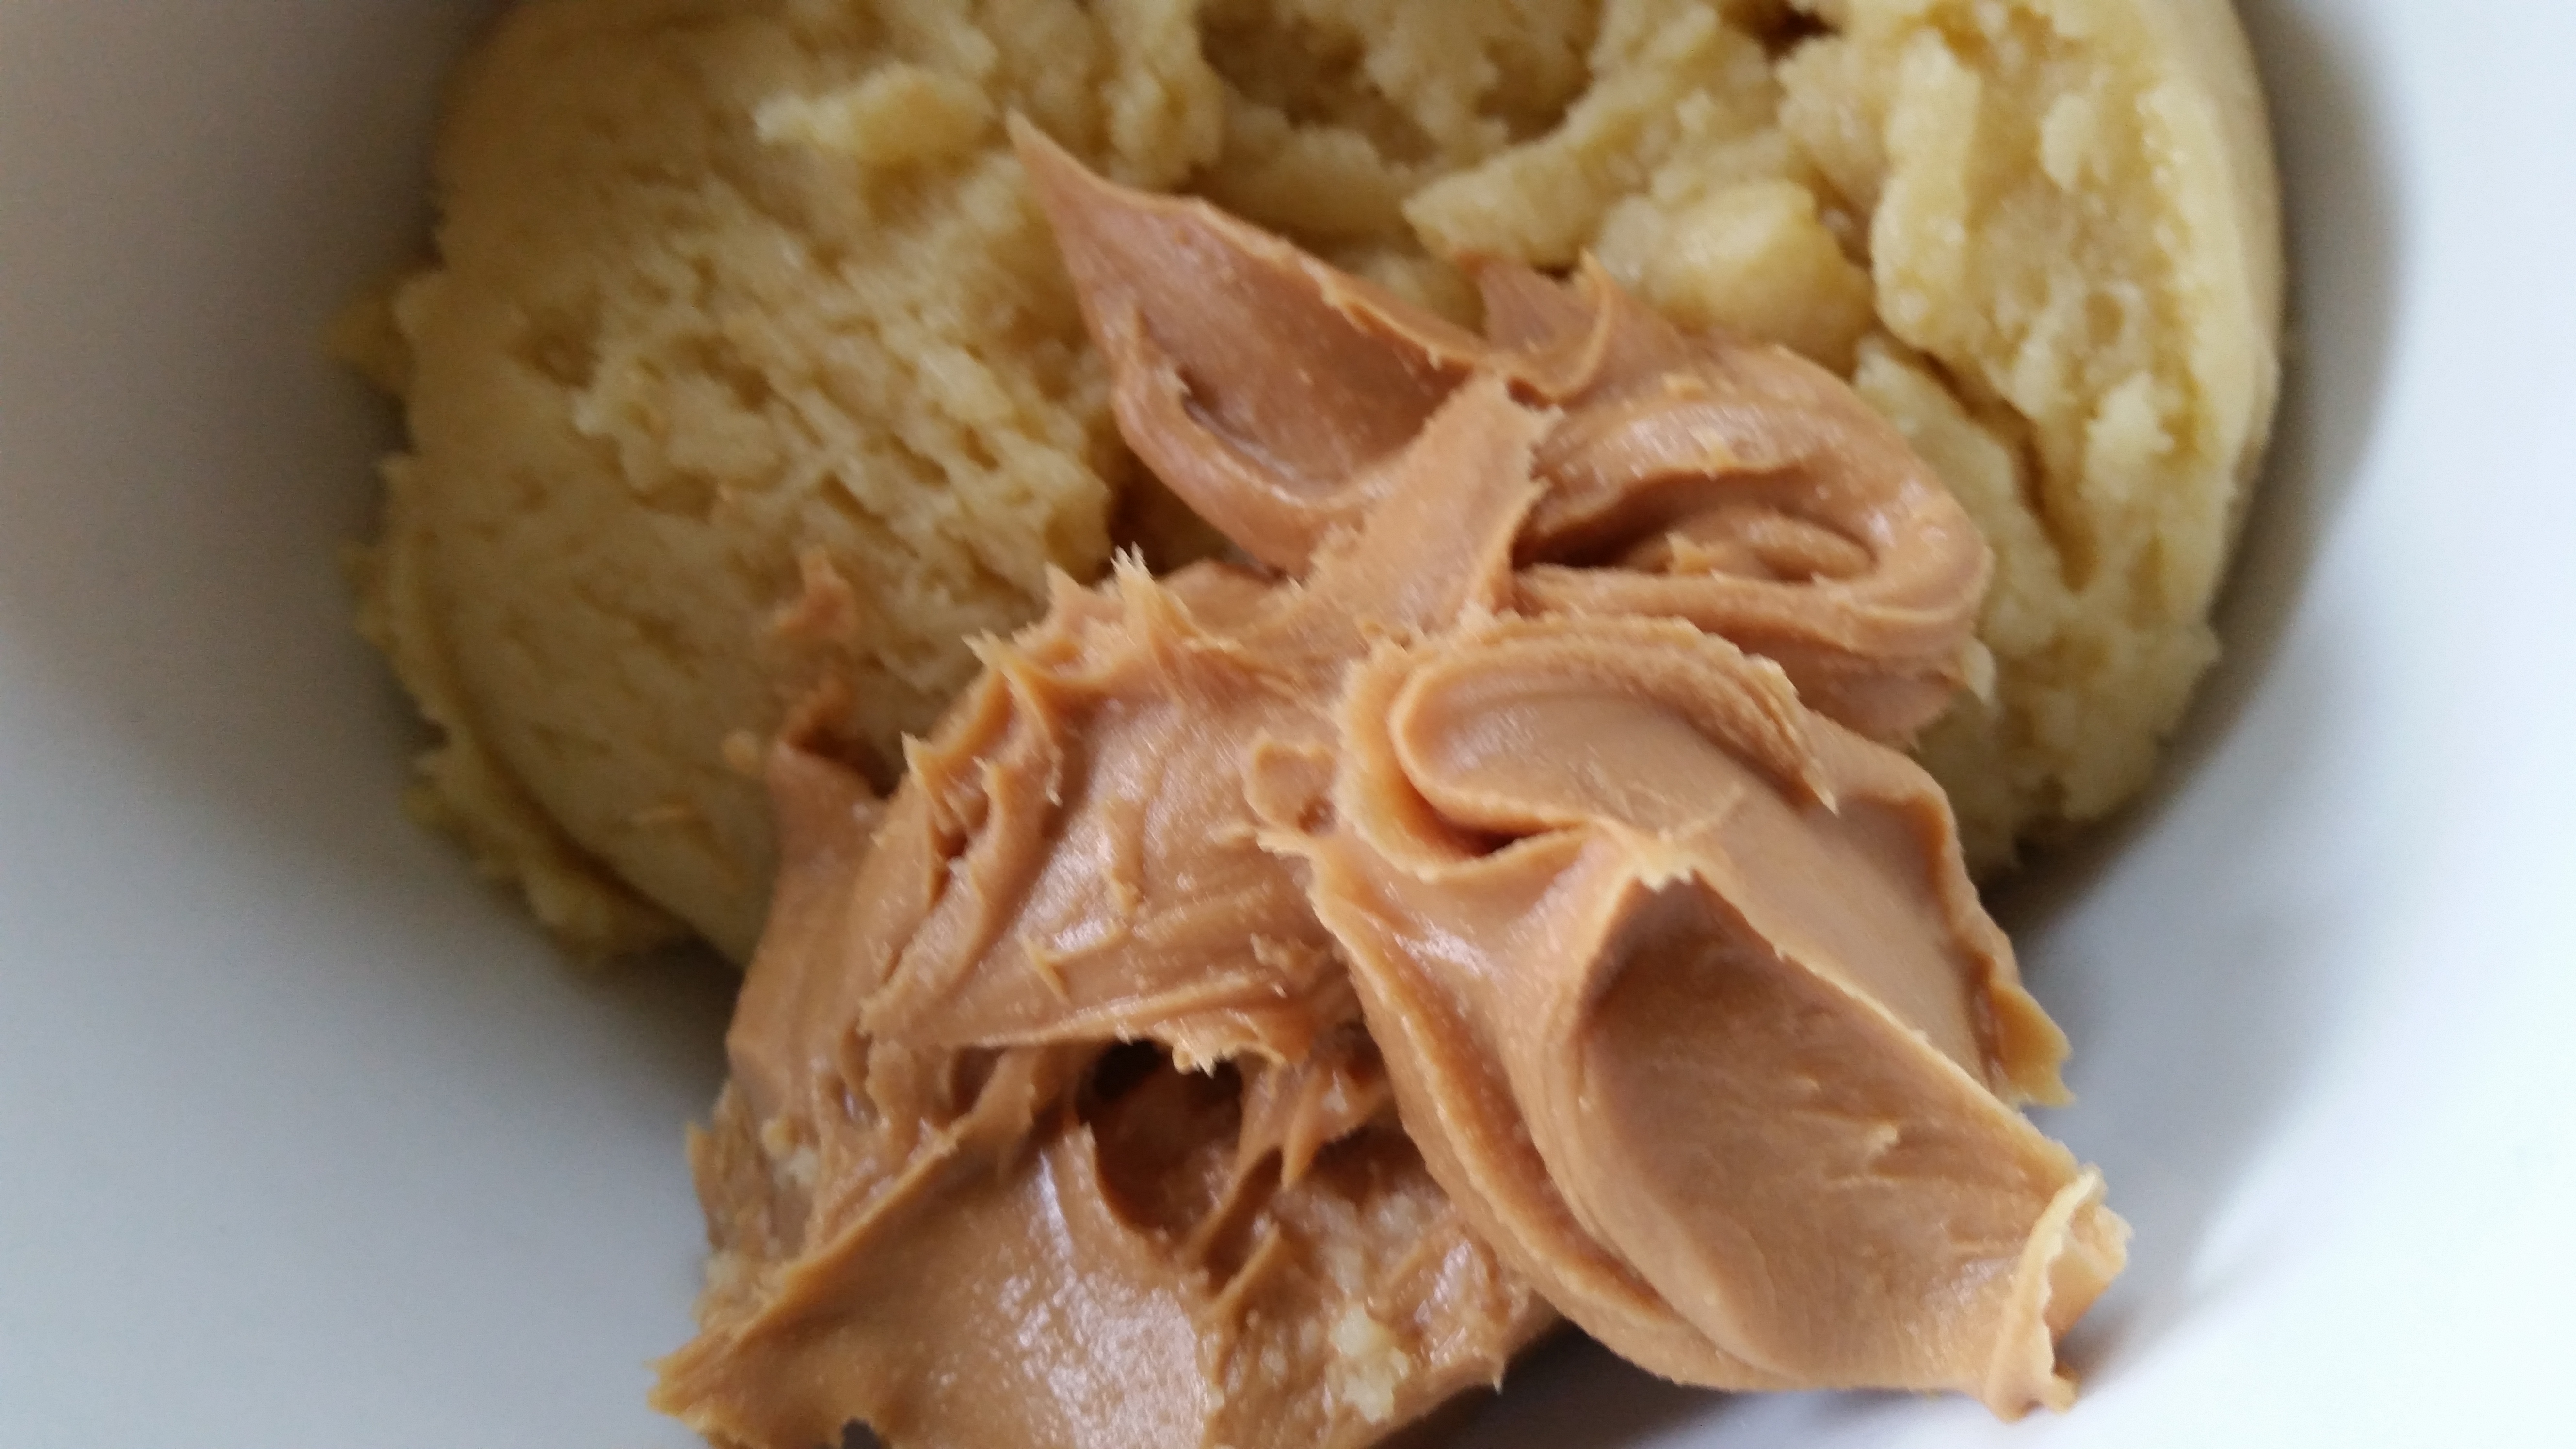
Peanut Butter
My absolute favourite, without a doubt, hand on heart were the Peanut Butter flavoured cookies. I swear, these were the best flavoured, best textured cookies I have ever eaten or made (and I’ve made and eaten quite a few over the years). If only my daughter ate peanut butter otherwise I’d make over 100 of these every time. There were very much like a shortbread consistency but still crunchy.
When you need over 100 cookies in a hurry
If you’ve ever made the 100+ cookie recipe using condensed milk before and were disappointed with the texture, like me, please give this recipe a go. It will soon become your favourite ‘go to’ recipe for making bulk cookies. This is a great recipe for bake sales, fetes, fairs, school canteens, catering, filling lunch boxes, filling the freezer with either baked cookies or cookie dough.
The Best Bulk Cookie Recipe with only 5 Ingredients
A crunchy cookie recipe that makes over 100 cookies at a time. Bake all the dough at once or freeze some and bake later. You can change the flavour of some or all of the cookie dough. There are no eggs either so a great recipe for cookie dough.
Prep Time15minutes
Cook Time20minutes
Total Time45minutes
Servings100
AuthorAnne
Ingredients
500gm buttermelted
1cupsugar
1can condensed milk
4cupsself raising flour
1cupplain flour
Instructions
Mix the melted butter, sugar and condensed milk until well combined.
Add both the self raising flour and plain flour and mix well.
Divide dough into the number of different flavour combinations you will make.
Add flavours.
Using a small ice cream scoop (or dessertspoon) roll mixture into balls and place on baking tray lined with baking paper.
Press down slightly with the bottom of a glass or a fork. (Biscuits won't spread very much.)
Bake in 180 deg C oven for approximately 15 minutes.
Wrap any unused dough into a log shape and wrap in plastic wrap.
When ready to bake, defrost and slice dough and put on baking tray and bake as per above.
Recipe Notes
Suggested flavours: - chocolate (add cocoa to flour) - chocolate chip/chunks - sultana - peanut butter - caramel candy and salt - dried apple & cinnamon - coconut - nuts - grated citrus zest - sprinkles - M&Ms - other chopped candy - Jam Thumbprint Cookies - Nutella and other nut spreads - bake in a mini muffin tray and create cookie cups (fill with desired filling) - mashed banana or other fruits and vegetables - breakfast cereal like weetbix, cornflakes or rice krispies - ginger (powdered or crystallised) - Spiced: cinnamon, nutmeg, powdered ginger - Orange and cardamom - Lemon and White Chocolate Chip - Key Lime: Lime and Coconut - Dip some or all of the cookie into melted chocolate
There's nothing the like smell of orange when it's used in baking. That's one of the great things about using seasonal fruit and vegetables. It's winter here at the moment so the oranges are absolutely beautiful. I often have the spare one leftover from the children's school lunches and I love nothing more than to use it in baking. I usually opt for some kind of cake recipe like my Easy Orange Cake which is so easy to whip up but today I opted for cookies. I was inspired by the Glazed Lemon Cookie recipe by Two Peas and Their Pod. It's absolutely dead simple and so gorgeous.
Start off with zesting all that beautiful rind off the orange. That's what gives it that deep, beautiful orange flavour.
Mix the dry ingredients together.
Then mix the combined wet ingredients. I always use the 'melt and mix' method when baking just about anything. I've not had any failures to date. No need to use an appliance to cream the butter and sugar.
I use my small ice cream scoop to form uniform sized balls and then press down gently to form a flat cookie.
Bake until golden brown. The house will be filled with a lovely, warm orange smell which is perfect for a cool winter's afternoon.
You can see all those lovely flecks of orange zest through the cookie.
After the cookies have cooled, mix together 1 cup of icing sugar and 2 tablespoons of the juice from the orange to form a glaze.
Spoon the glaze over the cookies and allow to set (if you can wait that long). As much as I love to get my kids involved in baking, which they love to do most times, there was a fight over who was going to juice the orange using my vintage glass juicer. There's something about the old fashioned way of doing things. Getting hands on and doing it the simple way is often the best. It worked back then and it still works today.
The glaze has set and the cookies are ready to be enjoyed. The recipe I used called for lemon but these would be good with any citrus like lime, mandarin, grapefruit, tangello or even cumquat, if you could manage zesting the small fruit. I'm happy to give any of them a try. This is a really good recipe and one that I'll use again.
There’s nothing the like smell of orange when it’s used in baking. That’s one of the great things about using seasonal fruit and vegetables. It’s winter here at the moment so the oranges are absolutely beautiful. I often have the spare one leftover from the children’s school lunches and I love nothing more than to use it in baking. I usually opt for some kind of cake recipe like my Easy Orange Cake which is so easy to whip up but today I opted for cookies. I was inspired by the Glazed Lemon Cookie recipe by Two Peas and Their Pod. It’s absolutely dead simple and so gorgeous.
Start off with zesting all that beautiful rind off the orange. That’s what gives it that deep, beautiful orange flavour.
Mix the dry ingredients together.
Then mix the combined wet ingredients. I always use the ‘melt and mix’ method when baking just about anything. I’ve not had any failures to date. No need to use an appliance to cream the butter and sugar.
I use my small ice cream scoop to form uniform sized balls and then press down gently to form a flat cookie.
Bake until golden brown. The house will be filled with a lovely, warm orange smell which is perfect for a cool winter’s afternoon.
You can see all those lovely flecks of orange zest through the cookie.
After the cookies have cooled, mix together 1 cup of icing sugar and 2 tablespoons of the juice from the orange to form a glaze.
Spoon the glaze over the cookies and allow to set (if you can wait that long). As much as I love to get my kids involved in baking, which they love to do most times, there was a fight over who was going to juice the orange using my vintage glass juicer. There’s something about the old fashioned way of doing things. Getting hands on and doing it the simple way is often the best. It worked back then and it still works today.
The glaze has set and the cookies are ready to be enjoyed. The recipe I used called for lemon but these would be good with any citrus like lime, mandarin, grapefruit, tangello or even cumquat, if you could manage zesting the small fruit. I’m happy to give any of them a try. This is a really good recipe and one that I’ll use again.
Growing up Mum nearly always made cornflake cookies with the leftover cornlakes lying at the botton of the box. Once the free toy was gone, we weren’t interested in them all that much. We did love the cookies though but I always find them so cumbersome to make, having to roll in cornflakes. While baking, they usually fall off so I don’t bother making them.
My son has taken quite a liking to cornflakes lately (plus a couple spoonfuls of sugar sprinkled on top I might add) so I’m lucky if I get a few leftover at the bottom of the box. The cookie tin was empty, I had some white choc chips in the pantry so a blast from the past and these cornflake cookies were made. I found rolling spoonfuls of cookie dough into balls with the cornflakes already mixed in gave a much nicer cookie with a subtle crunch. The addition of white choc chips made them a little more decadent too. Any type of chocolate would work well. This is a great recipe for the kids to get involved.
Easy Cornflake & White Choc Chip Cookies (Recipe based on www.taste.com.au)
125gm butter, melted
2/3 cup brown sugar
1 tsp vanilla essence
2 eggs
1 & 3/4 cups self raising flour
1/2 cup white choc chips
1 & 1/2 cups cornflakes
Preheat oven to 180 deg C.
Add vanilla and melted butter to brown sugar.
Add eggs and mix well
Add flour, choc chips and cornflakes to the butter mixture and stir until well combined.
Roll balls of dough onto a baking sheet lined with paper, allowing room to spread.
Bake for approximately 15 minutes or until golden brown.
What a better way to get something mixed, in the oven and decorated than with a cake mix cookie. I’ve not really tried them much before, preferring to always make them from scratch but it’s so, so easy.
You can bet your bottom dollar, around this time of the year, I’ll have a couple packets of cheap cake mix in the pantry as a leftover from the November birthday parties. They are only about 70 cents each. Not the best tasting cake but it does the job as far as a birthday party cake for kids go. They usually only lick off the icing and throw the cake away.
All you need to add to the mix is 2 beaten eggs and 1/3 cup of oil (I used vegetable oil).
The cookies come out light but firm and have a nice crunch. I just topped mine with a bit of chocolate icing and crushed candy canes. I also added 1 tablespoon of peppermint essence to the cookie mix before baking. The different flavour combinations are endless. I’m going to get some vanilla cake mixes to throw in the pantry, just for quick easy cookies. For 70 cents a pack plus the cost of a couple eggs, it’s a cheap way to go and everything is already measured out for you.
Choc Peppermint Cake Mix Cookies
1 packet of chocolate cake mix
2 eggs, beaten
1/3 cup oil (any kind will do)
1 tablespoon peppermint essence
chocolate icing and crushed candy canes to decorate
Preheat oven to 170 deg C.
Add beaten eggs, oil and essence to cake mix and stir well.
Drop balls of dough on a baking tray lined with baking paper.
Bake for approx 15 minutes or until slightly browned.
Once cooled, decorate with a small amount of chocolate icing and crushed candy canes.