Showing posts with label coconut. Show all posts

Tuesday, August 28, 2018

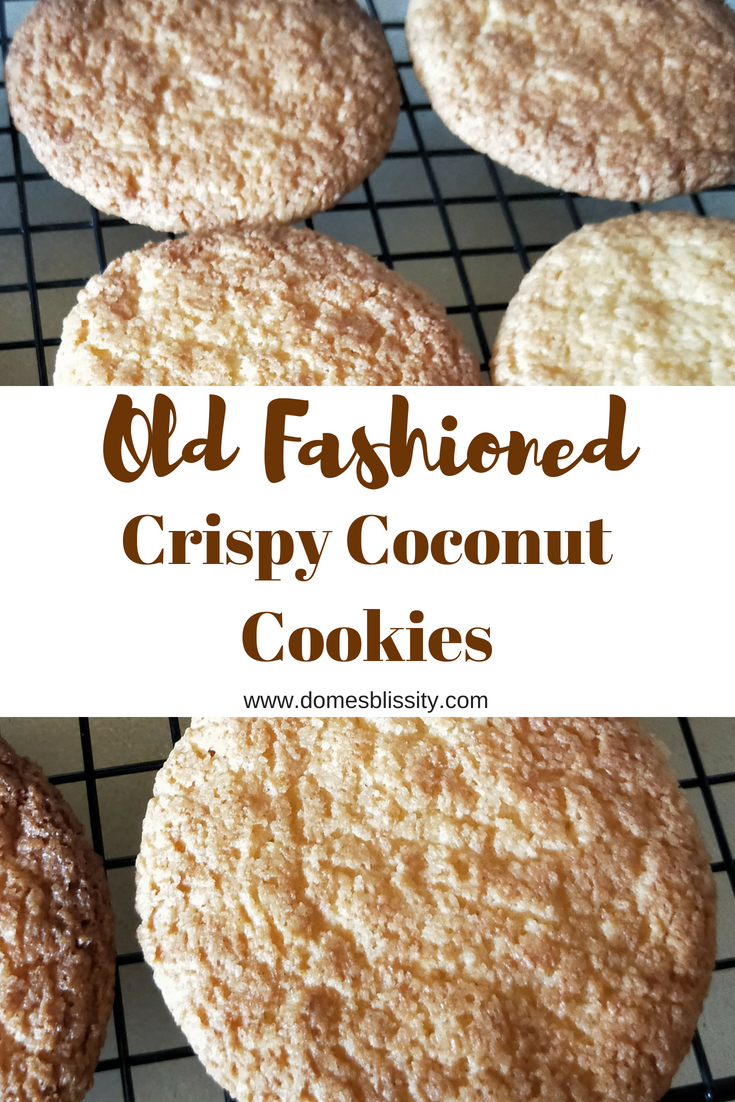
Old Fashioned Crispy Coconut Cookies

You know when you get that craving for something simple, like an old fashioned, crispy coconut cookie? Well anything simple and cooked with a couple of ingredients? I had been dreaming of a particular cookie and how I would make it so thought I’d start with this old fashioned crispy coconut cookie.

Old fashioned crispy coconut biscuits www.domesblissity.com

I found this recipe online which reminded me of a recipe my Mum used to make. If I went through Mum’s old recipe book I’m sure I would’ve found it. It’s one of those ‘melt and mix’ recipes which I love so much.

Old fashioned crispy coconut cookies www.domesblissity.com

I love these easy melt and mix recipes. Anything that’s quick and easy for me.

Old fashioned crispy coconut cookies www.domesblissity.com

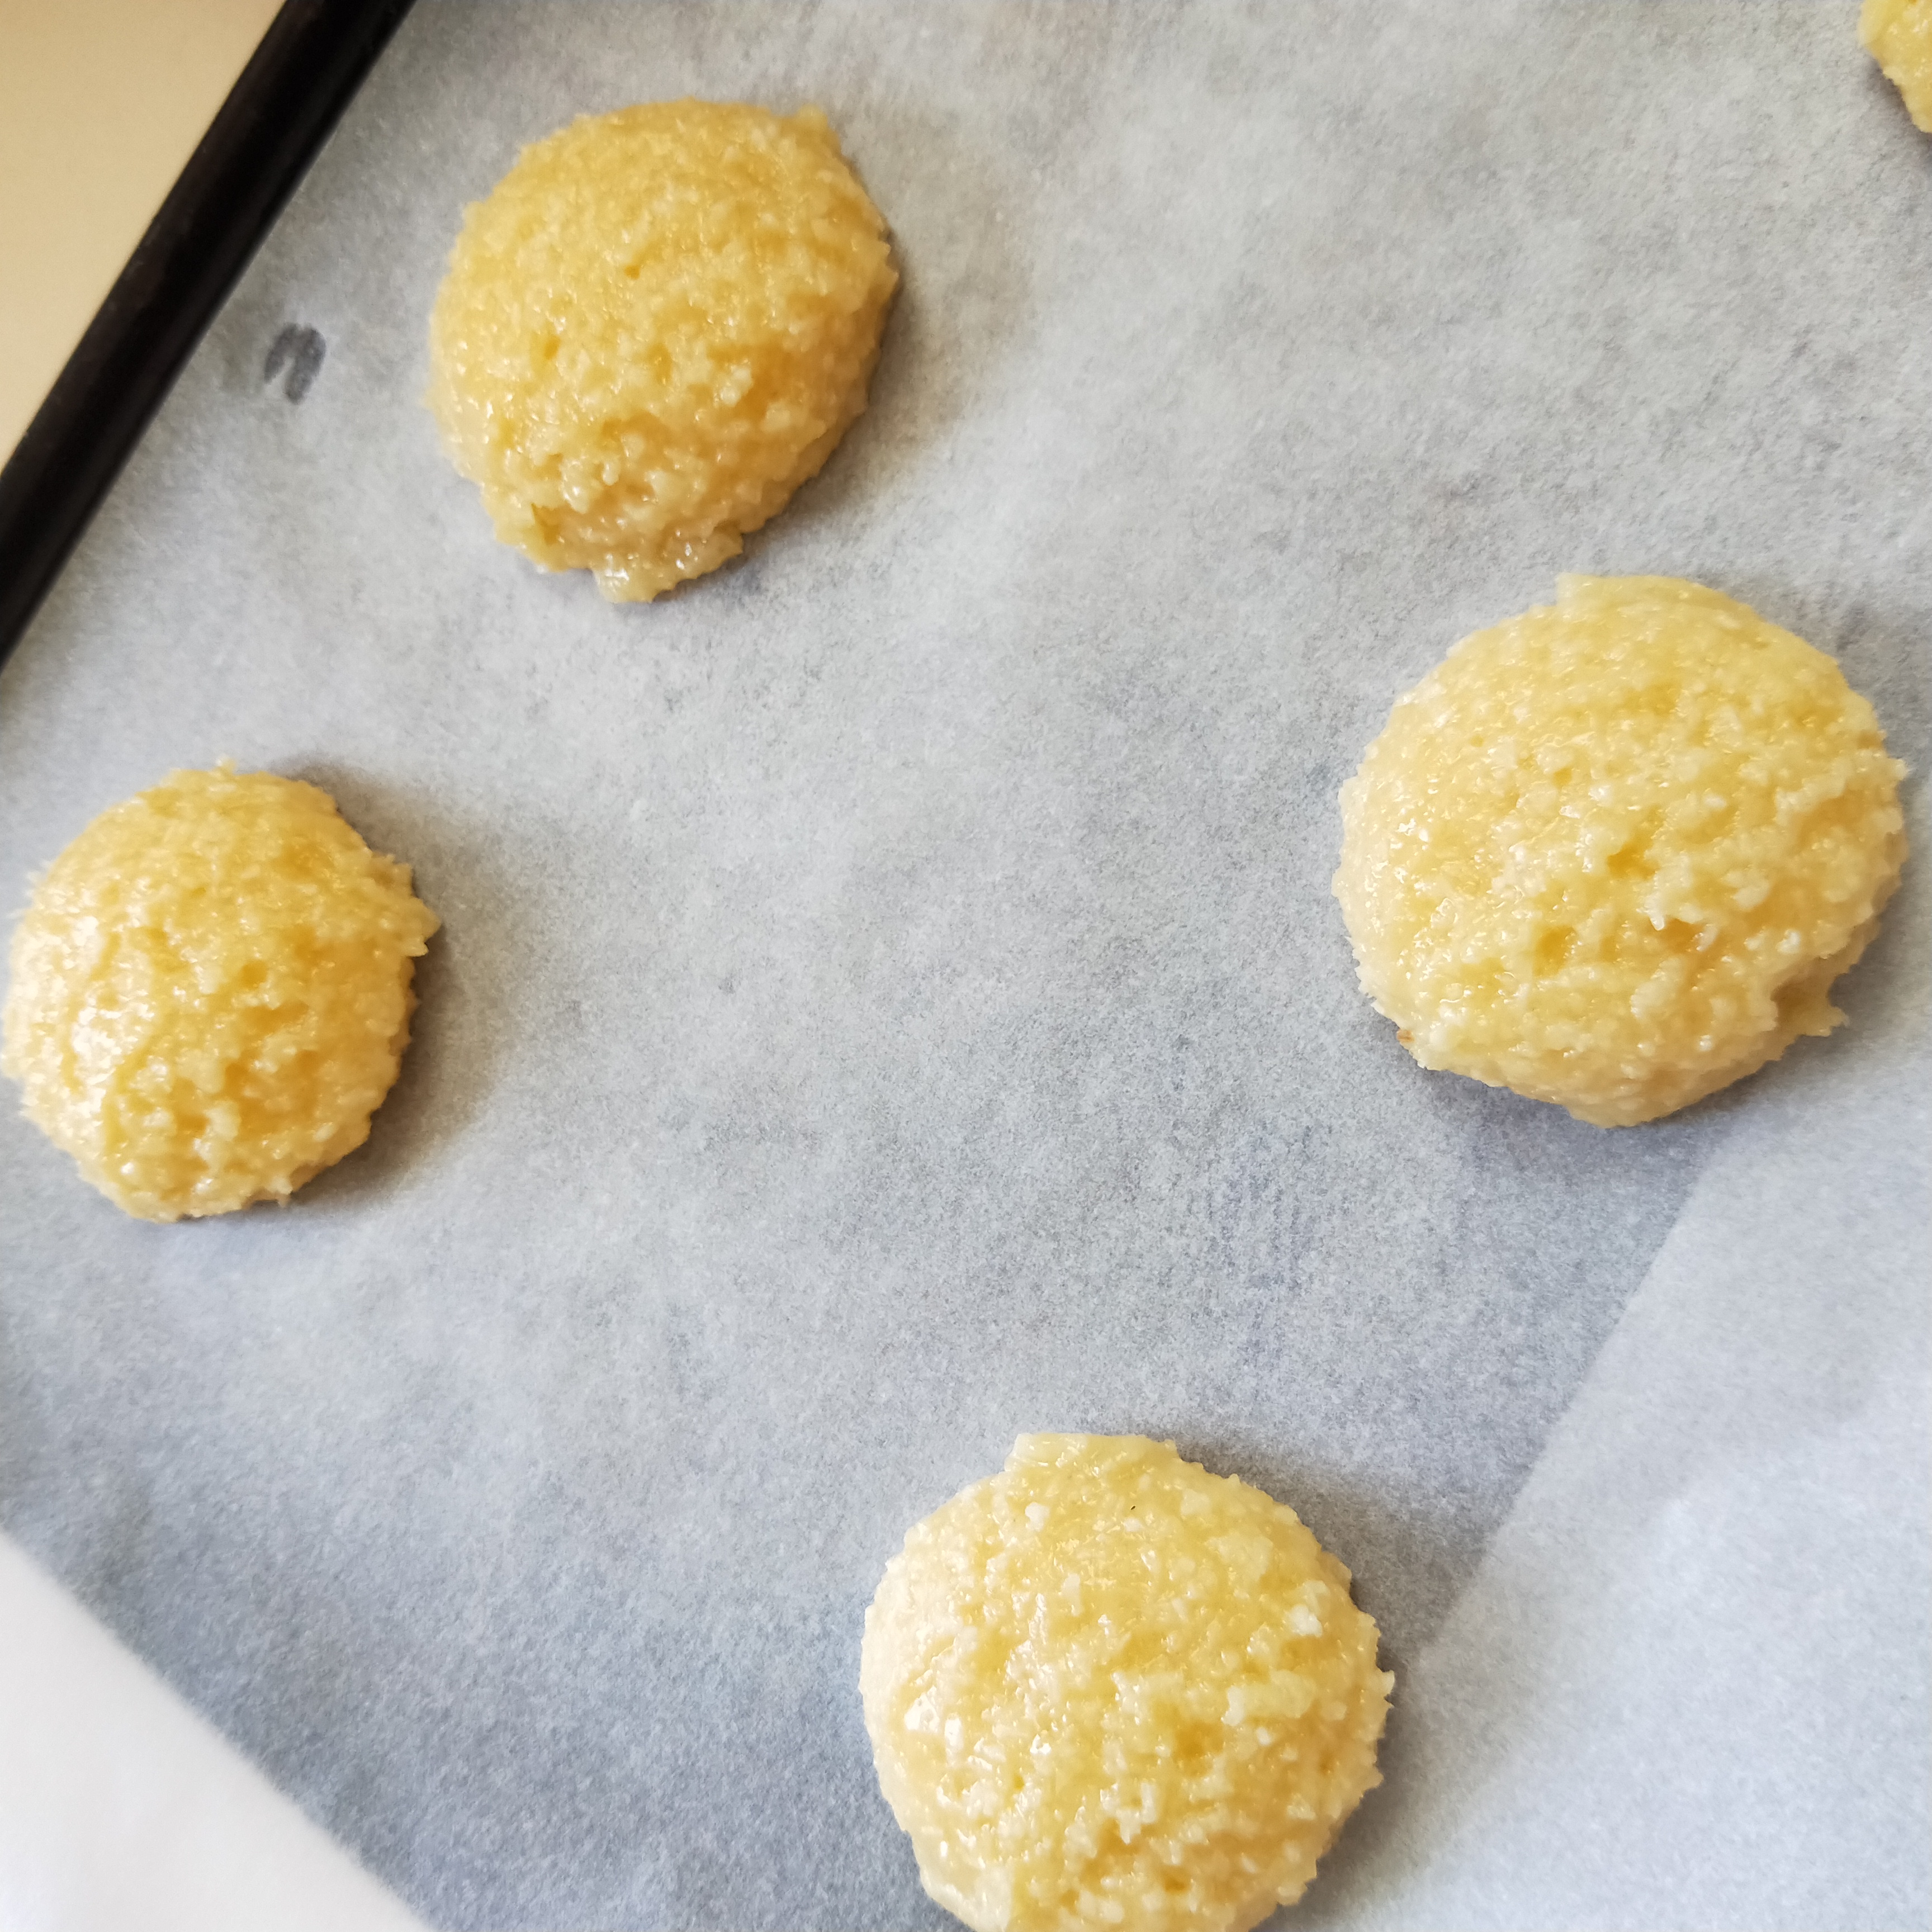
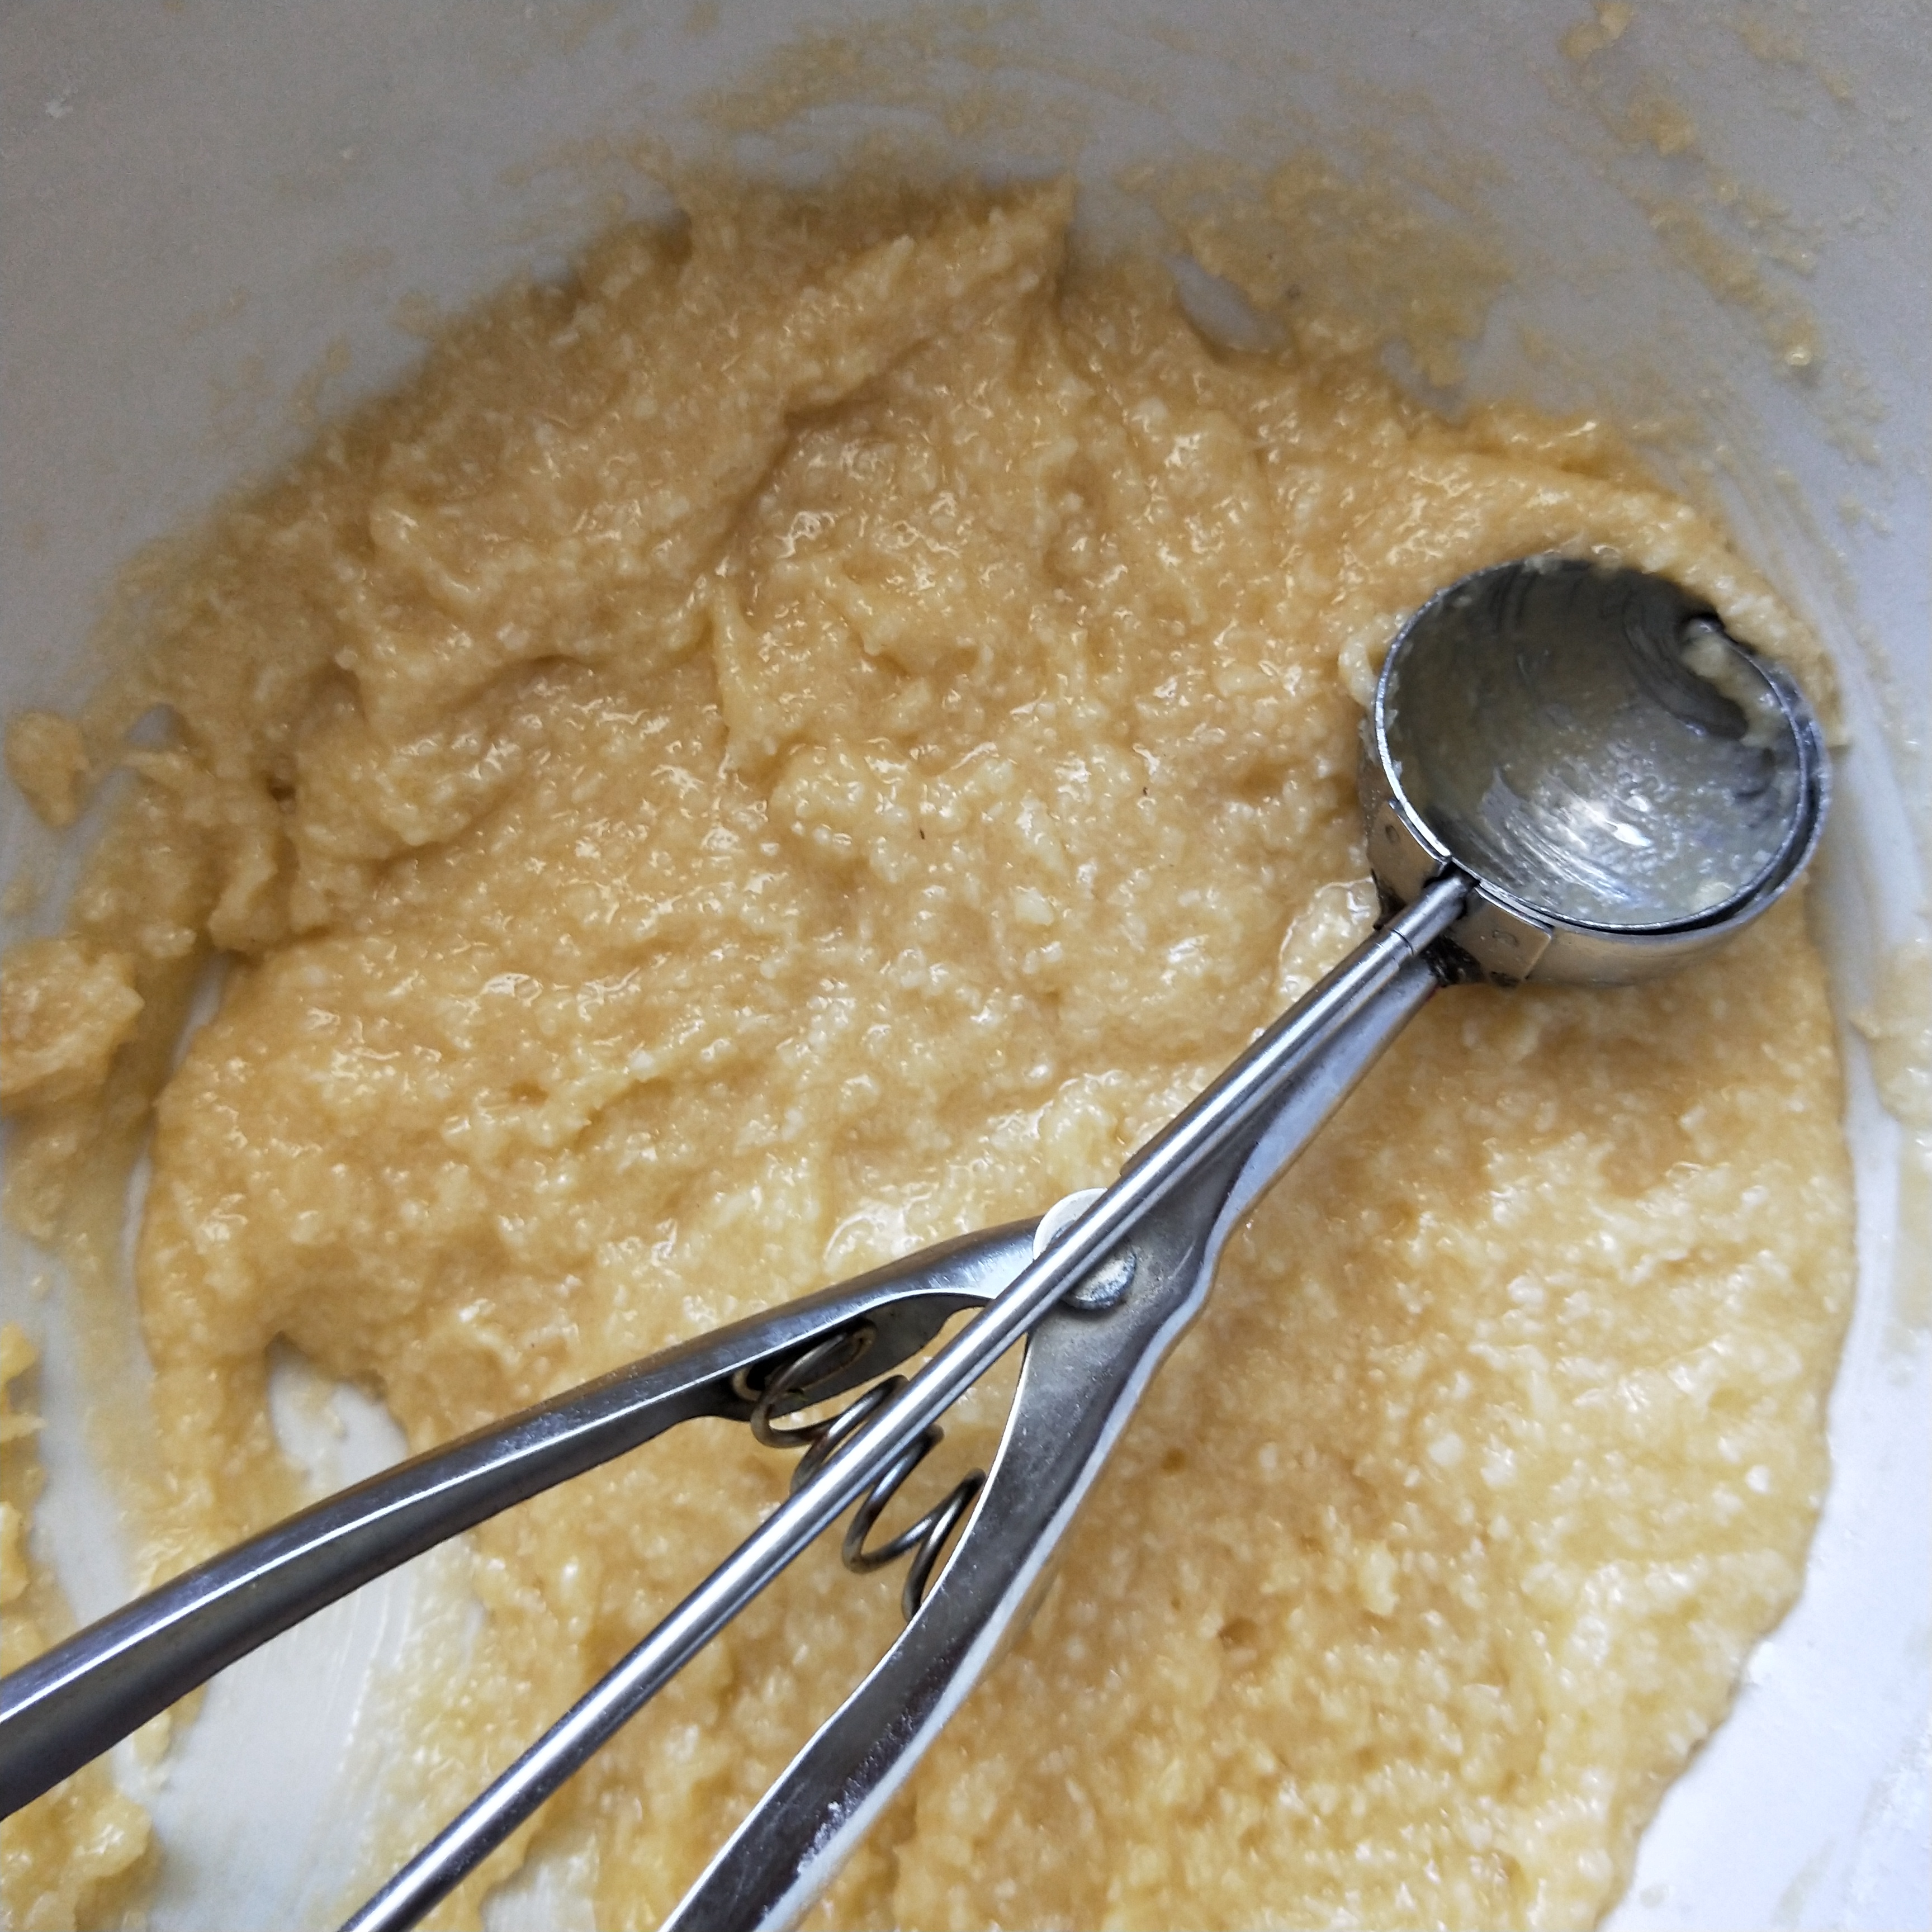
I used my small ice cream scoop for the cookies. They did turn out a bit larger than I would’ve liked so you would get a lot more cookies if you used say a teaspoon to drop the mixture onto the baking tray.

Old fashioned Crispy Coconut Cookies

A simple and quick, melt and mix cookie recipe with only 5 ingredients everyone should have in their pantry.

Keyword coconut, cookies, melt and mix
Prep Time 5 minutes
Cook Time 20 minutes
Total Time 25 minutes
Servings 16 large cookies
Author Anne Murphy

Ingredients

  • 1 cup self raising flour
  • 1 cup coconut
  • 1 cup sugar
  • 1 egg
  • 1/2 cup butter melted

Instructions

  1. Combine all ingredients.

  2. Add spoonfuls (or I used a small ice cream scoop) to a baking tray lined with baking paper. 

  3. Bake in a 180 deg C oven for approx 20 minutes or until lightly golden.

  4. Allow to cool. They will go crispy upon cooling.

Old fashioned crispy coconut cookies www.domesblissity.com


Wednesday, September 13, 2017

Homemade Apricot Coconut Bites

I’m always trying to change up the lunch box snacks in the kid’s school lunches (well, for my son really because my fussy daughter’s selection hardly ever changes) so when I’m at the supermarket, I look at what snacks are available and think about making them from scratch at home. I can remember my Mum making something similar and thought I’d try a batch of Homemade Apricot Coconut Bites.

Homemade Apricot & Coconut Bites www.domesblissity.com

The best part about having a well stocked pantry is that you can make this sort of thing all the time if you run out of snacks for the kids. It doesn’t haven’t to be apricots. If you have any dried fruit like sultanas, apples, pears, dates or any other sticky dried fruit. I always have coconut and oats so these were going to be really easy to make.

Homemade Apricot & Coconut Bites - www.domesblissity.com

These are the type of snack I see in the supermarket. These are around $2.75 and there are 5 serves in the packet. As you see in my photo up top, I got about 16 slices from the batch I made and 2 small pieces in my son’s lunch box was enough to keep him going. It also kept well in the fridge but you could freeze if you wanted to keep it longer. I found it nice on a fruit and cheese platter for a quick lunch for myself. Just something a little bit different from the usual sandwich.

Homemade Apricot & Coconut Bites www.domesblissity.com

You could chop the apricot finely if you didn’t have a food processor but I whizzed up all the ingredients in my trusty food processor.

Homemade Apricot & Coconut Bites www.domesblissity.com

Next, spread out mixture onto a sheet of laid out plastic wrap.

Homemade Apricot & Coconut Bites www.domesblissity.com

Form a log shape.

Homemade Apricot & Coconut Bites www.domesblissity.com

Roll up into a ‘sausage’ shape and refrigerate for about 30 minutes.

Homemade Apricot & Coconut Bites www.domesblissity.com

Unroll from the plastic wrap and sprinkle with more coconut and roll, ensuring that the entire ‘log’ is covered in coconut.

Homemade Apricot & Coconut Bites www.domesblissity.com

Slice into about 1cm (.5″) slices and store in a suitable container in the fridge or freezer until required.

This was so easy. I didn’t have to add any extra sugar like I’m sure the store bought version had and they tasted exactly the same. My son loved them and they’ll be a regular in lunch boxes to come for sure. They’d also work well rolled into a ball then rolled in the coconut if you wanted to make those energy type bliss ball snacks. This would also be a great seller at fetes and fairs.

Homemade Apricot & Coconut Bites

A delicious snack for school lunch boxes or a fruit and cheese platter. Great to sell at fetes and fairs for a healthy alternative to sweets.
Prep Time 15 minutes
Total Time 15 minutes
Servings 8
Author Anne Murphy

Ingredients

  • 1 cup dried apricots
  • 1 cup coconut
  • 1 cup rolled oats
  • 2 tablespoons of honey add extra if too dry or add more oats if too wet
  • extra coconut for rolling

Instructions

  1. Using a food processor, combine all ingredients and pulse until apricot has been finely chopped and all ingredients incorporated.
  2. If you don't have a food processor, finely chop apricots and combine all ingredients.
  3. Turn out mixture on a sheet of plastic wrap.
  4. Press into a log shape and roll up the sheet of plastic wrap until a log shape forms.
  5. Refrigerate for approximately 30 minutes.
  6. Unwrap from plastic wrap and roll the log shape into extra coconut.
  7. Cut into 1cm (.5") slices.
  8. Refrigerate until required.
  9. Suitable to freeze.

Recipe Notes

Substitute apricots with other similar sticky dried fruit like dried pears, peaches, sultanas or dates.
Can be rolled into a ball shape and rolled in coconut.

Homemade Apricot Coconut Bites www.domesblissity.com

Tuesday, December 22, 2015

Christmas Granola

christmas-granola

Who doesn’t love the ‘smells’ of Christmas wafting through their house when baking? I know I do but Christmas time in Australia is hot and not the most ideal time to be baking. That’s why I love this Christmas Granola.

It’s annoying because even working with chocolate or butter is hard and it’s the time of the year when I really enjoy giving homemade food gifts. I love a nutty, crunchy granola mix and I thought this would be an ideal gift. The oven isn’t on for long, you could quite possibly make it under the griller (if you’re quick) and there’s no chance of it melting before you give it to your intended recipient.

20151221_103915-001

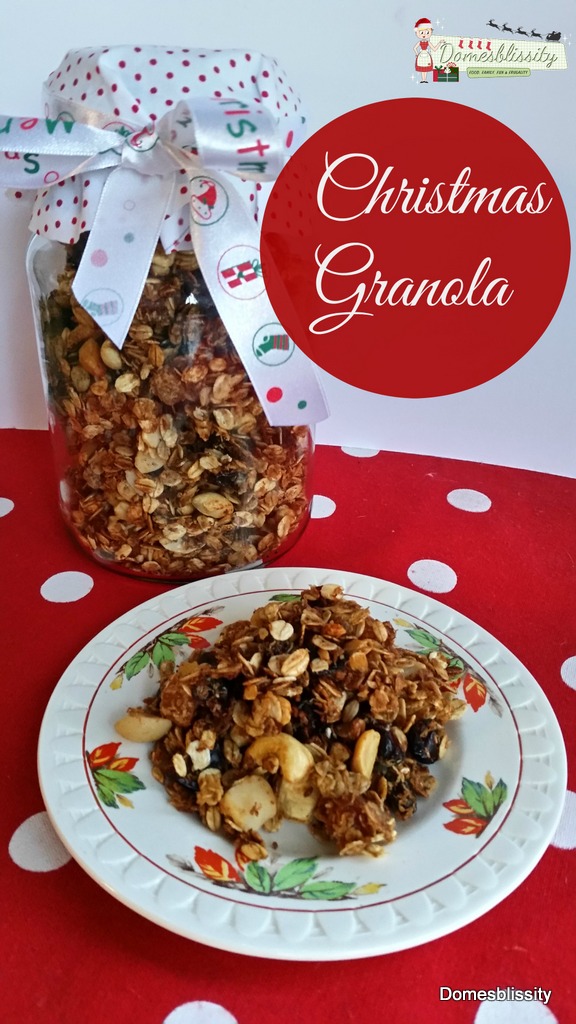
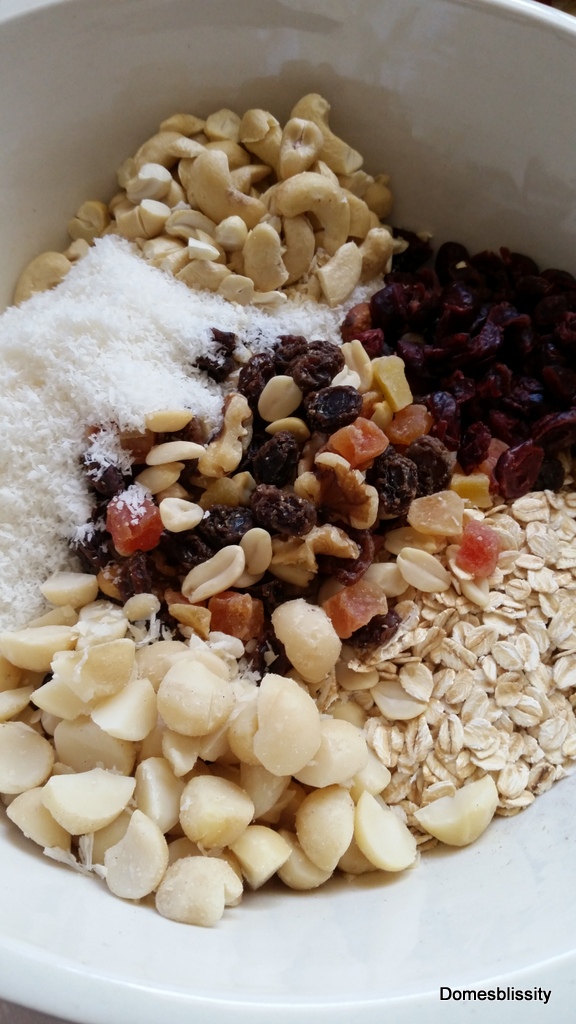
This is also an excellent opportunity to use up bits and pieces of nuts and dried fruits you might have in your pantry (not that you want to give your friends and family ‘bits and pieces’ but I always have half used bags of nuts and dried fruit in the pantry, waiting to be used in one recipe or another. I was pretty well stocked up as it worked out so made sure I packed this granola with macadamias, cashews, a fruit and nut mix and dried cranberries. You could go crazy with any kind of dried fruit or nut.

20151221_104034-001

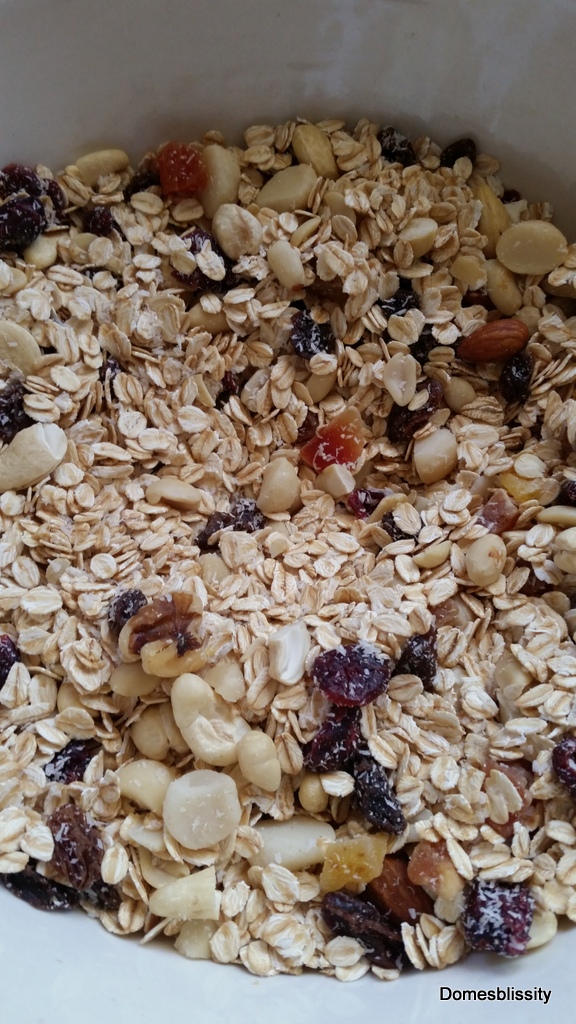
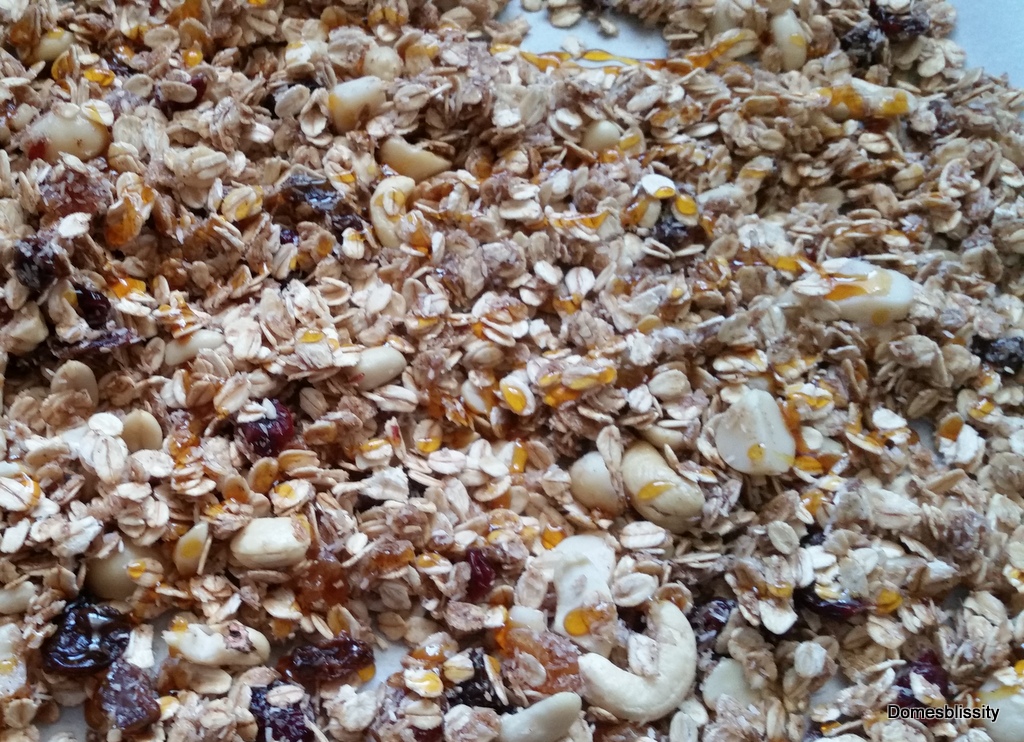
Once you’ve decided on your ingredients, mix well.

20151221_104808-001

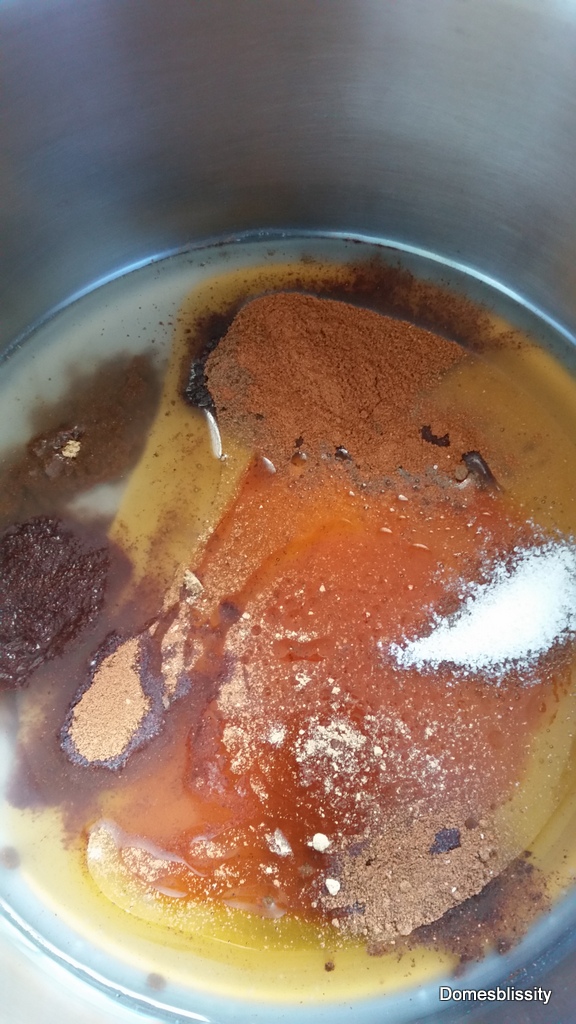
You can use any kind of oil here but I opted for coconut oil and added honey and golden syrup.

20151221_104909-001

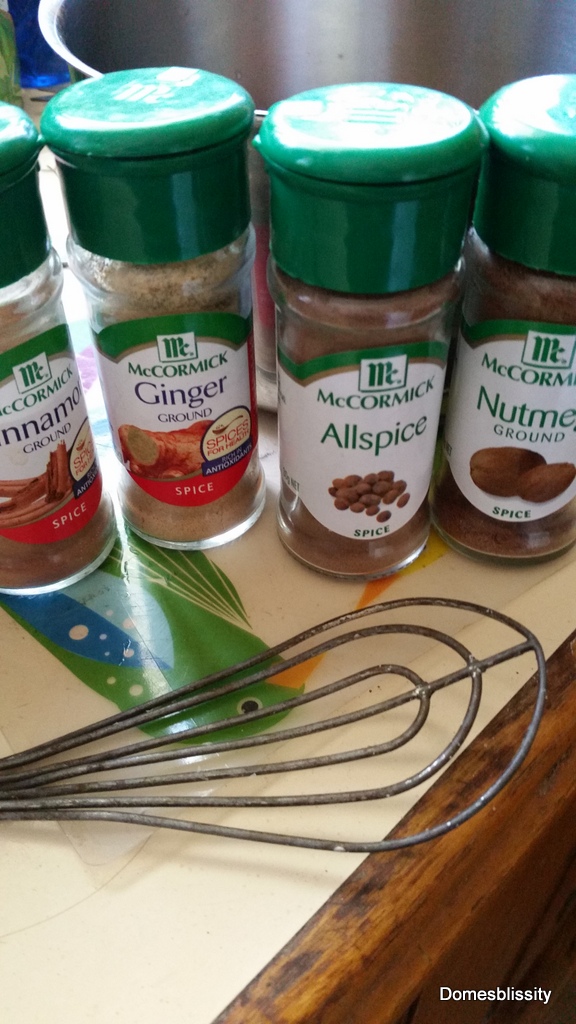
My spices are always stocked up with the McCormicks range of spices and all those lovely spices of Christmas are added to the oil and honey mixture.

20151221_105242-001

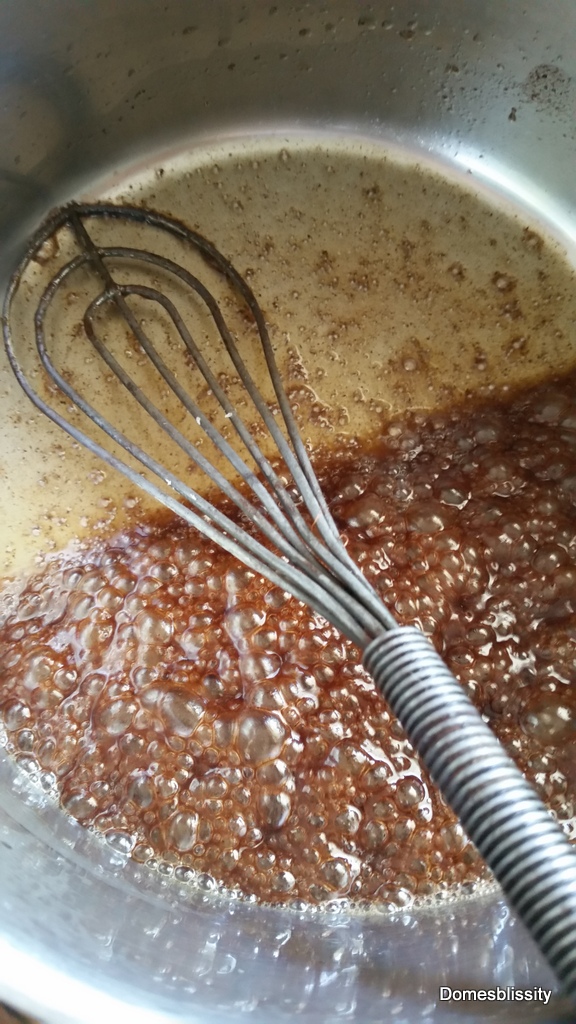
Once they’ve been boiled on the stove for about 3 minutes or until bubbling, add to the granola mix.

20151221_105618-001

Spread on a baking tray lined with baking paper and just for a little extra sweetness and stickiness, add another drizzle of golden syrup.

20151221_112302-001

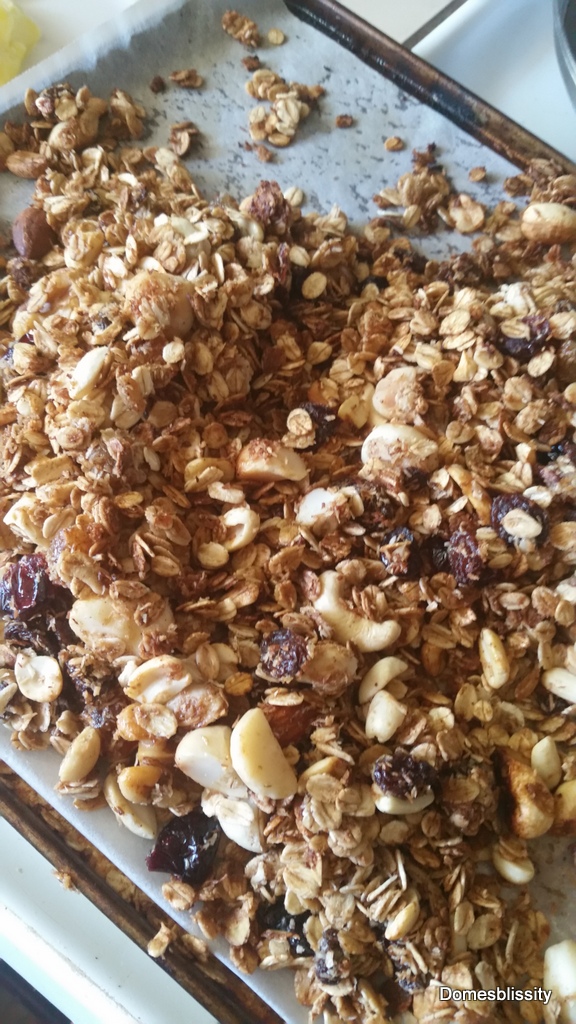
Bake for about 30 minutes, making sure you turn over every 10 minutes and until golden and crunchy.

20151221_182944-001

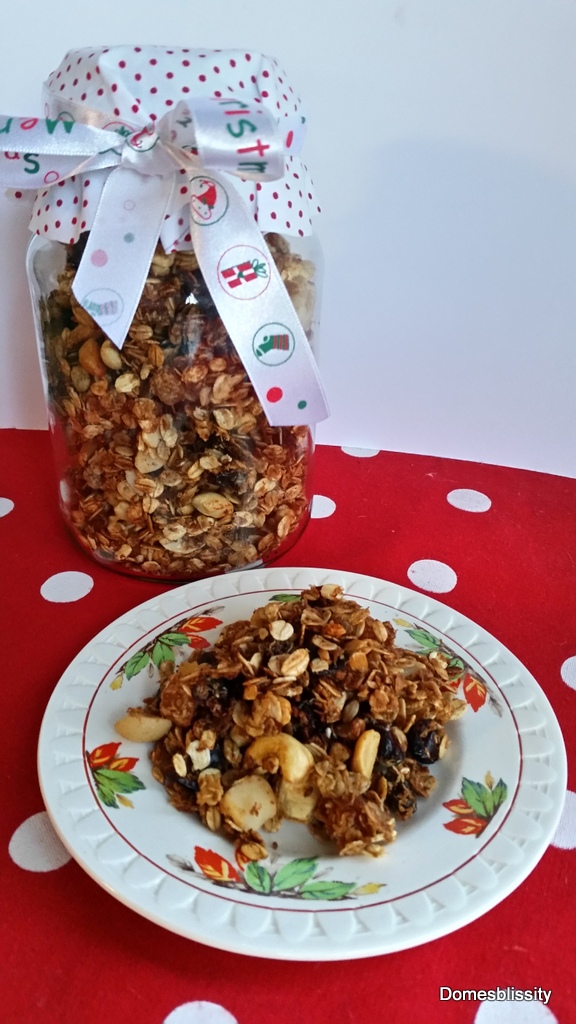
Allow to cool and put in a glass jar ready for Christmas gifts. I made one big jar for a family friend and have enough for 2 more presents or 1 big lot for our family to enjoy.

12142181_1664640093812149_1051594717_n

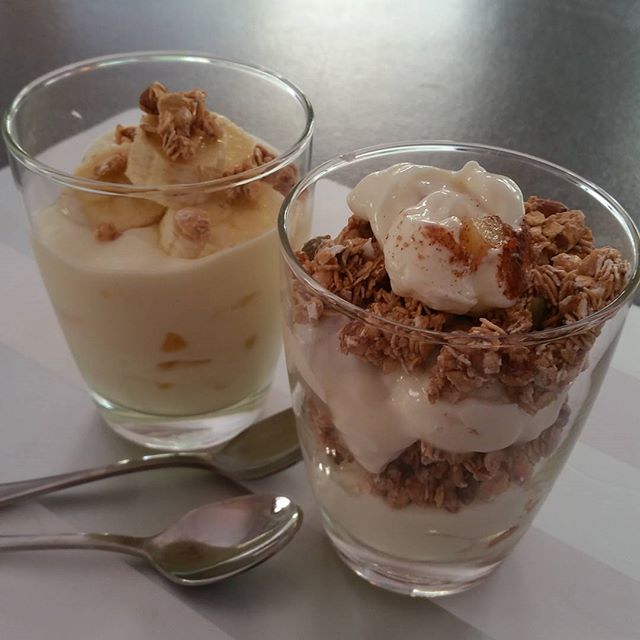
You can use the granola in so many ways like layered with Greek plain (or flavoured) yoghurt (above) for breakfast or dessert. You can sprinkle it on ice cream, eat it for breakfast with milk/yoghurt and chopped fruit. You could make it into granola bars or use for a topping on a crumble/fruit crisp. I had to make sure I put it away because I couldn’t stop nibbling on it. It’s very more-ish! This is of course enjoyable all year round. Why save it just for Christmas?

Christmas Granola

A delicious, crunchy, golden blend of oats, nuts and dried fruit flavoured with the spices of Christmas.
Prep Time 5 minutes
Cook Time 30 minutes
Total Time 35 minutes
Servings 12
Author Anne Murphy

Ingredients

  • 3 cups oats
  • 1 cup coconut
  • 1/2 cup raw macadamia nuts roughly chopped
  • 1/2 cup raw cashew nuts roughly chopped
  • 1 cup fruit and nut medley mix
  • 1/4 cup honey
  • 2 tbs golden syrup
  • 2 tbs coconut oil or olive oil
  • 1/4 cup brown sugar
  • 1/4 tsp allspice
  • 1 tsp cinnamon
  • 1/4 tsp nutmeg
  • 1/4 tsp salt

Instructions

  1. Preheat oven to 170 deg C (375 deg F).
  2. Mix oats, fruit, nuts and coconut together.
  3. In a small saucepan, add brown sugar, spices, oil, honey and syrup.
  4. Melt over a medium heat until bubbling for about 3 minutes.
  5. Add to granola mix.
  6. Spread in a single layer on two baking trays lined with baking paper.
  7. Bake for approximately 30 minutes or until golden, ensuring that you toss the granola mix every 10 minutes so it doesn't burn.

Wednesday, December 16, 2015

Bounty (or Almond Joy) Fudge

bounty-fudge-1

You know, I’m my own worst enemy when it comes to stumbling upon good, easy, cheap, frugal etc etc recipes. They soon become my ‘go to’ recipes and my mind is always ticking about how I can change the flavours. Doesn’t everyone think about food constantly like I do? This fudge recipe came about when I was dreaming thinking about candy bars and I wondered how I could transform one of my favourite bars into my microwave fudge recipe and it worked. I was pleased how well it worked out.

20151202_131657

In my Best (& Easiest) Sweet Recipes for Gift Giving ebook, I have two fudge recipes. There’s the two ingredient fudge you can make from a couple store bought ingredients and a good standby but I much prefer this recipe made with basic pantry ingredients that just about everyone should have on hand. There’s no stirring on the stove, no special ingredients. Just whack it in the microwave to melt the butter and/or chocolate.

20151202_131936

I would go on to say this is the best ever fudge recipe I’ve ever come across and it will be my standard for all different flavour combinations.

20151202_132055

If you don’t know what “Bounty” or “Almond Joy” candy bars are, they are delicious creamy coconut centred bars, smothered in chocolate with the Almond Joy bar having an additional whole almond. I didn’t add the almond in this recipe but you could quite easily add one whole almond every inch, approximately where you’d be cutting the fudge, or crush them and sprinkle on top of the chocolate.

20151202_132919

As usual, I was stretched for time and I swear, this fudge was made in about 10 minutes flat. It doesn’t take long to set either so early taste testing was possible. I don’t want to serve my family something that was inedible, right?

bounty-fudge-prep

There was no time for fussing so I just pressed the coconut layer onto the chocolate fudge layer, smothered it in chocolate and it was done.

20151202_163225

The result was amazing. I reckon it cost less than $5 to make and there was heaps of it. 

20151202_163159

This is yet another recipe to put in the ‘vault’ as my go to fudge recipe. I can’t wait to try making it into other flavours. Did I say that? Just don’t let the scales know!

 bounty-almond-joy-fudge

As a special offer to my readers, I’m offering my Best (& Easiest) Sweet Recipes for Gift Giving ebook at 50% off so you can try this fudge recipe and the other recipes in the book for last minute Christmas gift giving. Just enter FUDGE50 as the coupon code to receive the discount. All it will cost is a bit of loose change. This will be your ‘go to’ sweets recipe book when it comes to making fudge, coconut ice, marshmallow and all those other family favourites that people love to receive and people love to buy at bake sales and fetes. Below are the variations to the recipe in the ebook. Hope you give it a try. It’ll be a book that you can pass down to your children for easy sweet making.


Variation to Fudge (1) Recipe in ebook

Additional ingredients:

  • 1/2 cup coconut
  • 1/2 cup chocolate melts
  • Additional 1/2 cup chocolate melts for topping
  • Additional 1/4 cup crushed almonds for topping (if making Almond Joy fudge)
  1. Omit cocoa powder from ingredients.
  2. Halve mixture.
  3. To one half add 1/2 cup coconut.
  4. To other half add 1/2 cup melted chocolate.
  5. Press chocolate half of mixture into a 9″ x 9″ square pan lined with baking paper.
  6. Lightly press the coconut layer on top.
  7. Spread 1/2 cup of melted chocolate on top.
  8. Refrigerate until set.

Note:
You could change the chocolate to dark or white.
For “Almond Joy” fudge, sprinkle with crushed almonds before setting in fridge.

Monday, July 6, 2015

Slow Cooker Pineapple & Coconut Self Saucing Pudding

pineapple & coconut self saucing pudding

Did I mention how much I hate winter? Well, I do and it’s not even technically cold here in Queensland, the Sunshine State. It might get down to as low as 8 deg C (46 deg F) overnight (sometimes cooler) and the average temperature during the day is around 20 deg C (68 deg F). I don’t handle the cold too well. The only thing I like about winter is the food. Being a warm climate for about 9 months of the year, we don’t really ‘do’ soups, stews and puddings so for these couple of cold months I like to make the most of the more hearty recipes. Any kind of self saucing pudding is great and I had a fresh pineapple so Pineapple & Coconut Self Saucing Pudding it was.

This recipe is a good one to use as a standard for any flavour. Use whatever seasonal produce you have or add cocoa for a chocolate version. It produces a light spongy pudding.
The pineapples are full of juice and extra sweet at the moment. I have to stop myself from eating too much otherwise I suffer from ‘furry tongue’.
Damien’s mother gave me all of her appliances once she moved into the nursing home and other kitchen things and even though I do have a slow cooker, I love the size of this little one. It was just perfect for a self saucing pudding. You need to give it a light spray with oil to avoid sticking.
The method is pretty much the same as you would make for an oven or microwaved self saucing pudding.
You put the pudding mixture in the dish and carefully pour over the liquid.
I cooked this one on low for approximately 2 hours. It’s just a matter of inserting a skewer and checking that the top half of the pudding has set. You can see in the photo above all the bubbly sauce oozing up the sides of the dish.
Served with ice cream, this was really good. I’m going to remember doing them in the slow cooker from now on as I can just mix it, set it and leave it until dinner time and it keeps warm in the slow cooker. Hope you give this one a try.
Slow Cooker Pineapple & Coconut Self Saucing Pudding
  • 1 cup self raising flour
  • 1/2 cup sugar
  • 60 grams butter, melted
  • 1/2 cup milk
  • 1 cup fresh or canned pineapple, chopped
  • 1/2 cup coconut
  • 3 tablespoons golden syrup
  • 1 1/2 cups hot water
  • 25 grams butter, melted


  1. Combine flour, sugar, coconut.
  2. Add melted butter and milk and gently fold through flour.
  3. Add pineapple.
  4. Place in a greased slow cooker (or dish for baking in the oven or microwave).
  5. Combine syrup, hot water and extra 25 grams melted butter.
  6. Gently pour liquid over pudding batter.
  7. Cook in slow cooker on slow for approximately 2 hours.


Tuesday, May 5, 2015

Easy Coconut Custard Pie (Impossible Pie)

When I think of “Impossible Pie”, I think of the savoury kind. You know the old ‘shake and bake’ pie that has been doing the rounds for years? I remember my sister giving me the recipe for that years ago and it’s a great recipe to have to whip up a quick crustless quiche for a mid-week dinner. Just throw all the ingredients together, the crust forms from the little bit of flour added and the cheese added makes it go golden on top. It’s one of my favourite ‘go to’ recipes.
But when I met my fiance, he talked about Impossible Pie being his favourite pie. I made him the savoury one and he said “that’s not it, it’s supposed to be sweet and taste like coconut”. After a little bit of research this is what I found out about the ‘amazing’ Impossible Pie.

“Amazing. Mysterious. It could be none other than Impossible Pie, one of the most successful corporate recipe projects in the U.S. food-marketing history. Versions of Impossible Pie were also named Mystery Pie or Amazing Coconut Pie. By any name, though, Americans took to the easy recipe that is adaptable for making both sweet dessert pies and savory meat, vegetable and cheese pies. Back when quiche was trendy, the Impossible Pie formula called for ingredients similar to those for quiche yet eliminated the need to make a separate pastry crust…Not one but two huge food corporations benefited by popularizing the simple recipe formula for the Impossible Pie mixtures: the two big “Generals.” One was the Minneapolis-based General Mills, home of mythical Betty Crocker and maker of Bisquick all-purpose baking mix. The other was General Foods of White Plains, N.Y., marketer of Angel Flake processed coconut…The real mystery: Where did this recipe originate? We know the two “Generals” took a basic formula and then developed variations to showcase their respective products. Lisa Van Riper, spokeswoman for Kraft General Foods, said the company’s well-advertised recipe for Amazing Coconut Pie, “was developed as a result of a creative adaptation of the Bisquick Impossible Pies. We took a Bisquick Impossible Pie and did a creative twist by adding coconut, raisins and some other things. That was developed in June 1976 by our test-kitchen’s task force from a recipe submitted by various sources. Essentially that source was the Bisquick Impossible Pie. The Amazing Coconut Pie recipe also forms its own crust–with the baking mix sinking to the bottom of a custard mixture–and has been used ever since 1976, according to Van Riper. General Mills’ Marcia Copeland, director of Betty Crocker foods and publications, recalls that “we first saw the recipe for (crustless) coconut custard pies in Southern community cookbooks.” So it was a grass-roots recipe first, origin unknown. Some very old community cookbooks contain pie recipes that make their own crusts just from flour; others call for homemade biscuit mix. Copeland said that the Impossible Pie phenomenon lasted from the late 1970s through the 80s… General Mills’ home economists developed variations for Impossible Chicken n’ Broccoli Pie, for Enchilada, Lasagna, Taco, Pizza and Beef Mushroom Impossible Pies, even an Impossible Turkey n’ Stuffing Pie…”

—“Mission: Impossible Pie: The Secret’s in the Batter,” Joyce Rosencranz, Houston Chronicle, June 9, 1993, Foo (p. 1) (Source)

So there you have it. I was not necessarily wrong but found out there is sweet and savoury versions of this amazing pie. So last week I made it for my man. He’s obviously been watching too many cooking shows with me because he scored me an 8 out of 10 saying he could do better. Well, the challenge is on. He better put his pie where his mouth is because I thought it was pretty darn good and I’m not a lover of eggs, as you know. One bowl, all ingredients mixed together, whack it in a pie dish, bake and you’re done. How much easier can you get? It was delicious!

Impossible Pie
(From allrecipes.com)

  • 2 cups (500ml) milk
  • 1 cup (90g) desiccated coconut
  • 4 eggs
  • 1 teaspoon vanilla essence
  • 1/2 cup plain flour
  • 120g butter or margarine
  • 3/4 cup caster or white sugar
  • 1/4 teaspoon ground nutmeg

  1. Place milk, coconut, eggs, vanilla, flour, margarine and sugar in blender. Mix well.
  2. Pour into a greased and floured 25cm pie plate. Sprinkle nutmeg on top.
  3. Bake at 180 degrees C for 45 minutes.

Monday, October 13, 2014

Pineapple Coconut Slice

It’s springtime in Australia and one of my most favourite things about this time of the year, besides the weather getting warmer, is the tropical fruit in abundance. Strawberries are packing our supermarket shelves. Passionfruit vines are busting and pineapples are everywhere at really cheap prices. I know you can still buy most of these things at any time of the year (usually imported from overseas) but there’s nothing like buying fresh, seasonal fruit when it’s at it’s peak.
I was at my usual fruit and vegetable market on my regular fortnightly visit when 6 pineapples were available for $2. I grabbed them and put them all to good use. There was freshly cut pineapple chunks for school lunches, pineapple and ice cream for dessert, pineapple muffins, grated pineapple frozen for ice blocks and this Pineapple Coconut Slice.
I took my inspiration from the Aussie classic Coconut Jam Slice recipe (a recipe I’ve just realised I haven’t shared on my blog but have made many times) that’s in all our cookbooks. The shortbread crust topped with jam and topped with a coconut macaroon-type topping and baked to a golden brown.
I grated one small pineapple (you could substitute with a small can of crushed pineapple) and added 1/4 cup of sugar and 1 tablespoon of cornstarch which had been blended in a little water. I boiled it on the stove top until it had come to a jam-like consistency and allowed to cool.
Prebake the shortcrust base until golden brown.
Then add the cooled pineapple mixture.
Top with the crumbled coconut macaroon-like topping and bake until golden brown. These recipe froze really well too. Another delicious way to enjoy this season’s pineapples. Can’t wait until we’re in the full swing of mango and stone fruit season, which is just around the corner.
Pineapple Coconut Slice
(based on Coconut Jam Slice from here)
  • 2 cups plain flour
  • 1 cup sugar
  • 125gm butter
  • 3 eggs
  • 1 tsp vanilla
  • 2 cups coconut
  • 1 small pineapple, grated (or 1 small can crushed pineapple)
  • 1/4 cup sugar
  • 1 tbs cornflour, blended with a little water

  1. Preheat oven to 170 deg C.
  2. Combine flour and 1/2 cup sugar.
  3. Melt butter and add 1 beaten egg and vanilla, then add to flour mixture.
  4. Press dough into a slice pan (approx 24x30cm) and bake until golden brown.
  5. While baking, add grated (or crushed) pineapple to a small pan and heat.
  6. Add 1/4 cup sugar and blended cornflour and stir until thicken. Allow to cool.
  7. Spread pineapple mixture on top of baked pastry.
  8. Beat remaining 2 eggs and 1/2 cup sugar then add coconut.
  9. Spread over pineapple mixture and bake until golden brown (approx 20 mins).