Showing posts with label nuts. Show all posts

Wednesday, December 14, 2016

How to make an easy ice cream cake at home

I’m afraid the days of me baking the children cakes for their birthdays might be over. Both of their birthdays are in November and it’s hot and they’re busy with after school activities. They only ever eat the icing and decorations so it’s a waste of time and money. From now on it’s an ice cream cake so I’m going to show you how to make an easy ice cream cake at home.

how to make an easy ice cream cake at home

It really couldn’t be any easier. The only trouble I have is that in our hot summer, it’s melting as soon as you put it on a plate so you’ve got to be quick. To buy an ice cream cake from the store could be anywhere from $10 PLUS and you control just how big to make it and what flavour to make.

Easy Ice Cream Cake

ice cream cake domesblissity

First job is to choose your ice cream. I prefer a better known brand as the cheaper brands are more water than cream so they won’t refreeze as nice. I asked my son, who’s 10th birthday it was coming up, and he chose a Cookies’n’Cream flavour. Leave it out on the bench to soften.

Next choose your add-ins. I don’t like to buy special candy or ingredients when I’m cooking, rather opting for using what I have but it was a special birthday so I let him choose his favourite chocolate bars. You can add anything you like. 

  • Fresh, frozen or canned fruit
  • Chocolate chips
  • Leftover candy
  • Nuts
  • Cookie dough
  • Crushed cookies
  • Nut butters (like Nutella or peanut butter)
  • Crumbled cake
  • Sprinkles or 100s & 1000s

Next step is to choose your mould. It doesn’t have to be anything special. I used a cake pan. It can be a plastic container, a baking dish, plastic or silicon mould, just about anything that can be lined with plastic cling wrap.

Pour the contents of the melted ice cream into a mixing bowl and add all your extras. I also found a few cookies in the cookie container so crushed them up and added them.

Pour it into the mould. You can also add a swirl of ice cream topping if you like or something like fruit puree or melted chocolate.

Ready for the Freezer

Cover with plastic cling film and return to the freezer, preferably overnight.

When ready to serve, turn onto a plate and remove the plastic cling wrap. I added chocolate shell topping and more crushed chocolate bar to serve. It was really yummy. The best part was everyone ate this. No cake wasted and it was easy for me. The premium ice cream was on special for $4.50 for 2 litres and the chocolate bars were $2 so for $6.50 I got this huge ice cream cake which lasted quite a few nights. I know a cheap version of an ice cream cake from one of our supermarkets is about $15 and it doesn’t even taste nice.


Save yourself some time and energy for your next celebration cake with this easy ‘make at home’ ice cream cake. Your kids will love it!

Recipe

  • quantity of premium ice cream in your favourite flavour
  • suggested add-in ingredients (as above)
  • extra chocolate shell or ice cream topping
  • extra candy or nuts for decorating
  1. Leave the ice cream out to melt.
  2. Pour into a mixing bowl.
  3. Add your extra flavourings.
  4. Return the melted ice cream mixture to a mould which has been lined with plastic cling film.
  5. Cover with plastic cling film and return to the freezer until required, preferably overnight.
  6. Top with extra chocolate shell topping or ice cream topping and candy or nuts.

Tuesday, October 11, 2016

No Bake Popcorn Macadamia Bars

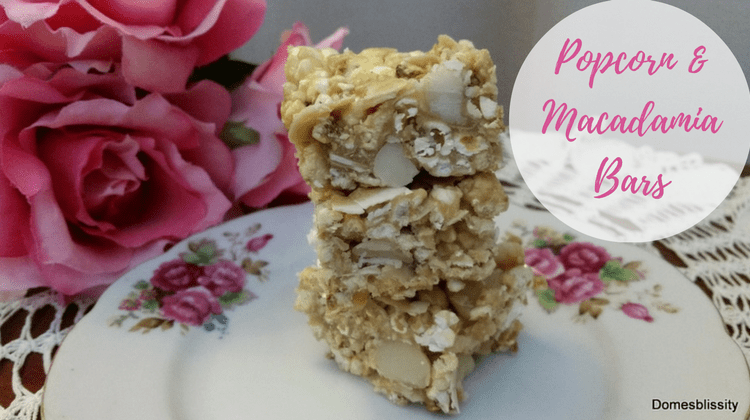
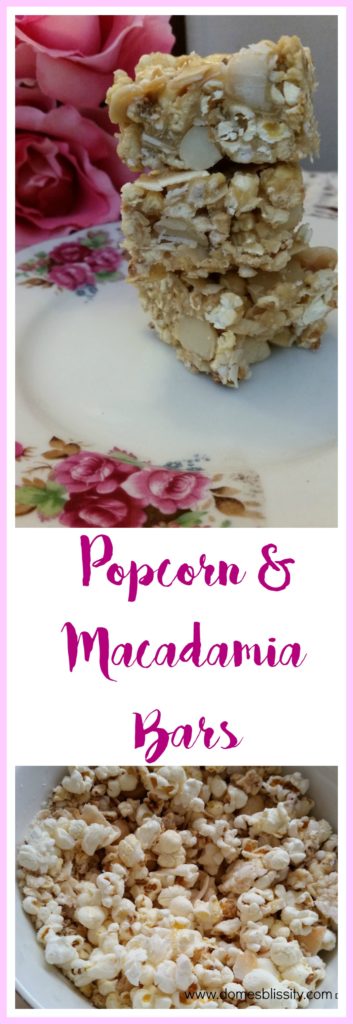
Do you make popcorn for your kids and they always leave a bit leftover? Yes, mine do too! There’s always an argument over who’s going to hold the bowl so I give them each a bowl of their own popcorn and they still leave it. I know it’s only popcorn and it’s cheap but the last time we had popcorn there was so much leftover. I thought about putting it to good use with these No Bake Popcorn Macadamia Bars.

No Bake Popcorn & Macadamia Bars www.domesblissity.com

At least these would be good to ‘pop’ into lunchboxes for snacks and there’s no waste. This recipe is also good to make from freshly made popcorn as it’s a cheap ingredient and can be quickly made.

No Bake Popcorn & Macadamia Bars www.domesblissity.com

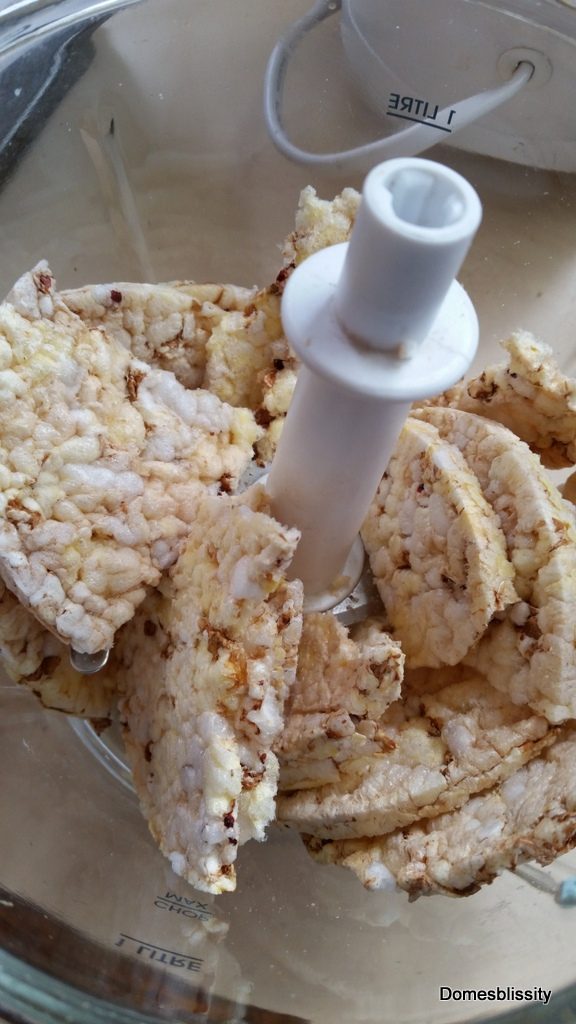
As it turns out, I didn’t have quite enough popcorn as I thought I did so added a few of these rice cakes which I blitzed in the food processor until just broken up.

No Bake Popcorn & Macadamia Bars www.domesblissity.com

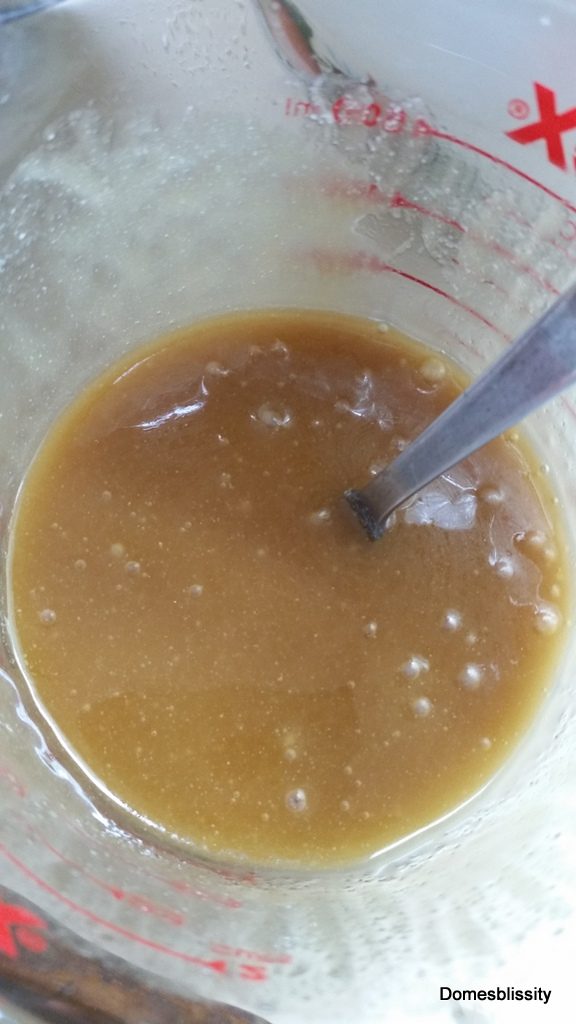
Add butter, brown sugar and honey in a microwave safe dish and heat until melted and sugar is dissolved.

No Bake Popcorn & Macadamia Bars www.domesblissity.com

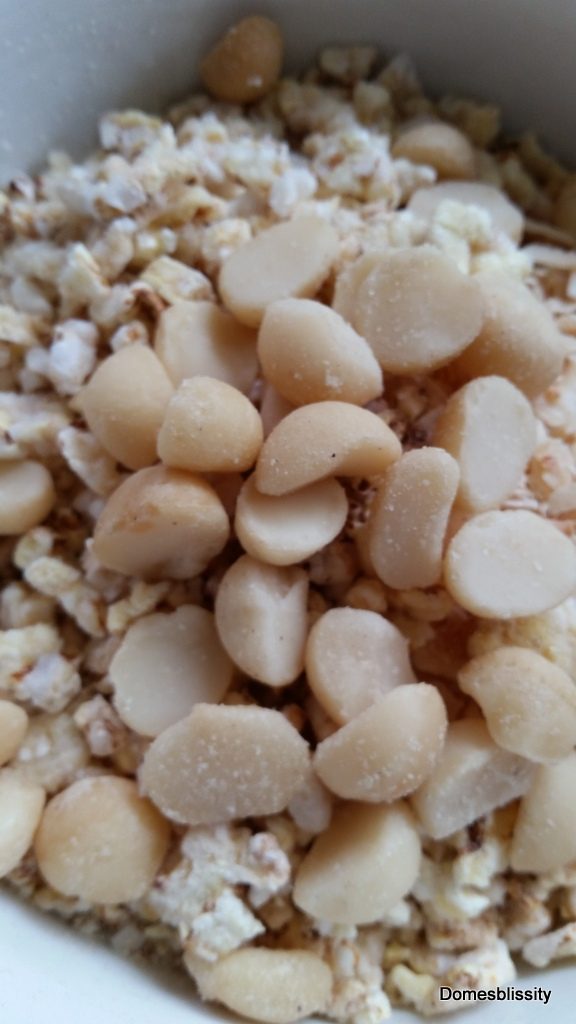
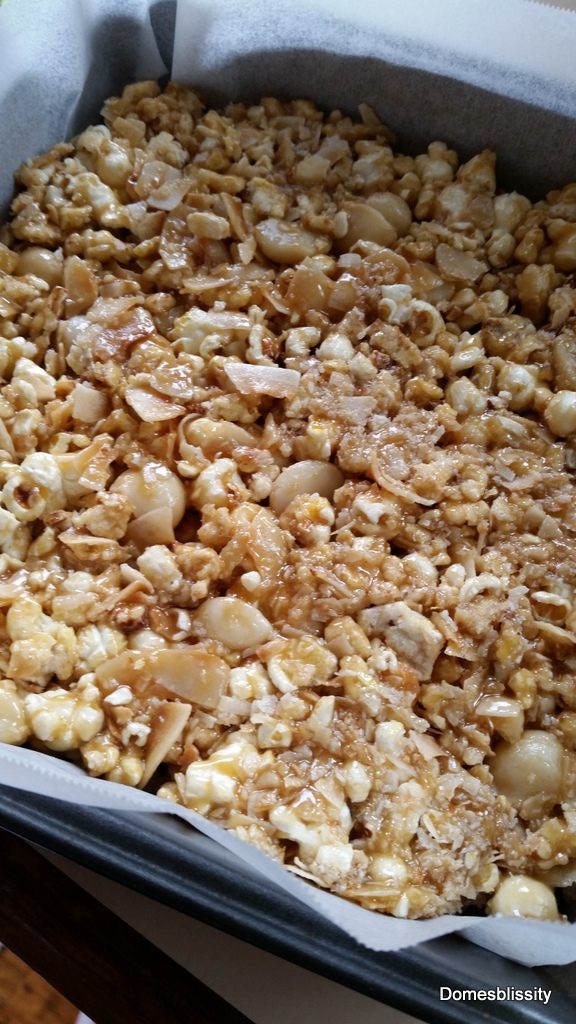
Mix together your popcorn, (blitzed rice cakes if you need them), macadamia nuts and melted sugar/butter mixture. I also had a small quantity of flaked coconut so added that as well. (This is a great recipe for a pantry clean out.)

Once well combined, press into a 9″x 9″ baking pan and refrigerate for approximately an hour. They will set hard. Slice into small squares and serve.

Such an easy, versatile recipe. You can leave out the macadamia nuts or add peanuts, choc chips, coconut or just about anything. The only thing you really need is the popcorn, butter, sugar and honey. What other ingredients you add to it is entirely up to you.

No Bake Popcorn Macadamia Bars

Ingredients

  • 3 cups popcorn
  • 125gm butter
  • 1/2 cup brown sugar
  • 2 tbs honey
  • macadamia nuts (or other nuts, coconut, choc chips, dried fruit optional)

Method

  1. In a microwave proof dish, melt together butter, brown sugar and honey on high for 1 minute.
  2. Stir until sugar is dissolved.
  3. Heat for another minute.
  4. Combine popcorn and macadamia nuts (and/or other ingredients). I didn’t have enough popcorn so added a couple rice cakes which were lightly blitzed in the food processor.
  5. Pour over melted butter, sugar, honey mixture.
  6. Press into a 9″x 9″ baking pan lined with baking paper and refrigerate for approximately 1 hour or until set.
  7. Slice into small squares and serve.

No Bake Popcorn & Macadamia Bars www.domesblissity.com

Wednesday, July 20, 2016

Make your own Bhuja Snack Mix

We all have our guilty pleasures I guess. Chocolate, potato chips, candy, nuts and whatever else we like to snack on. Me? I pretty much love all of those but I have a real weakness for the store bought Bhuja Snack Mix.  I want to teach you how easy it is to make your own Bhuja Snack Mix.

Make your own Bhuja Mix www.domesblissity.com


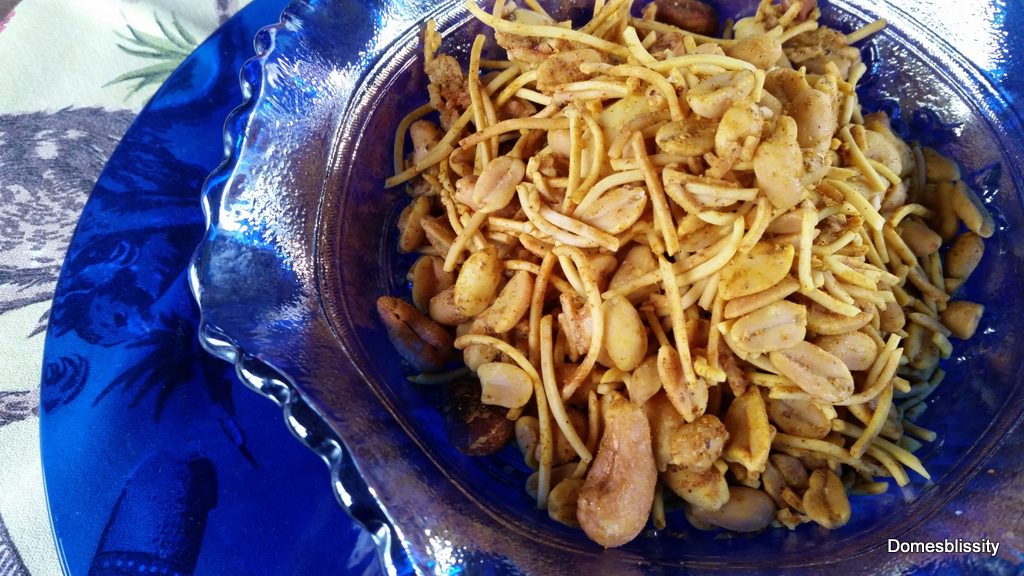
The store bought Bhuja mix has so many varieties so when you make it yourself you can add whatever you like and make it as spicy as you like. Bhuja mix is more commonly known in India as chevda or chanachur, or in the United Kingdom as Bombay Mix or in the USA as Chex Mix. It’s basically a mix of nuts, dried noodles, dried fruit, dried green peas and different forms of rice crackers.


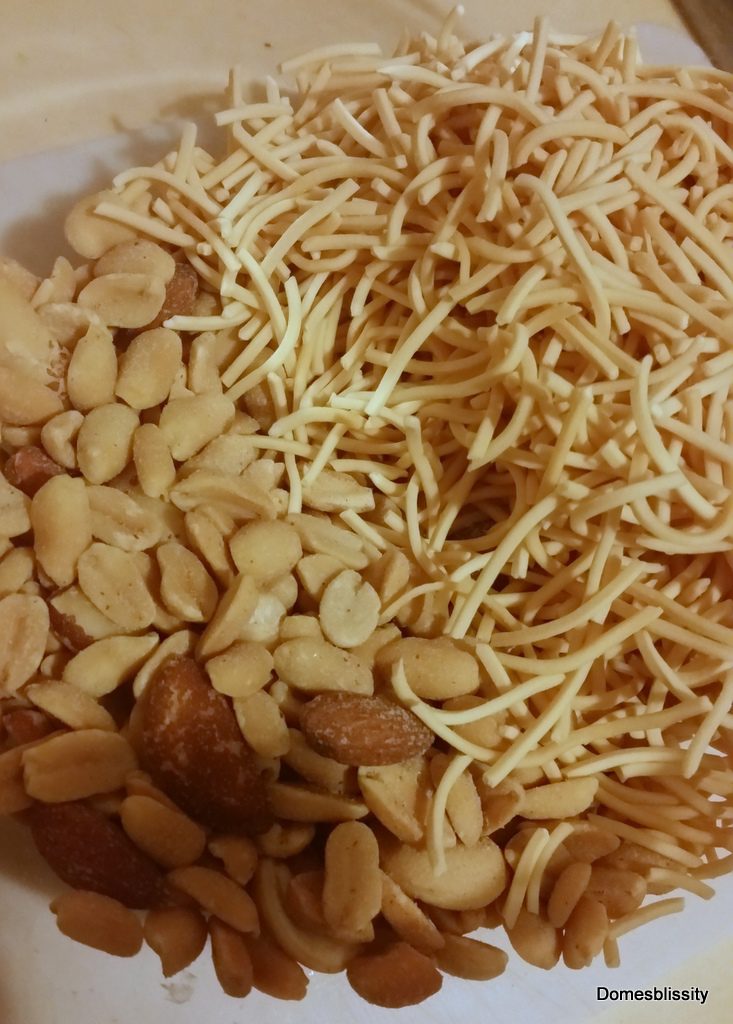
I just happened to have a small bag of mixed nuts and they would’ve been nice enough on their own but when I saw I still had a small packet of dried noodles in the pantry, I immediately started thinking about my beloved bhuja mix. I don’t like dried fruit added and can take or leave the green peas so this is all I had in mine.


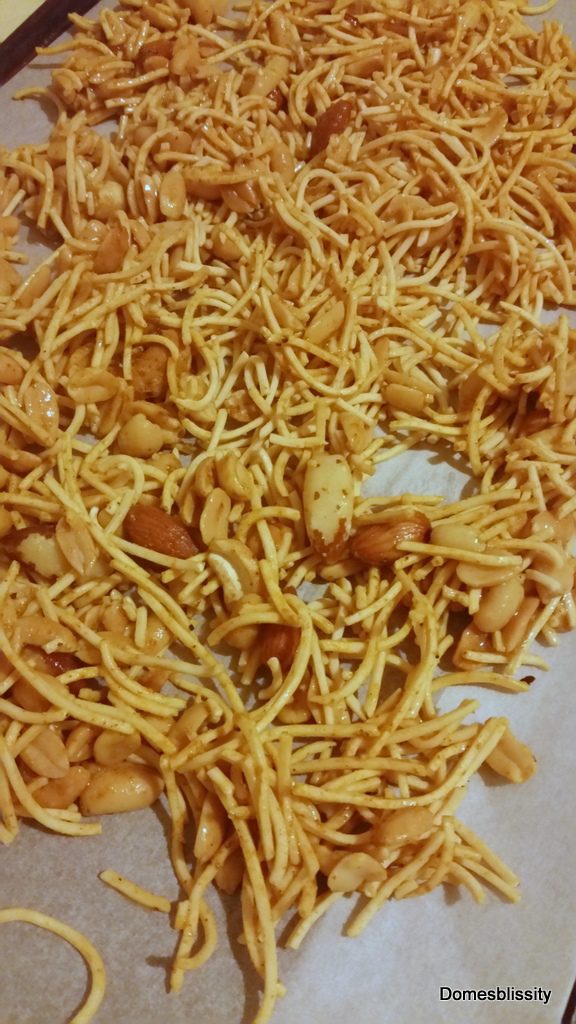
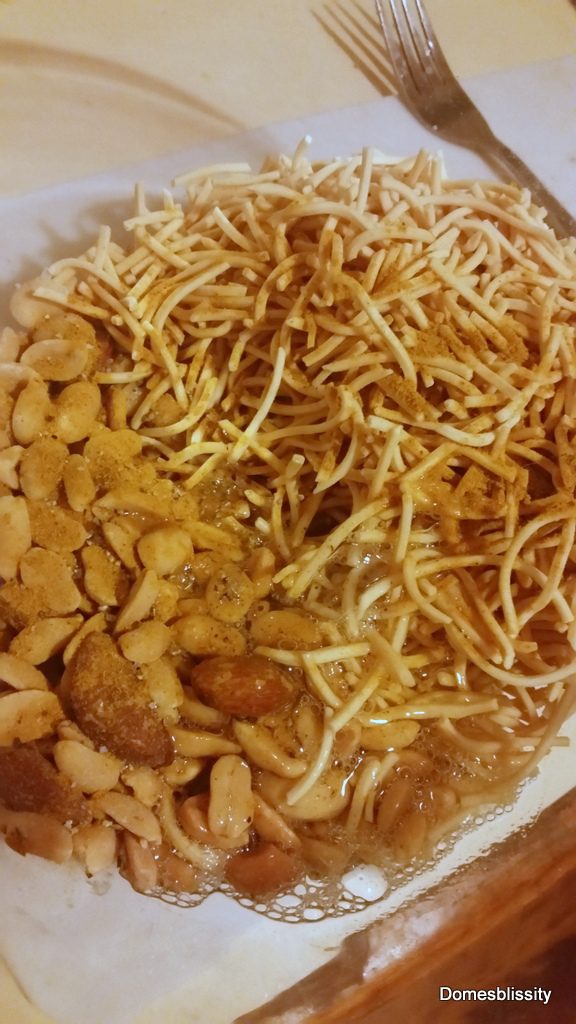
Then, all you need to do is add your blend of spices, a beaten egg white and toss it all together. I used curry powder, paprika, a little bit of chilli powder (I made sure knew I was the only one eating this lot) and salt and pepper.

Make your own Bhuja Snack Mix www.domesblissity.com


Spread on a baking tray lined with baking paper and bake in a 180 deg C oven for about 10 to 15 minutes or until aromatic.

Make your own Bhuja Snack Mix www.domesblissity.com

Bhuja Mix is the perfect accompaniment for drinks, a cocktail party, lunch box treats (if nuts are allowed at school) after school snacks and munching out on in front of the TV, as I did. They are also gluten free. The best part of all to making it yourself is the price. To buy them ready made is about $3.00 for approximately 150 grams. Homebrand salted peanuts are around $2 for for 350gm and fried noodles are about $1.25 for 100 grams. Add a couple of spices from the pantry and an egg white. For around $4 you’ll have triple the quantity. Hope you give it a try.

Suggestions for your own Bhuja Mix:

  • peanuts
  • cashews
  • almonds
  • fried noodles
  • 2 minute noodles
  • dried green peas
  • sultanas
  • other dried fruit
  • chickpeas
  • pumpkin seeds
  • sunflower seeds
  • rice cracker snacks
  • Spices: curry powder, paprika, chilli powder, garlic powder, turmeric, cumin, coriander, ginger, cinnamon

Make your own bhuja snack mix www.domesblissity.com


Monday, June 13, 2016

Chocolate Hazelnut Truffles

Chocolate Hazelnut

Do you ever make a recipe and not until it’s baked do you realise you’ve missed an ingredient? Yeah, me neither! Oh, I do it all the time lately. I think I’m pretty smart and remember the recipe off by heart by I’m not really that smart at the end of the day. Must be old age creeping in I think. I’m reminded all the time that I should always refer to the recipe and not second guess. That’s how these Chocolate Hazelnut Truffles came about. By accident.

20160512_143630

I make this ‘crazy’ cake recipe ALL the time and I mean all the time. This particular time I made a banana cake but forgot the sugar! Like seriously! Anyway, it tasted kind of okay but just wasn’t as good as it should’ve been but I couldn’t waste it. I wanted to turn it into truffles and I nearly always have Nutella in the pantry and I had hazelnuts as well so that’s what I decided on turning this sugar-less cake into.

20160512_143828

Break up the cake into chunks and blitz until fine crumbs form.

20160512_144904

Add the flavouring of your choice. I had added chopped and ground hazelnuts, 1/4 cup cocoa and about 1/2 cup of Nutella. You’ll find, as you’re mixing it, whether it needs to be more dry or more http://www.homedatingnetwork.com/member/blog_post_view.php?postId=278613 wet. I’d rather add less ‘wet’ ingredients from the start, like the Nutella, so you’re not left with a really wet mixture and it’s hard to form into balls.

20160512_145113

The mixture should be the same consistency as a meatball, I guess which will allow you to form quite firm balls. Using an ice cream scoop or just a spoon, scoop mixture into your hand and form into a ‘ball’ shape.

20160512_145545

Set on a tray and refrigerate until firm, approximately 30 minutes.

20160512_152416

You can eat them like that or dip them completely in melted chocolate or just drizzle a little chocolate on top, which is what I did. You don’t need to use too much chocolate that way.

20160512_152423

I find the messier the better. Return to the refrigerator until chocolate has set.

20160512_152655

And that’s it. You can do this with any cake, store bought or home made. If your cake is starting to get a little stale, this recipe is perfect. You can add any kind of nuts, dried fruit, nut spread, melted chocolate. Just remember, you’re aiming at getting the consistency of a meatball and you can have any flavoured truffle. It’s a great way to use up cake and they look a little fancy for a special occasion. They freeze well too.

20160512_154857

chocolate-hazelnut-truffles-pin

Chocolate Hazelnut Truffles

A delicious way to use up leftover cake (or a cake that hasn't gone quite to plan, as was the case with me) and turn it into something a little more decadent.
Prep Time 15 minutes
Total Time 15 minutes
Servings 18
Author Anne

Ingredients

  • cooked cake approximately 1 cake or adjust the other ingredients to the amount of cake you have left
  • 1/2 cup Nutella
  • 1/4 cup chopped hazelnuts
  • 1/4 cup ground hazelnuts optional
  • 1/4 cup cocoa
  • chocolate melted (for drizzling or dipping truffle into)

Instructions

  1. Blitz cake until fine crumbs are formed.
  2. Add cocoa, Nutella, chopped and ground hazelnuts and mix well.
  3. Mixture should be the same consistency as if you were making meat balls.
  4. Using a small ice cream scoop or spoon, take mixture and roll between hands until a ball shape is formed.
  5. Set on a tray lined with baking paper and put in the refrigerator for 30 minutes.
  6. Melt chocolate by breaking up into pieces and put in the microwave for 30 second increments until melted.
  7. Using a fork, take chocolate and 'drizzle' onto truffles.
  8. Return to the refrigerator until chocolate has set.
  9. Suitable to freeze.

Recipe Notes

Any kind of cake can be used.
I used a banana cake for this recipe.
Any ingredients can be used, eg dried fruit, chopped candy bars, nuts and a binding ingredient like nut pastes or melted chocolate.


Tuesday, December 22, 2015

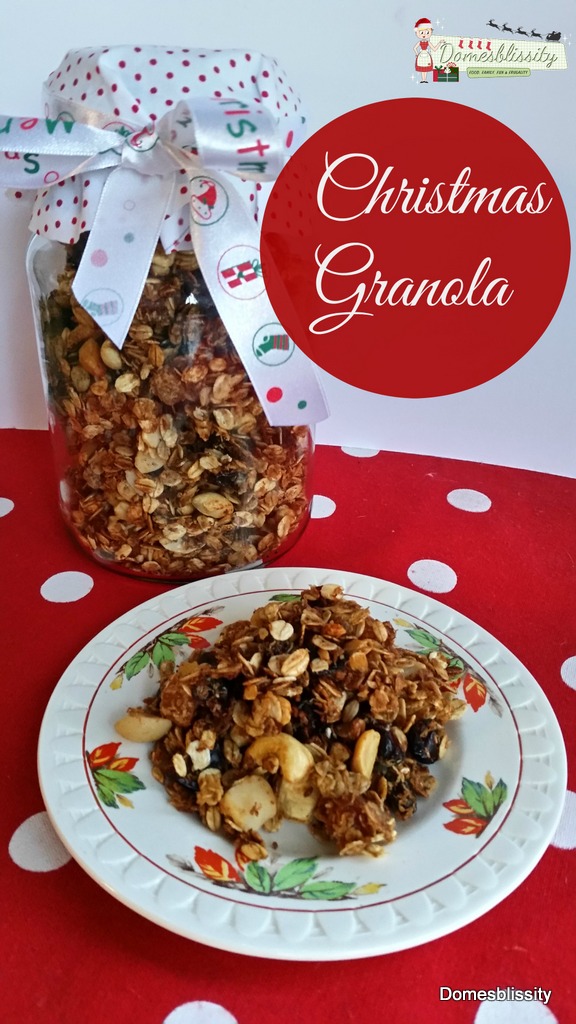
Christmas Granola

christmas-granola

Who doesn’t love the ‘smells’ of Christmas wafting through their house when baking? I know I do but Christmas time in Australia is hot and not the most ideal time to be baking. That’s why I love this Christmas Granola.

It’s annoying because even working with chocolate or butter is hard and it’s the time of the year when I really enjoy giving homemade food gifts. I love a nutty, crunchy granola mix and I thought this would be an ideal gift. The oven isn’t on for long, you could quite possibly make it under the griller (if you’re quick) and there’s no chance of it melting before you give it to your intended recipient.
20151221_103915-001

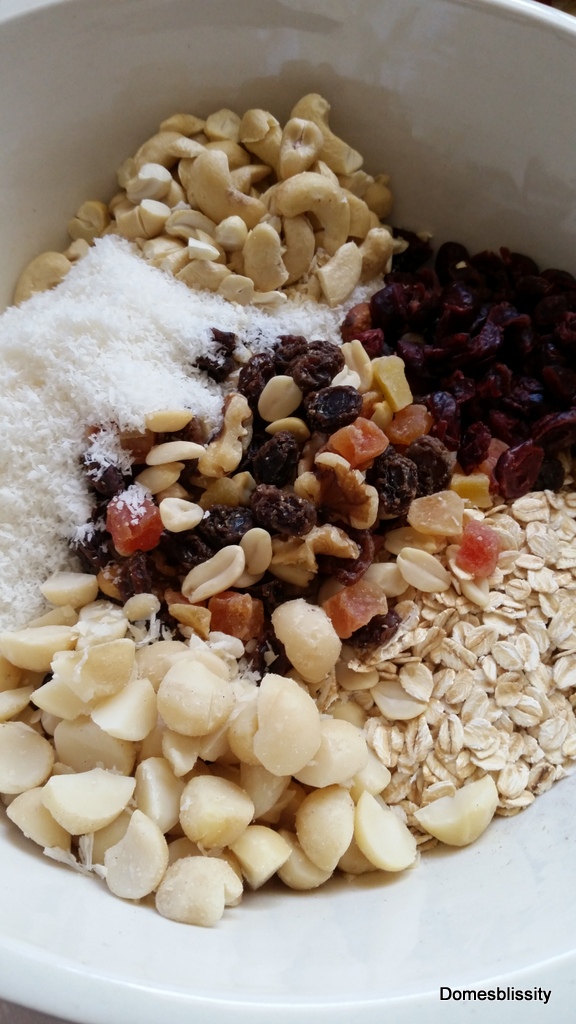
This is also an excellent opportunity to use up bits and pieces of nuts and dried fruits you might have in your pantry (not that you want to give your friends and family ‘bits and pieces’ but I always have half used bags of nuts and dried fruit in the pantry, waiting to be used in one recipe or another. I was pretty well stocked up as it worked out so made sure I packed this granola with macadamias, cashews, a fruit and nut mix and dried cranberries. You could go crazy with any kind of dried fruit or nut.
20151221_104034-001

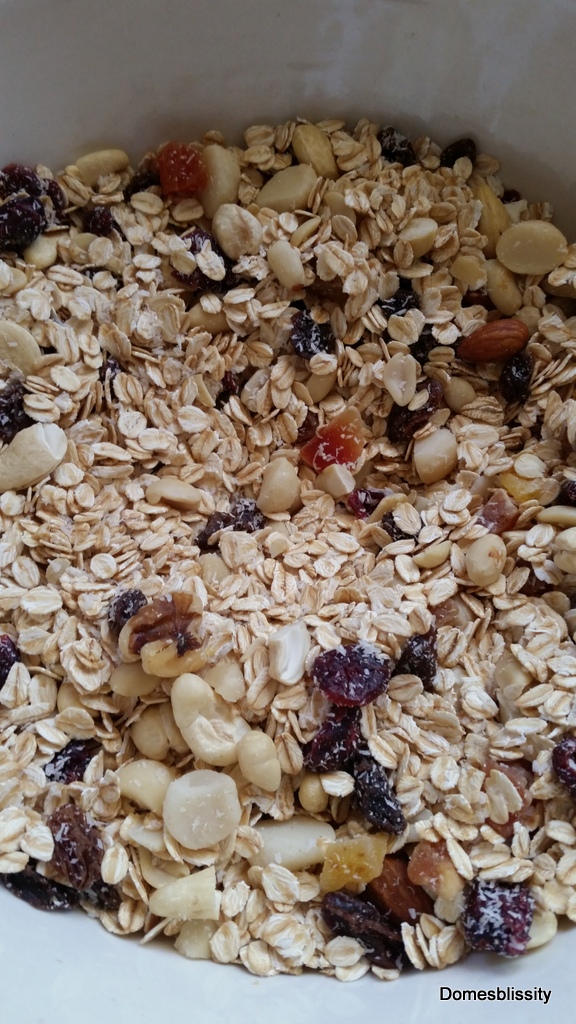
Once you’ve decided on your ingredients, mix well.

20151221_104808-001

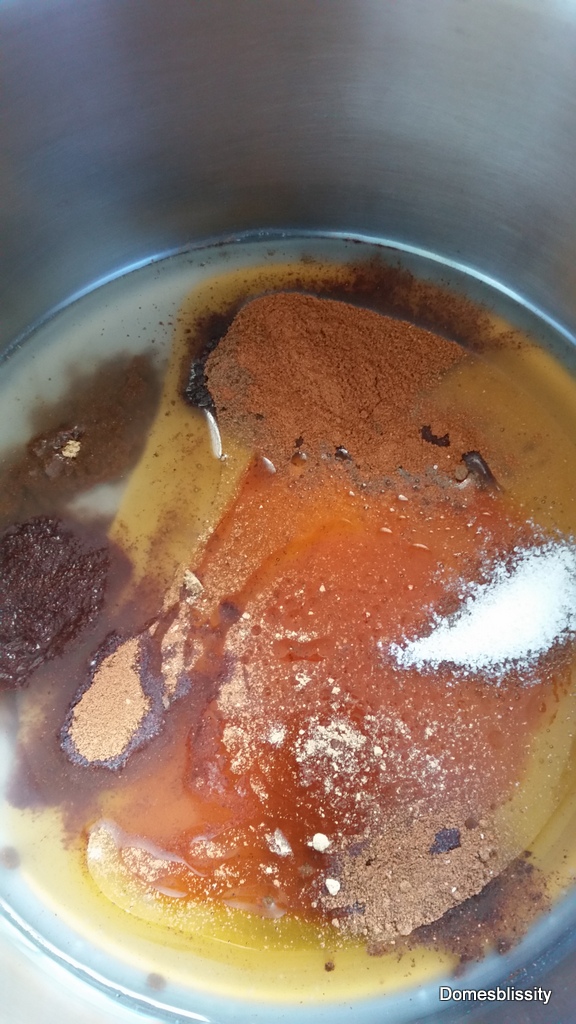
You can use any kind of oil here but I opted for coconut oil and added honey and golden syrup.

20151221_104909-001

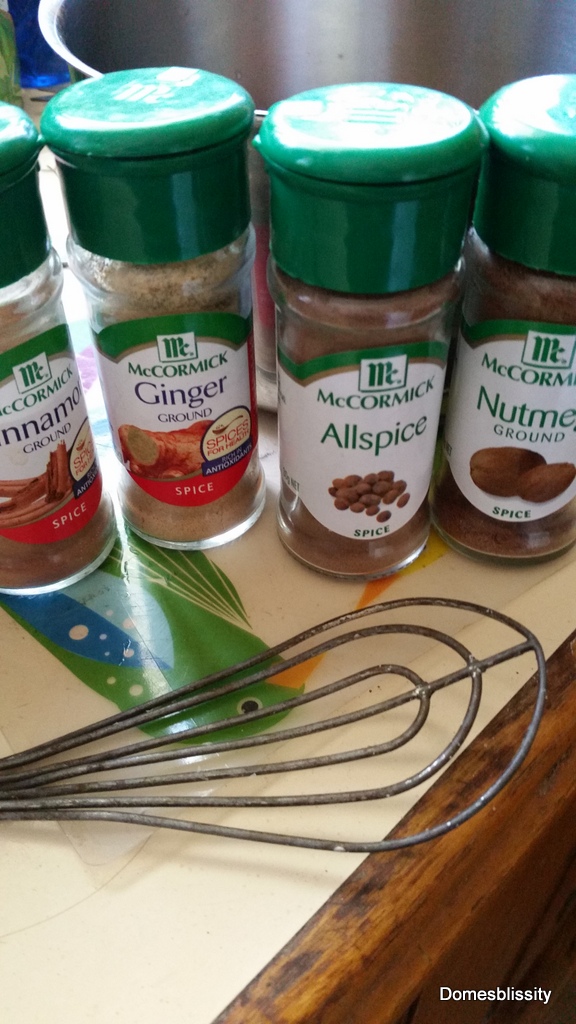
My spices are always stocked up with the McCormicks range of spices and all those lovely spices of Christmas are added to the oil and honey mixture.

20151221_105242-001

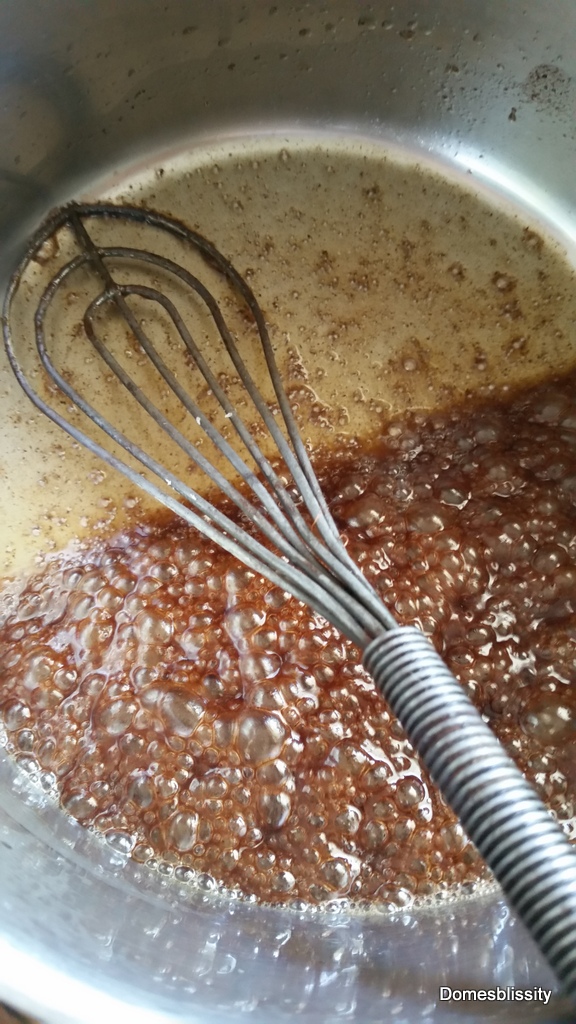
Once they’ve been boiled on the stove for about 3 minutes or until bubbling, add to the granola mix.

20151221_105618-001

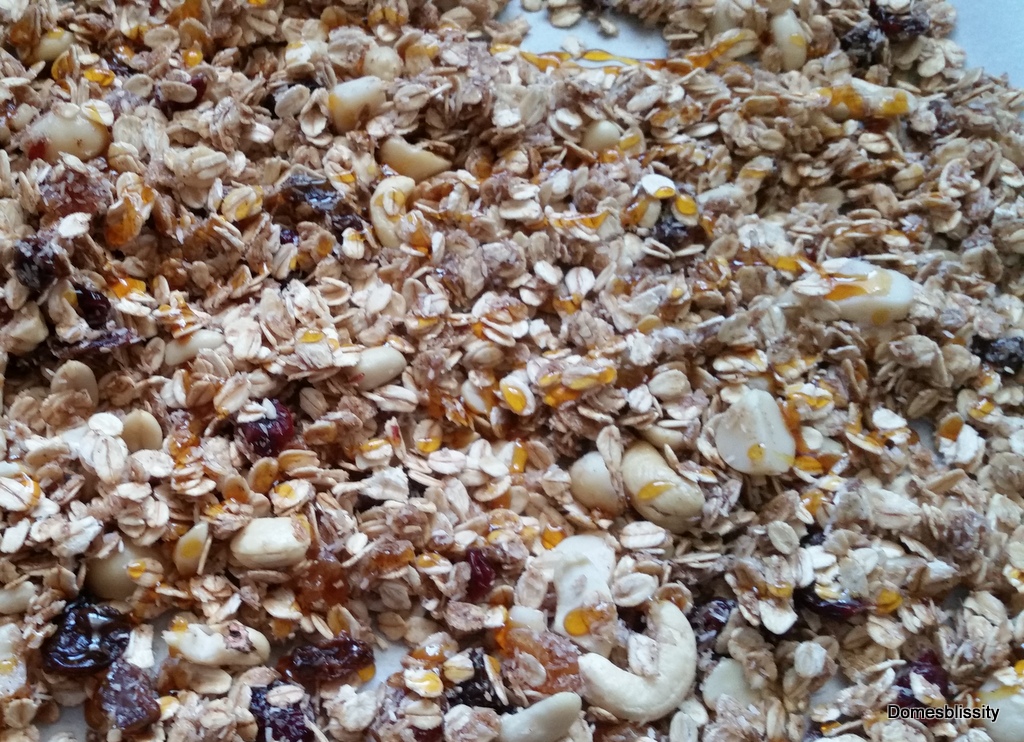
Spread on a baking tray lined with baking paper and just for a little extra sweetness and stickiness, add another drizzle of golden syrup.

20151221_112302-001

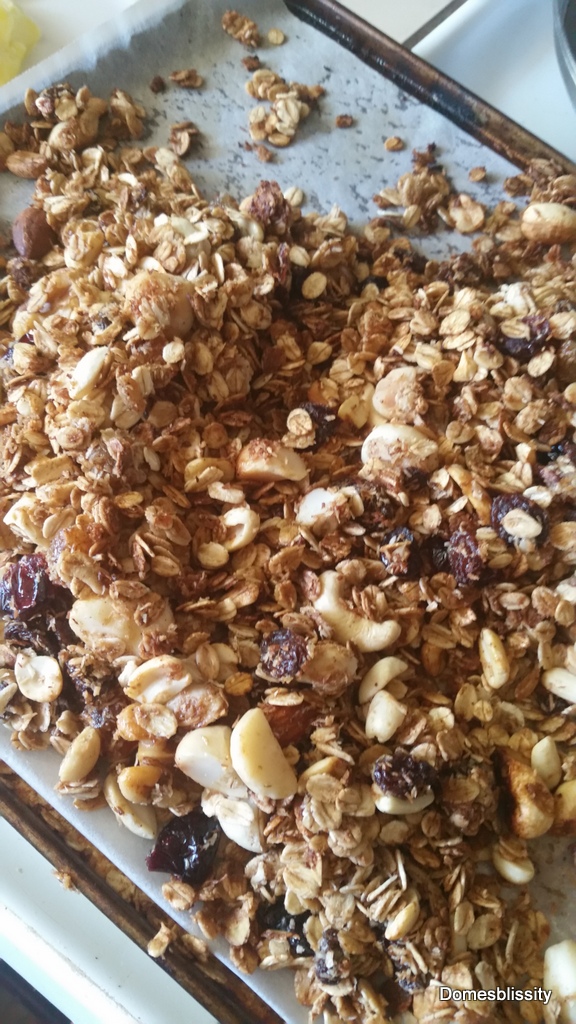
Bake for about 30 minutes, making sure you turn over every 10 minutes and until golden and crunchy.

20151221_182944-001

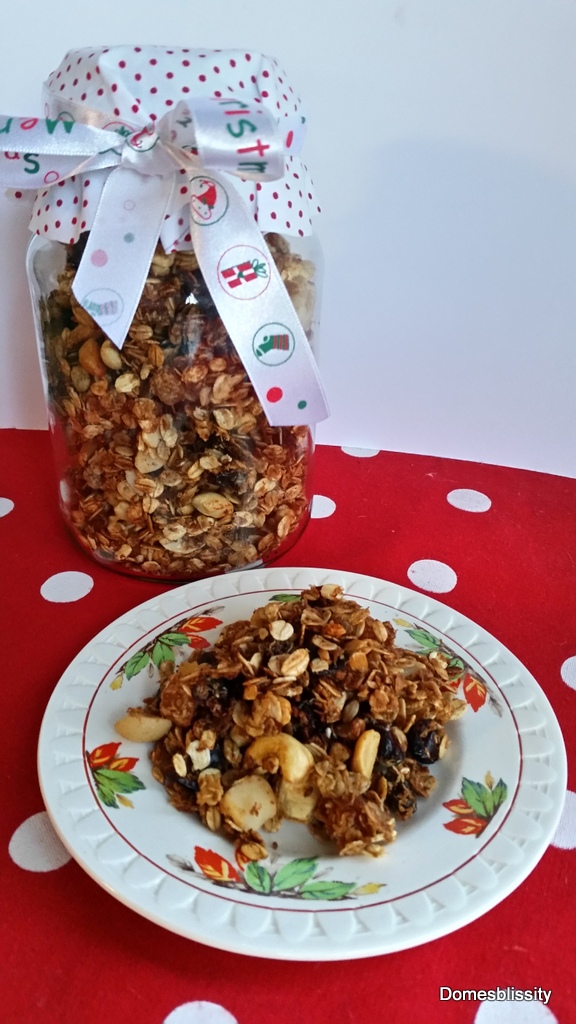
Allow to cool and put in a glass jar ready for Christmas gifts. I made one big jar for a family friend and have enough for 2 more presents or 1 big lot for our family to enjoy.

12142181_1664640093812149_1051594717_n

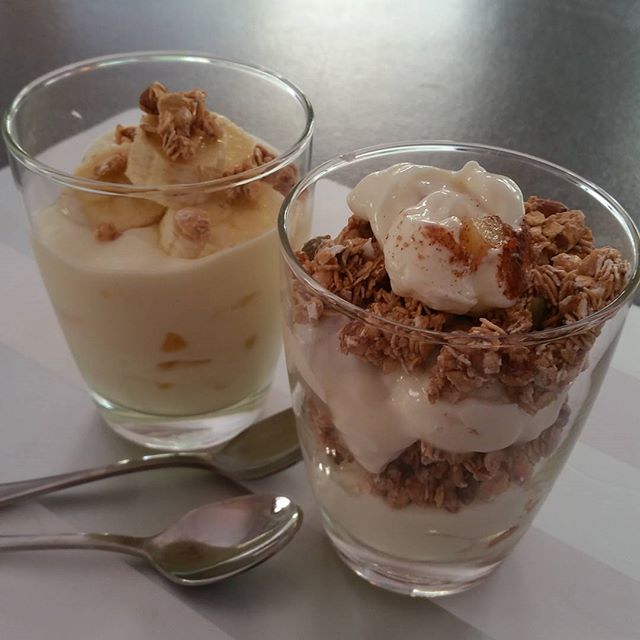
You can use the granola in so many ways like layered with Greek plain (or flavoured) yoghurt (above) for breakfast or dessert. You can sprinkle it on ice cream, eat it for breakfast with milk/yoghurt and chopped fruit. You could make it into granola bars or use for a topping on a crumble/fruit crisp. I had to make sure I put it away because I couldn’t stop nibbling on it. It’s very more-ish! This is of course enjoyable all year round. Why save it just for Christmas?

Christmas Granola

A delicious, crunchy, golden blend of oats, nuts and dried fruit flavoured with the spices of Christmas.
Prep Time 5 minutes
Cook Time 30 minutes
Total Time 35 minutes
Servings 12
Author Anne Murphy

Ingredients

  • 3 cups oats
  • 1 cup coconut
  • 1/2 cup raw macadamia nuts roughly chopped
  • 1/2 cup raw cashew nuts roughly chopped
  • 1 cup fruit and nut medley mix
  • 1/4 cup honey
  • 2 tbs golden syrup
  • 2 tbs coconut oil or olive oil
  • 1/4 cup brown sugar
  • 1/4 tsp allspice
  • 1 tsp cinnamon
  • 1/4 tsp nutmeg
  • 1/4 tsp salt

Instructions

  1. Preheat oven to 170 deg C (375 deg F).
  2. Mix oats, fruit, nuts and coconut together.
  3. In a small saucepan, add brown sugar, spices, oil, honey and syrup.
  4. Melt over a medium heat until bubbling for about 3 minutes.
  5. Add to granola mix.
  6. Spread in a single layer on two baking trays lined with baking paper.
  7. Bake for approximately 30 minutes or until golden, ensuring that you toss the granola mix every 10 minutes so it doesn't burn.