Showing posts with label cheesecake. Show all posts

Monday, March 14, 2016

Baked Caramel Cheesecake Squares

baked-caramel-cheesecake-squares

My baking mojo is back. Well it never really left. It was just a waste of time (and extra calories for me). My son loves my baking and will eat anything. So does my husband, when I put it on a plate for him and hand it to him. He just forgets it’s there and doesn’t it eat. My daughter? Well, no worry about her eating anything I bake. She’ll think I’m trying to poison her with hidden fruit or vegetables, bless her. I’m working at my children’s school canteen now and we like to stop for a cuppa in the morning and what better way to enjoy a cuppa then with a baked Caramel Cheesecake Square. 

20160224_215318

I think from not baking so much now, I’ve lost track of exactly what’s in my pantry and I thought I had powdered gelatin in the cupboard, but oh no. No running down the shop to buy it. I just thought how am I going to get this ‘supposedly’ no bake cheesecake to set. I had eggs so decided to bake it instead. Oh, and I only had a little bit of cream cheese but I did have Greek yoghurt, which I substituted for the cream cheese. It turned out really lovely and not so sweet. 

20160224_153804

The base was made http://dolphin70.aqbsoft.com/Paulsen_75 with us Aussie’s favourite cheesecake base cookie, the Butternut Snap and melted butter. Once the biscuit crumbs and melted butter has been combined, I pressed into a slice pan and set in the fridge until the filling was prepared. I find if I make a cheesecake in a pan instead of a springform pan, I can cut it into smaller squares. (That doesn’t stop me from having a couple of portions though!)

20160224_164024

This recipe uses the ready made caramel Top’n’Fill, which, heaven forbid, I did happen to have in the pantry plus cream cheese, Greek yoghurt and only a little bit of sugar.

20160224_152128

Mix all the filling ingredients well and pour onto the set base and bake in a moderate oven for 30 to 40 minutes. Allow to cool and cut into squares. This was well received by the girls in the school canteen, my husband, my son and surprise, surprise, my daughter too. No fruit or vegetables were harmed in the making of this cheesecake so she was happy. You could top these with whipped cream as well for a bit of extra decadence but I don’t think it needs it. Oh, and cut into small squares (but you’re entitled to have at least a couple at a time).

baked-caramel-cheesecake-squares-pin


Baked Caramel Cheesecake Squares

A baked caramel cheesecake, made into squares substituting some of the cream cheese with Greek yoghurt.
Prep Time 10 minutes
Cook Time 30 minutes
Total Time 40 minutes
Servings 24
Author Anne

Ingredients

  • 250 gm packet of biscuits blitzed into crumbs (I used Butternut Snap Cookies)
  • 125 gm butter melted
  • 395 gm can Caramel Top'n'Go
  • 250 gm cream cheese
  • 250 ml Greek yoghurt
  • 2 tsp vanilla extract
  • 1/4 cup sugar
  • 1 egg beaten
  • 3 tbs plain flour

Instructions

  1. Mix the biscuit crumbs and melted butter and press into a slice pan, approx 20x25cm.
  2. Place in the refrigerator to set.
  3. Mix well together caramel Top'n'Go, cream cheese, Greek yoghurt, vanilla, sugar, beaten egg and flour.
  4. Pour onto set biscuit base.
  5. Bake in a 160 deg C oven for approx 30 minutes, checking if just set. If not, return to oven for 10 minutes at a time until just set.
  6. Allow to cool and cut into small squares.

Recipe Notes

Can be topped with whipped cream to serve.
Can also be topped with sliced banana and whipped cream for a Banoffee Pie style Cheesecake.

Monday, January 12, 2015

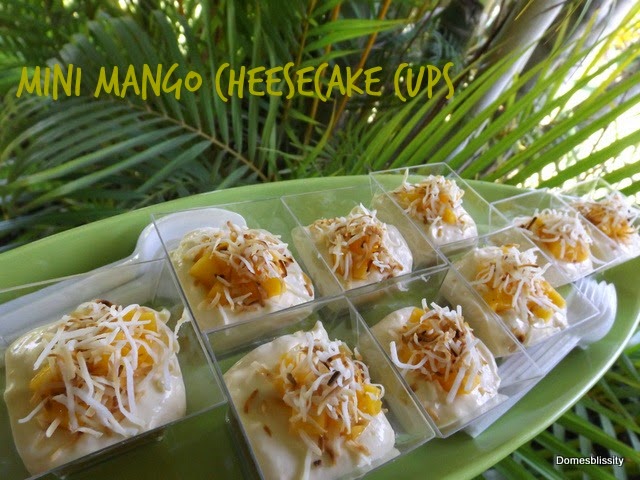
Mini Mango Cheesecake Cups

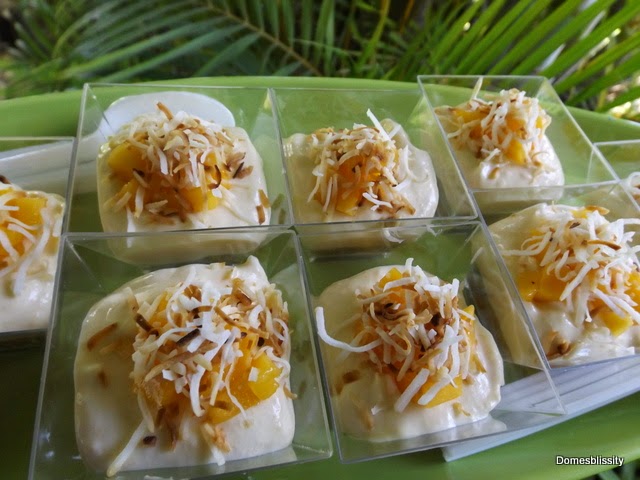
Remember the Mini Choc Hazelnut Cheesecake Cups I made just before Christmas when I had a few girlfriends over? Well, these are the other flavour I made. A plain mango cheesecake cup topped with toasted coconut. It was hard to choose which was the nicer but it all depends if you are a chocoholic or love the fresh taste of mango. I can’t begin to tell you how easy these are and great for a crowd and just a little taste for everyone instead of a whole, big cheesecake but with the same flavour.

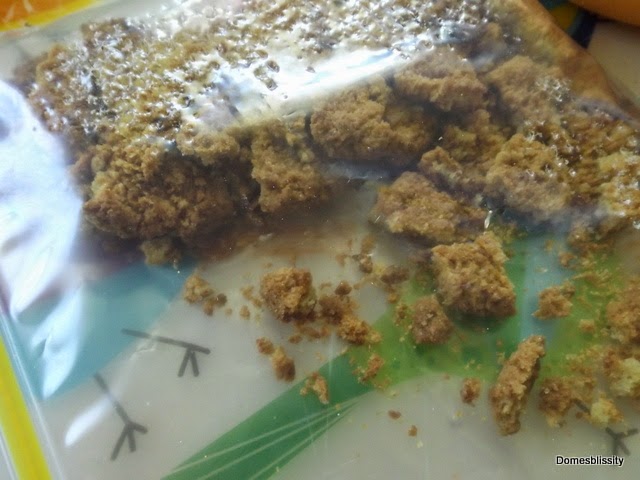
Begin by crushing some plain flavoured biscuits. These are called Butternut Snaps and are a crunchy, buttery biscuit.

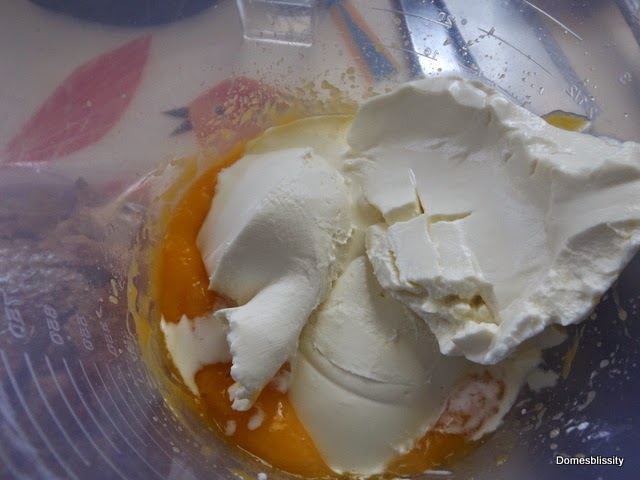
Using fresh, tinned or frozen mango, blitz until you have about 1/2 to 1 cup of mango puree. (You could also use tinned mango puree.) It’s mango season here where I live in Brisbane and the mangoes are in abundance. Mix in one 250gram tub of spreadable cream cheese.

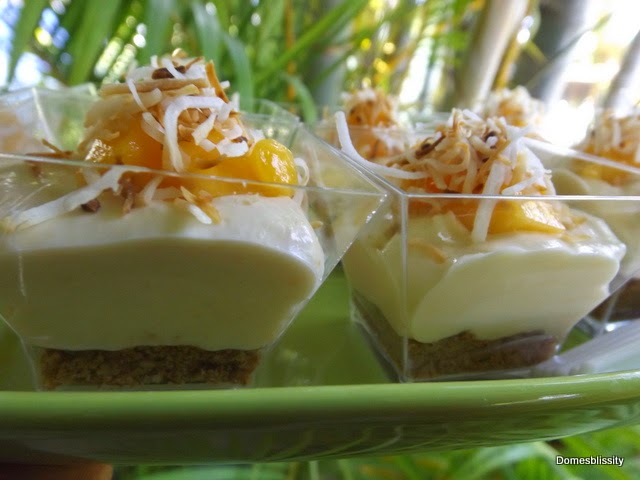
Spoon a tablespoon of biscuit crumbs into the bottom of a shot glass or small cup. (You can use bigger glasses if you like.) These plastic cups were about $2 for ten at my local dollar store. Spoon on the cheesecake mixture, top with a little finely diced fresh mango if you have it and sprinkle with a little toasted, shredded coconut. Pop in the fridge to set. That’s it!

No need to set with gelatine, they will firm up in the fridge just nicely and no need for a long list of ingredients. I can’t even begin to imagine all the different flavour combinations you could use. Just Google cheesecake and add those base ingredients to a tub of spreadable cream cheese. It really is that easy.

Mini Mango Cheesecake Cups

  • 6 crunchy butter based biscuits, crushed
  • 1 tub 250gm spreadable cream cheese
  • 1/2 fresh mango, pureed (or tinned/frozen equivalent, depending on how many cups you are making)
  • extra fresh diced mango for garnish
  • shredded coconut, toasted for garnish
  1. Spoon 1 tablespoon of crushed biscuits into the base of a shot glass or small plastic cup.
  2. Mix mango puree with cream cheese and spoon on top of biscuit crumbs.
  3. Top with a little diced fresh mango and toasted shredded coconut.
  4. Chill until ready to serve.

Makes 10 small cups.

Thursday, January 8, 2015

Mini Choc Hazelnut Cheesecake Cups

I had a couple girlfriends around for a party just before Christmas and I wanted to treat them to dessert instead of the usual savoury snacks. If I made a large, whole cheesecake, they’d probably only feel like eating that and nothing else. I got the idea from a recent blogging event that if I made mini cups of cheesecake, everyone would get a couple bites and enjoy the cheesecake dessert without filling up too much and get to try a few other things I had on offer.

These are ridiculously easy to make using the spreadable tub of cream cheese. No need to worry about setting it with gelatin or adding butter to the biscuit base to firm it up. Great for a large buffet too. My recipe made 10 but you could double or even triple the recipe if you were feeding a crowd.

I had a couple rows of chopped hazelnut milk chocolate, melted that and added about the same quantity of Nutella. Then just mix in a 250gm tub of cream cheese.

I then crushed a basic chocolate biscuit and put a spoonful into the bottom of these clear, plastic cups I bought from the dollar store.  I

think it was about $2 for a pack of 10. You could use any small cup or glass, like a shot glass. They looked cute on the serving tray. You could make them in a larger glass or cup.

You could just spoon the cheesecake mixture straight onto the biscuit crumbs but I piped it on. I sprinkled the remaining chopped hazelnut milk chocolate on top for garnish and refrigerated. The cheesecake mixture set just enough to firm up. It looks a little soft in the photo because it was a hot day. Stay tuned for the other flavour mini cheesecake cups I made for the party.

Mini Choc Hazelnut Cheesecake Cups

  • 250gm tub of cream cheese
  • 2 rows of hazelnut chocolate, roughly chopped (or any plain chocolate with a few chopped hazelnuts)
  • extra chopped hazelnut chocolate for garnish
  • 1/4 cup Nutella
  • 10 plain chocolate biscuits, made into crumbs
  1. Melt chocolate. (I use the microwave in small bursts to melt chocolate.)
  2. Add Nutella and mix well.
  3. Allow to cool and add cream cheese and mix well.
  4. Spoon a tablespoon of biscuit crumbs into the bottom of a small cup.
  5. Pipe or spoon cream cheese mixture onto biscuit crumbs.
  6. Garnish with extra chopped chocolate.
  7. Refrigerate before serving.

Makes 10 small cups.

Saturday, May 5, 2012

No bake Kiwi & Lime Jelly Cheesecake

One thing I don’t make a lot of is cheesecake. One, for the calorie content and two, well, I don’t really know. It’s not like cream cheese is regularly in my shopping trolley and I have been known to make a cheesecake from leftover ricotta, Greek yoghurt and whatever else has been left in the fridge. I find it a bit rich (which is rich coming from me because I love rich food).

My son inherited his love for cheesecake from his father and my daughter is becoming more game and will happily devour a piece of plain homebrand frozen cheesecake from the supermarket. This was the extent of the cheesecake eating in this house. A $2.99 homebrand frozen cheesecake from the supermarket.

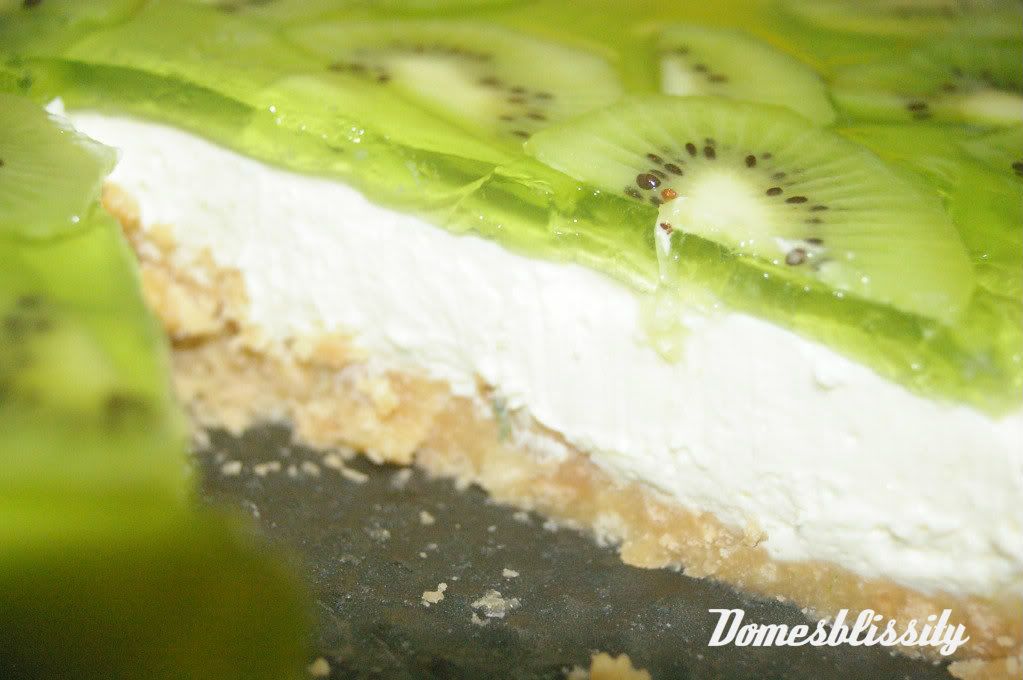
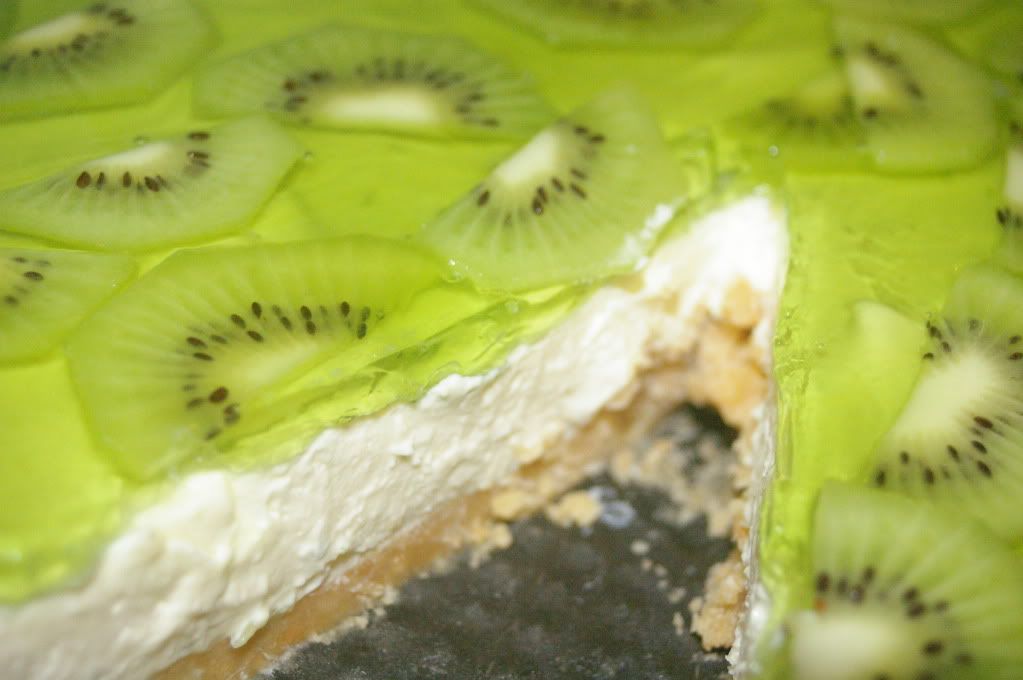
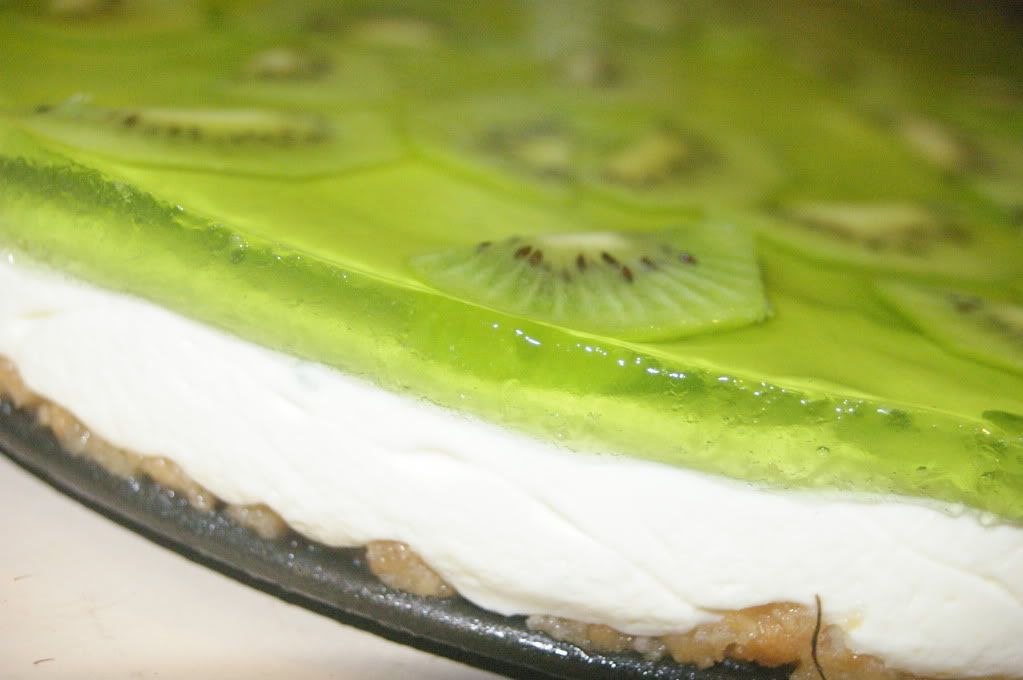
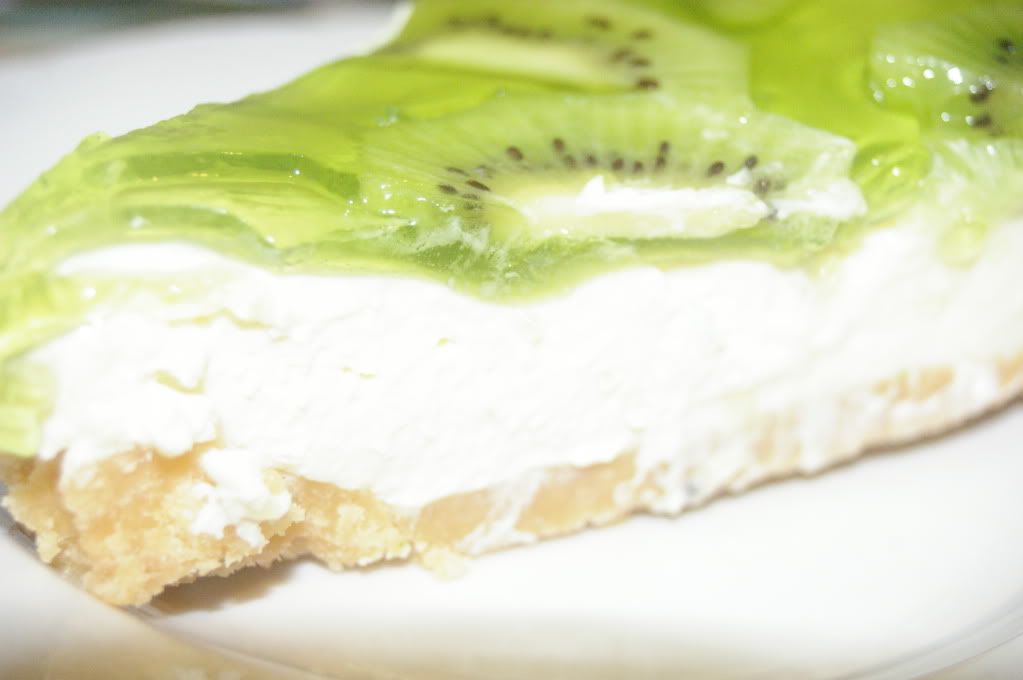
When you start looking at cheesecake recipes, you could just go wild. Some are so rich with chocolate and/or fruit syrups, tangy and fruity using all sorts of tropical fruit, as I’ve done in this case. Topping the cheesecake with jelly adds another flavour and sets the fruit nicely. I placed the kiwifruit on oh so carefully on the cheesecake and when I slowly poured the jelly on, off they went. Floating all over the cheesecake.

This photo looks a little abstract that’s just the way the kiwifruit settled

Kiwi & Lime Jelly Cheesecake
(based on the original no bake Philadelphia Cheesecake recipe)

Base:
1 packet shortbread finger biscuits
125gm butter, melted

Filling:
500gm cream cheese, softened
grated rind of 1 lime
juice of 1 lime
1/2 cup sugar
3 tsp of gelatine, dissolved in 1/4 cup of hot water
1 cup thickened cream, whipped to stiff peaks

Topping:
1 packet lime jelly crystals
3-4 kiwifruit, peeled and thinly sliced

  1. Thoroughly grease a springform pan and set aside. (Alternatively, any pie dish can be used or for individual cheesecakes use cupcake papers in a cupcake or muffin pan.)
  2. Place biscuits in a plastic bag and hit with a rolling pin until crumbs form. (Alternatively, crush the biscuits in a food processor).
  3. Mix biscuit crumbs with melted butter into a springform tin and place in fridge until later.
  4. Beat cream cheese, juice and rind of lime and sugar until smooth.
  5. Gently beat in cooled gelatine mixture and thickened cream.
  6. Place on top of biscuit base and return to the fridge to set.
  7. Make up jelly as per packet instructions.
  8. Place cut kiwifruit slices on top of cheesecake and slowly pour cooled jelly over the top of the cheesecake and return to fridge to set.

I found this a little rich and tangy with the lime zest and juice added. You could add a little more sugar or serve with extra cream. Not sure if I’m a big fan of cheesecake or not. Nice for a change I guess. I guess I also decided on this flavour combination because of what I had available. The only thing I had to buy was cream cheese and cream.

And a reminder – we call Jell-o “jelly” here in Australia. What the US calls jelly, we call jam. We all know what we mean, don’t we?