Showing posts with label jello. Show all posts

Tuesday, December 1, 2015

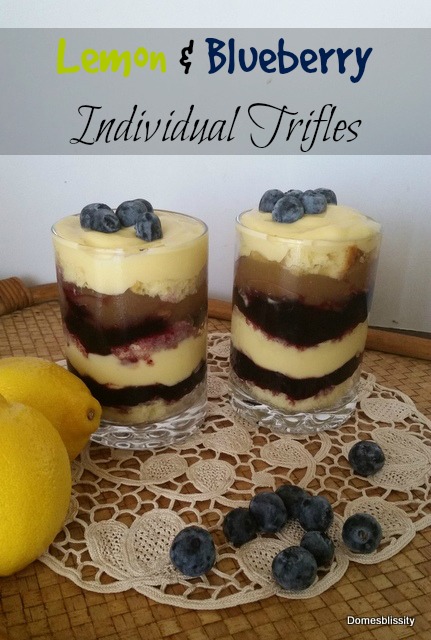
Lemon & Blueberry Individual Trifles

lemon-blueberry-individual-trifles

Nothing could be easier than trifle as a quick and easy dessert. It’s one of those recipes where it seems it’s okay to use ready made products like custard, cake and tinned fruit, like a cheat’s recipe. I’m sure there are a million different variations and a million different ways to layer your trifle and what to layer your trifle with but with the lovely new range of tea flavoured jellies available from Aeroplane Jelly, we won’t have to worry about history repeating itself.

“The earliest known recipe to include jelly dates from 1747, contained in the Art of Cookery authored by Hannah Glasse. In her recipe she instructed using hartshorn or bones of calves feet as the base ingredient for the jelly. The poet Oliver Wendell Holmes wrote of trifles containing jelly in 1861.” (from Wikipedia)
20151125_124336-001

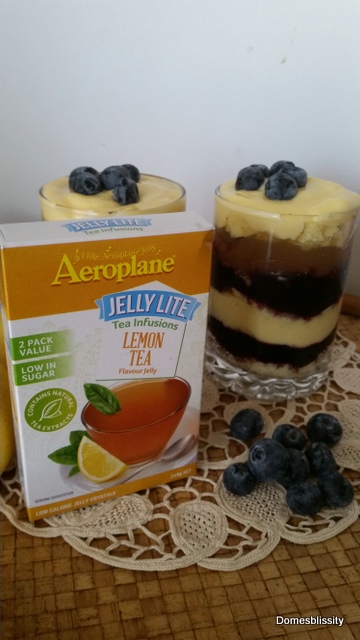
The new Aeroplane Jelly Lite Tea Infusion flavours are amazing!  I used the Lemon Tea flavour in this recipe but they also come in Peach Tea, Orange Blossom with Green Tea, Raspberry Licorice with Green Tea and Mixed Berry Tea.
IMG_20151124_131358

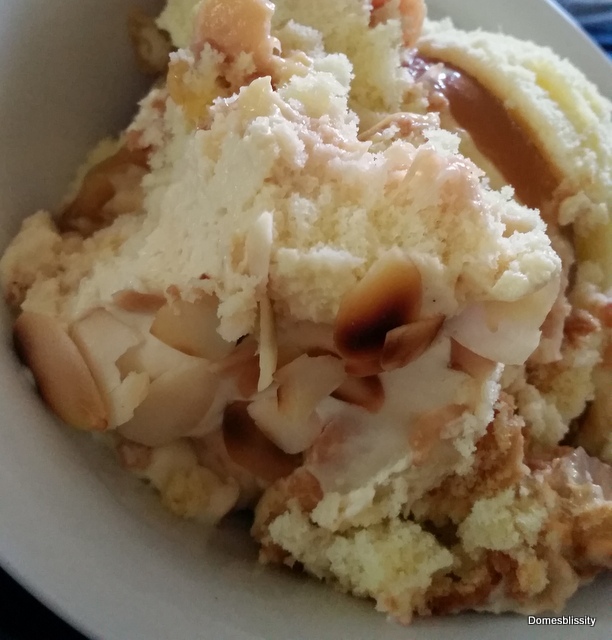
I used the Peach Tea flavour in the above trifle with seasonal, stewed white peaches and it was delicious. The layer of Peach Tea jelly was delightful. Peach flavoured teas are my absolute favourite.
20151125_122909-001 20151125_122428-001 20151125_075423-001

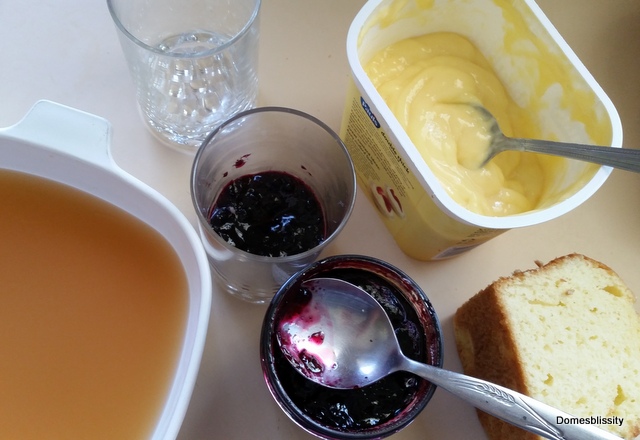
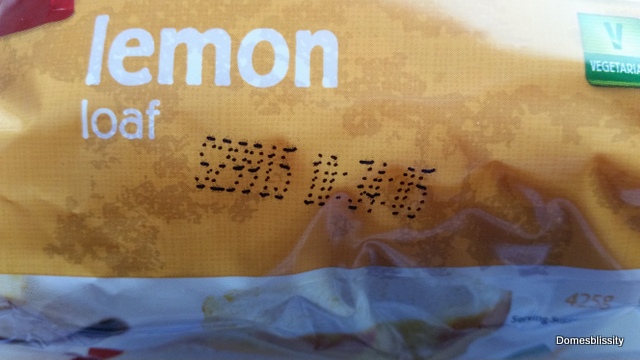
These kind of desserts are so easy to put together and you can keep all the ingredients on hand. I used a homebrand lemon loaf (which you can keep in the freezer until needed), store bought custard (you can get longlife custard and any kind of fruit (fresh, preserved, canned or even jam, like I did for this recipe. I used a jar of blueberry preserves as well as fresh blueberries. Just make your jelly up, as per the instructions on the packet, the morning of or the night before you need the trifle.
20151125_123542-001

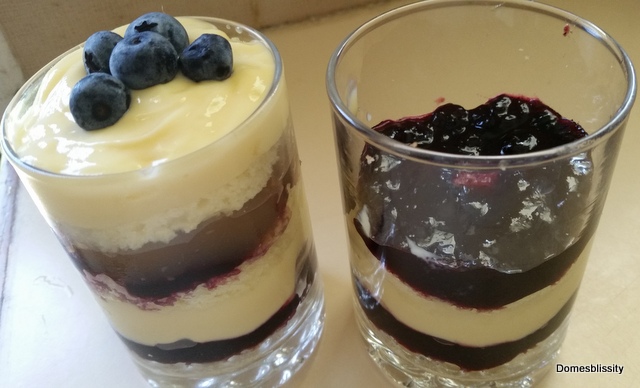
There are no right or wrong ways to make these. Just find a suitable glass or dish and start layering.
20151125_124221-001

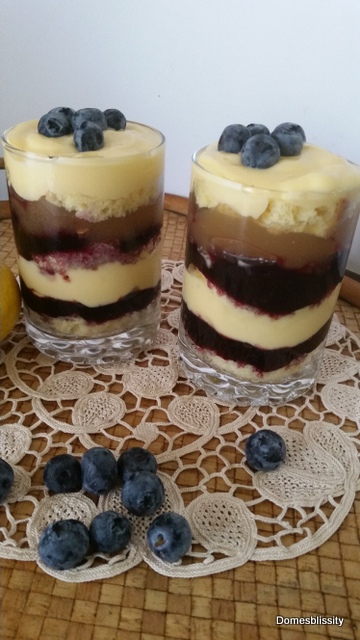
I made two individual trifles but a whole jelly would quite possibly make up 4-5 individual trifles or one large one.
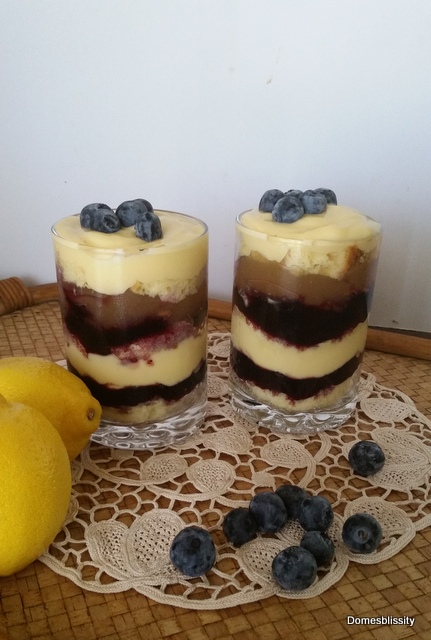
20151125_124202-001

They were really refreshing and ‘light’ and just the right amount. The lemon tea jelly gave it a more ‘grown up’ taste even though my 9 year old son loved the flavour of it and they’re lighter on sugar but not on taste.

English Trifle

source

Trifle is perfect to feed a crowd in either a large bowl or in individual smaller shot glasses. Perfect for Christmas, a High Tea, Brunch or a wedding dessert buffet.

COMPETITION NOW CLOSED!

Congratulations to Di for your lovely recipe idea and thank you to everyone who entered.


How would you like to win your own selection of Aeroplane Jelly Lite Tea Infusions jelly PLUS a tea cup set for your next high tea? All you have to do is tell me in the comments below which of the above flavoured jelly you’d use to make a trifle and what other ingredients you’d use to make it. Please don’t forget to leave your email address so I can contact you if you won. The competition will run until 12pm, AEST (Brisbane time), Monday, 7 December 2015. Good luck!

Terms & Conditions
  1.  This is a game of skill.
  2. This competition is open to Australian Residents only.
  3. The prize is a selection of Aeroplane Jelly Lite Tea Infusion Jelly and a tea cup set.
  4. This prize is not redeemable in cash.
  5. This competition is open from now until  Monday, 7 December 2015 12pm (Brisbane time) AEST.
  6. The winner will be announced on this blog,  Domesblissity Facebook page and Twitter accounts and I will contact you via email.
  7. The winner will have 7 days to respond, otherwise the prize will be redrawn.

Tuesday, September 15, 2015

No Bake Strawberry Jelly (Jello) Slice

A no bake Strawberry Jelly (Jello) Slice the whole family will love.
It’s springtime in Australia and strawberries are in abundance. They are so cheap at the moment and so sweet and juicy. The kids can’t keep up with me buying them so there’s heaps of baking being done with the strawberries that are starting to turn including this good old fashioned Aussie classic, Jelly Slice.
I’ve made the Jelly Slice many times before including in these Individual Lemon Jelly Slice when you use cupcake papers to make individual cakes, perfect for little fingers.
I had a house full this particular weekend so I decided to make this Jelly Slice in a larger pan so there was more to go around.
To start, finely crumb some biscuits. I like to have a pack of good old Arrowroot biscuits in the cupboard as a last resort if there’s nothing in the bikkie barrel. The kids love them on their own or with butter. They are perfect for a cheesecake base or a slice like this. Add a tablespoon of cinnamon and mix well with melted butter then press into your slice pan.
I also had a tin of this little baby in the pantry. (Please ignore the health star rating.)
For some strange reason I thought I had a packet of strawberry jelly crystals in the pantry but it turned out to be Creaming Soda flavour. I guess it was pink so it still worked. You know me, I only use what I’ve got in the pantry and some how it all seems to work out okay.

The strawberries were just starting to turn but still fresh enough to use in this recipe. When they have gone past their freshness, I blitz them into a puree and freeze in either ziplock bags to be used in cakes and muffins or I freeze in ice cube trays for smoothies.

While I’m at it, another tip I have is when lining a baking pan with paper, trim the corners so the paper sits better in the pan without scrunching in the corners.

Once you have the biscuit base chilled, pour over the condensed milk topping and return to the fridge for about 30 minutes to set. In the mean time, prepare your jelly topping.

Top the set condensed milk layer with the strawberries and jelly mixture and return to the fridge again until set.

This went down a real treat with both the grown ups and kids and didn’t last too long. You can try it with any fruit and any complimenting flavoured jelly. A really quick and easy no bake slice made from fruit in season and ingredients from your pantry.

No Bake Strawberry Jelly (Jello) Slice


Biscuit base:

  • 250gm packet of biscuits (I used Milk Arrowroot)
  • 250gm butter, melted
  • 1 tbs cinnamon

Condensed milk layer:

  • 250gm can condensed milk
  • 2 tbs lemon juice
  • 3 tsp powdered gelatine (dissolved in 1/4 cup hot water)

Jelly layer:

  • sliced strawberries
  • packet of jelly (jello) crystals
  • 1 dessert spoon of powdered gelatine
  1. Make fine crumbs from the biscuits, add ground cinnamon and melted butter.
  2. Press into a slice pan. (I used a larger 25x30cm pan so there was more to go around.)
  3. Put in the fridge to set.
  4. Combine condensed milk, lemon juice and powdered gelatine which has been dissolved in 1/4 cup hot water.
  5. Carefully pour over firm biscuit base and return to the fridge for approximately 30 minutes.
  6. Dissolve jelly crystals and powdered gelatine in 1 cup of boiling water.
  7. Add another cup of 1/2 cup cold water and allow to cool.
  8. Place sliced strawberries on top of condensed milk layer and carefully pour over jelly liquid. (Strawberries will float but you can position them back in place once the jelly has started to set.)
  9. Return to fridge until jelly layer has set then slice and serve.

Monday, December 15, 2014

Santa Hat Jelly (Jello) Shots

Here in Australia we have a saying when you go visiting someone or there is a school break up party and it’s called “take a plate”. That’s not just taking the ‘plate’. It’s taking it fully loaded with fruit, cookies or something a little different. I was “taking a plate” to a play date at a girlfriend of mine’s place and went for something a little different. (I also wanted to trial this recipe to see if it worked as a possible Christmas dessert for the children come Christmas day.)

These little plastic shot cups are just the right size for a little mouthful, for both children and adults alike. They’re not as fiddly as you might think either. Just allow for a bit of time to set in between layers and you’ll be done. As it turns out, I didn’t have a packet of red jelly crystals in the house. I had every other flavour so I picked the lemonade flavour and added some red food colouring.

The white layer is just condensed milk with a little diluted gelatin mixed in. Refrigerate that for about an hour or until it is set and then just add the red jelly layer, after it has cooled slightly. Top with a squirt of whipped cream (or cream in a can) and you’re done. If you want to make an adult version, try adding a little Bailey’s Irish Cream or similar to the condensed milk layer and maybe some vodka to the red layer.

Santa Hat Jelly Shots

  • condensed milk
  • 1 tsp gelatin dissolved in half a cup of hot water
  • packet of red jelly crystals (made according to instructions on the pack)
  • whipped cream to decorate
  1. Depending on how many jelly shots you need to make, dissolve the gelatin into half a cup of hot water. I was only making 10 small cups so once the gelatin was dissolved, I only used 2 teaspoons of the liquid into about 1/4 cup of condensed milk. If you were making up the whole can of condensed milk, I would use about 3 teaspoons of gelatin dissolved into the 1/2 cup of hot water.
  2. Pour gelatin infused condensed milk into the bottom of the shot cup (or glass).
  3. Allow to set in refrigerator for about an hour.
  4. Make up jelly as per the instructions on the pack but don’t add the extra water.
  5. Once cooled slightly, pour carefully into the shot cup. (I tilted the cup as I poured the jelly liquid into the cup.)
  6. Allow the red jelly layer to set.
  7. Top with whipped cream to finish.

Saturday, May 5, 2012

No bake Kiwi & Lime Jelly Cheesecake

One thing I don’t make a lot of is cheesecake. One, for the calorie content and two, well, I don’t really know. It’s not like cream cheese is regularly in my shopping trolley and I have been known to make a cheesecake from leftover ricotta, Greek yoghurt and whatever else has been left in the fridge. I find it a bit rich (which is rich coming from me because I love rich food).

My son inherited his love for cheesecake from his father and my daughter is becoming more game and will happily devour a piece of plain homebrand frozen cheesecake from the supermarket. This was the extent of the cheesecake eating in this house. A $2.99 homebrand frozen cheesecake from the supermarket.

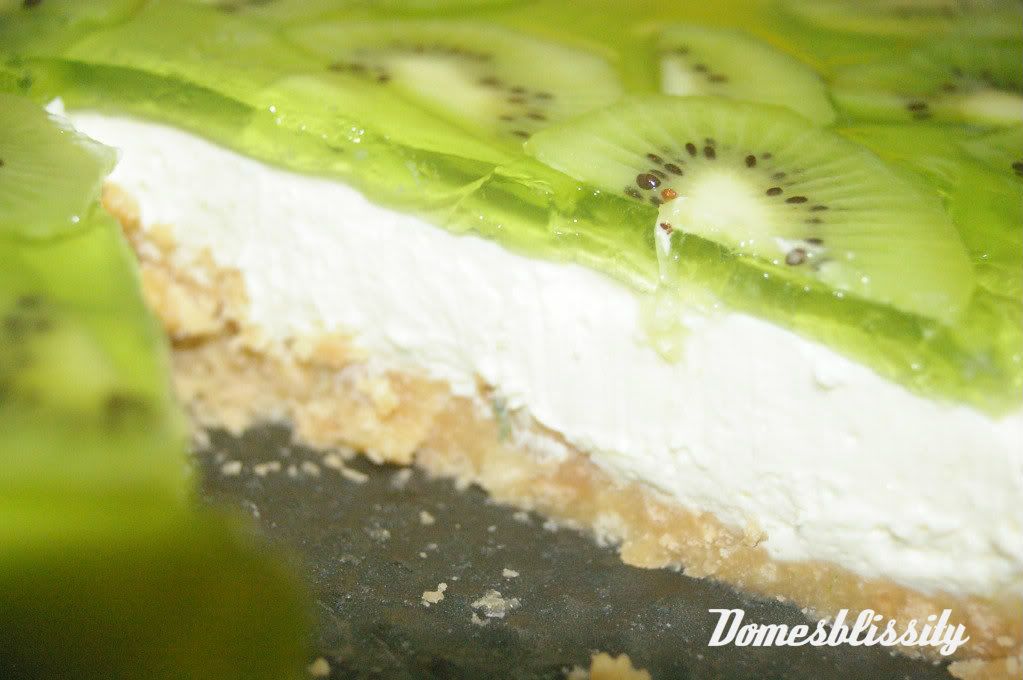
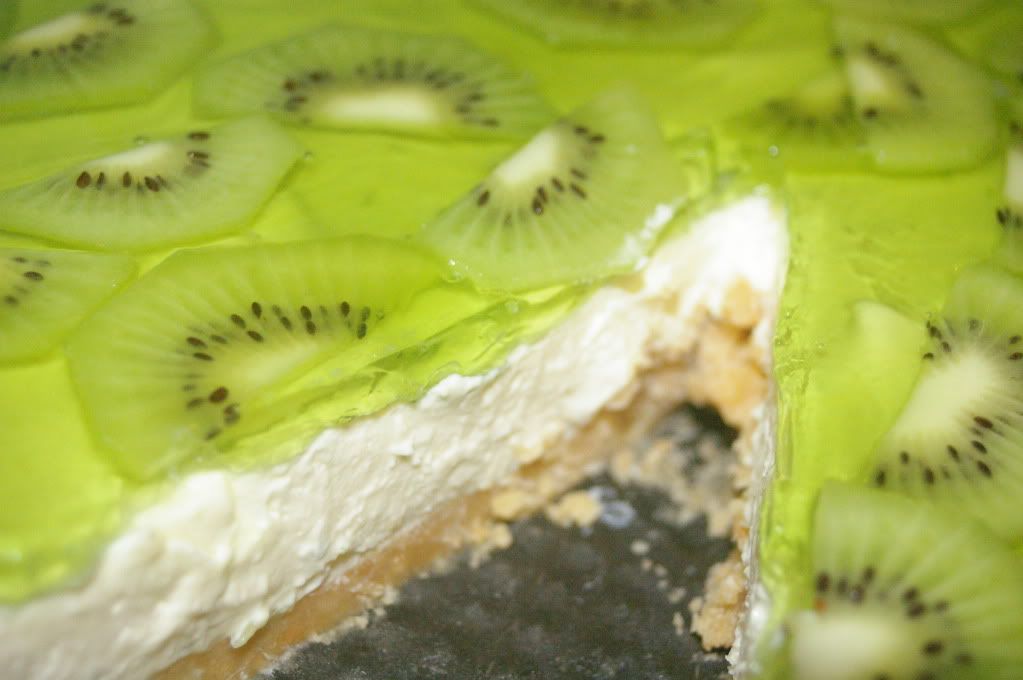
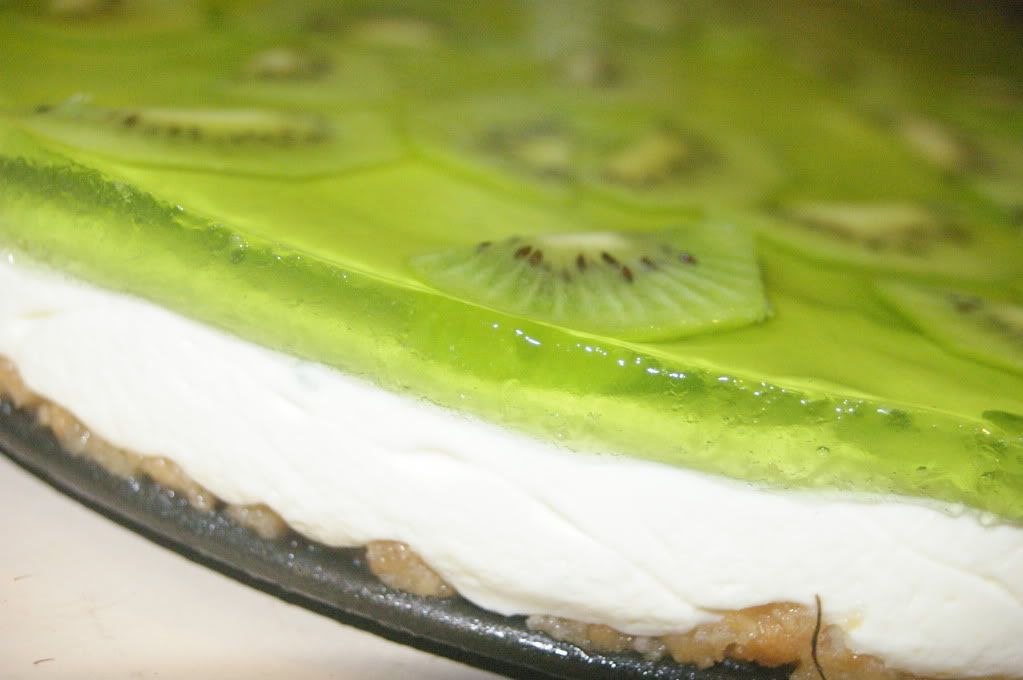
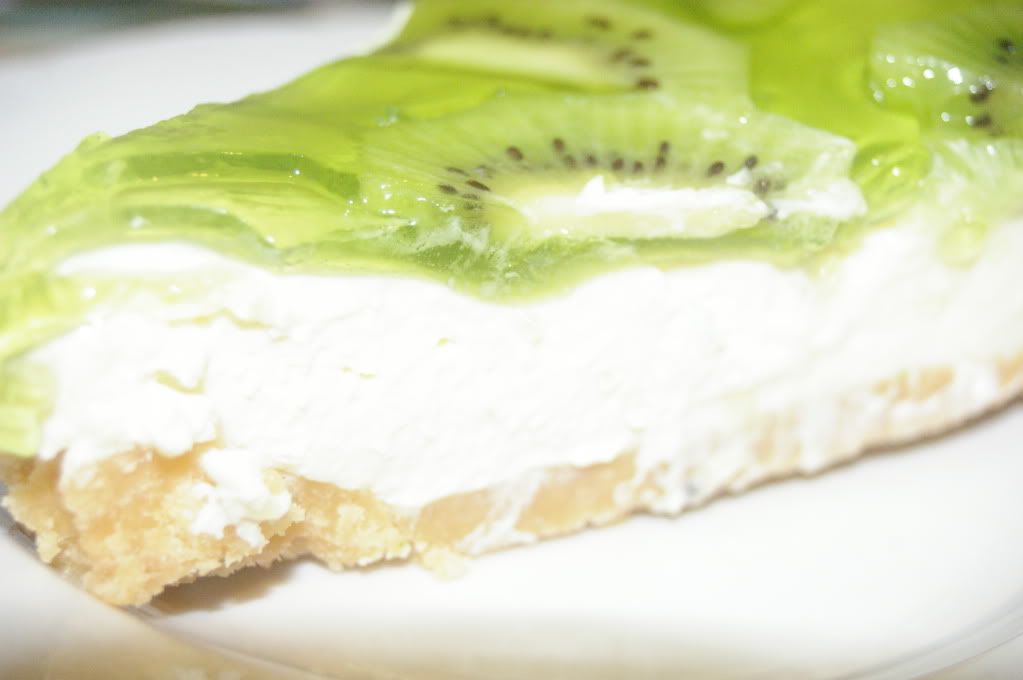
When you start looking at cheesecake recipes, you could just go wild. Some are so rich with chocolate and/or fruit syrups, tangy and fruity using all sorts of tropical fruit, as I’ve done in this case. Topping the cheesecake with jelly adds another flavour and sets the fruit nicely. I placed the kiwifruit on oh so carefully on the cheesecake and when I slowly poured the jelly on, off they went. Floating all over the cheesecake.

This photo looks a little abstract that’s just the way the kiwifruit settled

Kiwi & Lime Jelly Cheesecake
(based on the original no bake Philadelphia Cheesecake recipe)

Base:
1 packet shortbread finger biscuits
125gm butter, melted

Filling:
500gm cream cheese, softened
grated rind of 1 lime
juice of 1 lime
1/2 cup sugar
3 tsp of gelatine, dissolved in 1/4 cup of hot water
1 cup thickened cream, whipped to stiff peaks

Topping:
1 packet lime jelly crystals
3-4 kiwifruit, peeled and thinly sliced

  1. Thoroughly grease a springform pan and set aside. (Alternatively, any pie dish can be used or for individual cheesecakes use cupcake papers in a cupcake or muffin pan.)
  2. Place biscuits in a plastic bag and hit with a rolling pin until crumbs form. (Alternatively, crush the biscuits in a food processor).
  3. Mix biscuit crumbs with melted butter into a springform tin and place in fridge until later.
  4. Beat cream cheese, juice and rind of lime and sugar until smooth.
  5. Gently beat in cooled gelatine mixture and thickened cream.
  6. Place on top of biscuit base and return to the fridge to set.
  7. Make up jelly as per packet instructions.
  8. Place cut kiwifruit slices on top of cheesecake and slowly pour cooled jelly over the top of the cheesecake and return to fridge to set.

I found this a little rich and tangy with the lime zest and juice added. You could add a little more sugar or serve with extra cream. Not sure if I’m a big fan of cheesecake or not. Nice for a change I guess. I guess I also decided on this flavour combination because of what I had available. The only thing I had to buy was cream cheese and cream.

And a reminder – we call Jell-o “jelly” here in Australia. What the US calls jelly, we call jam. We all know what we mean, don’t we?