Showing posts with label cream. Show all posts

Sunday, July 2, 2017

Creamy pasta (without the cream)

There’s no denying I love Italian food and am probably more partial to tomato based sauces but sometimes the ingredients you have on hand lend themselves to a creamy based sauce. But who’s always got cream on hand? Not me. (Probably a good thing.) This is an easy recipe for creamy pasta without cream.

With some sauces you don’t need cream, for example, a traditional Carbonara requires beaten eggs, pancetta and cheese, no cream. I had ham and mushrooms in the fridge and really felt like a creamy sauce.  This easy recipe using milk, flour and stock could be used as a base for chicken, any fish, vegetables and tossed through any pasta. This is also an ideal sauce base for a pasta bake.

Creamy Ham & Mushroom Pasta

100gm ham, chopped
handful mushrooms, chopped
1 medium onion, diced finely
2 cloves garlic, crushed
2 tbs extra virgin olive oil
1 tbs plain flour
1 cup milk
1 cup chicken stock
1 cup grated cheese (I used Cheddar)
salt and pepper

  1. Gently fry onion and garlic until softened.
  2. Add ham and mushrooms. Stir in flour for 1 minute. Add salt and pepper.
  3. Add milk and stock. Stir until slightly thickened.
  4. Add grated cheese and stir until melted.
  5. Serve over cooked pasta and finish with cracked pepper and more grated cheese, if desired.


There’s no replacement for cream, really, but this is a pretty good alternative and made with standard pantry staples.

Tuesday, May 31, 2016

How to make mock cream

You know, sometimes you just need cream for a cake and not frosting. My son and I had a big baking session one weekend recently and he made a basic box mix vanilla cake and he was wanting to fill it with jelly (jello) and cream. I didn’t have any cream and I’d made mock cream before so I thought I’d share how easy it is to make mock cream.

How to make mock cream www.domesblissity.com

How to make mock cream www.domesblissity.com

It’s nothing like that horrible white stuff you see in cake shops. Who knows what’s in that. I can remember years ago, the only cream bun you could get from the cake shop was one filled with real cream but not anymore. I can’t tell you the last time I had one because I know they use a fake white cream which I think is just whipped fat. For this recipe, I used the one that is Flo Bjelke-Petersen’s “Classic Country Collection”. It’s a great cookbook and one I use often for basic recipes. The only thing I didn’t have was caster sugar but I just used normal sugar and although a little grainy, it still tasted like cream.

20160502_133012

It’s just a matter of beating the butter and sugar together until creamy, then add the vanilla and then adding the milk. You have to be careful to only gradually add the milk or else it won’t work.

20160502_133656

I probably over beat my mock cream by a couple seconds because it’s not super smooth like normal whipped cream. You can see that it’s starting to split. But I used it anyway. It filled and topped the cake and it was super delicious.

How to make mock cream www.domesblissity.com

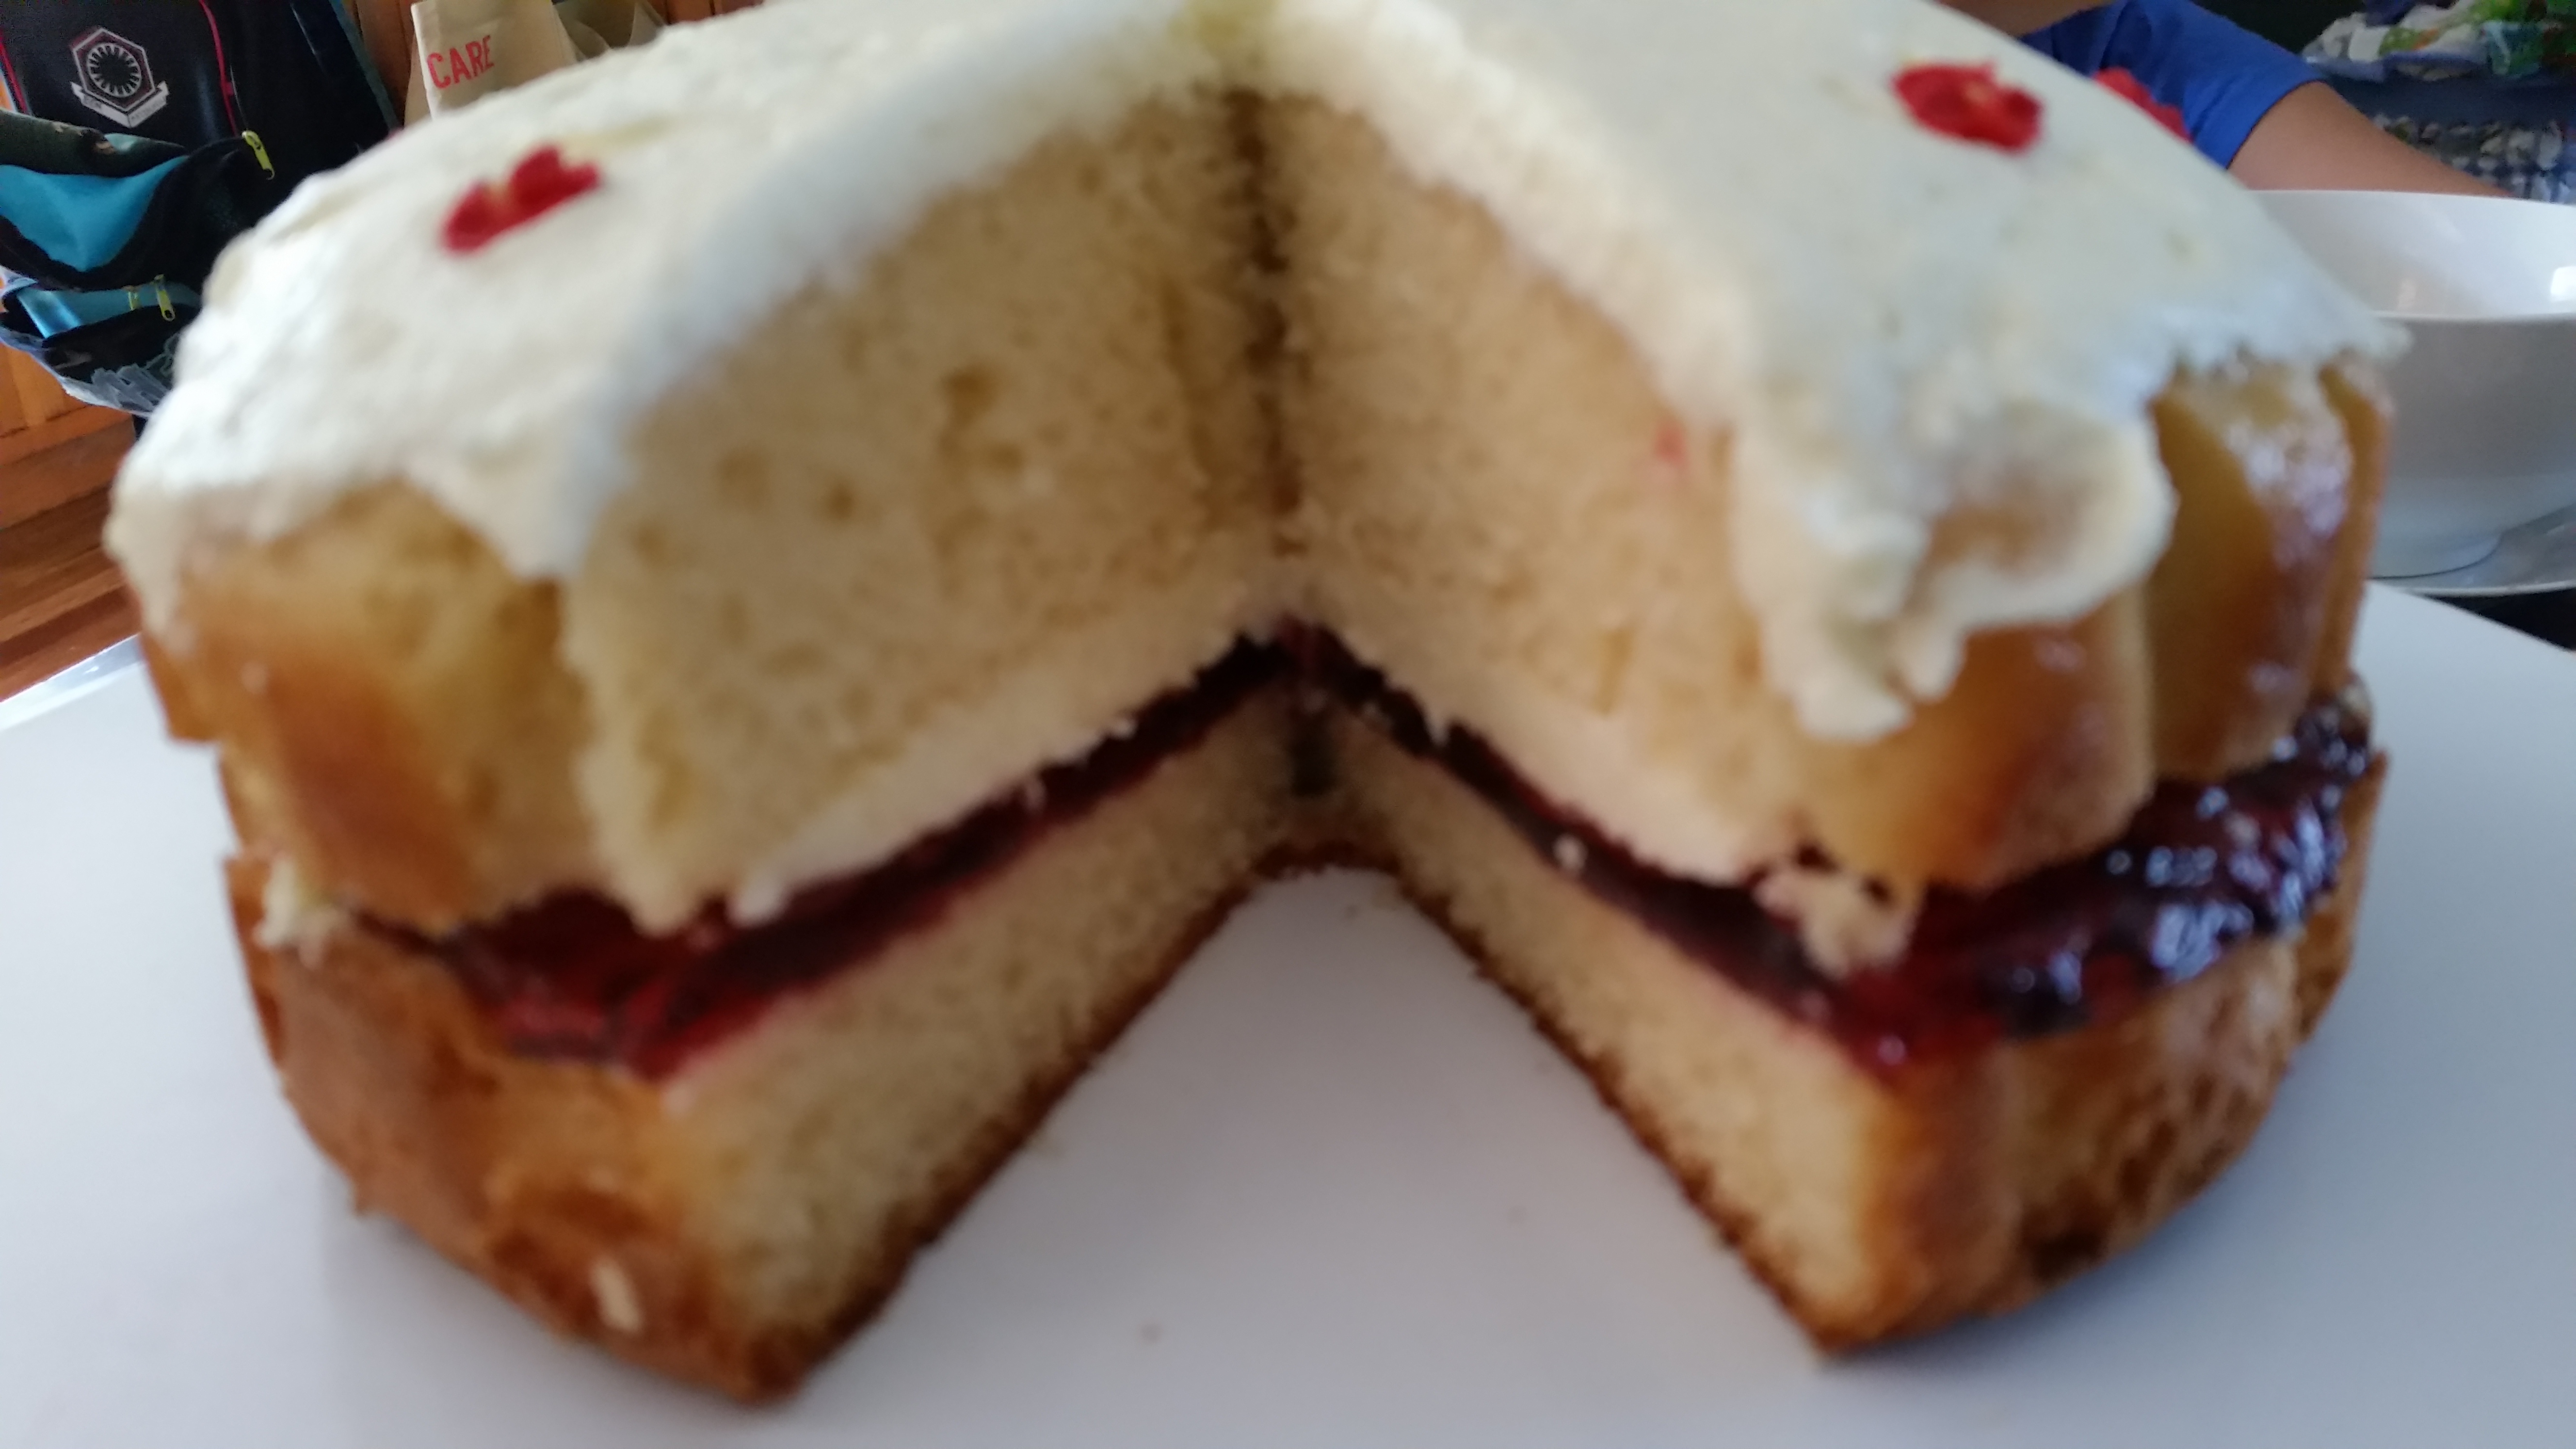
I had some store bought icing flowers in the pantry so I topped the cake with those. It was delicious as an after lunch treat and everyone enjoyed it. My son was feeling super proud of his creation. It was filled with a port wine flavoured jelly, the mock cream and topped with the cream as well. (The indents in the side of the cake are from the baking paper we used to line the cake pan.) I’ll let him bake all the time if he can come up with creations like this.

How to make mock cream www.domesblissity.com

How to make mock cream

When you don't have fresh cream to fill a cake or bun, make 'mock' cream which tastes just as nice and is made from standard ingredients you'll find in any kitchen.
Cook Time 10 minutes
Total Time 10 minutes
Author Anne

Ingredients

  • 2 tbs butter
  • 4 tbs caster sugar
  • 2 tbs milk
  • 1/4 tsp vanilla
  • 2 tbs water

Instructions

  1. Beat butter and sugar until light and creamy.
  2. Gradually add milk, beating all the time.
  3. Add 2 tbs water in a steady trickle, while beating.
  4. Add vanilla essence and beat until a creamy consistency.

Recipe Notes

Be careful not to over beat or else cream will split.
Please note, the above quantities are enough to either fill one layer or top a cake. You will need to double the recipe to do both or have a larger quantity to fill sweet buns or doughnuts, for example.

Adapted from Flo Bjelke Petersen's "Classic Country Collection" Cookbook

Sunday, January 25, 2015

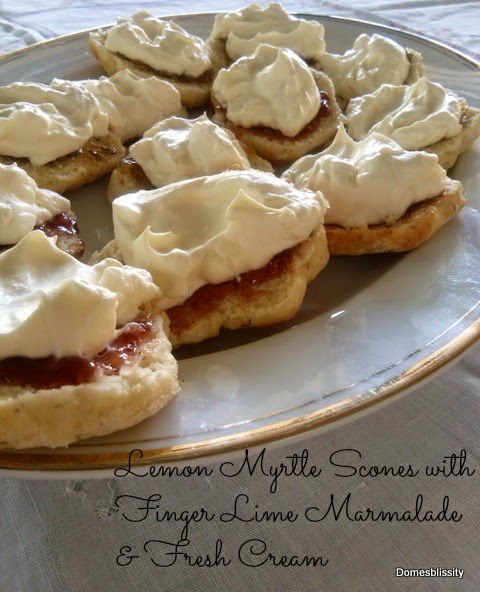
Lemon Myrtle Scones with Finger Lime Marmalade & Cream

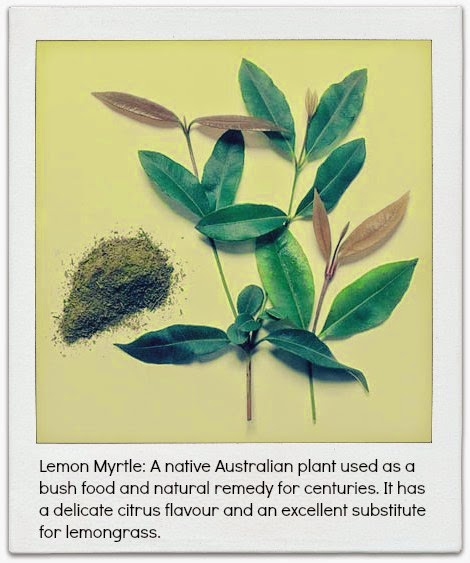
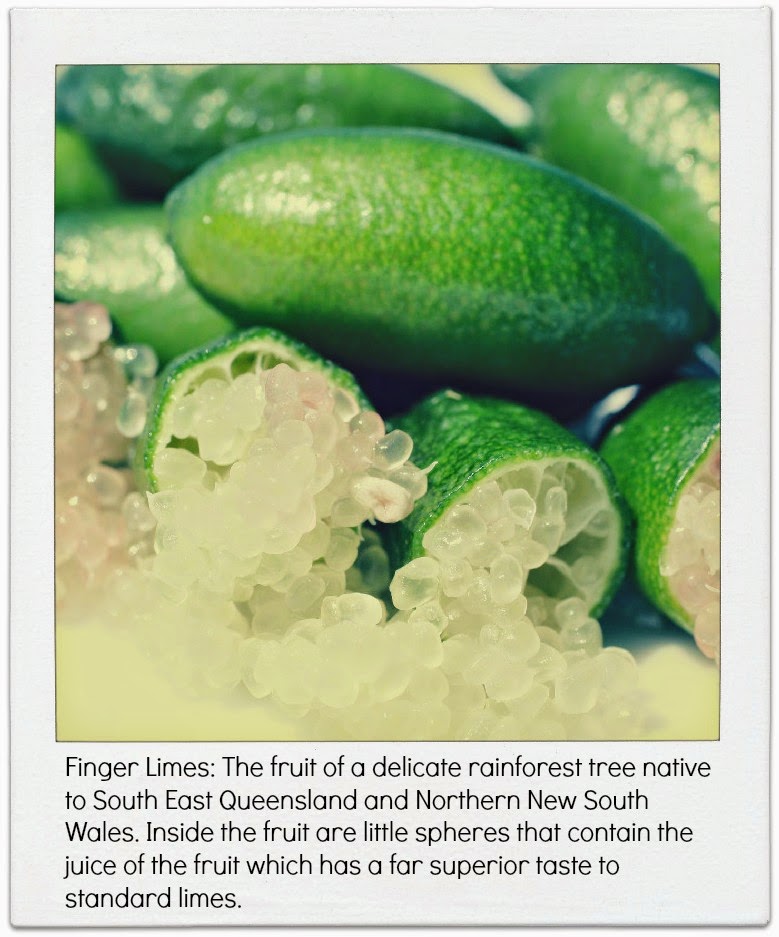
Happy Australia Day! Today is the day we commemorate the landing of the First Fleet in Australia in 1788 and an excuse for a public holiday. What a better way to celebrate then with scones with jam and cream. I’ve added an Australian bush tucker theme to my scones this time with the addition of the native Australian spice lemon myrtle and a finger lime marmalade.
source
source
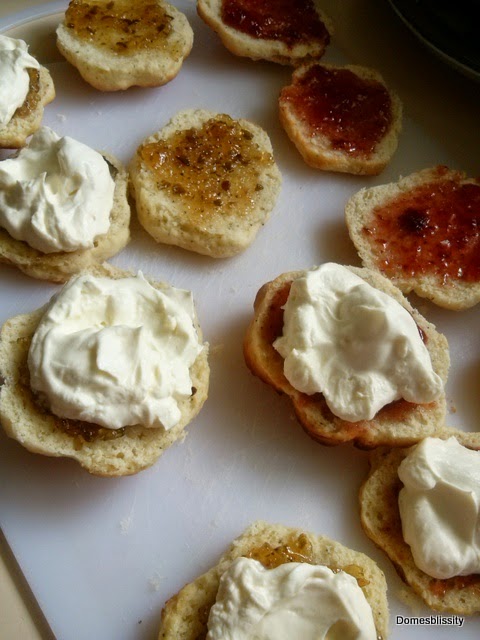
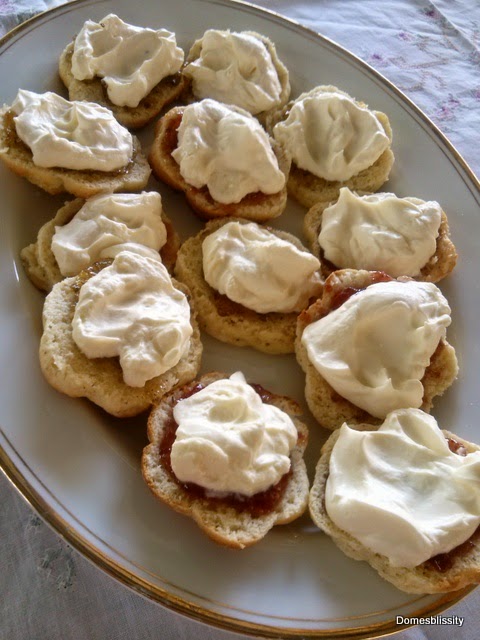
Scones served split open and spread with jam and then topped with cream have become an Aussie tradition. (We just so happened to steal it from the British and their Devonshire Tea.)  Scones are usually plain but can be filled with sultanas, dates or flavoured with pumpkin. Jam is traditionally strawberry but I’ve gone for a real Aussie theme and tried the finger lime marmalade I had in the fridge and they were absolutely gorgeous! I spread some with strawberry jam for the traditionalists among us (and the kids).
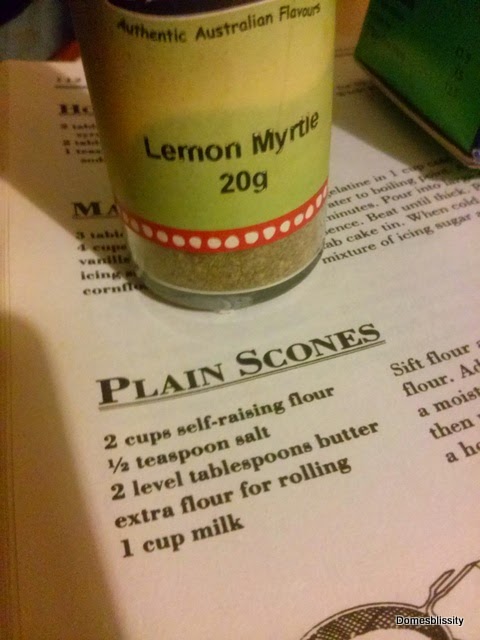
I used my lemon myrtle spice mix lurking in the pantry, just waiting to be used, and my favourite scone recipe from Lady Flo Bjelke-Peterson, former Premier of Queensland Joh’s wife who is very famous for her pumpkin scones. I love her recipes.
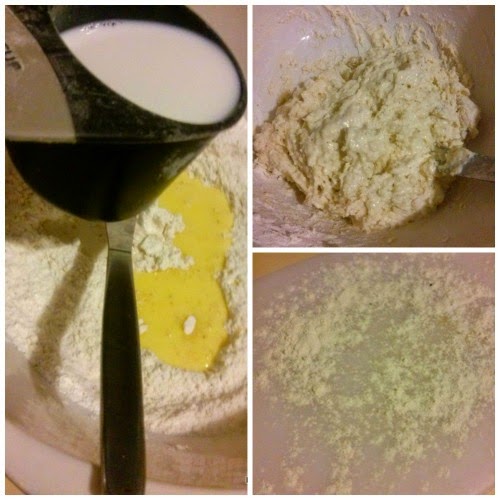
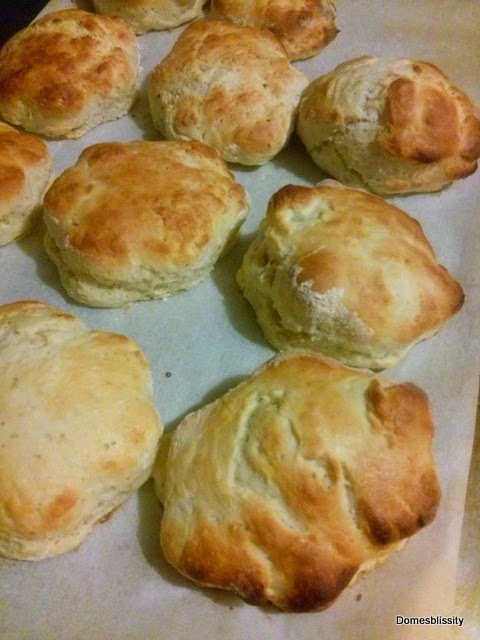
Scones are such an easy thing to bake and made with pantry staples. My dough was a little wet so I added a bit extra flour to the board before cutting out. You might have your favourite recipe which makes a light fluffy scone but my secret is not to overwork the dough. I learnt from my Nanna, a master scone maker in her day, who told me to always mix the dough with a knife which will eliminate overworking and only just bring the ingredients together until a dough forms. Lightly press onto a floured board to your desired thickness and either cut into squares with a knife or use a cutter to cut out scones.
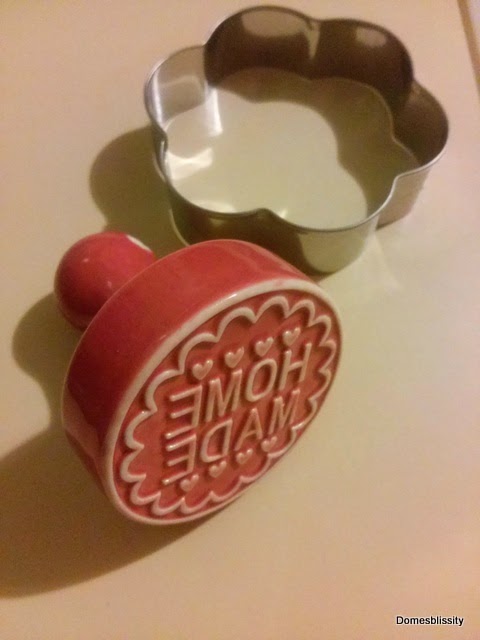
I very rarely pick up super bargains from major department stores because I don’t normally shop at them and I’m never there at the right time but I was the other week. I picked up a beautiful green biscuit tin (complete with choc chip cookie mix, which I threw out because it was made in China and I was a bit suspect about that) but it came with this beautiful ceramic biscuit press and cookie cutter. It only cost me 10 cents! Can’t wait to try out the biscuit press.
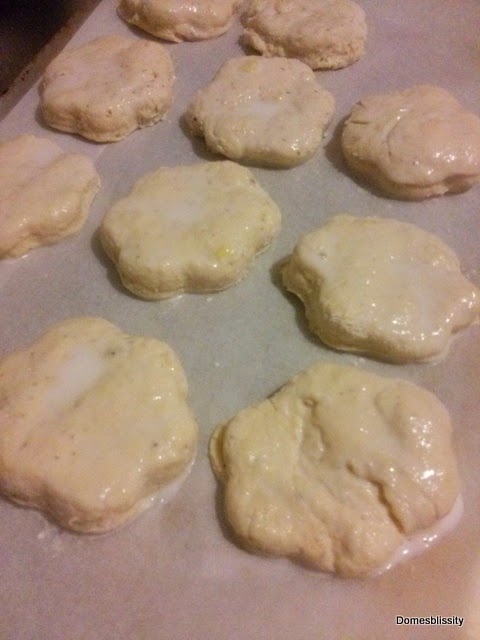
Once the scones are cut out, brush with a little milk and bake in a hot oven for approximately 10 minutes.
Wrap in a clean tea towel once baked until ready to use. 
Cut in half, spread with jam and top with whipped cream.
I’ll definitely be looking for new ways to use my lemon myrtle spice. It added a lovely, subtle lemon flavour to the scones and the finger lime marmalade was luscious. Hope you all have a lovely Australia Day no matter how you’re celebrating.
Lemon Myrtle Scones with Finger Lime Marmalade & Cream
(based on “Classic Country Collection” scone recipe by Flo Bjelke-Petersen)
  • 2 cups self raising flour
  • 1 tsp lemon myrtle spice
  • 1/2 tsp salt
  • 2 tbs butter, melted
  • 1 cup milk
  • extra flour for rolling & cutting

  • Finger Lime marmalade or jam of your choice
  • fresh cream, whipped until thick

  1. Preheat oven to 220 deg C.
  2. Mix spice and salt into flour
  3. Add melted butter and milk and mix with a knife until just combined.
  4. Sprinkle board or bench top with extra flour.
  5. Put dough on floured board and press out until approx 1.5cm (1 inch) thick.
  6. Cut dough into squares or cut out shapes with a scone/cookie cutter which has had the edges dipped into flour to avoid sticking.
  7. Place on baking tray lined with baking paper.
  8. Bake for approx 10 minutes or until golden brown.
  9. Wrap in clean tea towel until ready to serve.
  10. Slice each scone horizontally and spread with jam and top with a teaspoon of whipped cream.

Monday, June 10, 2013

Mochaccino Cream Cake

Here in Australia, when invited to a party or similar we usually ‘take a plate’. It could be sweet or savoury, hot or cold, in a packet or made from scratch. I’ve been known to grab a packet of potato chips or store bought dip and crackers when I’ve been in a bind but I thought I’d make a cake last weekend when I was invited to an afternoon of card marking craft by one of the lovely school Mums.

You know me, I go to my pantry for inspiration first and foremost. I spotted some of those coffee sachets that you just mix with hot water. They would’ve had to have been there for ages. I find them quite sweet and I don’t take sugar in my coffee. I checked and I had 3 ‘Mochaccino’ flavoured sachets and all the ingredients for a chocolate cake so that’s how it came about.

I just so happened to have 300ml of whipping cream AND about 4 squares of coffee flavoured chocolate which I grated on top. Mixing one of those coffee sachets http://www.longfordtasmaniaclassifieds.com/listing/vhealthportal-com-online-us-drugstore/ with the cream and whipping should be made illegal. It was absolutely gorgeous and I licked that dish and those beaters so clean, they didn’t need washing up. Coffee and chocolate, another one of those delicious combinations.

Mochaccino Cream Cake

  • 1 and half cups plain flour
  • 1 sachet “Mochaccino” coffee sachet
  • 3 tablespoons cocoa
  • 1/2 cup sugar
  • 1 sachet “Mochaccino” coffee sachet, diluted with 1 cup hot water
  • 1 teaspoon vanilla
  • 1 tablespoon white vinegar
  • 6 tablespoons oil (I use canola)
  • 1 teaspoon bicarb soda
  • half teaspoon salt
  • 300ml whipping cream plus extra “Mochaccino” coffee sachet
  • grated chocolate to finish cake
  1. Turn oven to 180 C (375 F). 
  2. Grease a 20cm ring cake tin well. 
  3. Dust inside the tin with a little flour. Tap out excess. 
  4. Put the flour, coffee sachet, sugar, cocoa and hot water in a bowl. 
  5. Add vanilla, vinegar, oil, baking soda and salt. 
  6. Mix with beaters until smooth. (Mixture is runny.) 
  7. Pour into the tin. Bake 35 to 40 minutes. 
  8. Cool for 10 minutes then take out of tin.
  9. Whip cream and coffee sachet together. Split cake and fill with half the cream. Top the remaining cream on the cake. 
  10. Sprinkle with grated chocolate to serve.

Tuesday, January 8, 2013

3 ingredient Peaches & Cream cupcakes

Cook books, menu plans? Meh! Who needs them? I’ve just got to look into my overstocked pantry to dictate to me what I’ll be cooking. I’ll happily accept my sister’s pantry clean outs but boy, doesn’t it make a mess of my basic ingredient stocked pantry. I’ve got so many things that need using up. I’ve still got about 3 packets of cake mix (which is from November, the birthday month) and I don’t fancy having them sitting there until November this year!

Sometimes I wish my kids were like other kids with their eating habits and ate these packaged things. These tubs of diced peaches were just annoying me, falling out all over the place. I’m afraid my son would prefer to eat a real peach instead of these packaged ones so besides the usual cordials, muffins or icy poles, I decided to make these Peaches and Cream cupcakes. (I’m a little bit addicted to “Cupcake Wars” on TV so love coming up with different flavour combinations.)

I don’t advocate using cake box mixes. I don’t personally like them. I usually only get them for the kid’s birthday cakes but for a quick alternative, I think they’re great. But I do advocate using things up. I’d rather use what I have than have to run down to the shops for one or two things. I’d also rather use up a cake mix and 1 egg rather than flour, eggs, milk and butter to make a cake.

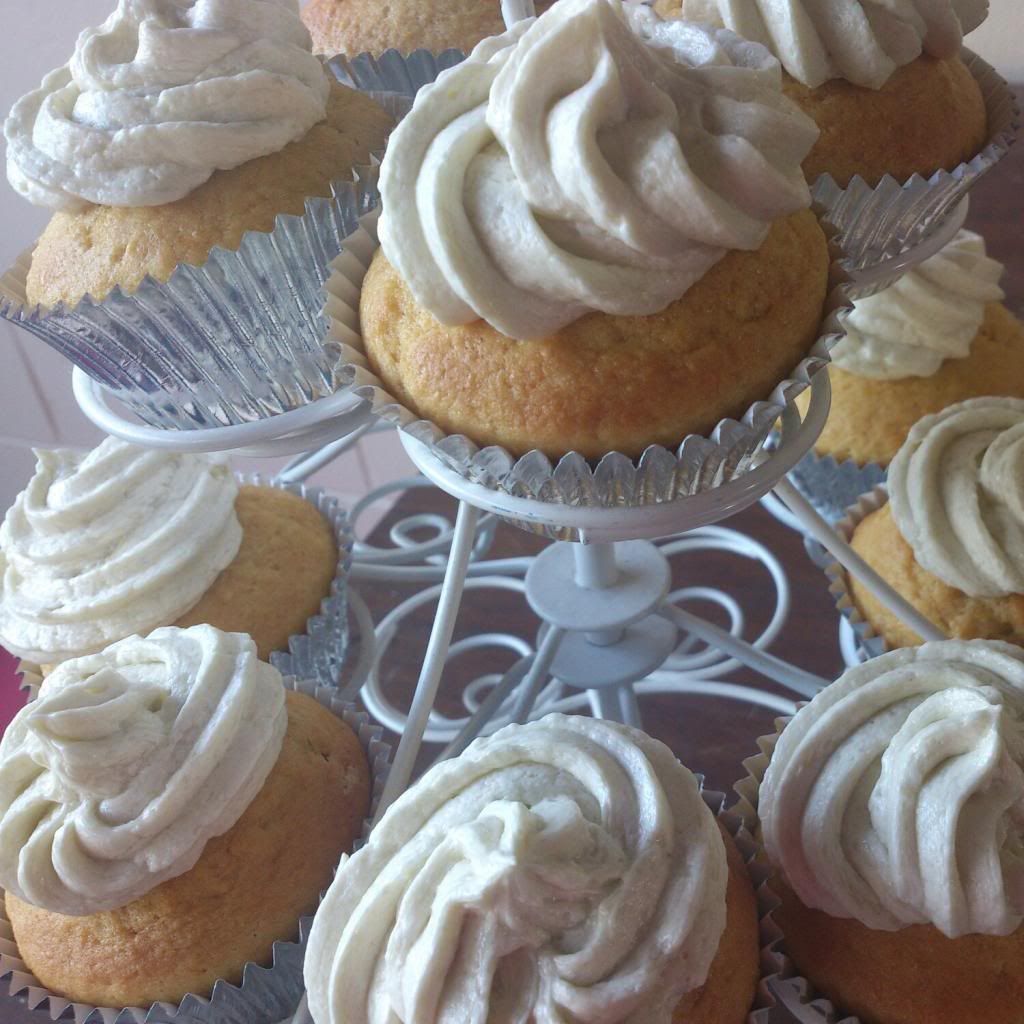
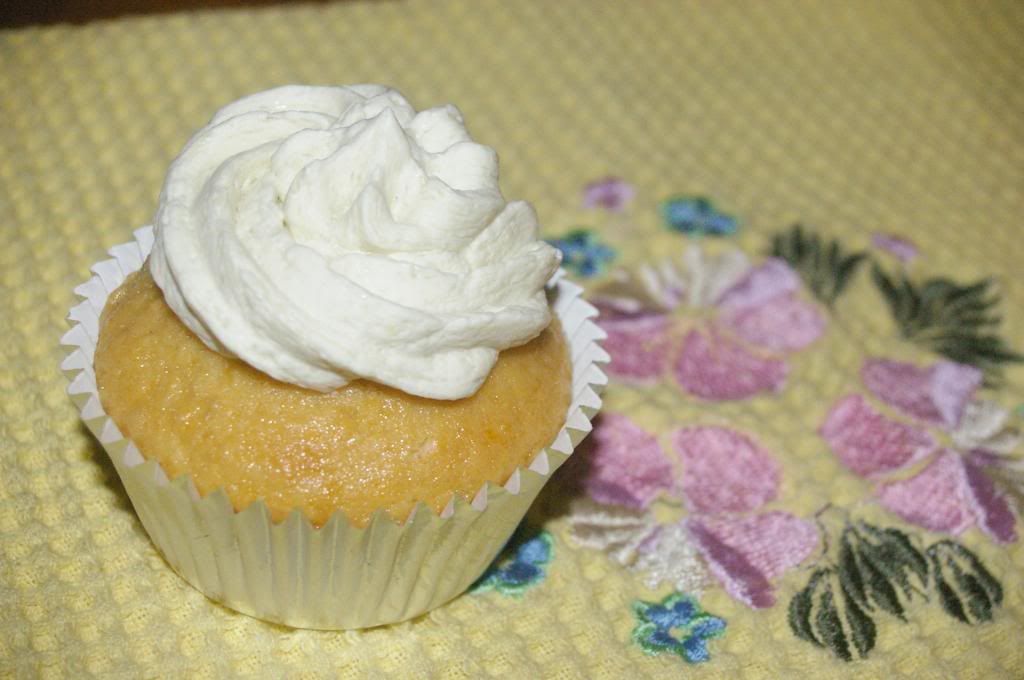
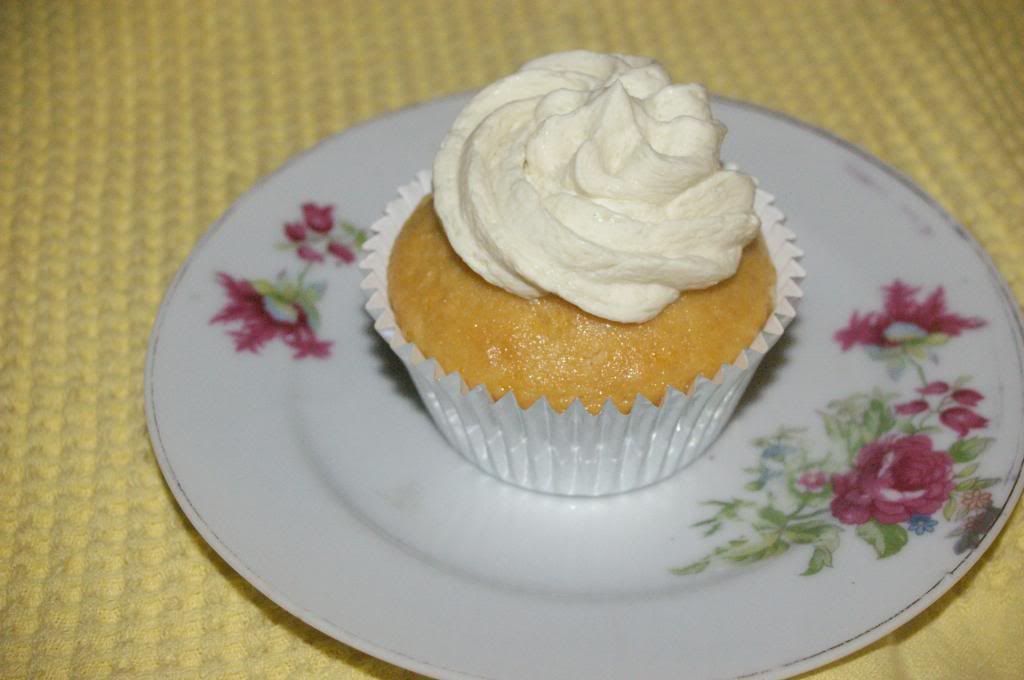
There’s just 3 ingredients in this recipe folks. Yes, that’s right. Three. The cake mix, one cup of the pureed peaches and an egg. They turned out really nice. This was a plain, no name brand cake mix.  You could top with fresh whipped cream that was flavoured with a little vanilla and icing sugar but I decided to top them with mock cream. It’s been so hot here I think fresh cream would curdle if it was out of the fridge for a minute longer than it should be. I used this simple recipe from Best Recipes and its not as hard as the recipe sounds. It does look a little ‘caramel’ in colour but that’s just from the vanilla.

Give this one a go and try it with any tinned or tubs of fruit. I think mango would be nice, pineapple, pears, apricots. Why not even use fresh stone fruit that might be starting to turn. Just remove the skin and seed and puree the flesh.

3 Ingredient Peaches & Cream Cupcakes

1 vanilla cake mix
1 cup pureed tinned (tub) peaches
1 egg

1 quantity mock cream (or fresh cream sweeted flavoured with icing sugar and vanilla)

  1. Mix cake ingredients together with pureed peaches and beaten egg.
  2. Spoon mixture into cupcake papers and bake for approx 20 mins in a 180 deg C oven or until golden.
  3. Allow to cool and top with mock or fresh cream.
 
 
PS Please excuse the photos. You wouldn’t believe that I left the memory card out of the phone while I was snapping away at the making of these cupcakes yesterday. Lucky there were a couple left to take some pictures last night!

Thursday, May 19, 2011

Make your own Assorted Cream biscuits

Coconut Ice, Choc Crackle Caramel & Lemon Delice
As a child, it was a rare treat to have some Arnotts Assorted Creams in the biscuit barrel. It wasn’t that we didn’t like or prefer Mum’s home made biscuits, there was just something so nice about having the choice of so many different flavoured biscuits at once. Favourites like Delta Creams, Shortbread Creams, Monte Carlos, Kingstons and Orange Creams. I could never decide on just 2 or 3 but had to have one of each (while Mum wasn’t looking of course).

I had 3 different kinds of leftover icing in my freezer. (Why do I always keep these ‘little bits’ of icing? So I can make a variety of iced biscuits I guess.) I thought about making a basic biscuit mixture, slightly altering the flavour of it and sandwiching (is that really a word) them with the 3 different icings.

After making the biscuit dough, divide into three (or as many as you have different icing for).

Roll into balls, flatten with the back of a spoon or a fork and bake. For the Coconut Ice, I rolled the balls in coconut before flattening. For the Lemon Delice, I added a small bit of lemon essence to the dough. Grated lemon rind would’ve been nice too but I didn’t want to risk it with my fussy daughter. She would’ve complained if she saw specks of ‘something’ sticking out of a biscuit. For the Choc Crackle Caramel, I rolled the balls in cocoa before pressing.

Once cooled, sandwich with icing and enjoy. I flavoured the pink icing with a little coconut essence and the yellow icing with lemon juice. The caramel icing was leftover over from the Caramel Mudcake Cupcakes I made the other week.

Basic Biscuit Dough
(from “Day to Day Cookery” – my high school Home Economics text book)

125gm butter, melted
1/2 cup sugar
1.3/4 cups Self Raising flour
1 egg
Vanilla

Melt butter and mix well with sugar. (The recipe says to cream butter and sugar together but most often I just melt and mix. Quicker that way and same result.) Add the beaten egg and vanilla. Gradually add sifted flour. Mix into a stiff paste. Roll small pieces of dough into balls and place on baking tray. Flatten with back of a spoon or a fork. Bake in a 180 deg C oven for approx 8-10 mins or until golden brown.

They went like hot cakes and I got asked “why didn’t you make more?”. Gosh, I’m tied to the kitchen some days!