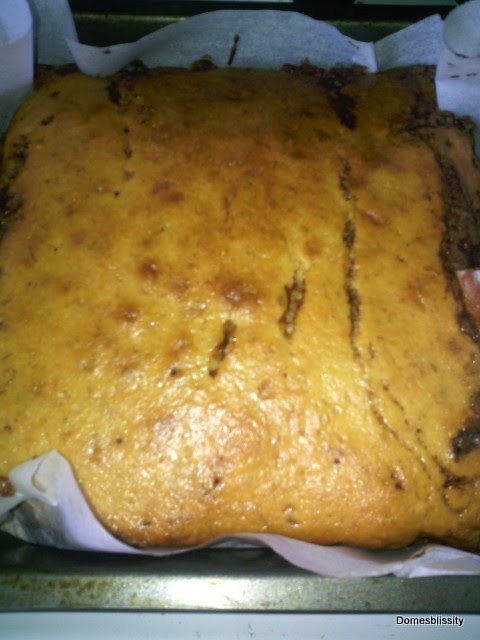
What are Chunky Monkey Bars you ask? They’re my latest creation using the new look, new taste and improved performance Nestlé Baker’s Choice range. A combination of a dark chocolate infused crunchy biscuit base, topped with a fudge-like banana and white chocolate centre dotted with dark chocolate chunks and topped with the smoothest of dark chocolate ganache. A really indulgent treat but not overly sweet. Nestlé Bakers’ Choice set me the #BakeItYours Challenge and I accepted. You don’t have to ask me twice to bake something with chocolate. I used the dark chocolate melts, dark chocolate chunks, white chocolate melts and delectably rich 100% sustainably sourced cocoa. All chocolate products have a real chocolate flavour not like that cheap chocolate flavour that you sometimes get with baking chocolate. The chocolate melt products melt really well and the chunks and chocolate chips hold their shape when baked in cookies for example.
A Dark Chocolate Biscuit Base
I’m a ‘melt and mix’ baker. No having to worry about creaming butter and sugar together for the biscuit base. Melt together the Nestlé Dark Chocolate Melts and butter in the microwave. Depending on the wattage of your microwave, I always advise to cook at 30 second bursts to avoid chocolate ‘siezing’. I know that I can melt my chocolate in the microwave for 1 minute and I’ve never had a problem. Mix in the sugar until dissolved. Allow the mixture to cool slightly and add a beaten egg. I don’t worry about sifting either. It’s just one less you have to do when you’re a busy Mum. Add the flour and the Nestlé 100% Cocoa. Mix well until a firm dough is formed. Check out that glossy dark biscuit base. So full of chocolate-y richness. Remember, it doesn’t have too much sugar in it and by using dark chocolate, there is less sugar in that too. Press the biscuit dough into a 20x25cm slice tin and bake for approximately 15 minutes.
A Fudge-like Banana & White Chocolate Centre with Dark Choc Chunks
Next step is to make the middle banana layer. Forget banana bread. This will be my new ‘go to’ recipe when I need to use up ripe bananas. Just mash together 2 medium sized bananas and set aside. Melt 3/4 cup of Nestlé White Chocolate Melts in the microwave (at 30 second bursts). Remember that white chocolate is made from cocoa butter so has a different ‘melting point’ to dark or milk chocolate so extra care should be taken when melting it so it doesn’t sieze. Add 1/2 cup of melted butter to the melted white chocolate and mix well. Allow mixture to cool slightly and mix in 1 beaten egg, 1/2 cup of sugar and 1 teaspoon of vanilla extract. Add the mashed banana. Add in 1 3/4 cups of plain flour and a pinch of salt. Combine until a smooth batter is formed. (Note to self: Don’t taste test or else you will eat the lot before it’s baked.) And this is where the ‘chunky’ part comes into it. Add 1/2 cup (or a big handful) of Nestlé Dark Chocolate Chunks to the batter and pour
over the cooked biscuit base. Smooth over and bake for approximately 30 minutes. It will be a fudge like consistency like a gooey browney. If you like it a bit firmer, cook for a further 10 minutes. The chocolate chunks hold their shape really well when baked. They’re perfect for Chocolate Chunk Cookies or Muffins. Set baked slice aside until completely cool. [Tweet “Chunky Monkey Bars #NestleBakersChoice #BakeItYours”]
Topped with Dark Chocolate Ganache
Contrary to popular belief, you don’t need cream to make a nice chocolate ganache. I used butter mixed with the dark chocolate melts to make a rich but not sweet, smooth delectable topping for these Chunky Monkey Bars. I’ve even made ganache using Greek yoghurt and it turned out wonderfully. To make the ganache, melt together 125gms butter and 125gms Nestlé Dark Chocolate Melts and combine until smooth. (Remembering to microwave at 30 second bursts.) You can also melt chocolate the traditional way over a pot of boiling water in a ‘bain-marie’, that is, in a dish placed over the pot of boiling water but when you’re in a hurry, microwaving works just fine for me. Pour the ganache over the cooled bars and put in the fridge until the ganache has set (approximately an hour or so). Slice and serve. Just like every other combination with chocolate, banana works perfectly with dark chocolate. You could make these bars without the biscuit base and it’d work out just fine but if you’re looking for something a little extra special for a morning tea or cuppa with the girls, these bars will impress. My kids are devouring them. I’ve put them in the freezer so I don’t eat them my kids won’t eat them all at once and they freeze really well. You could also choose to omit the dark chocolate chunks from the middle banana layer but then they wouldn’t be ‘Chunky’ Monkey Bars would they? Hope you give them a try. I’ve got a couple more chocolate recipes up my sleeve using the Nestlé Bakers’ Choice range so stay tuned.
Win your own Nestlé Bakers’ Choice Pack valued at over $100
Nestlé have been so kind to offer one of my lucky readers the chance to win your very own pack of the new and improved range of Nestlé Bakers’ Choice baking range valued at over $100. To enter, all you need to do is leave your name and email address in a comment below PLUS what you would make with some or all of the Nestlé Bakers’ Choice range of chocolate goodies.
This competition has now closed.
The winner is Belinda B
Terms & Conditions:
Open to Australian residents only.
Competition closes 12pm AEST, Friday, 12 August 2016 and winner will be announced via email. Once confirmed, the winner will be announced across my social media channels.
This is a game of skill.
The prize is not redeemable in cash.
The winner will have seven (7) days to respond otherwise the prize will be redrawn.
A decadent but not too sweet dark chocolate and banana bar with a dark chocolate base, fudge like banana and white chocolate centre which has been filled with dark chocolate chunks and topped with dark chocolate ganache.
Prep Time45minutes
Cook Time45minutes
Total Time1hour30minutes
Servings24
AuthorAnne
Ingredients
Dark Chocolate Base
80gm dark chocolate melts
80gm butter
1/3cupsugar
1eggbeaten
1cupplain flour
3tablespoons100% cocoa
Banana & Chocolate Chunk Centre
3/4cupwhite chocolate melts
1/2cupbutter
1eggbeaten
1/2cupsugar
2medium ripe bananasmashed
1.3/4cupsplain flour
pinchsalt
1teaspoonvanilla extract
1/2cupdark chocolate chunks
Dark Chocolate Ganache
125gm butter
125gm dark chocolate melts
Instructions
For the base
Place dark chocolate melts and butter in a microwave proof dish and microwave until melted. (Melt at 30 second bursts.)
Allow mixture to cool slightly then add beaten egg, sugar and mix well.
Mix in flour and cocoa and combine well.
Press biscuit dough into a 20x25cm slice baking pan and bake for approximately 15 minutes in a 180 deg C oven.
For the Banana & Choc Chunk Centre
Place white chocolate melts in a microwave proof dish and microwave until melted. (Melt at 30 second bursts.)
Add melted butter to melted white chocolate.
Allow to cool slightly and add beaten egg.
Mix in sugar and vanilla extract.
Fold in mashed banana.
Mix in flour and salt and add dark chocolate chunks.
Pour over baked biscuit base and bake for 30 minutes at 180 deg C. (For a more firm banana layer, bake for a further 10 minutes.)
Allow to cool completely.
For Dark Chocolate Ganache
Melt together dark chocolate melts and butter.
Pour over cooled sliced and place in fridge to set. (Approximately an hour or more.)
Slice to serve.
Recipe Notes
You can slice it into bite sized pieces therefore getting more than 24 pieces from this recipe. This recipe freezes well.
Disclaimer: I was gifted a selection of Nestlé Bakers’ Choice products in return for a recipe and the purpose of conducting a giveaway. All thoughts, photos and opinions are my own.
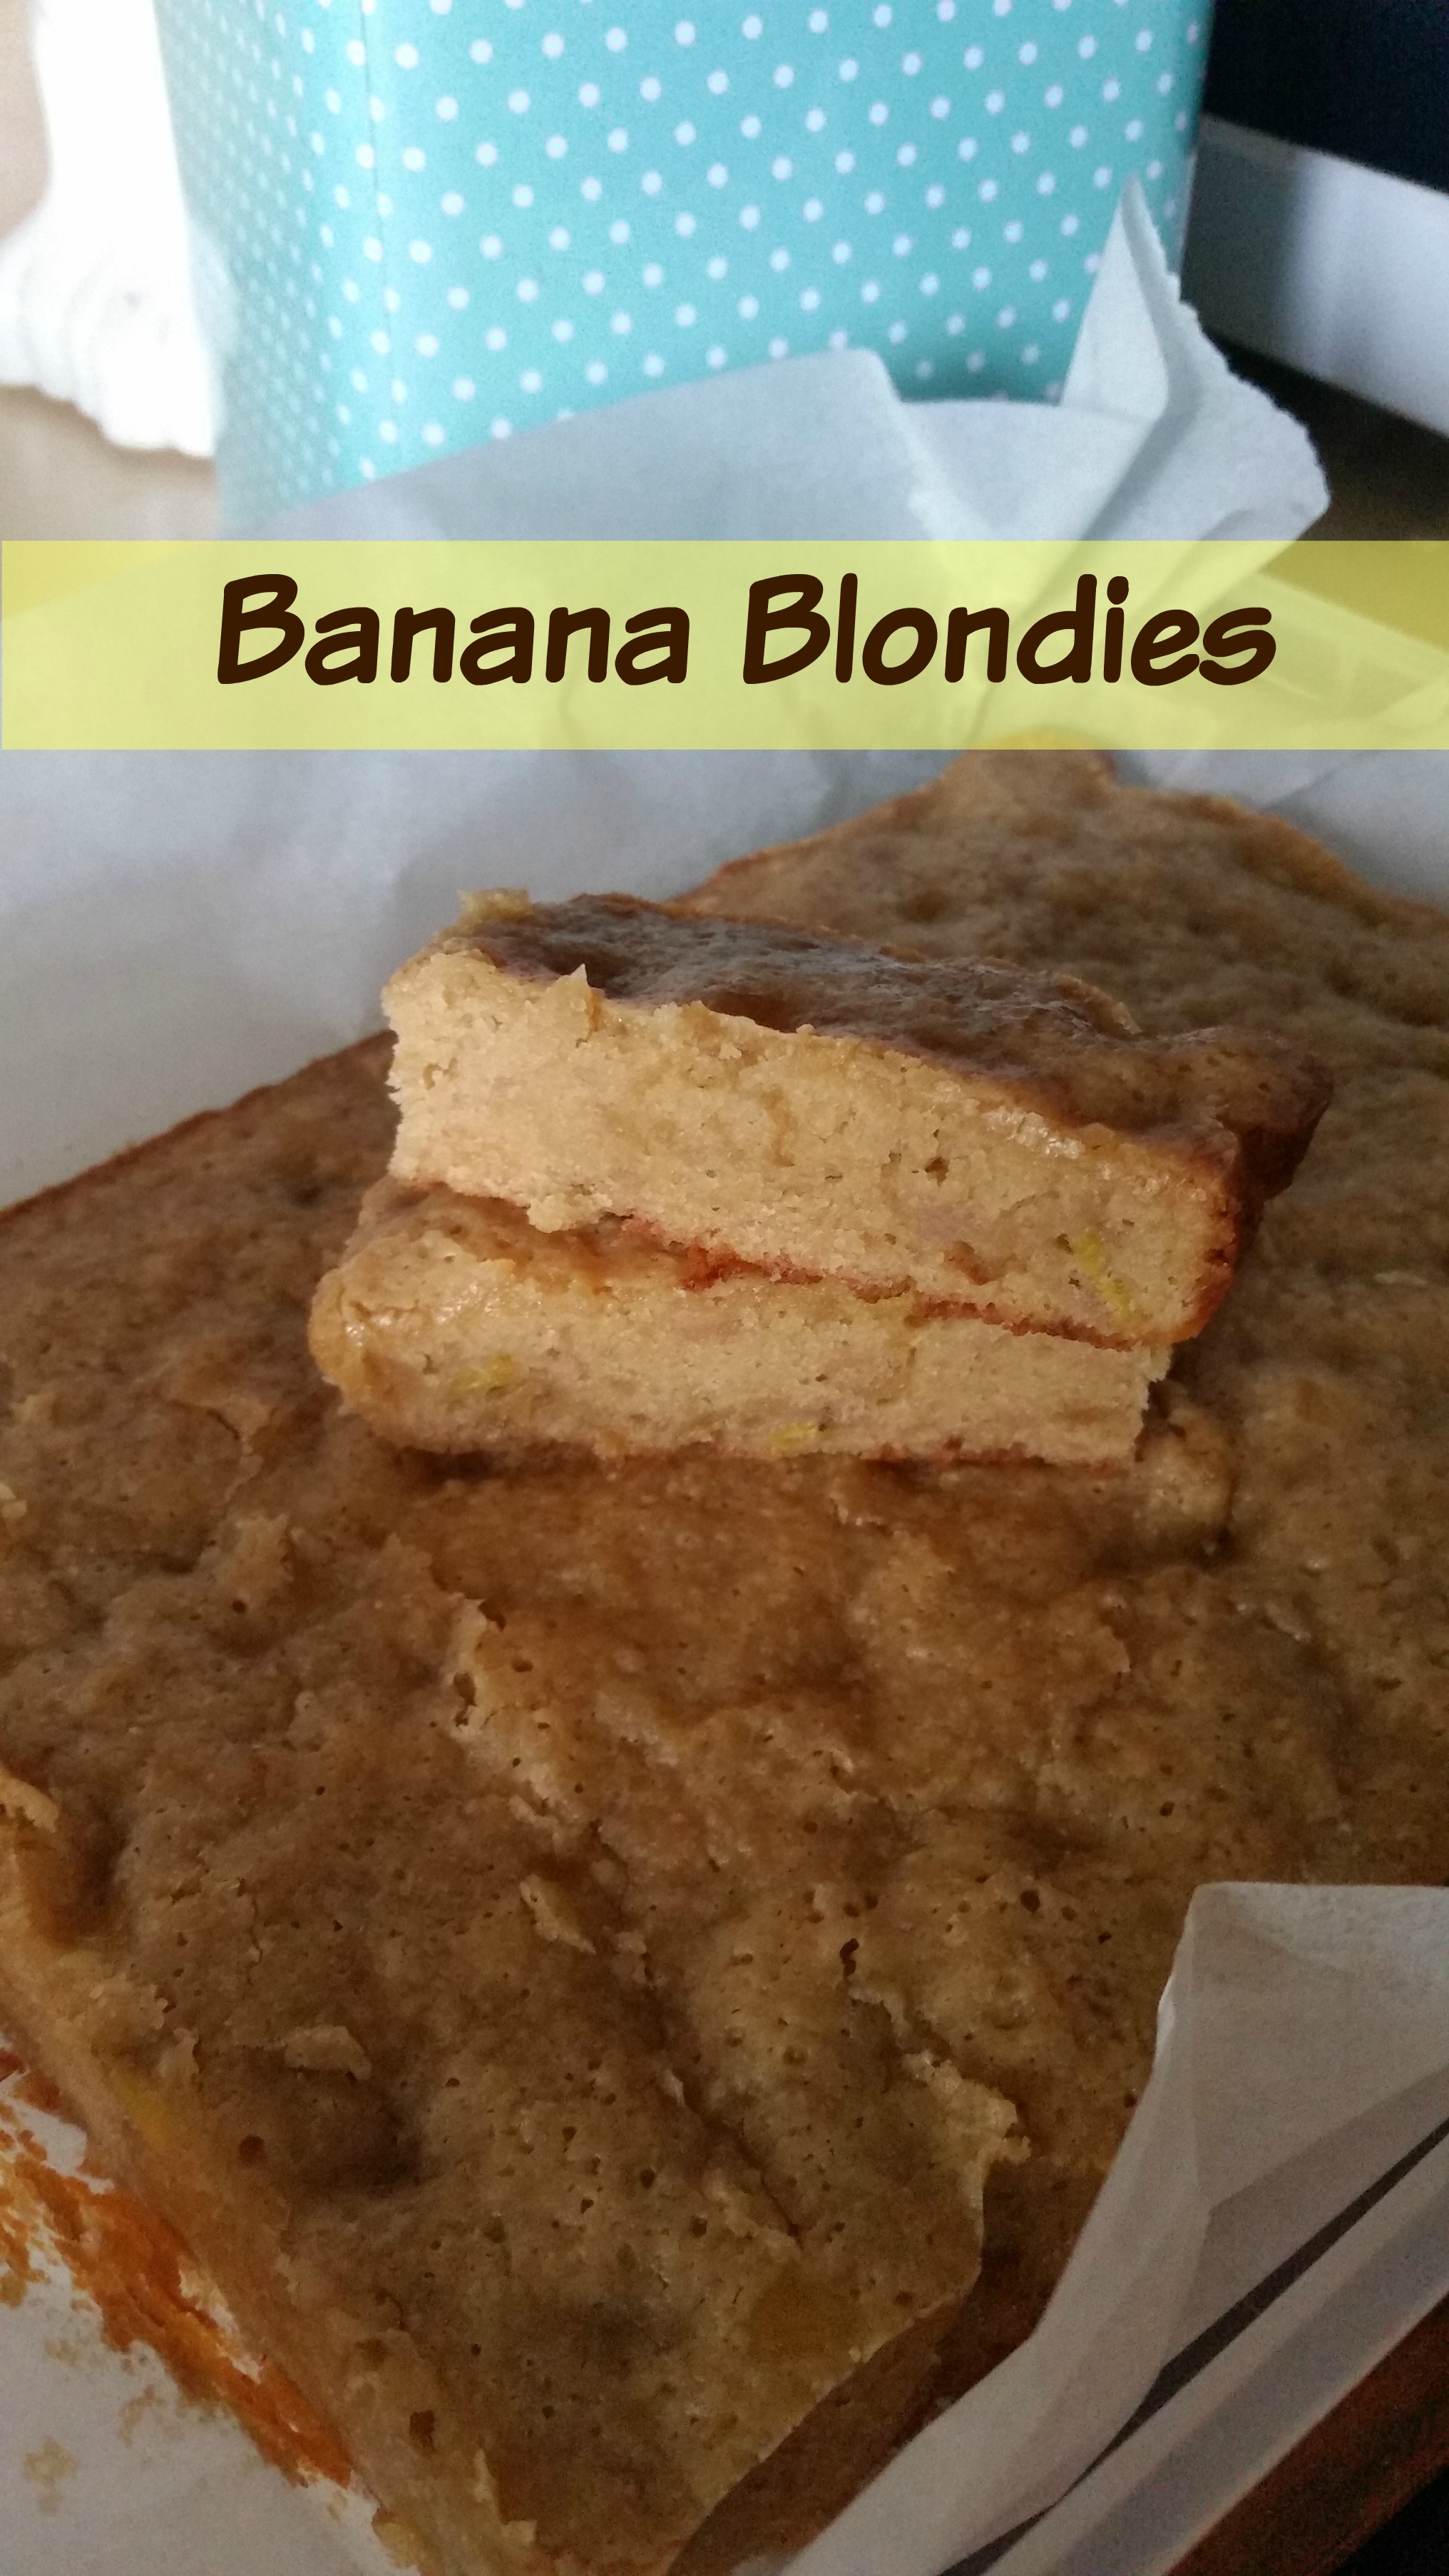
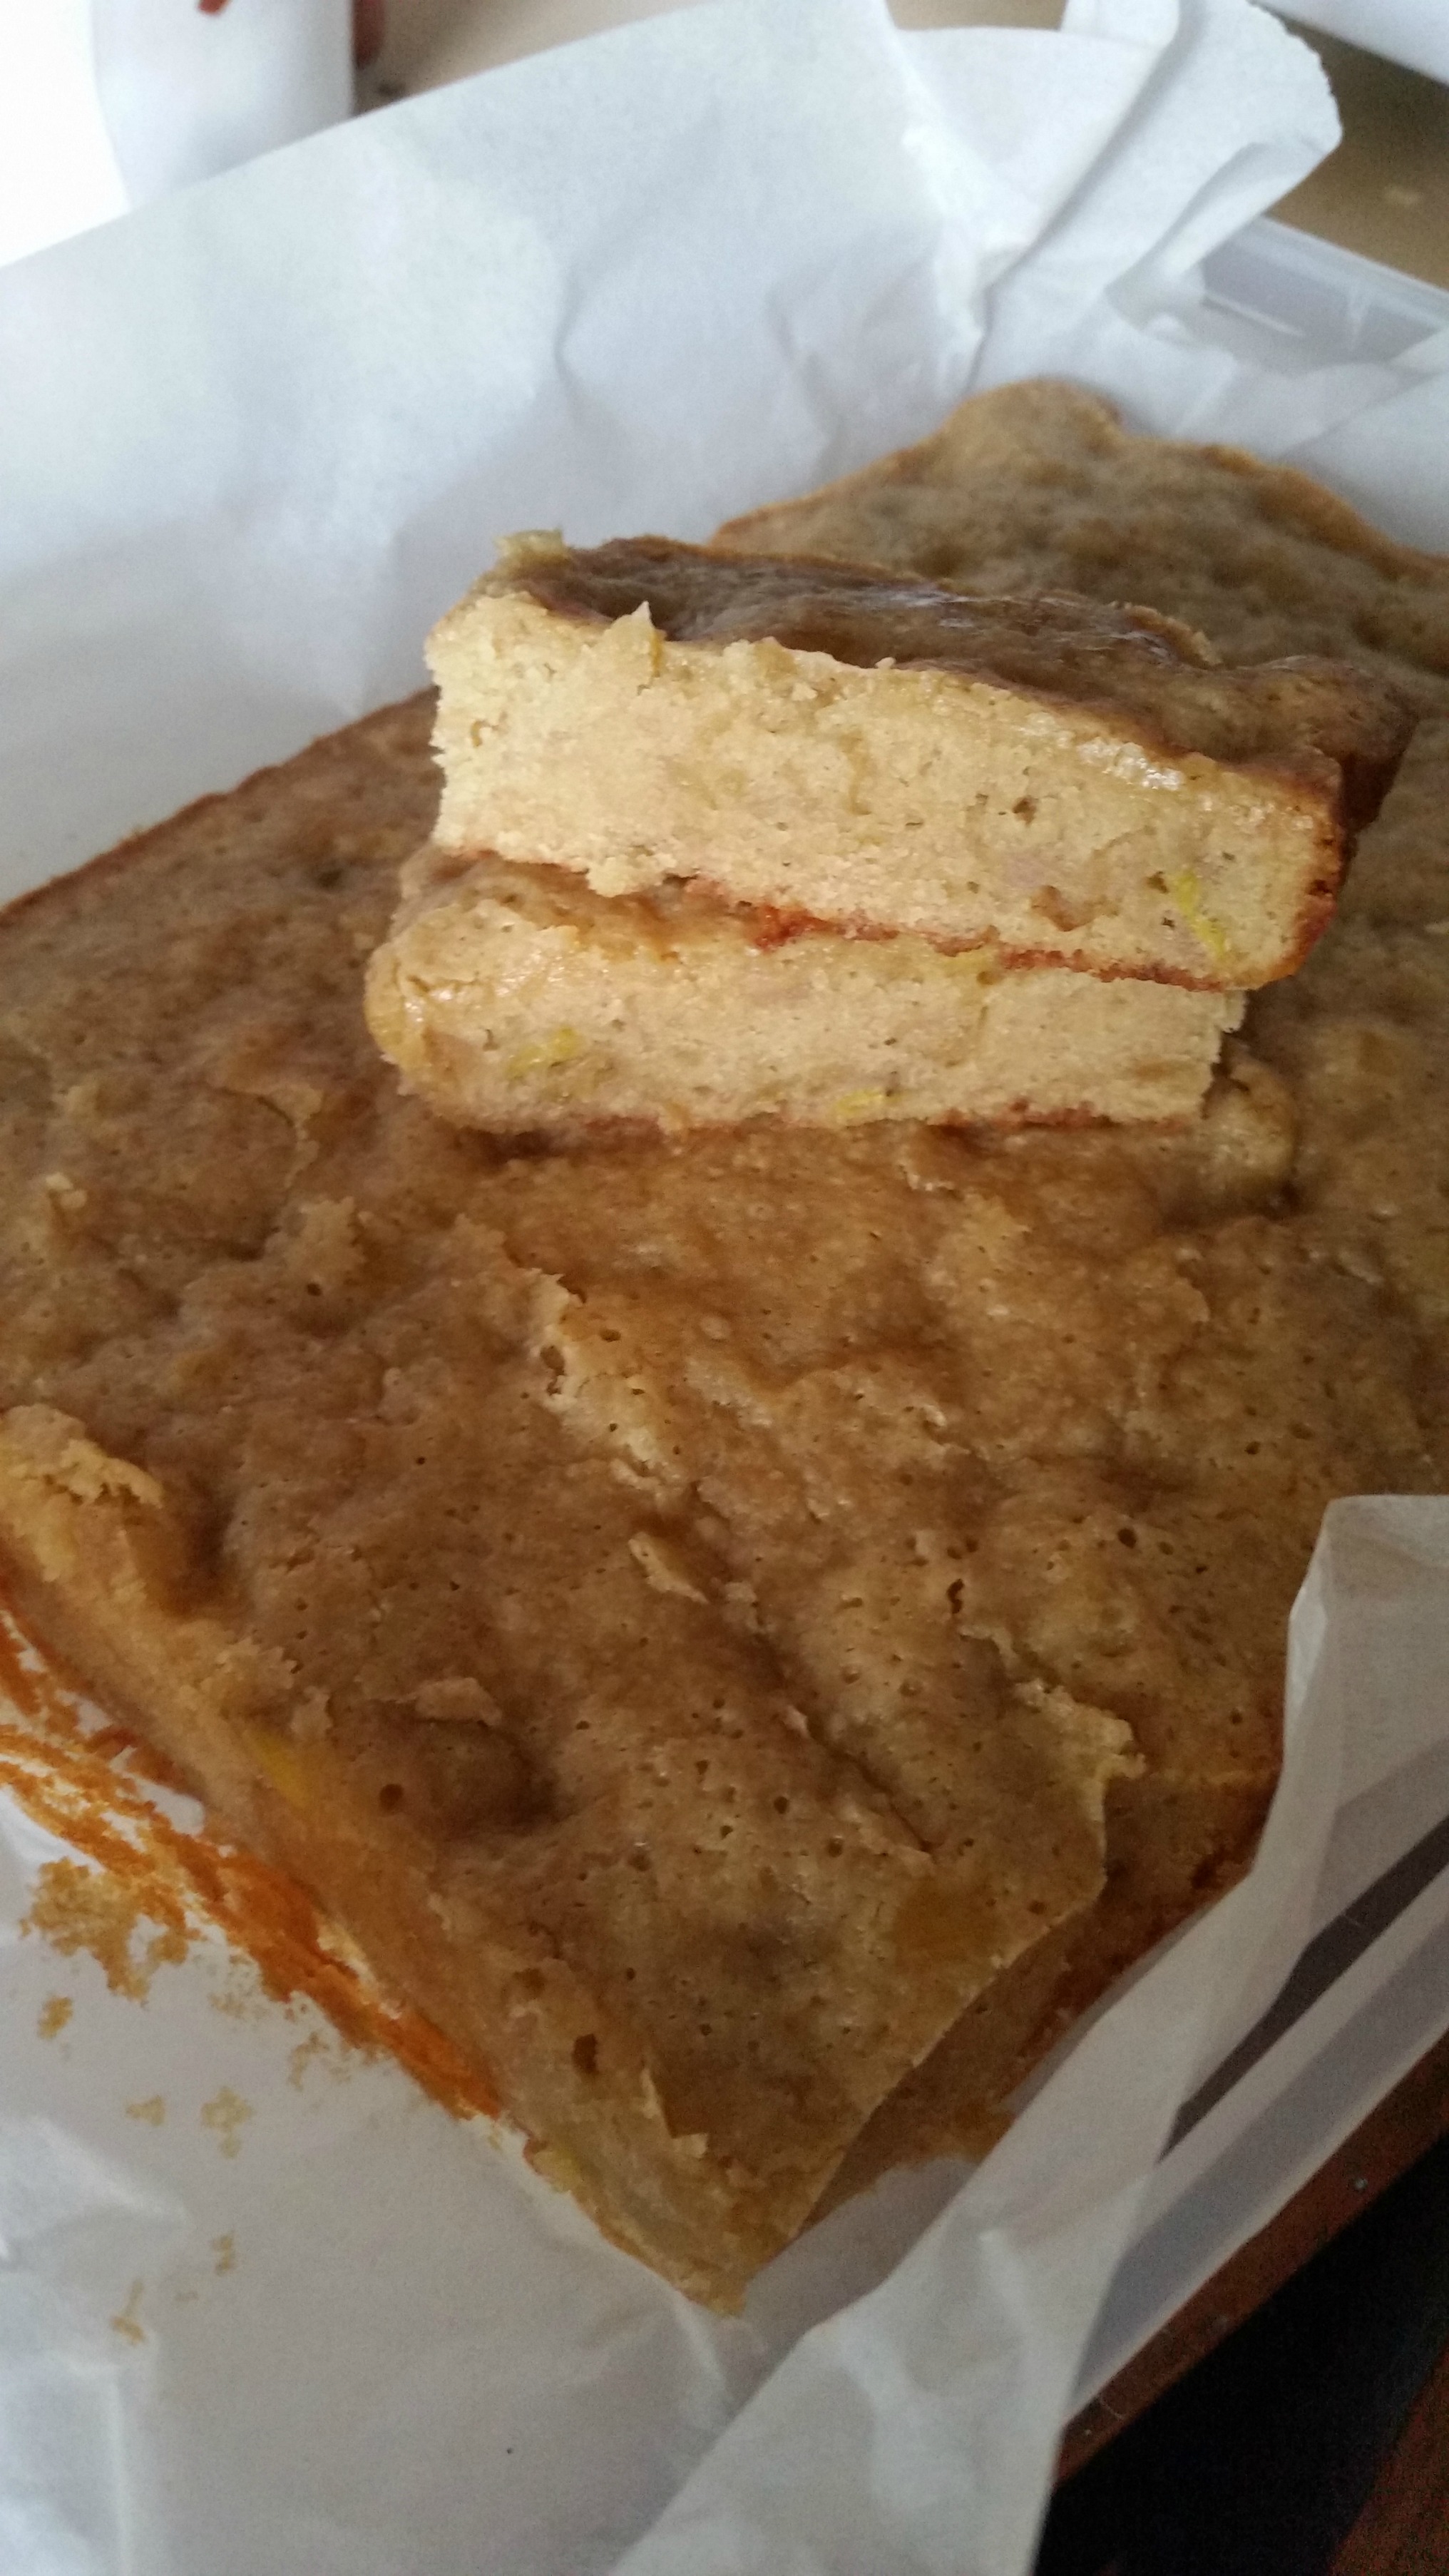
I don’t know how many times a recipe for Banana Blondies appeared in my Pinterest feed and how many times I said I was going to make them, but it never happened. I’m so over banana cake and so is my family, I thought “this is it”, I’m making Banana Blondies and that’s that. But do you think I could find the gorgeous recipe when I needed it? Oh, no!
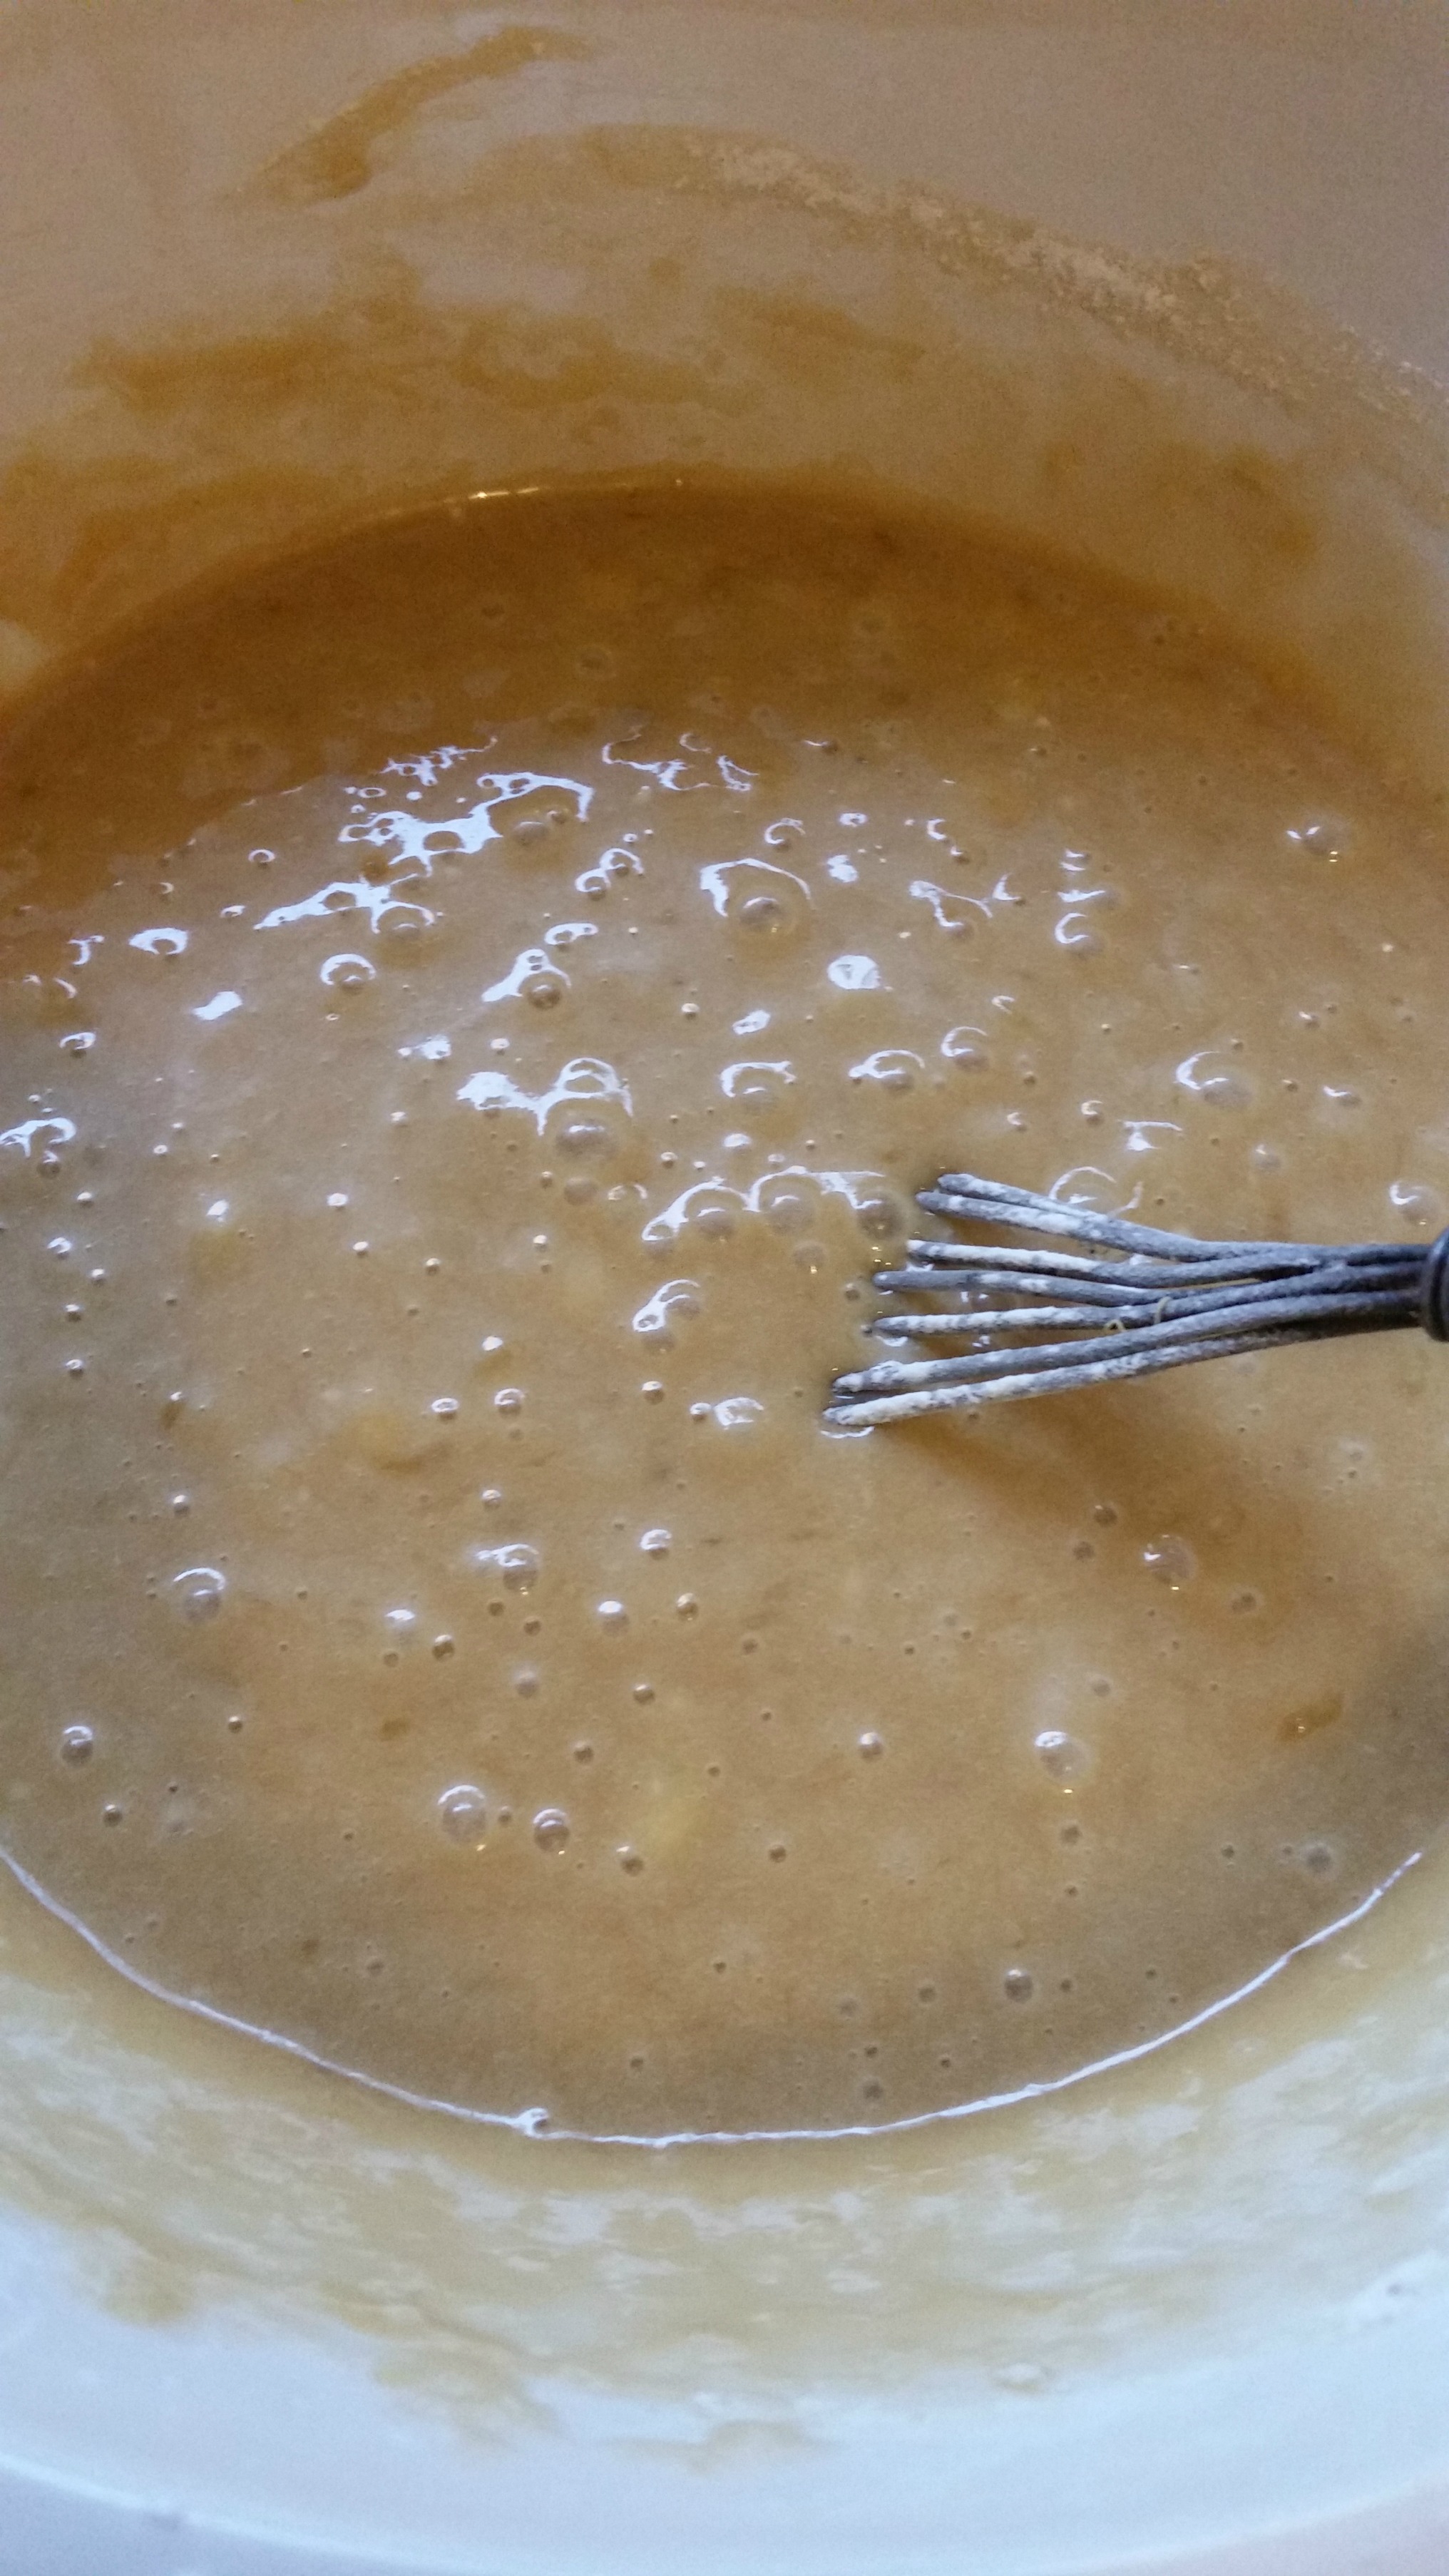
I did, however, find a recipe and it had way too much sugar in it. I thought there must’ve been a reason for it so kept it all in but it was very sweet. It was fudgy, just like a regular brownie, but oh so sweet. I’d definitely be halving the amount of sugar in it next time. I didn’t save the recipe on my computer, just wrote it on the back of an envelope, like I normally do with recipes I find on the internet so don’t have the original receipt and don’t want to discredit the original poster. I normally don’t make something if it’s got more than 1/2 cup of sugar in it. I find it still turns out okay with less sugar.
This is a super cool recipe to freeze and no need to ice as well. A lovely, dense, fudgy (like I mentioned before) cake or bar that is perfect for lunch boxes, for both the young and the old. Save your overripe bananas for this one next time. You won’t be disappointed.
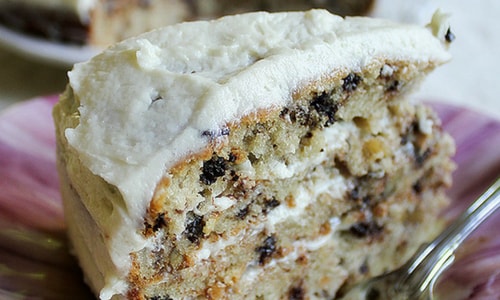
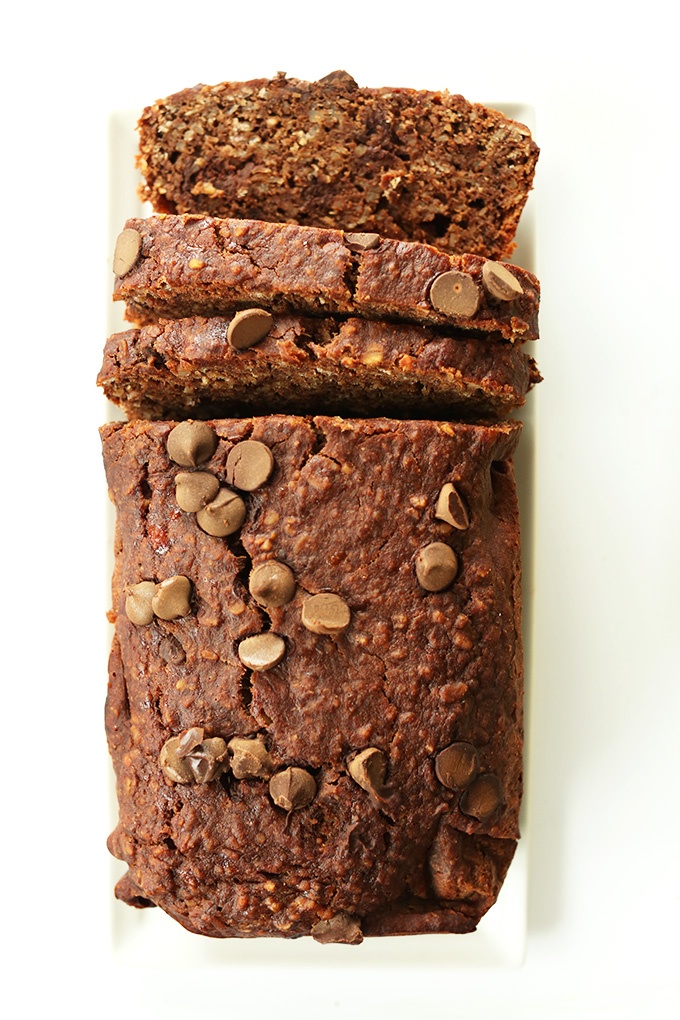
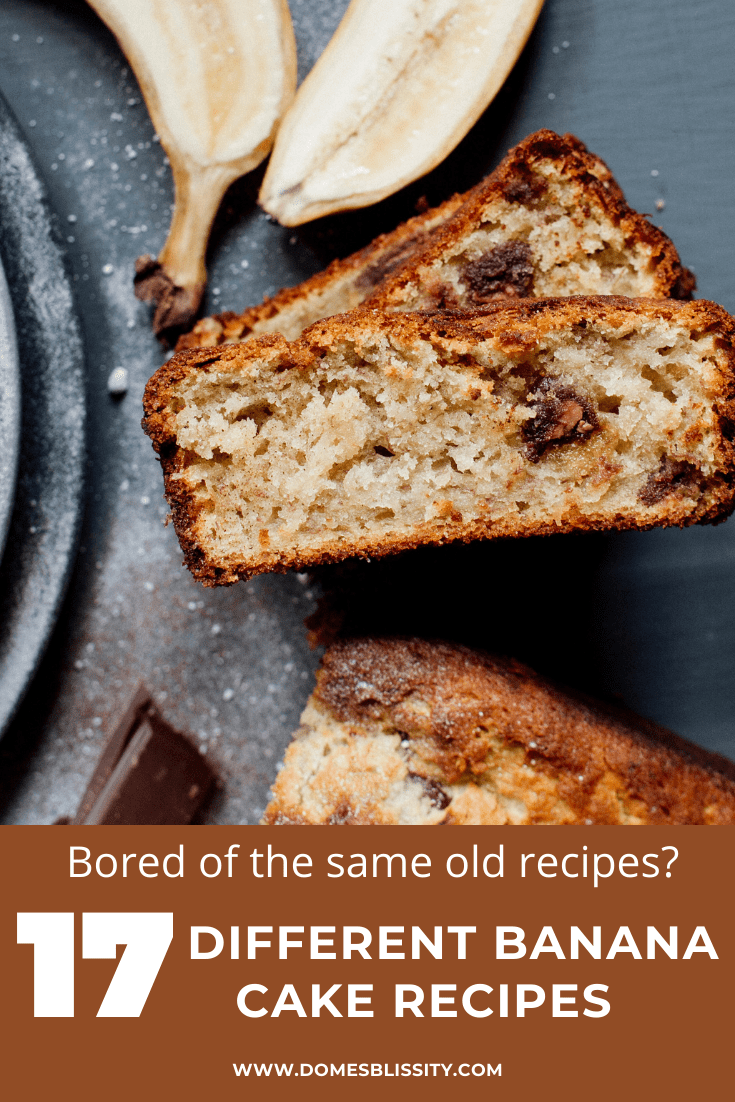
Banana Cake is one of those cake recipes that has kind of morphed into being as popular as say chocolate chip cookies. It’s what everyone I know does with overripe bananas which is just perfect for banana cake. Here are 17 different banana cake recipes.
As the bananas ripen, the flavour is more sweet and the perfect addition to a cake. Trouble is, I’ve made it sooooo many times. I’m sick of it and I’m sure the kids are too. I like to make a banana cake either into a bar cake tin and slice, wrap and freeze (as above) so I can pop a slice into the kid’s lunch boxes or else I bake them in muffin pans.
I’ve tried a few variations on a standard banana cake recipe including adding 1/2 cup of peanut butter or other nut spread (think chocolate nut spread) which is a lovely addition. Here are a couple others plus a few more to try.
Anyone tire of Banana Cake? I must admit, I do. It might be one of those ‘go to’ recipes for a lot of people because, like all of us, we’ve all got a heap of black bananas in the freezer. I buy them, with all good intent that my children will eat them but as soon as a black spot appears, that’s it. They won’t. “Back in my day…..” we wouldn’t have had a choice. It was that or nothing and I think they actually taste sweeter when they’re a bit ripe. Anyway, my children drive me nuts sometimes but that’s another story.
To tell you the truth, I can’t remember where I got this recipe from. I thought I’d try something different apart from my usual No Fuss Fudge Cake recipe which I use for just about any cake. Without any disrespect to the writer of the recipe, I did find this one a little dry but it still got eaten.
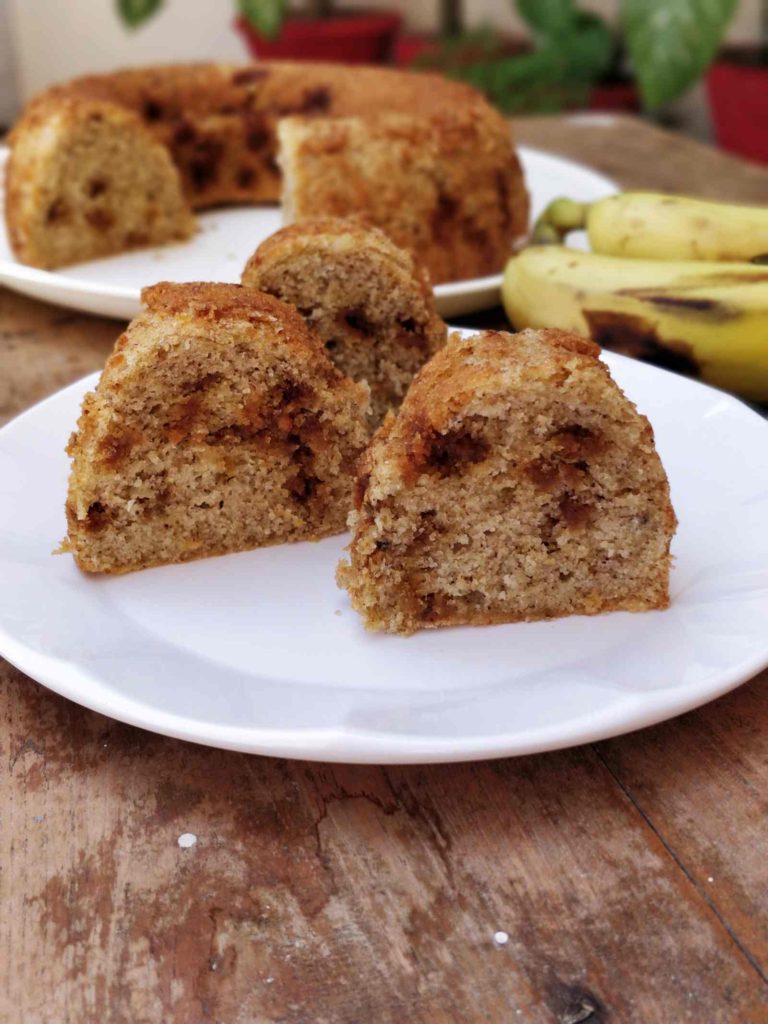
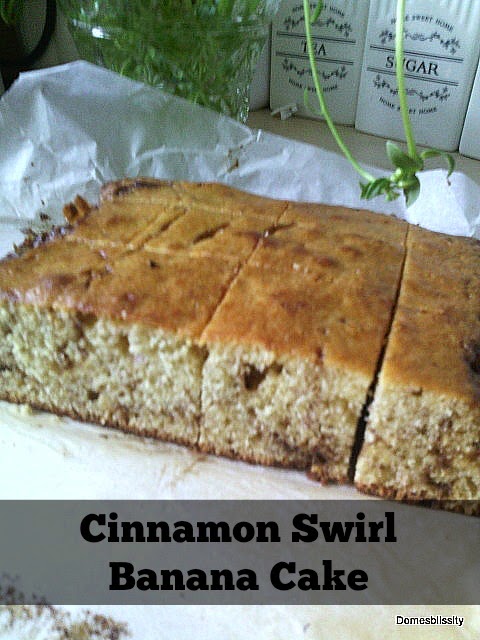
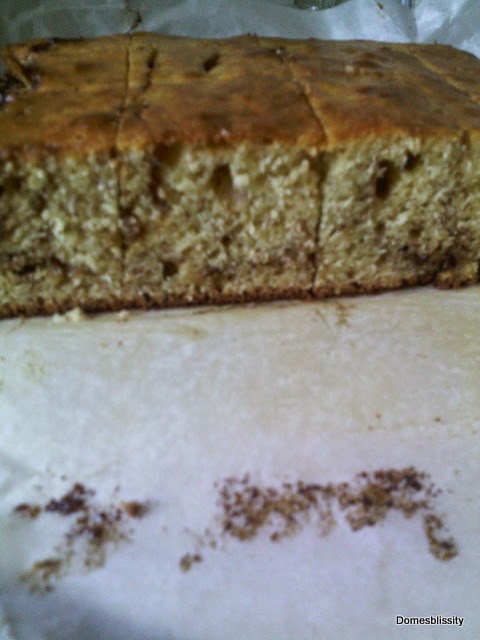
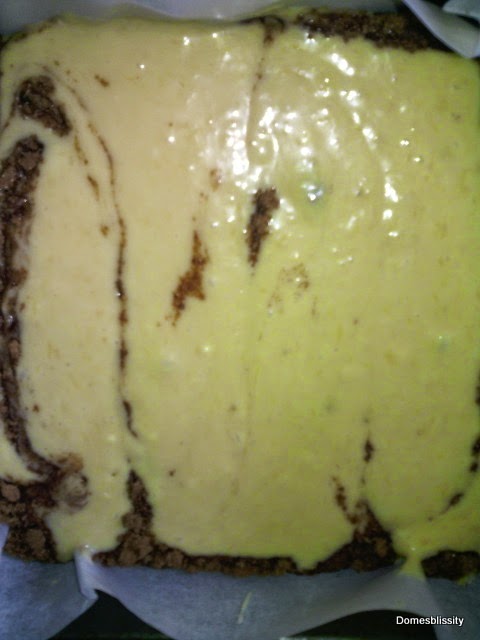
It’s just basically your normal banana cake with a mixture of cinnamon and brown sugar sprinkled on top of half the batter and then the remaining batter poured on top and baked. You can leave it like that or run your knife through it to get a ‘swirl’ effect, like I did. I bake most of my cakes for the kids in a square pan. It’s easy to slice into even pieces and what I do is slice it and wrap in cling film and pop in the freezer, ready to grab for the lunch boxes.
This cake was received well and is just a little different to your normal, plain banana which, don’t get me wrong, can be very nice but I get a little over it. (Another thing I do to change up a banana cake is to add 1/2 a cup of peanut butter or any other nut butter you have. Nutella is also nice.) I’ve got to keep on top of my game when it comes to my kids or things just get wasted. Just use your favourite banana cake recipe and see how many different combinations you come up with. Maybe you’ve got a favourite way to adjust the good old banana cake. I’d love to know.
Friends have been taunting me with delicious banana cake/bread recipes for the last couple of weeks. I have to admit banana cake isn’t one of the most popular things on my list of things to bake. I used to love it when it first became popular but I don’t think I like that overripe banana taste anymore so haven’t been making it much. The trouble is I nearly always have overripe bananas on hand or in the freezer ready to be whipped up into icy poles or the dreaded banana cake.
While at the supermarket today, I was browsing the pre-packaged ‘kid snacks’ that are oh so handy to throw into their lunch boxes when I spotted these. I don’t ever buy them except sometimes those long jelly ropes or the odd cheese spread with crackers. These were $5 for 6 and they were tiny, tiny, tiny. I was even more determined to use up those 2 rotting overripe bananas on top of my fridge. As it turns out, with my standard muffin recipe, I yielded 36 mini muffin ‘bites’. They were popped in the freezer and if I play my cards right, they should last my son until nearly the end of this term.
These little muffin trays are perfect for little mouths. Even if my son was to have 2, it would be okay. I did a rough costing on these including allowing for running the oven and the details are as follows:
2 cups self raising flour = 10 cents
1/2 cup chocolate chips = 80 cents
1 egg = 41 cents
1/2 cup sugar = 16 cents
1 cup milk = 50 cents
1/4 cup oil = 18 cents
2 overripe bananas = 60 cents
1 tsp cinnamon = 10 cents
Running oven for 1 hour = 64 cents
Total = $3.49 (divided by 36) equals 9 cents per muffin
(By the way, that’s the recipe above. Just bake until golden on a 160 deg C oven.)
So you can see its way more cost effective to make this sort of thing at home and even I liked these. I think the teaspoon of cinnamon took away that overripe banana taste. Oh, and if you’re looking for really great banana cake recipes, these are four that I had on my to do list. If only I liked bananas a little bit more.