Showing posts with label upgrade. Show all posts

Saturday, April 2, 2022

How to upgrade your home for free without moving

Are you outgrowing your house? Feel like you need to move? There might be a way to upgrade your home without moving. It’s what I’ve done over the last 22 years since I’ve been in my house. Here’s how.
When I purchased this house with my (now ex) husband 22 years ago, we had plans to have children eventually one day so a 3 bedroom home was going to be more than enough space. In the 4 years before our children were born, there was a spare room I used with a single bed for visitors, our desktop computer (it was the early 2000’s so desktop computers were still relatively a new thing) and a second bedroom set up for visitors.

How our home started out

In the 4 years before our children were born, there was a spare room I used with a single bed for visitors, our desktop computer (it was the early 2000’s so desktop computers were still relatively a new thing) and a second bedroom set up for visitors.

I thought there was more than enough space for our clothes in the built in cupboard in our bedroom and there was a freestanding wardrobe in the third bedroom and plenty of cupboard space in our relatively small kitchen. No real pantry as such but I certainly could make do (and just quietly, love my small kitchen – there’s less to clean and it functions perfectly).
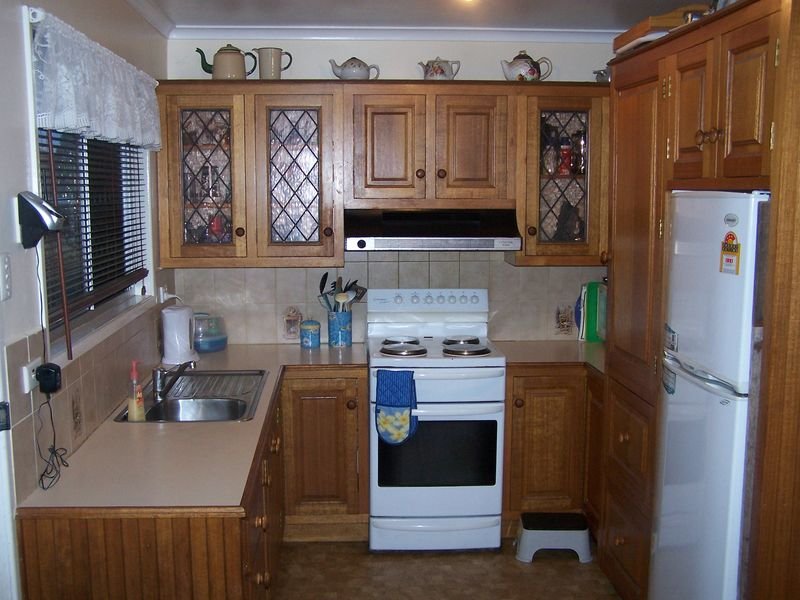
My ex always though there wasn’t enough storage but not having a lot of clutter, back then, I found it quite easy to fit everything in that we owned.

The converted garage

We were lucky that we had what was a converted double garage under our house that was an entertainment room. There was a built in bar, a pool table, a dart board and a TV. Everything that a young couple, soon to be married needed to entertain family and friends. The downstairs laundry had enough room for the washing machine, a dryer and storage under the internal stairs.

I was an avid gardener back in those days so one of the first things we did was put in a downstairs second toilet. It saved me having to run upstairs to our only toilet if I was in the middle of yard work.

The next thing we did was put in a double carport with a solid roof. There was only a timber structure with mesh to cover and it didn’t provide much protection to our vehicle if it stormed.

Getting a double shed

The next thing we did was put in a double shed in the back yard. This was a huge expense at around $10,000 but well worth it in the end. It is now a really great space for storing garden equipment, a workout space, kid’s wet weather space, out of season clothes, Christmas decorations and tools for my now husband to do odd jobs. (My ex didn’t keep the space very neat and tidy so it was a nightmare to find or store anything so a bit of a wasted space all those years ago. It’s been a great asset to the house and come in very handy. It has allowed any storage that didn’t fit inside the house to be stored in the shed.
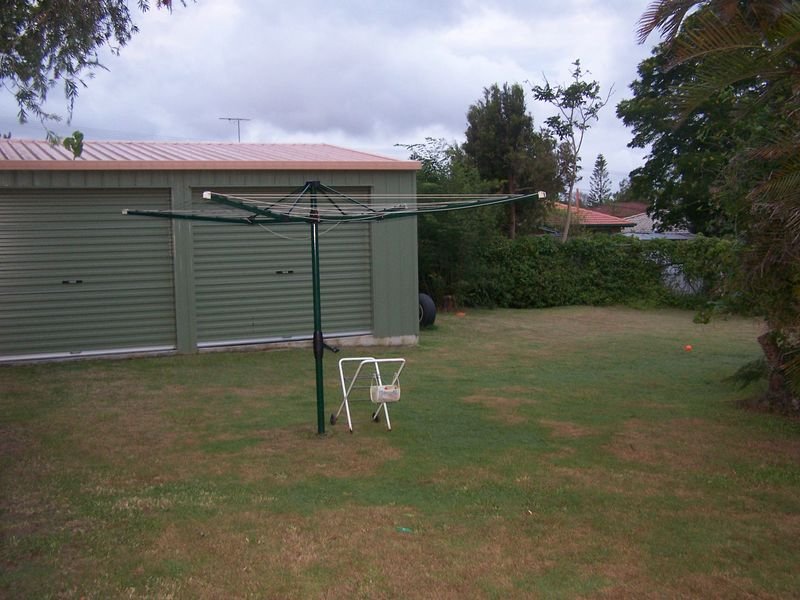
In saying that, we have tried to declutter all of these things in the shed. There is no point in holding onto them. My husband keeps it very neat and tidy and uses wall and ceiling space to store things out of the way like his surfboards and gardening equipment.
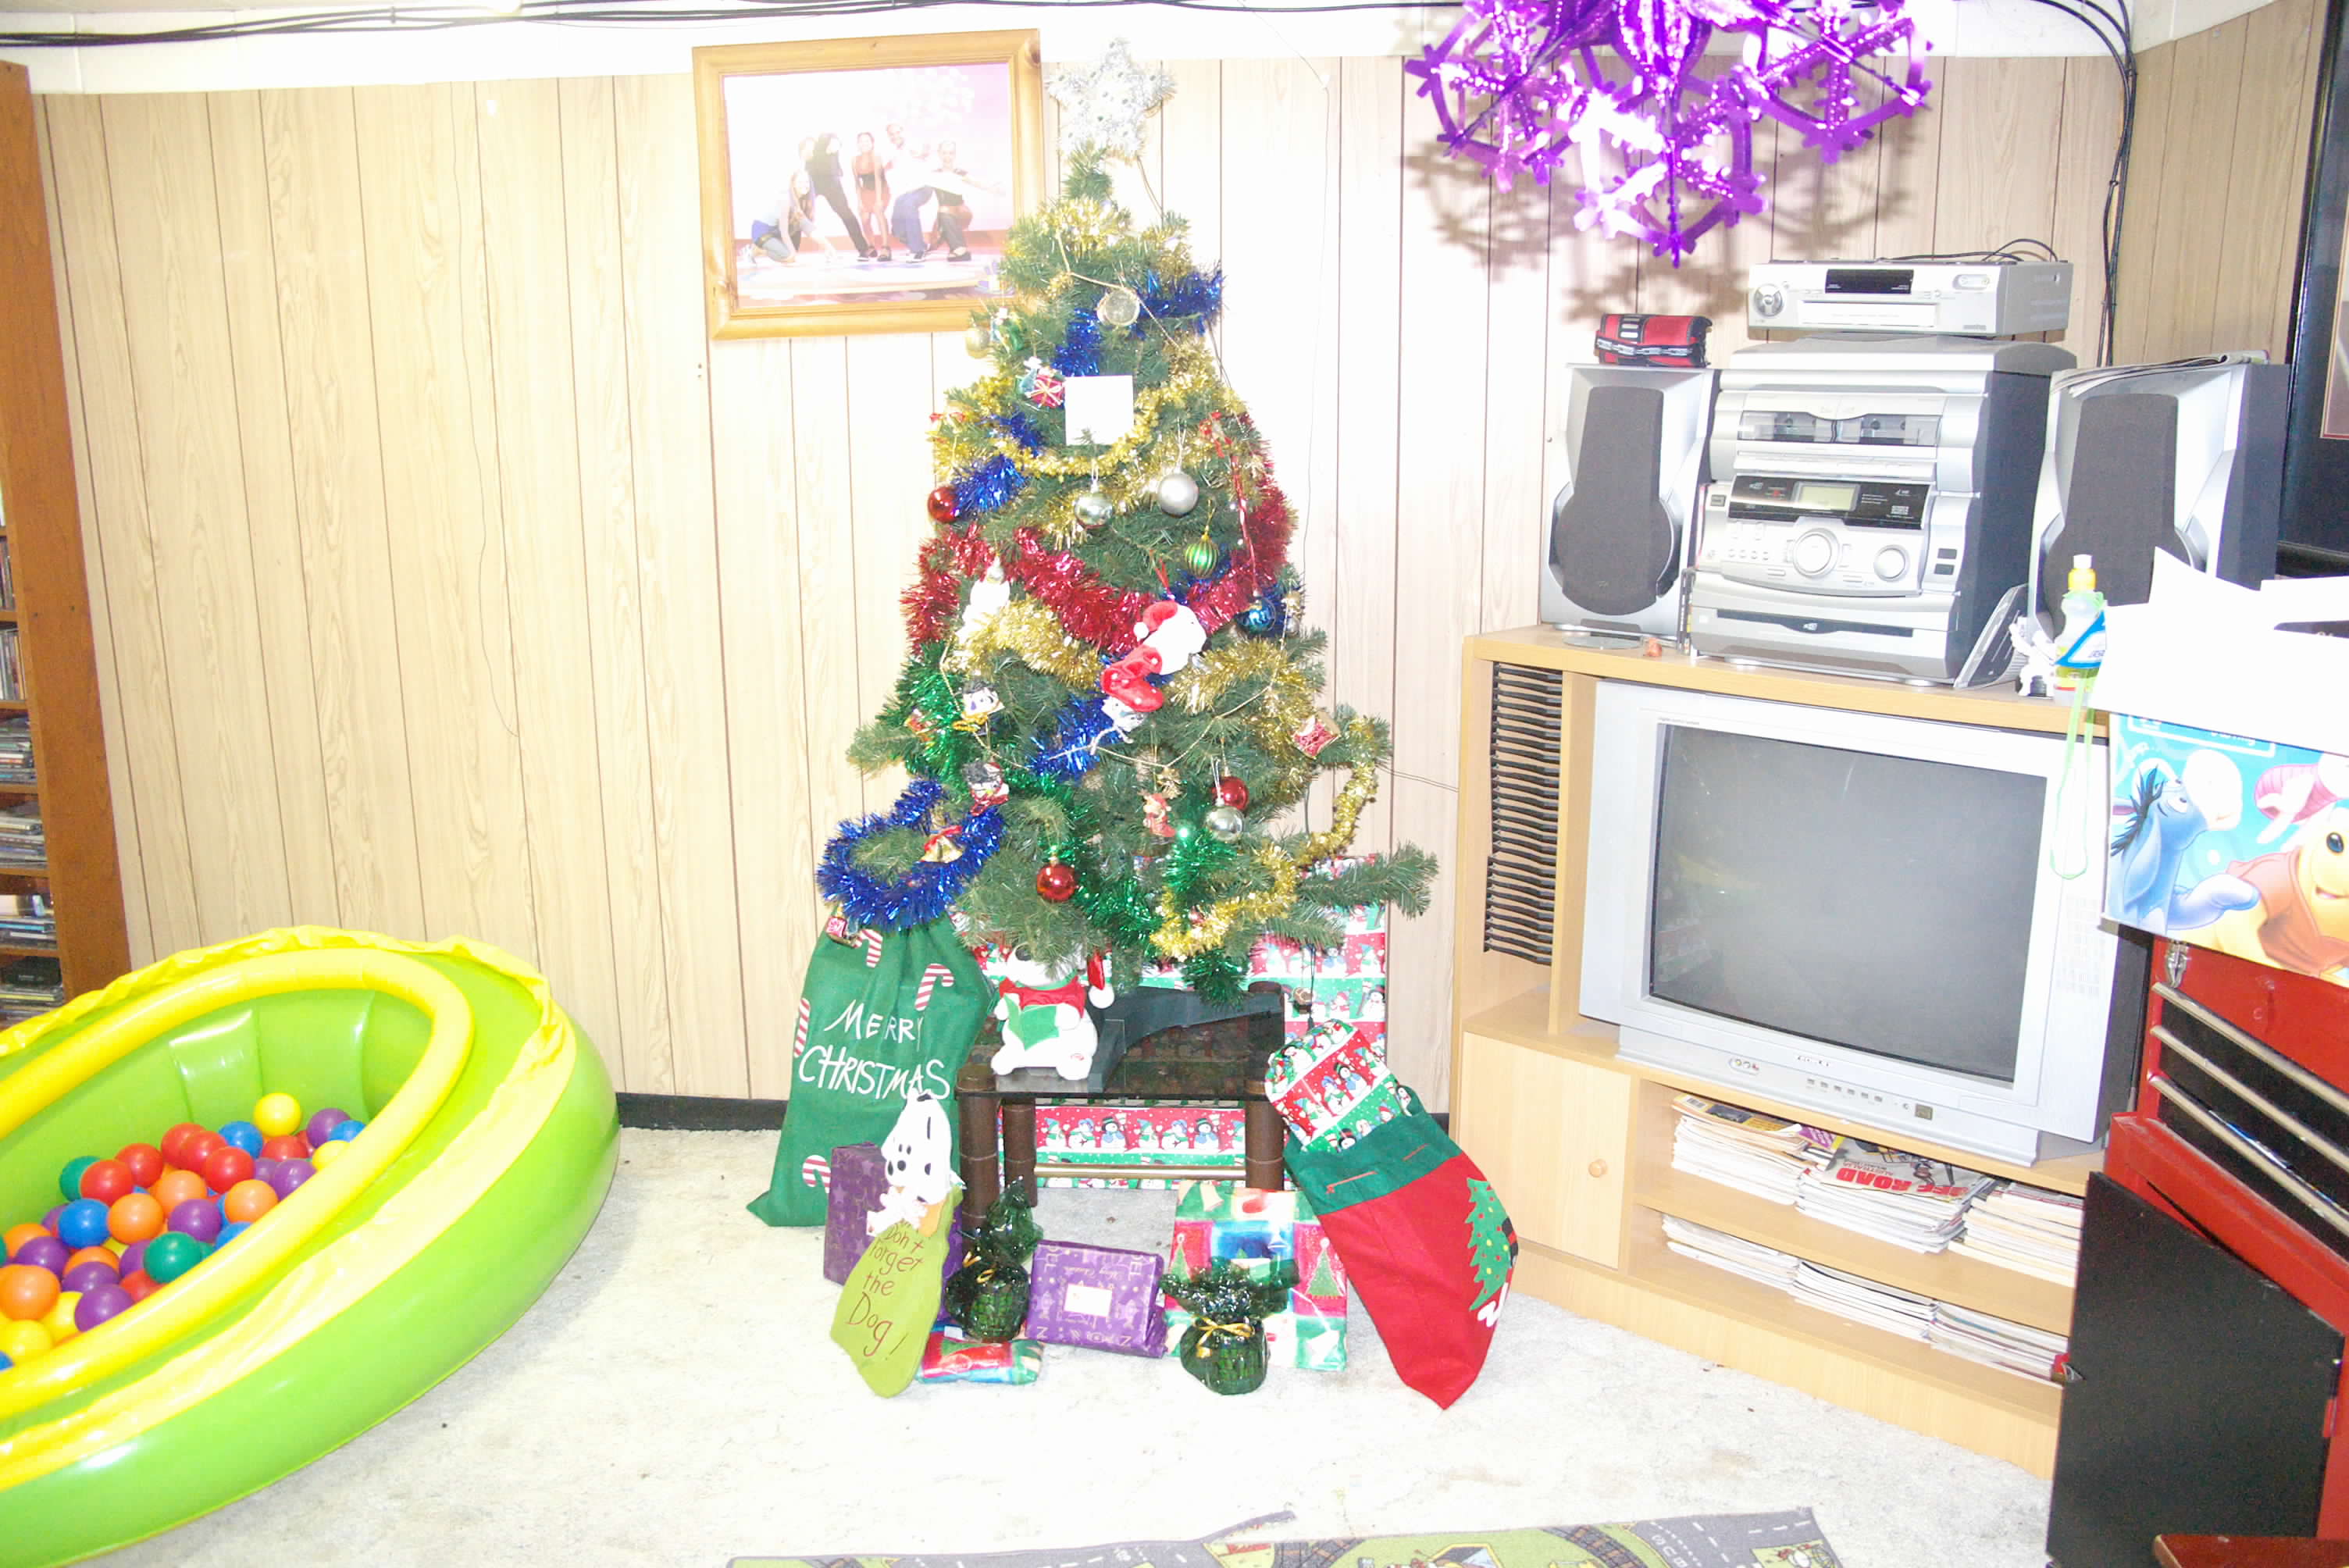
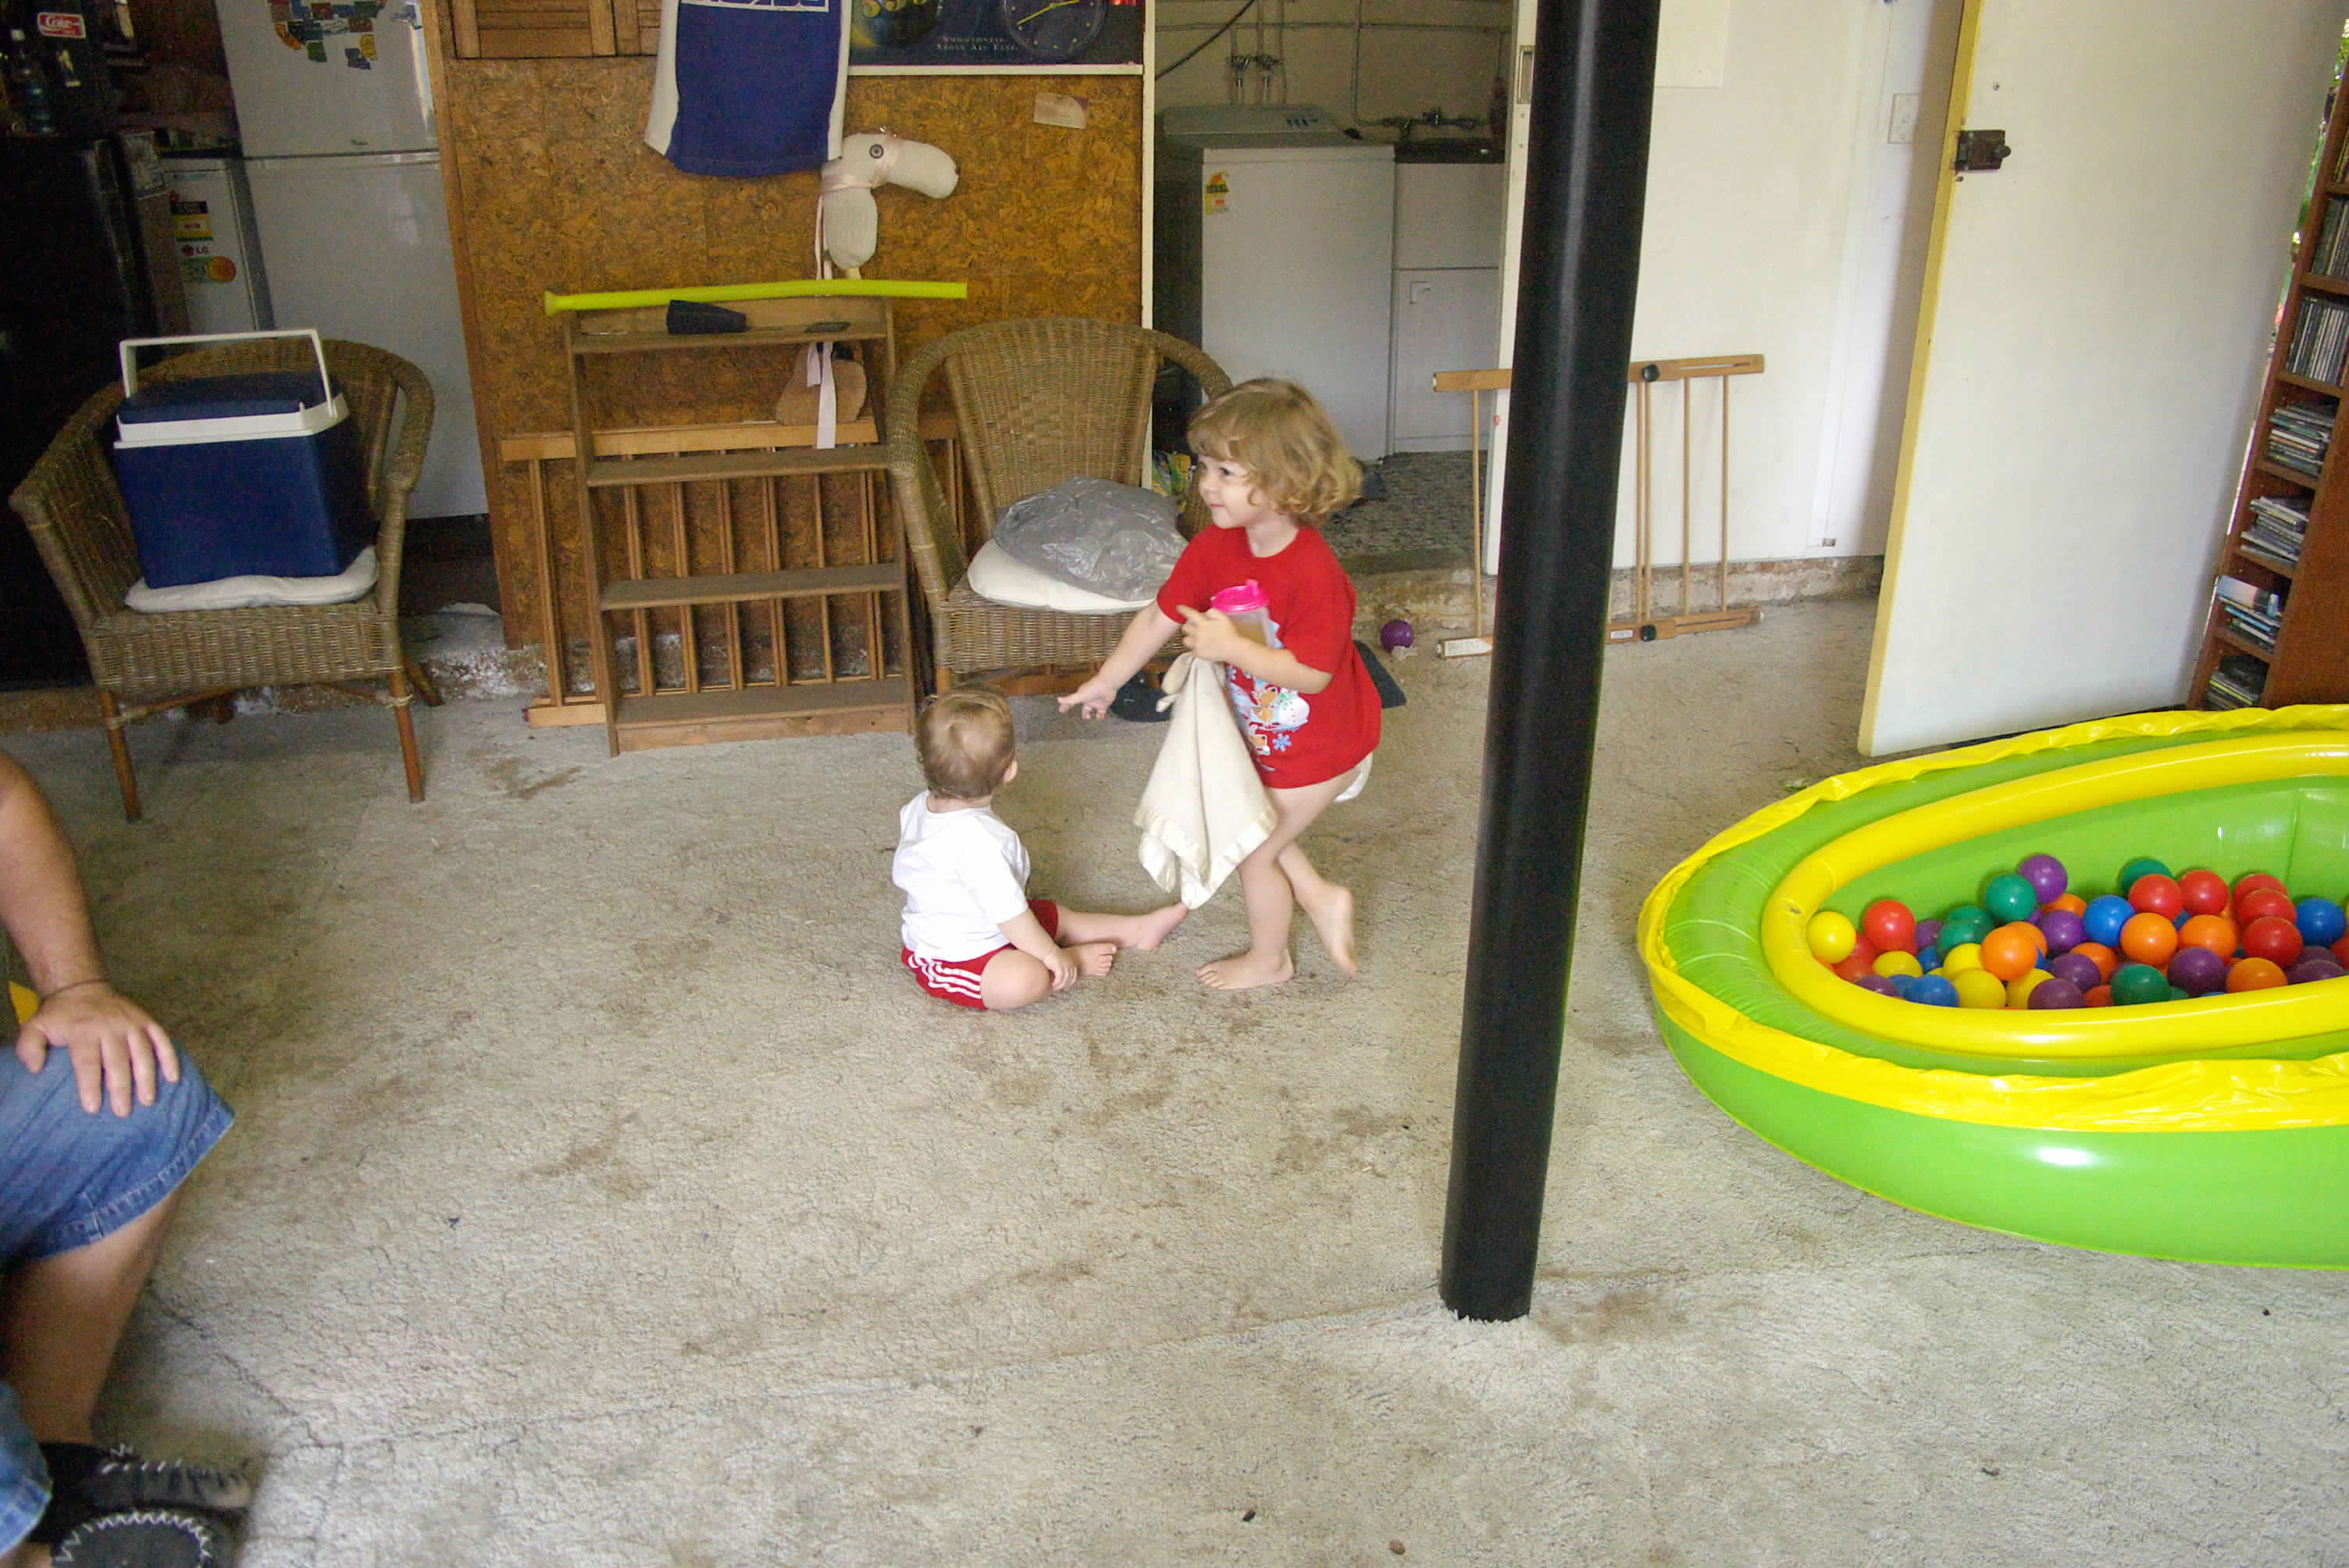
When the children arrived, sadly the days of entertaining and partying were over so it didn’t take long for the downstairs room to become a convertible space for visitors. We had a convertible lounge/fold out bed that my in laws used when they visited. There was a fridge downstairs so they could make their own tea and coffee. Also that downstairs toilet. They could come and go as they pleased and joined us for meals.

How the house changed when the children came

Upstairs, the third bedroom became the nursery. Two years later, my second child was born so the first baby went into that second bedroom and the new baby stayed in the nursery.
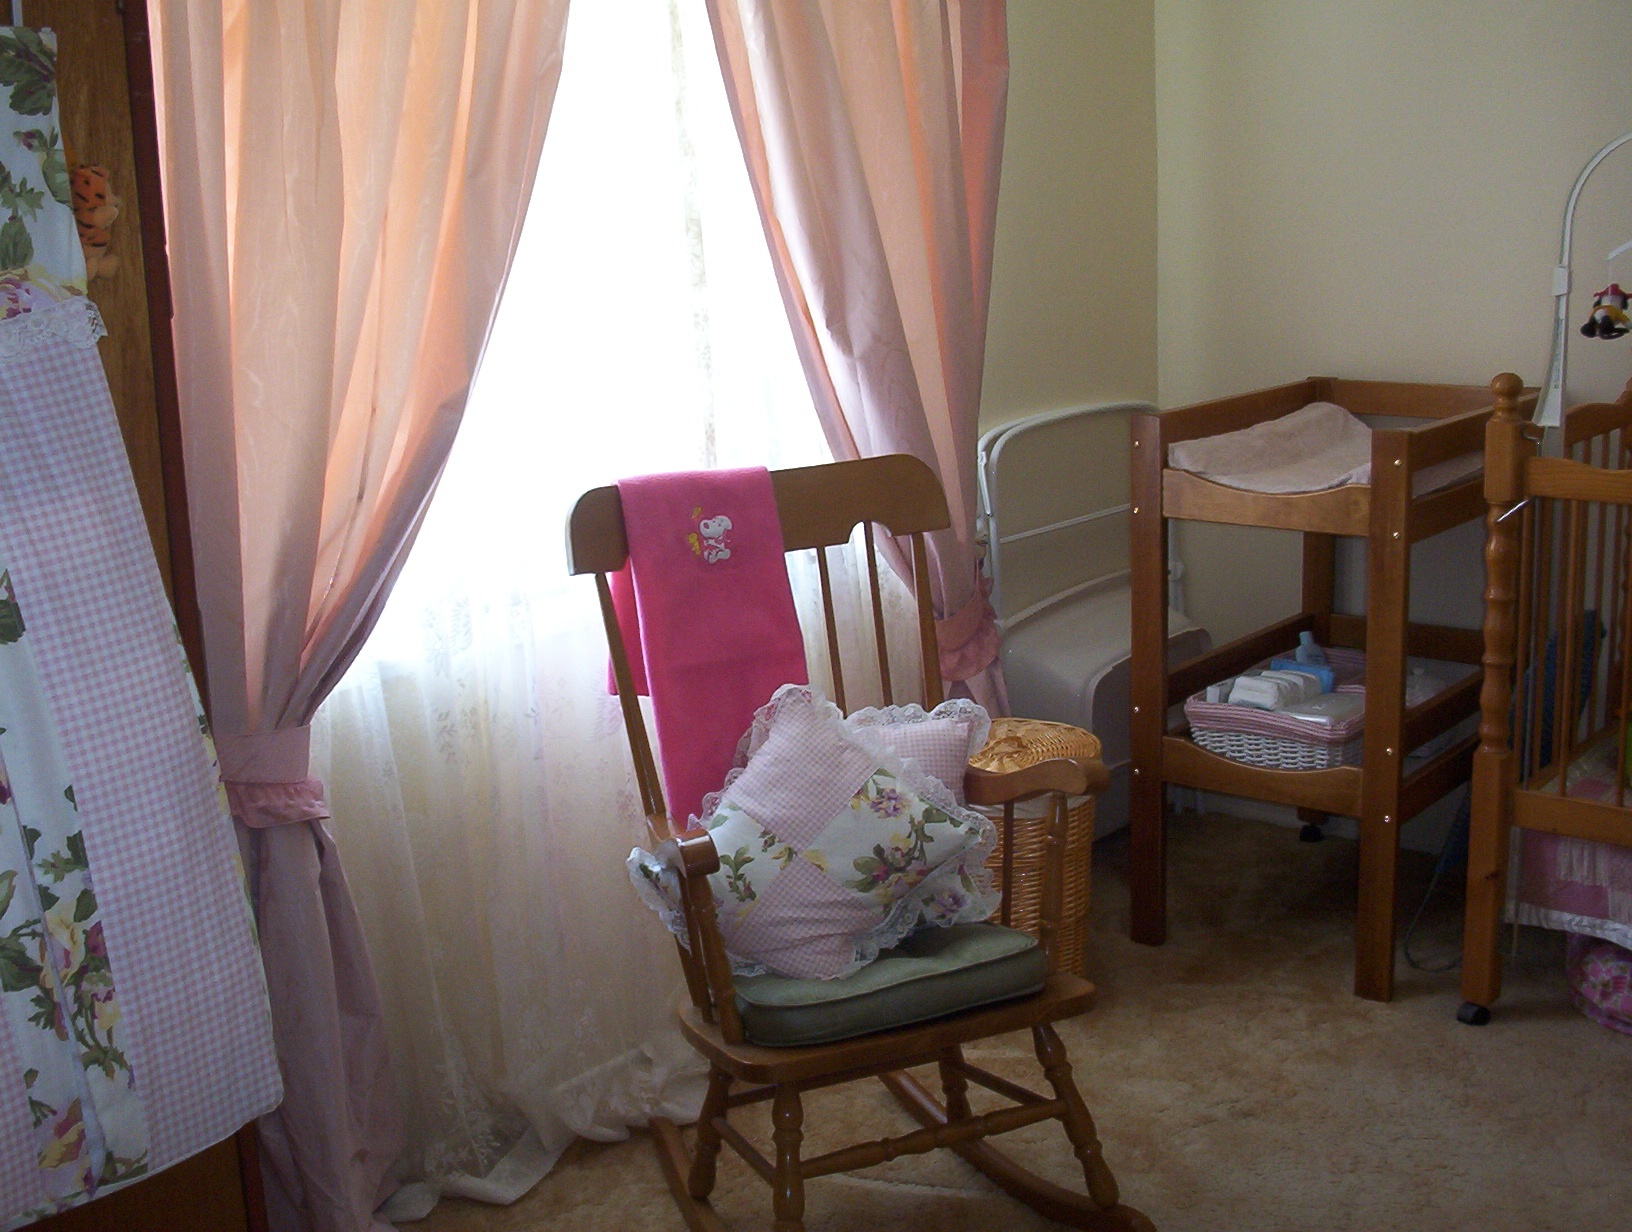
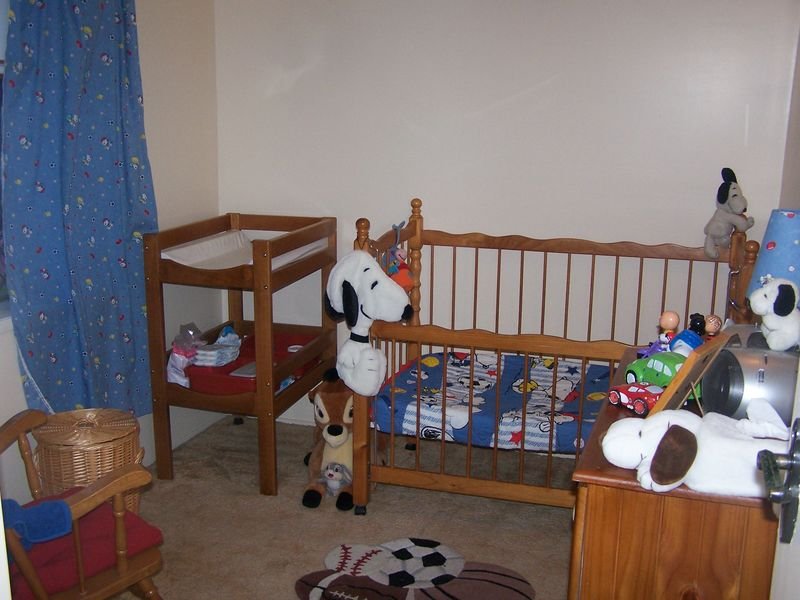
Built-in cupboards were put in both the second and third bedrooms nearly tripling the amount of storage space I now had in my house. Out of that came a linen closet. Something I hadn’t had before but made do with a freestanding wardrobe.

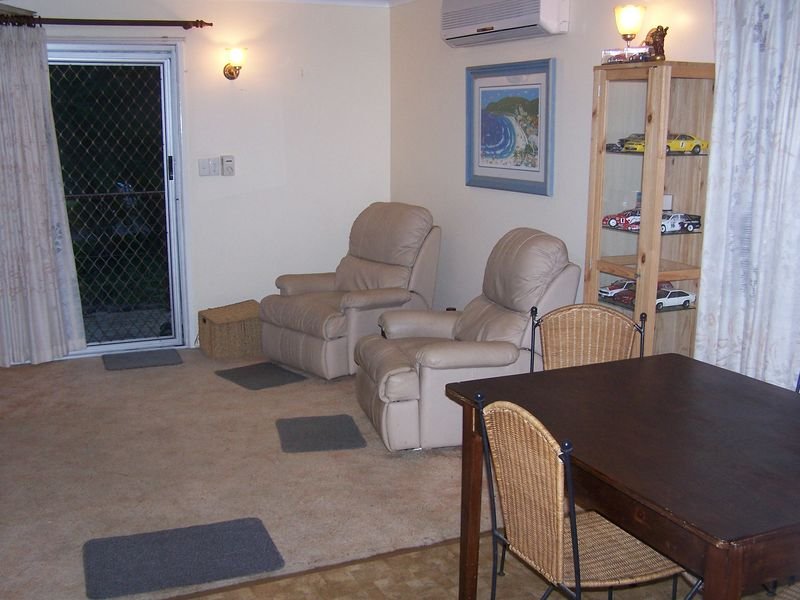
When the children were babies (both born in November), it was hot in the summer and I tried to stay indoors in the air conditioning so the living room became the play room. There was a blow up ball pit, a box of toys each (that were on rotation) and we painted outside and drew at the dining table. As they got older, that downstairs room became their play area with a TV/video player, lounge and our computer (where I started this blog all those years ago).

It was also my sewing space, craft area and where Santa would leave the presents for the children under our tree.

The downstairs room became such a convertible space over the years. The trouble was, it was only ever a built-in garage with a cement floor that the previous owners had converted into that entertaining space all those years before. We had no clue that it could or would ever flood as we hadn’t seen flooding in my home town of Brisbane since 1974.

Making changes after flooding

By my daughter’s 7th year, things were going to change with the downstairs room. Heavy rain came in 2011 that flooded the downstairs room. Carpet had to be thrown out, timber swelled around the walls. We had a terrible mess. Little did I know that over the years we would get even more rain and every attempt at rebuilding the space and reconverting it to something bigger, better and more useful met with more heartbreak.

After the last rain of 2022 where we received a year’s worth of rain in 3 days and we were flooded again, we decided to keep the downstairs room as it was intended and that was a concreted floor garage that has a few lounge chairs and my son’s gaming equipment, ie TV and PlayStation.

The room still needs a bit of work to make it look nice, ie painting walls and ceilings, painting the concrete floor with a non slip paint and a new blind for the window. Just small cosmetic fixes. But the home office/craft space is now in the spare bedroom and that’s a job and a half to sort through.
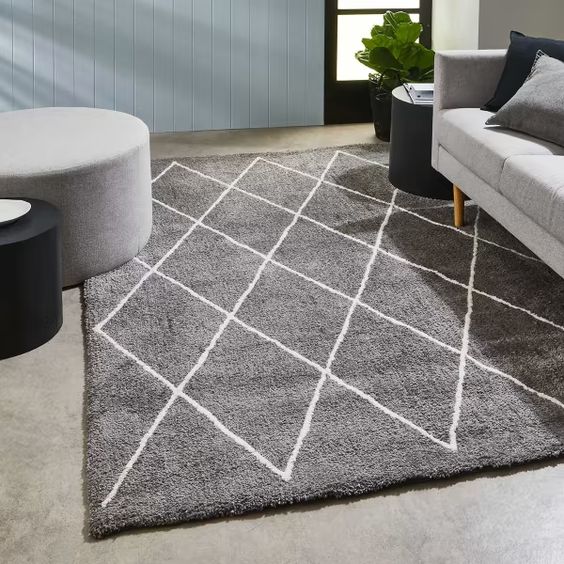
I’ve been having a big declutter and trying to make the space still calm and that’s been a work in progress. The upstairs living room, which was just a quiet space to sit and read, without a television, is now a homely and cosy space again. We purchased 2 x $79 rugs and repurposed the TV unit to hold all of the sound system and television.

There’s still a bit of sorting and decorating to do but not too much. As it’s coming into winter, the throws will come out and I can give it an update with a few new cushion covers.

Conclusion

You can outgrow a house but you can look at it as rather rethinking a room or space. Ask yourself:

  • Can I repurpose this room?
  • Can I reuse furniture and décor that I’ve already got?
  • If I haven’t used or touched something taking up space in this room, can I donate, sell or repurpose it?

We are so influenced by what we see in magazines, on television and on social media to think that we need a bedroom for every child, a bathroom for every person in the house and a toy room, a walk-in pantry, a kitchen island (and the list goes on). Unless you can really afford to move and upgrade to a bigger house (and bigger mortgage), stay put, enjoy the home you already have and rethink spaces.

PIN FOR LATER

Thursday, May 10, 2018

Simple Bathroom Upgrades That Can Make Your Bathroom Look Great

It can happen to anyone – suddenly one day you notice that everything about your bathroom looks boring and old. Your bathroom has been the same way when you purchased your house years ago. It still has the same fixtures and nothing has been re-arranged since then. Therefore because you want your bathroom to look great and feel like new, you decide to give it a makeover. You want to change how your bathroom looks, so that now everyone in your home will actually feel excited to use it.

To help you achieve that goal, here are some simple upgrades you can use to make your bathroom look great:

Declutter

If you want your bathroom to look good, you should start by cleaning and organizing the items in it. If you’re fond of using your vanity area, then you should make sure that all of your make-up and hair care products are stored accordingly. Not only will this create order inside your bathroom but this will also allow you to find items the moment you need them.

Repaint your bathroom

Repainting your bathroom is probably the cheapest way to give your bathroom an upgrade. Whether you want to opt for a paint color which complements or contrasts to your home’s interior theme, then go ahead. This is your bathroom, so you have the liberty to pick whichever color you want. But repainting your bathroom requires more than just picking your color choice. For one, you have to be patient throughout the renovation process since your bathroom has a vanity area, tub, sink, and window. You also need to be careful when painting these areas to ensure that paint spills are kept to a minimum.

Update fixtures

Can you remember the last time you replaced your sink? Or when you actually purchased a new towel rack or drawer handles for your vanity area? If you want an easy place to start when upgrading your bathroom, you can begin by taking care of these. Yes, these might seem like small details, but they can significantly affect what your bathroom will look like. You can even add your personal touch to these items to give your bathroom a little pizzazz!

Try DIY projects

Type “DIY projects for my bathroom” into your search engine, and you’ll be bombarded with ideas on how you can upgrade your bathroom for less. There are a great number of DIY projects that you can undertake with your bathroom. You can start by personalizing your vanity mirror, utilizing your wall space for storage purposed or even using unconventional items as storage spaces. Regardless of the theme you’ve chosen for your bathroom, there’ll always be a handful of DIY projects which are suitable for you.

Use plants

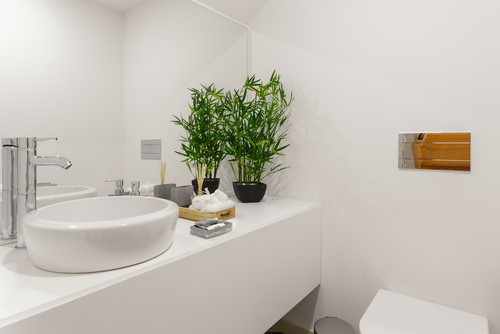
If you’re determined to make your bathroom look great, you should be willing to take risks – and one of those risks includes placing plants inside your bathroom. Yes, this might be uncommon, but it can help you achieve your goal of upgrading your bathroom. Look for plants which can thrive indoors and place one or two of these in your bathroom.

Purchasing fixtures and other necessities are a great way of making your bathroom look great – but this doesn’t mean you need to spend a lot of money in the process. Burdens Bathrooms, for example, is one place you can get all your bathroom upgrades.

In Conclusion

If you want to make your bathroom look great, you don’t need to immediately contact the professionals and pay for their services; there’s many ways in which you can do it on your own. Sure, it might take some time, but once you see how much your bathroom has improved aesthetically, you’ll be happy to have gone to the effort to DIY and make your bathroom your own! It can even be a great avenue through which to bond with your family members or relieve yourself from stress.  


Bethany Worth is an aspiring interior designer who enjoys designing, especially the bathroom and kitchen. She currently writes for Burdens Bathrooms and is passionate about renovations. In her spare time, she reads design magazines and loves to work in a local interior design business for inspiration.
 

Thursday, July 13, 2017

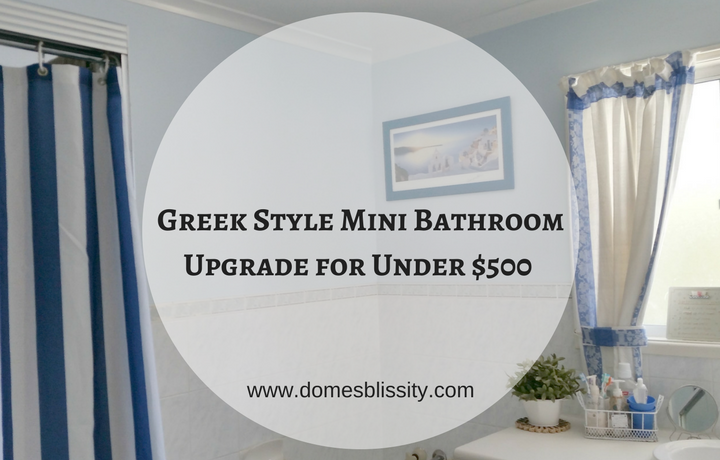
Greek Style Mini Bathroom Upgrade for under $500

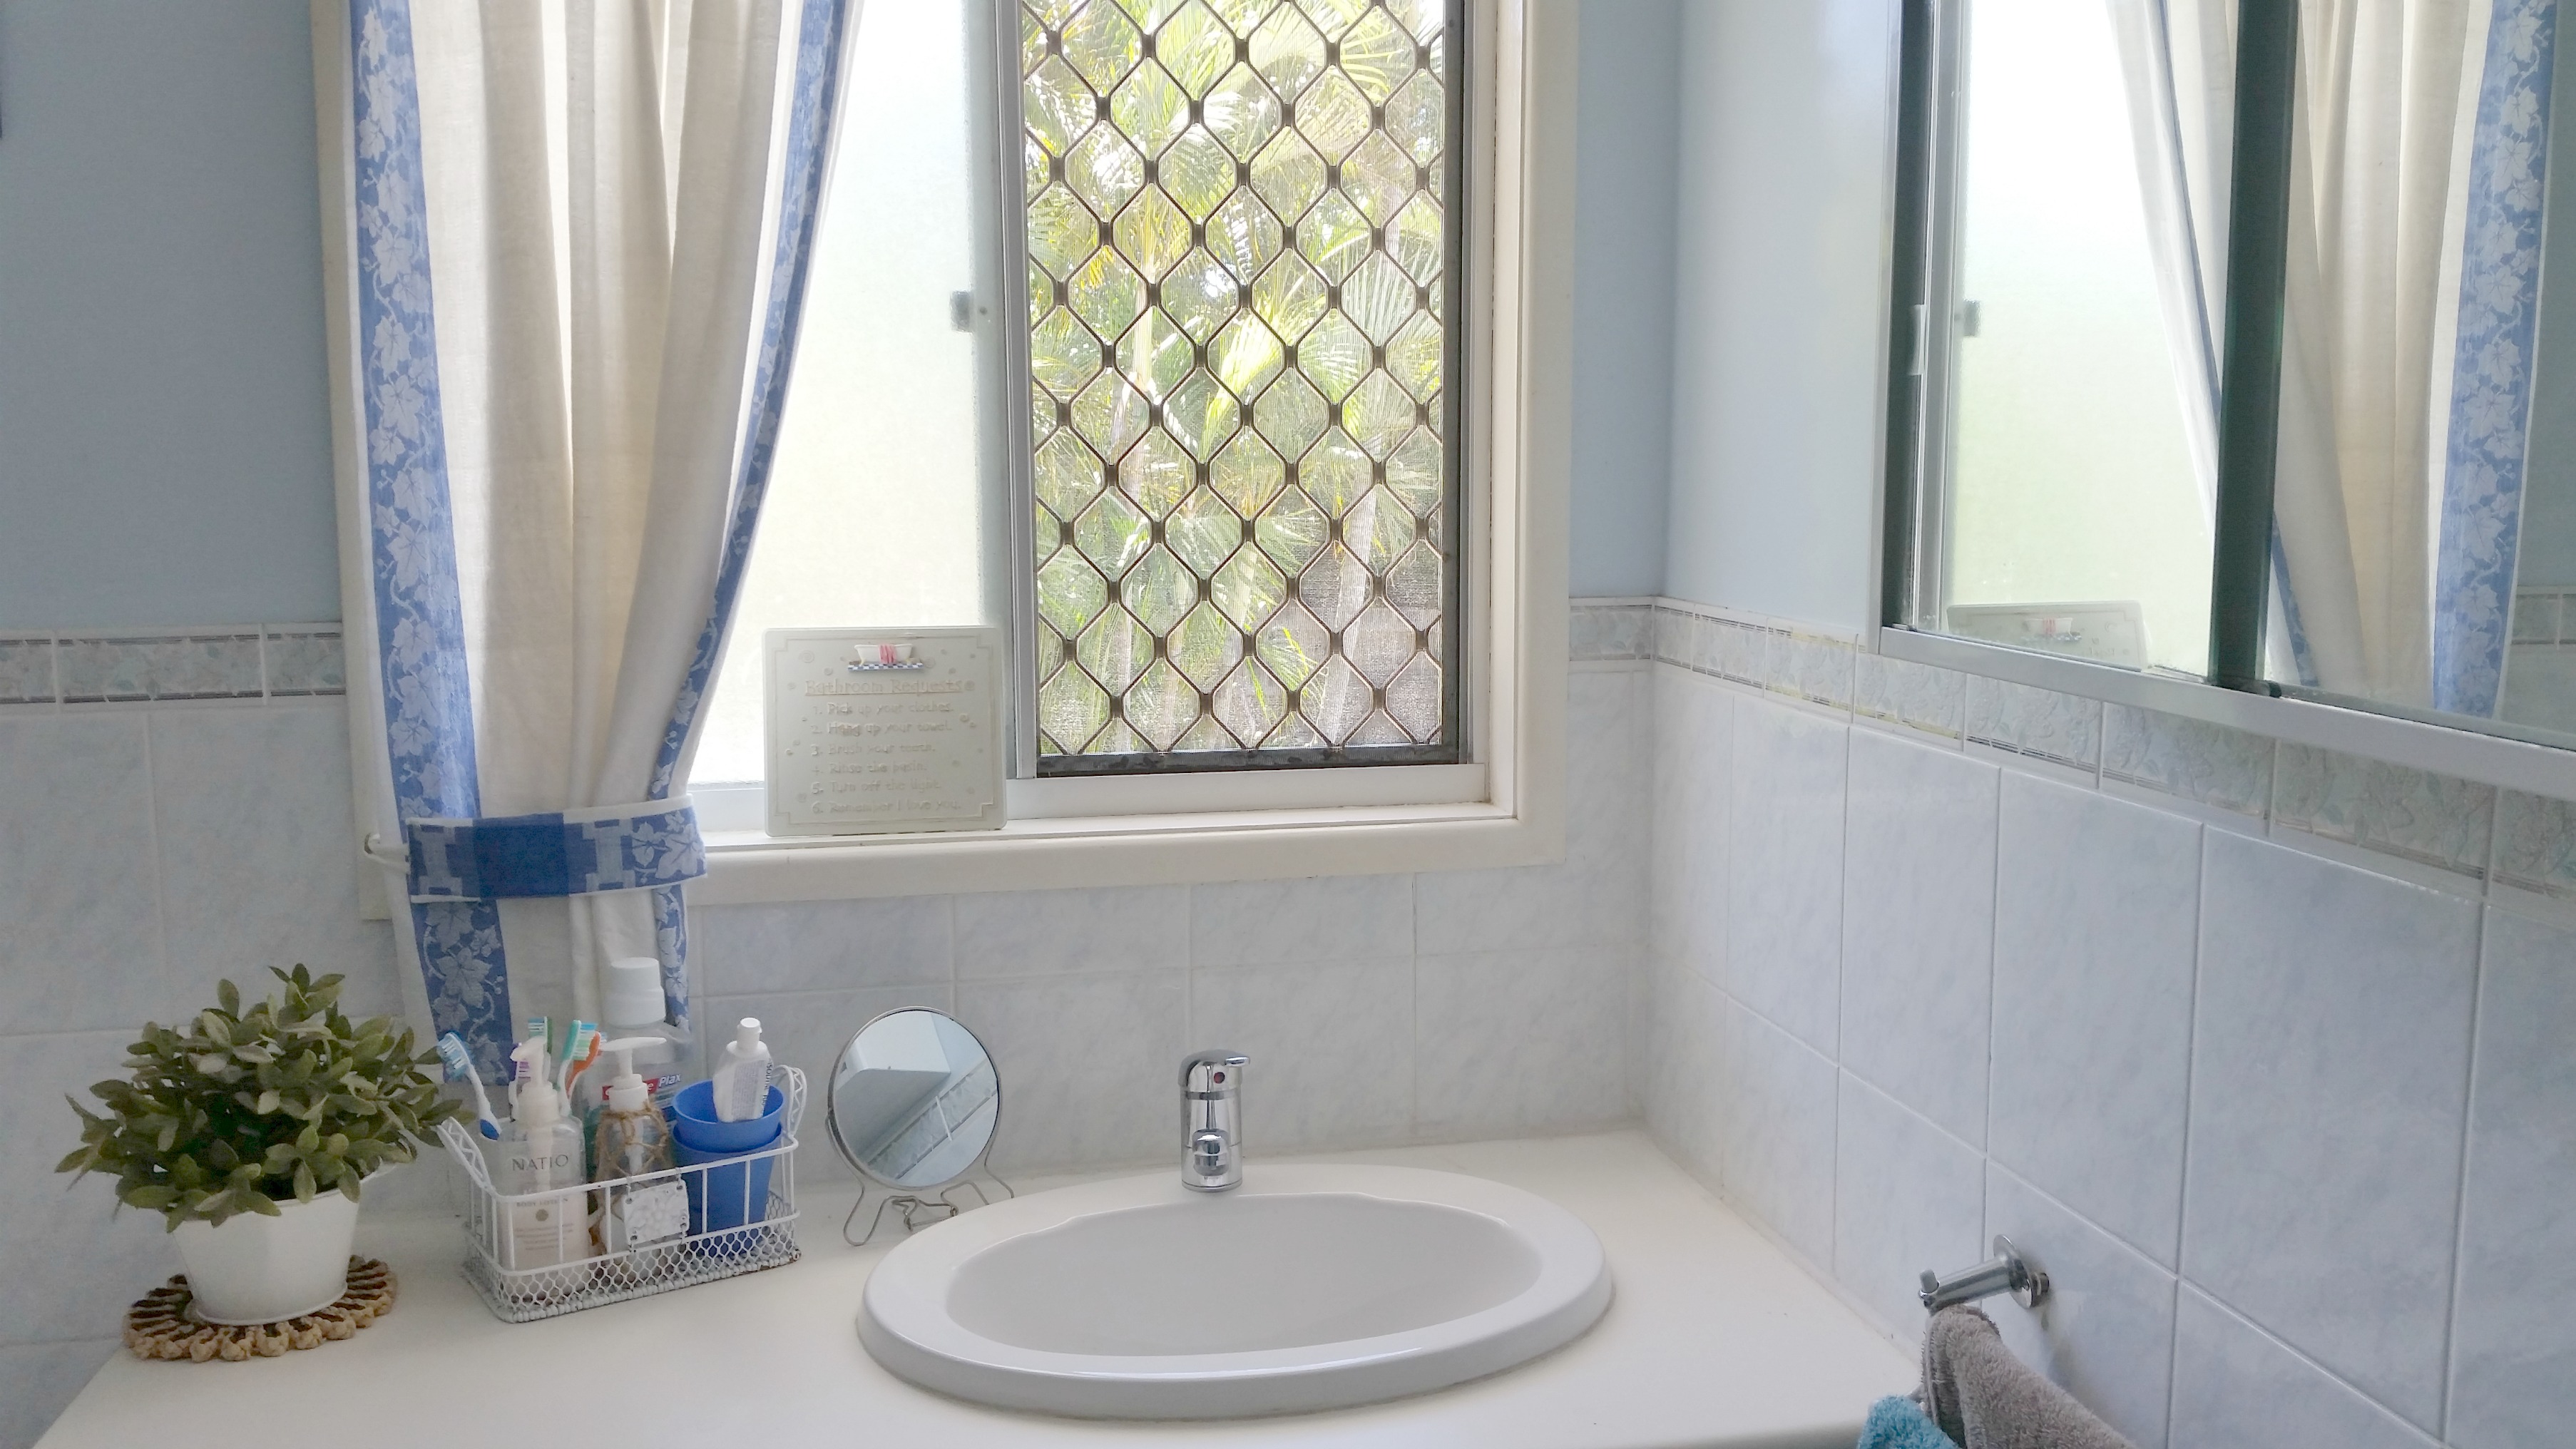
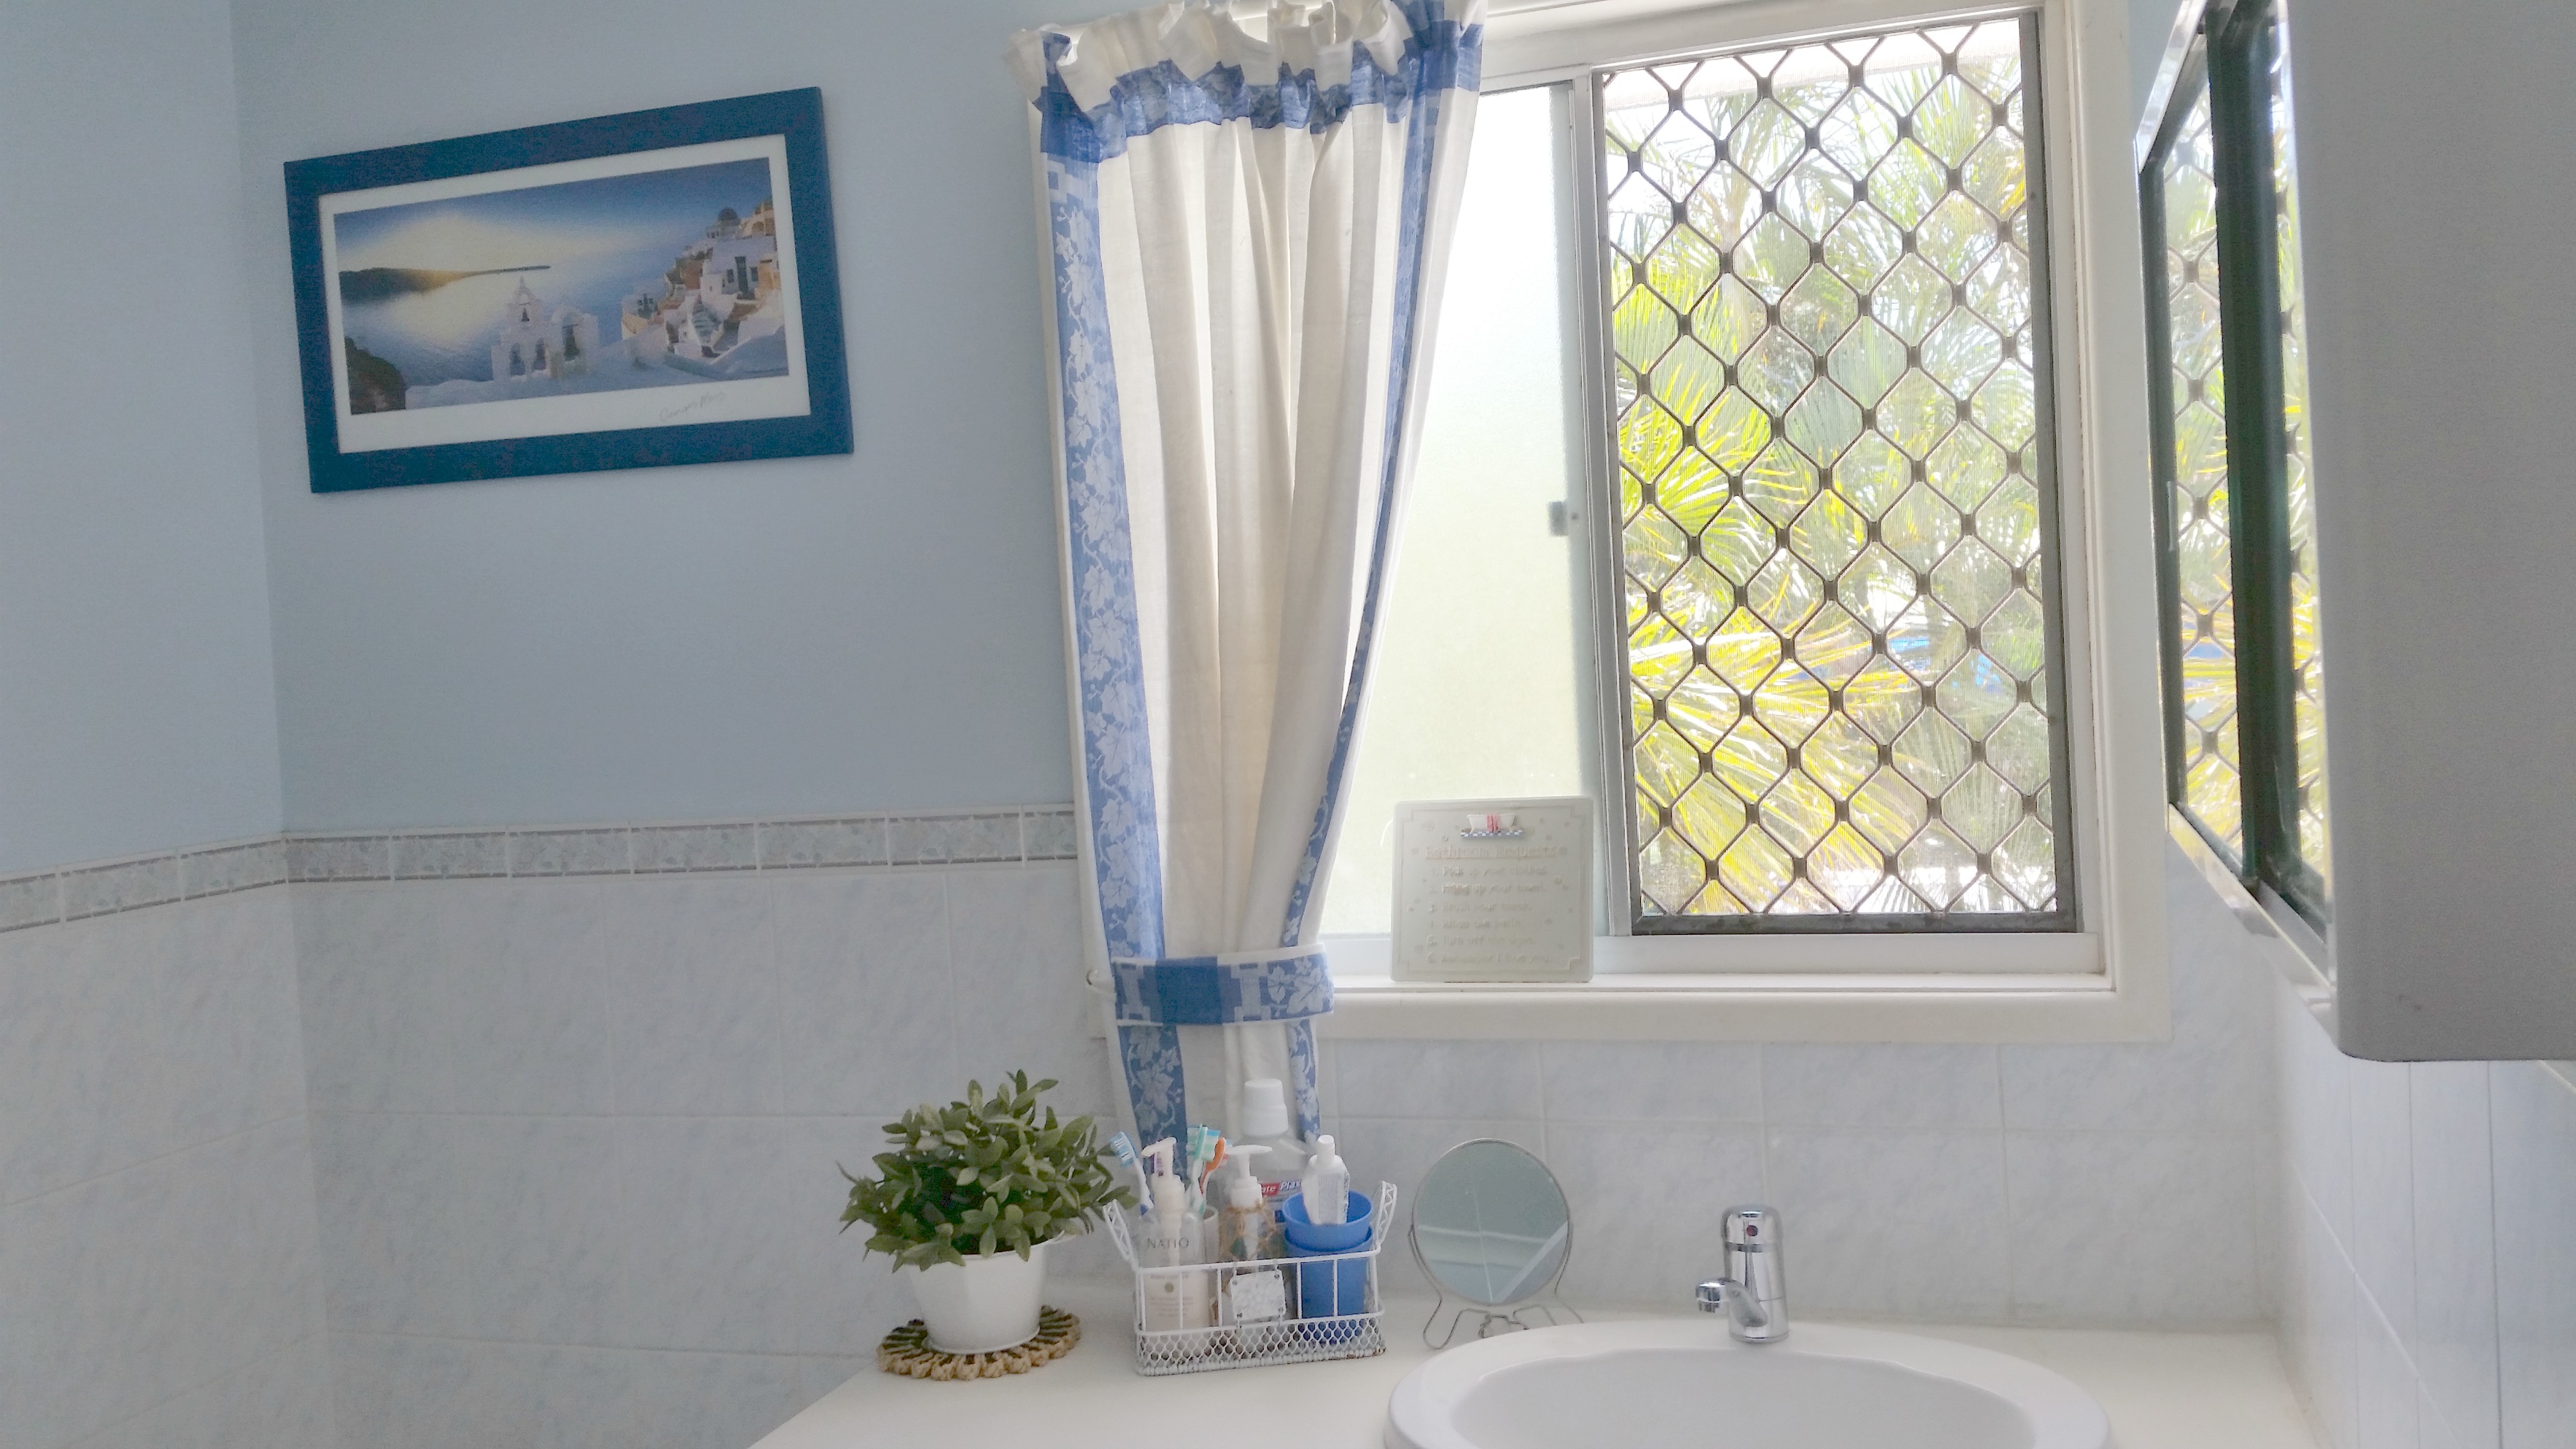
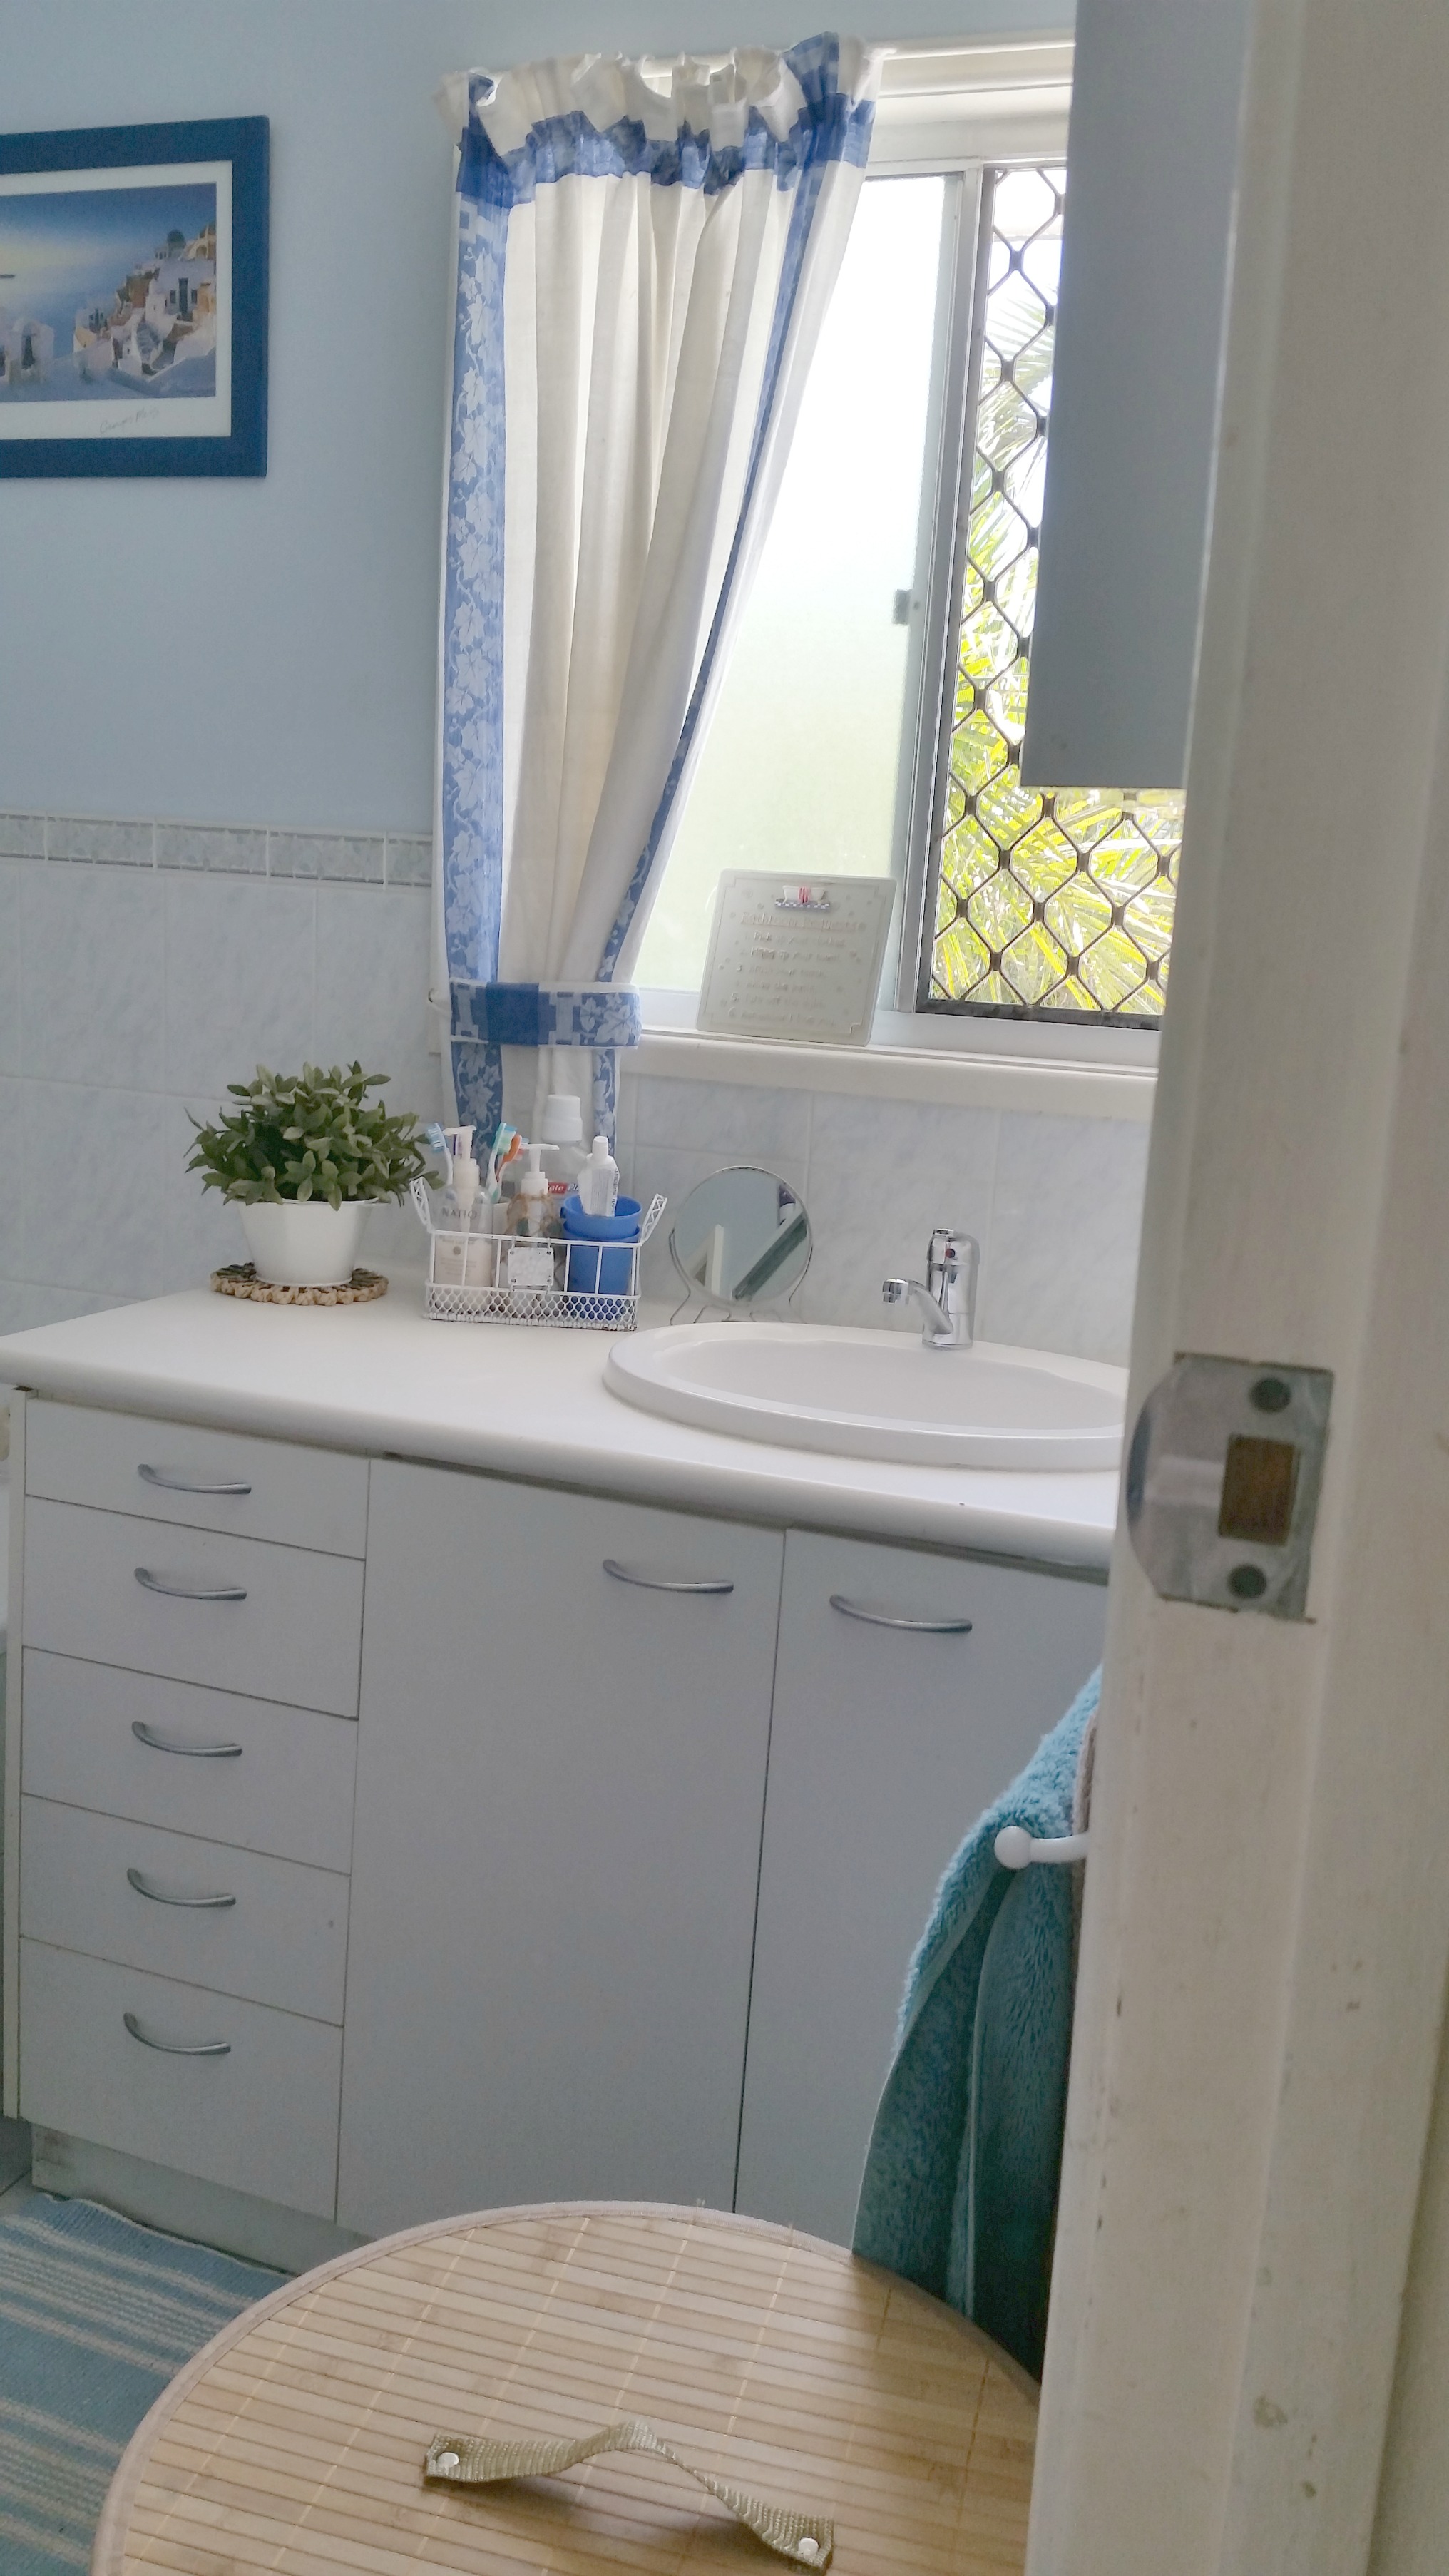
It’s great when your husband is on board with your frugal way of life. He has such an eye for a bargain and when our vanity unit was in desperate need of replacing he managed to find one in near new condition so we did this Greek style mini bathroom upgrade for under $500.

Greek Style Mini Bathroom Upgrade for under $500 www.domesblissity.com

There wasn’t  much else that needed doing so that’s why we we managed to keep the costs so low. The tap handles in the shower and bath could’ve done with replacing, for cosmetic reasons only, but they’re still working fine so we kept them.

Greek Style Mini Bathroom Upgrade for under $500 www.domesblissity.com

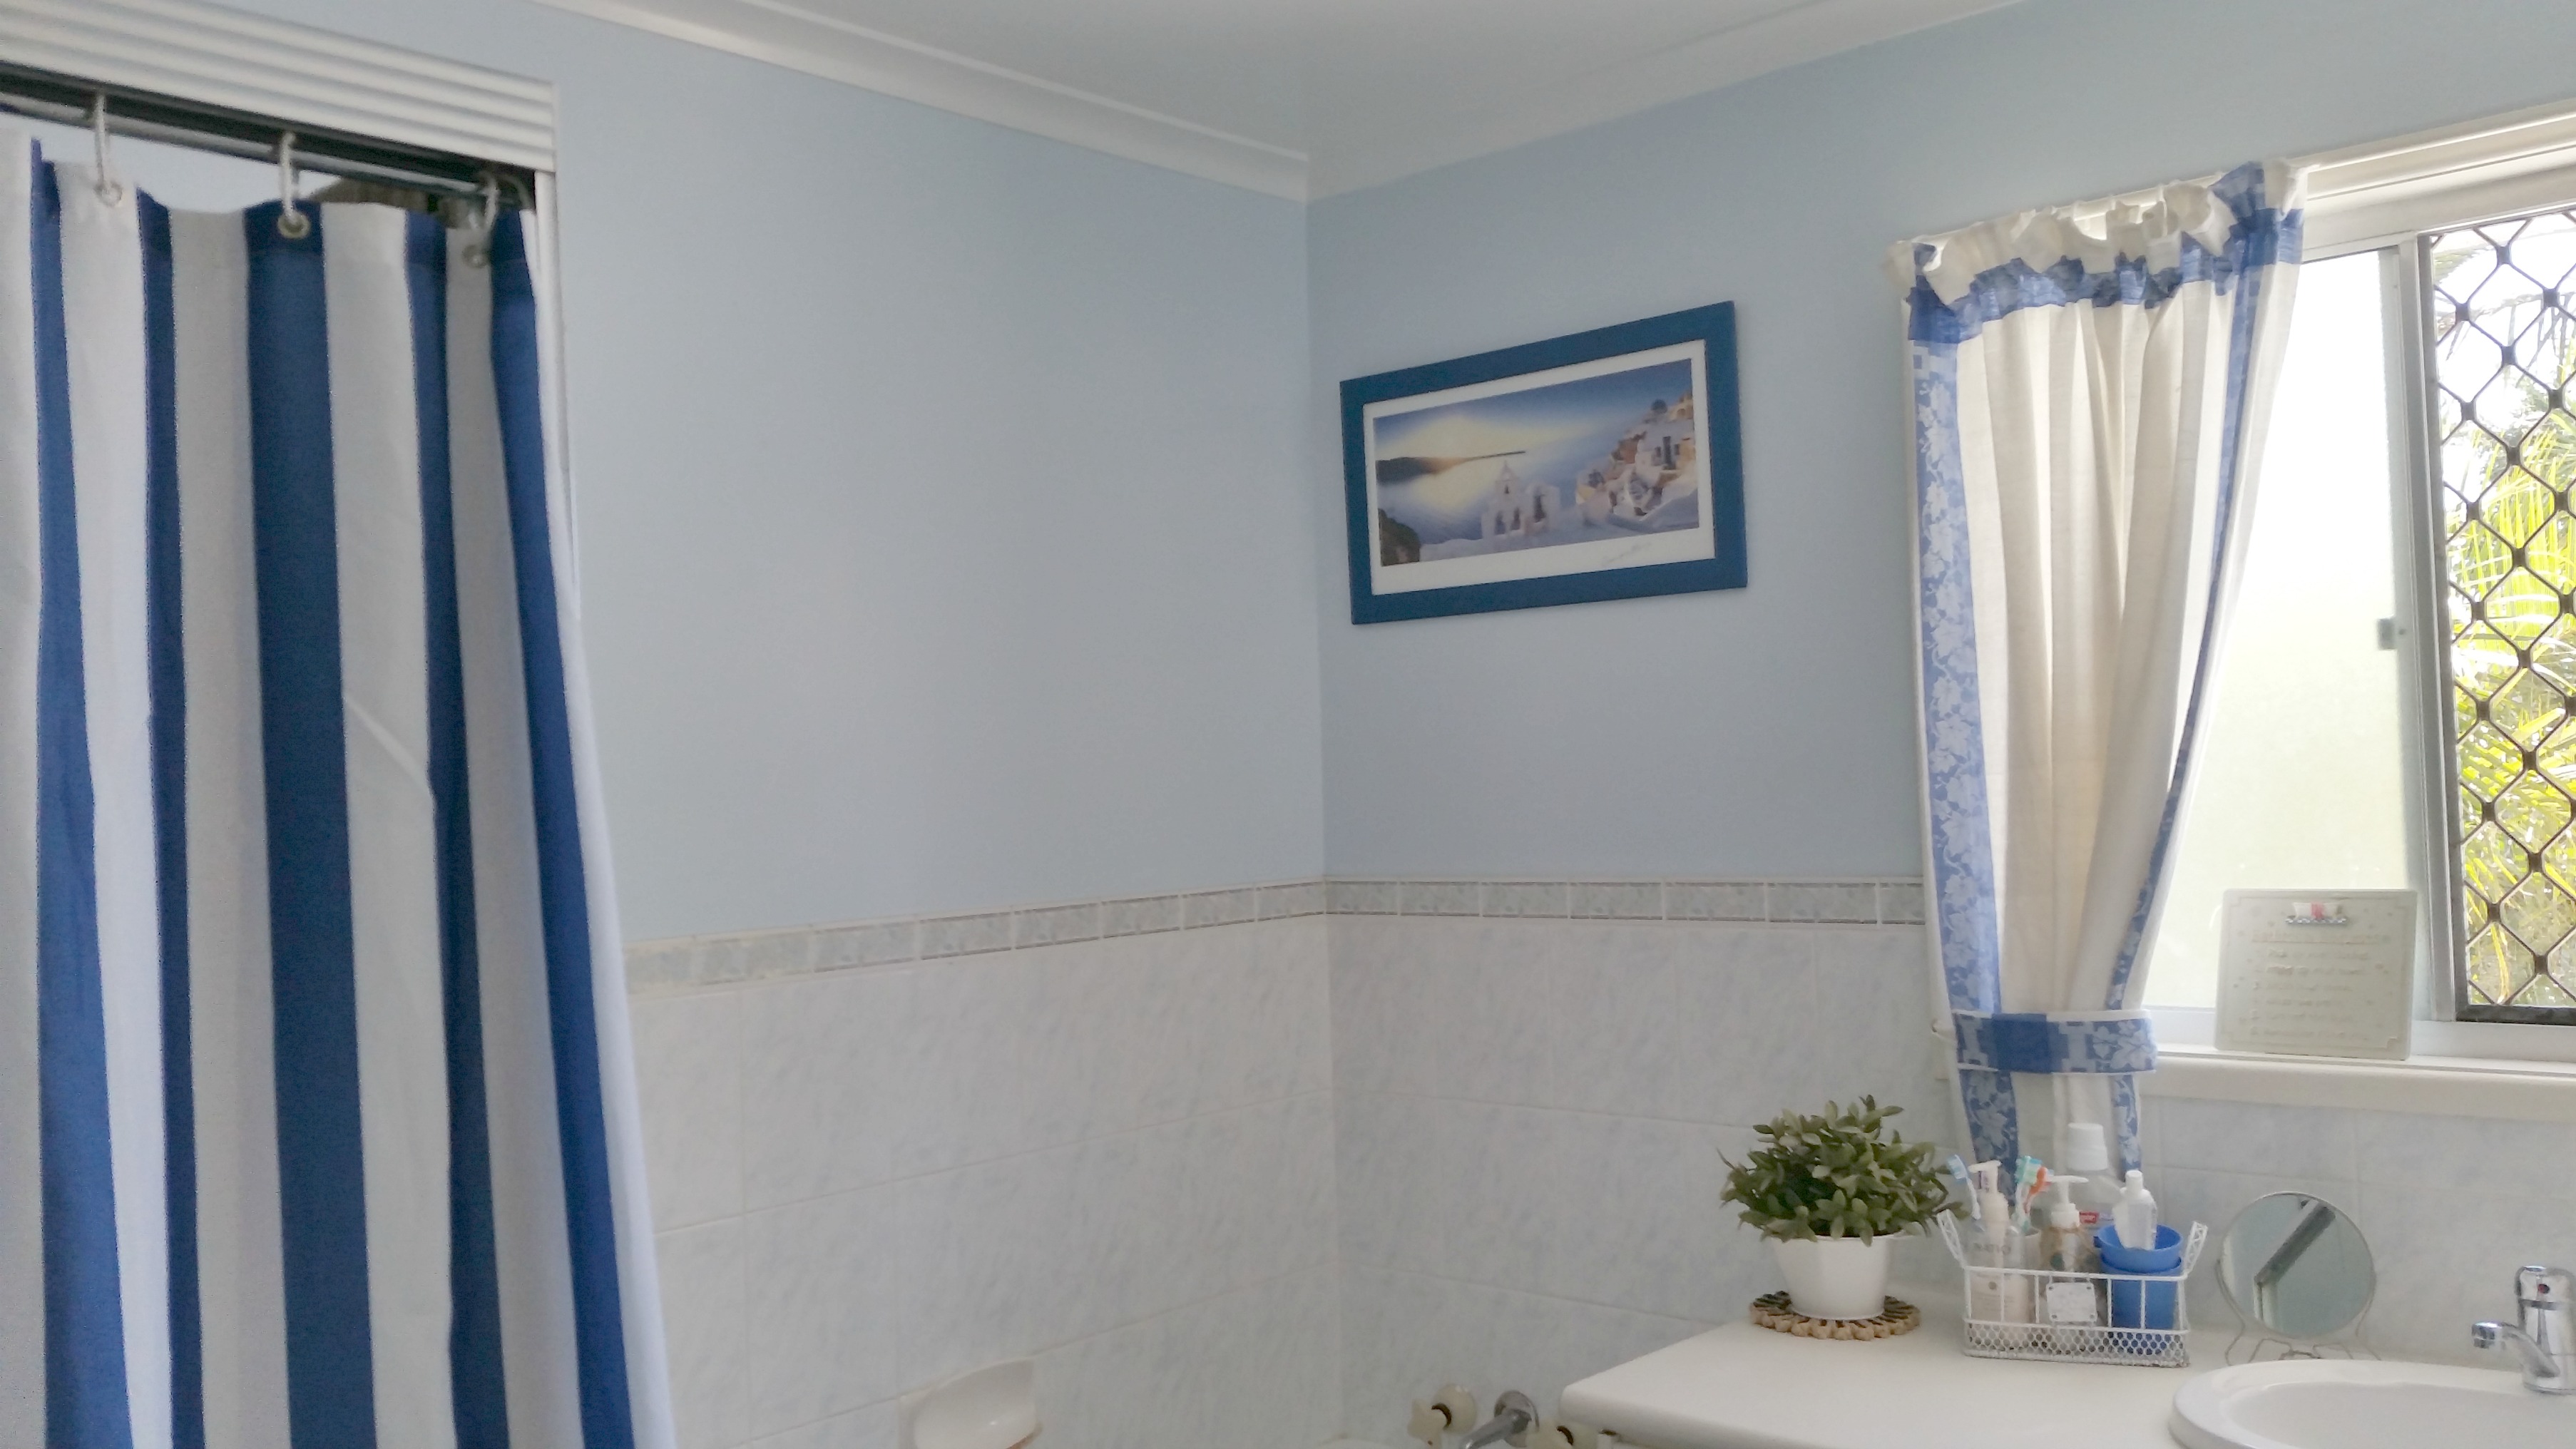
The paint job is still in good condition and even though the tiles might be a little outdated, it was the leaf pattern in the trim that gave me the idea to go with a Greek style makeover.

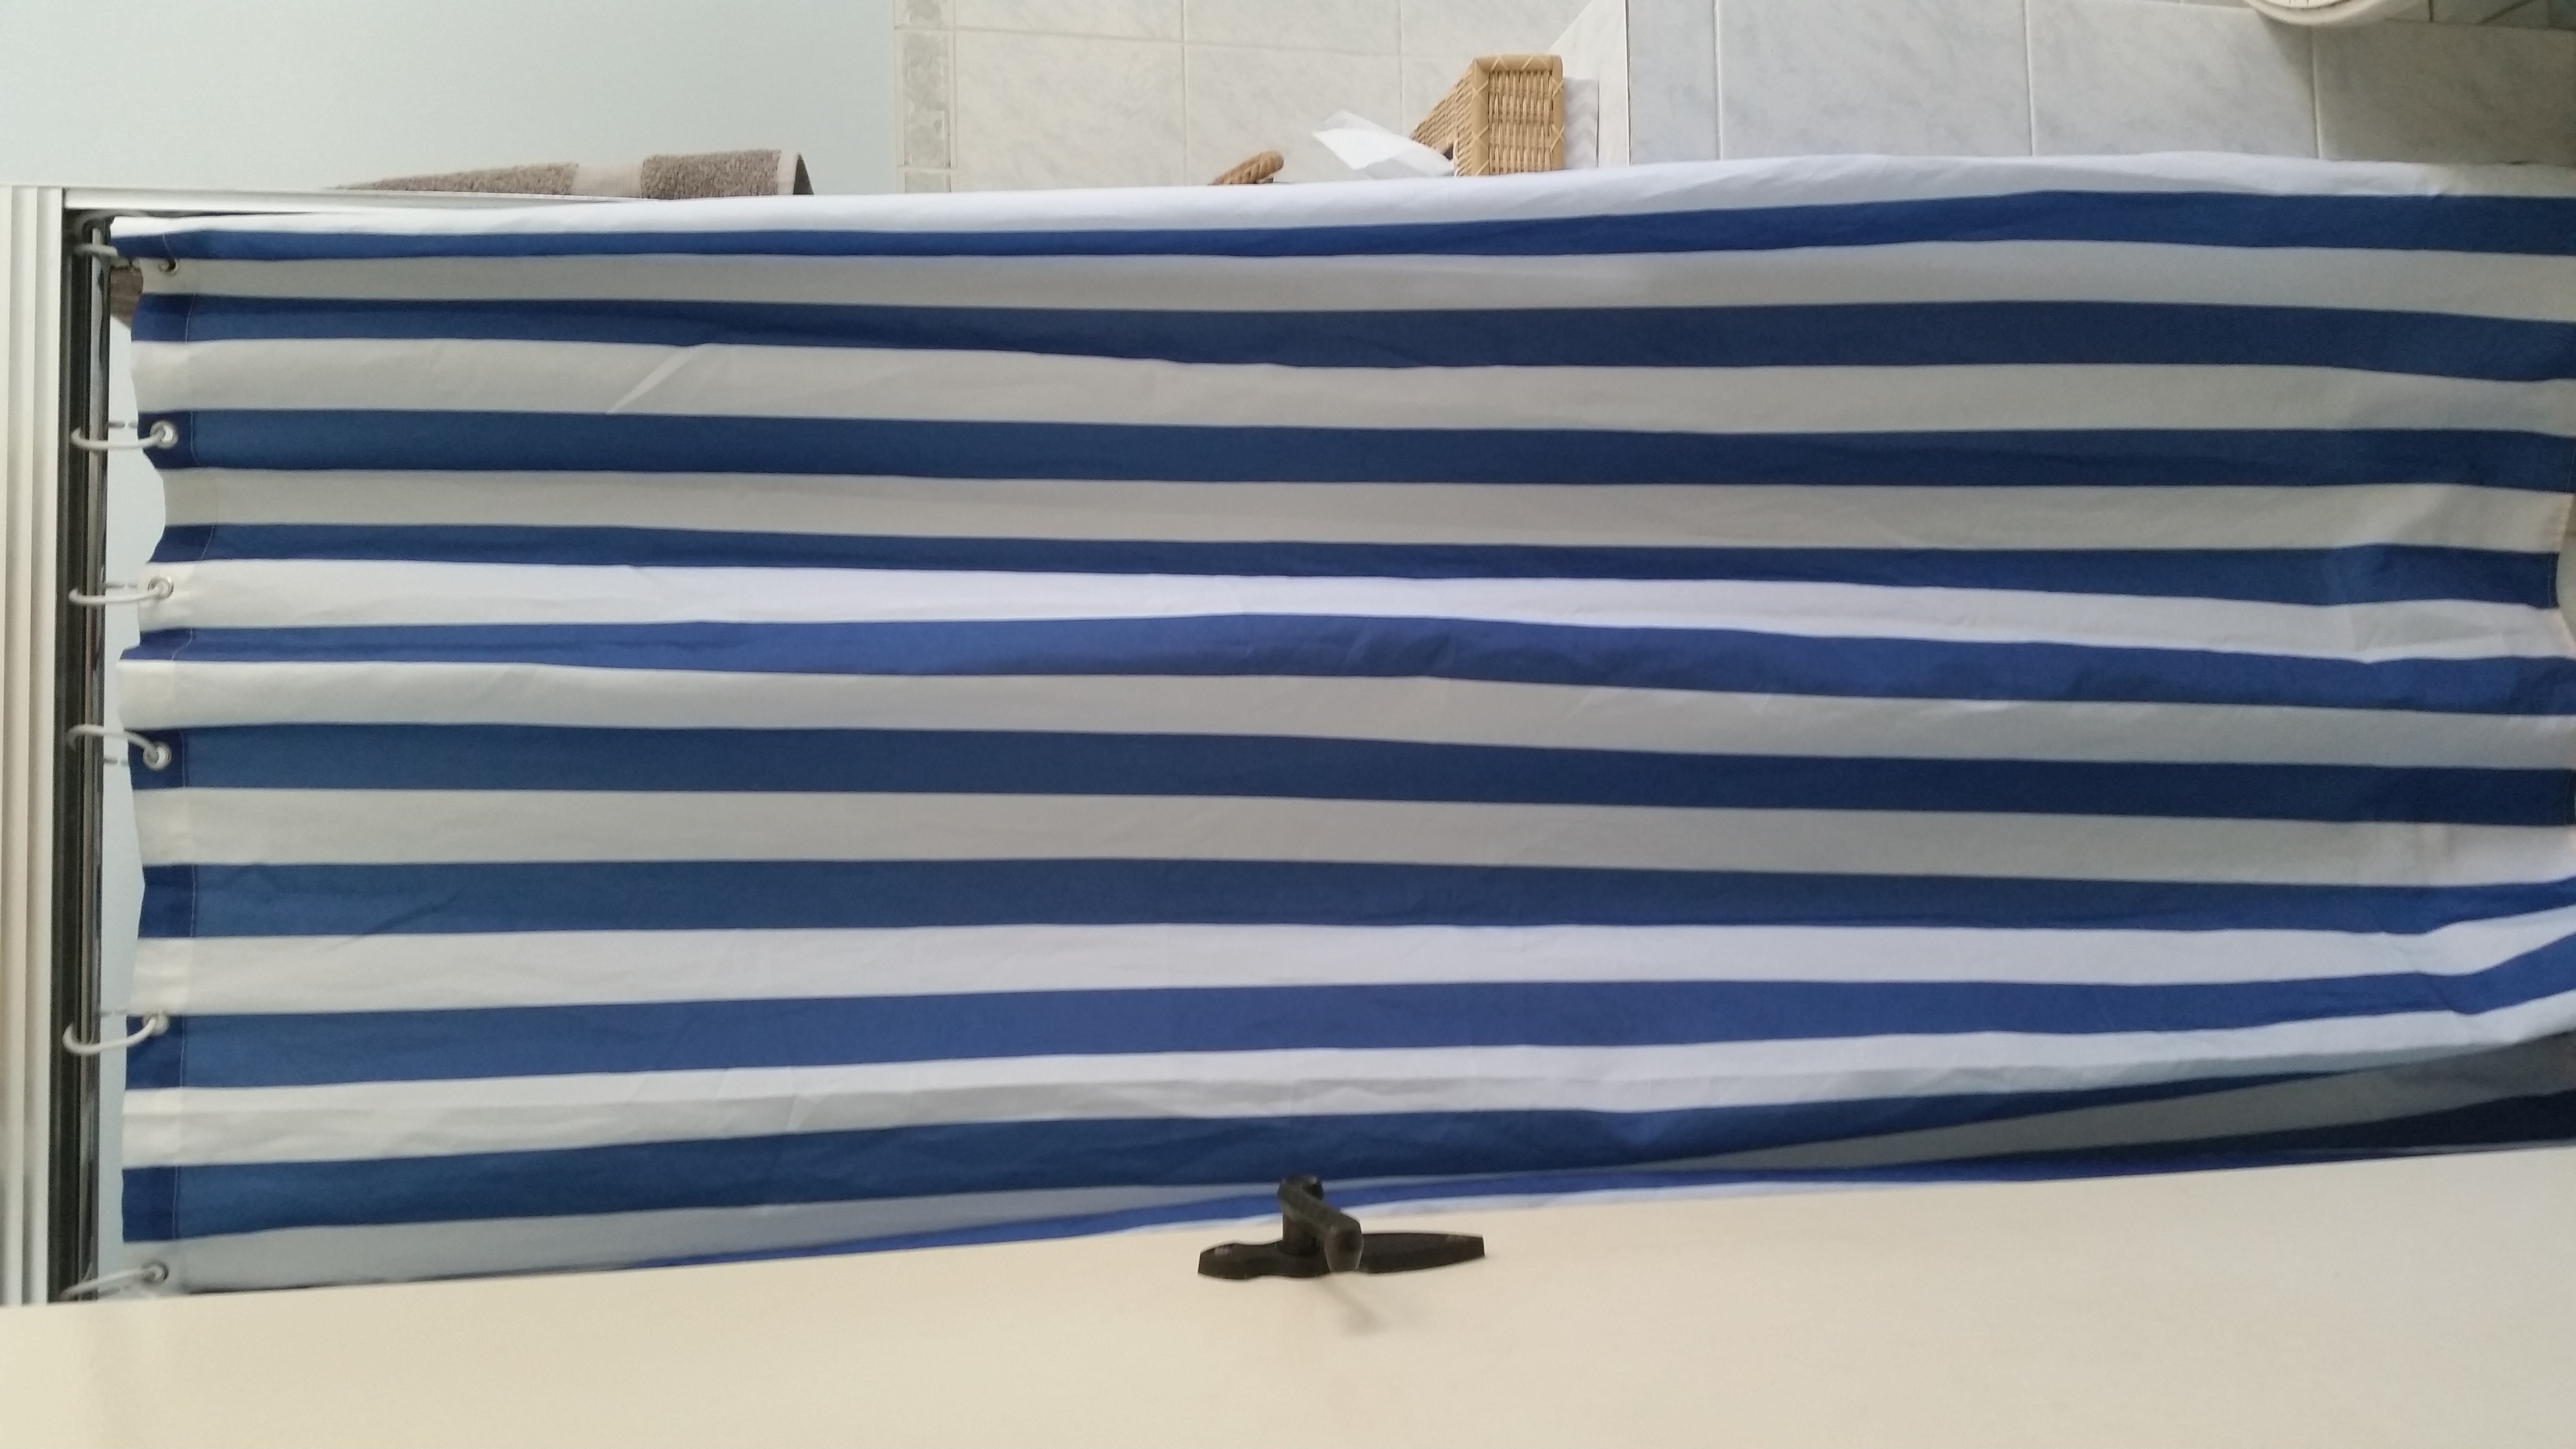
The main cost of the upgrade was to the plumber for installing a new ‘flickmixer’ style vanity sink tap plus the plumbing in the vanity. I did purchase a couple new things like this blue and white striped shower curtain half price for $9.99. We did have a sliding glass shower door there but it was always so hard to keep clean. I can just throw this curtain in the washing machine.

I was thinking of how I could make my own laundry basket. The bathroom is pretty small so I didn’t want a large basket. I just happened to be in KMart when this one was also marked down to $10 from $20.

Greek Style Mini Bathroom Upgrade for under $500 www.domesblissity.com

I couldn’t have been more lucky with my curtain selection. This vintage tablecloth came from my Nanna. She had a whole heap of old photos wrapped in it. It was stained from age so I gave it a good soak and turned it into a curtain with a tieback.

20160925_145420

It has the same matching leaf pattern as the tiles plus it also has a similar Greek key pattern on the corners.

Greek Style Mini Bathroom Upgrade for under $500 www.domesblissity.com

There were a few secondhand purchases like the framed Greek picture for $5 and the other accessories on the vanity unit with all probably came to $2. Most of my mats and towels are already in similar colors and other bits and pieces were already in my home and reused in the bathroom

Greek Style Mini Bathroom Upgrade for under $500 www.domesblissity.com

We were looking for a small medicine cabinet for the wall from secondhand shops but just happened to be at the major hardware chain store when we saw this one marked down on a specials table for $40.

Greek Style Mini Bathroom Upgrade for under $500 www.domesblissity.com

I’m so grateful for all the space we now have in the bathroom. I don’t need to tell you what it’s like with children. You need to have lotions, potions, bandages and medications and I had them all over the house. Now everything’s in one spot. It’s also allowed me to stock up on my regular toiletry purchases when they’re on special and I have somewhere to store them.

Cost Breakdown of Makeover

Edit
ItemCost
Vanity Unit (secondhand) $40
Shower Curtain (new) $10
Laundry Hamper (new) $10
Plumbing costs (including vanity flickmixer tap, plumbing hardware and labour)$300
Medicine Cabinet (new) $40
Accessories (including framed print, basket, artificial plants etc)$10
Total:$410

It just goes to show you don’t need to spend thousands to achieve a desired result. I got my new vanity, more storage in the bathroom and a fresh look with a few well thought out accessories.

Greek Style Mini Bathroom Upgrade for under $500 www.domesblissity.com