Showing posts with label feta. Show all posts

Monday, August 22, 2016

Spinach, Bacon & Feta Plait

It doesn’t matter how little you have to make a meal, if you’ve got a sheet of puff pastry in the freezer, you’ll always be able to make a little go a bit further. Everything tastes better with puff pastry and this Spinach, Bacon & Feta Plait came together so easy when ingredients were low.
Spinach, Bacon & Feta Plait www.domesblissity.com


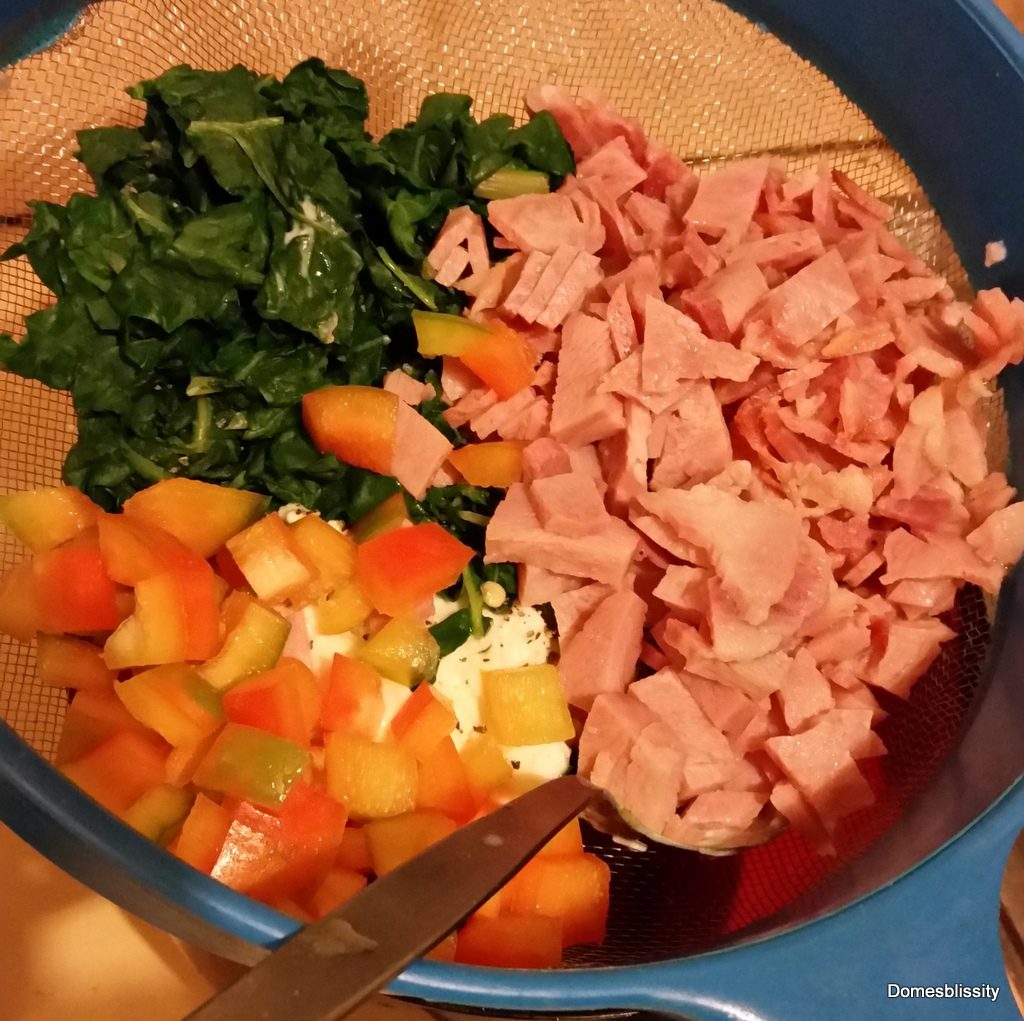
I had a little bit of spinach (silverbeet), a couple slices of bacon, half a capsicum and the tiniest bit of feta cheese. I could’ve probably found a bit of pasta to go with it but knowing I always have puff pastry in the freezer, I decided to create a pastry plait. It’s so, so easy for either sweet or savoury dishes.
Spinach, Bacon & Feta Plait www.domesblissity.com

All you need to do is blanch the spinach and squeeze out any excess moisture. Chop the other ingredients and add half a cup of dried breadcrumbs. This will help to absorb any excess moisture while baking so the pastry stays crisp.
Spinach, Bacon & Feta Plait www.domesblissity.com

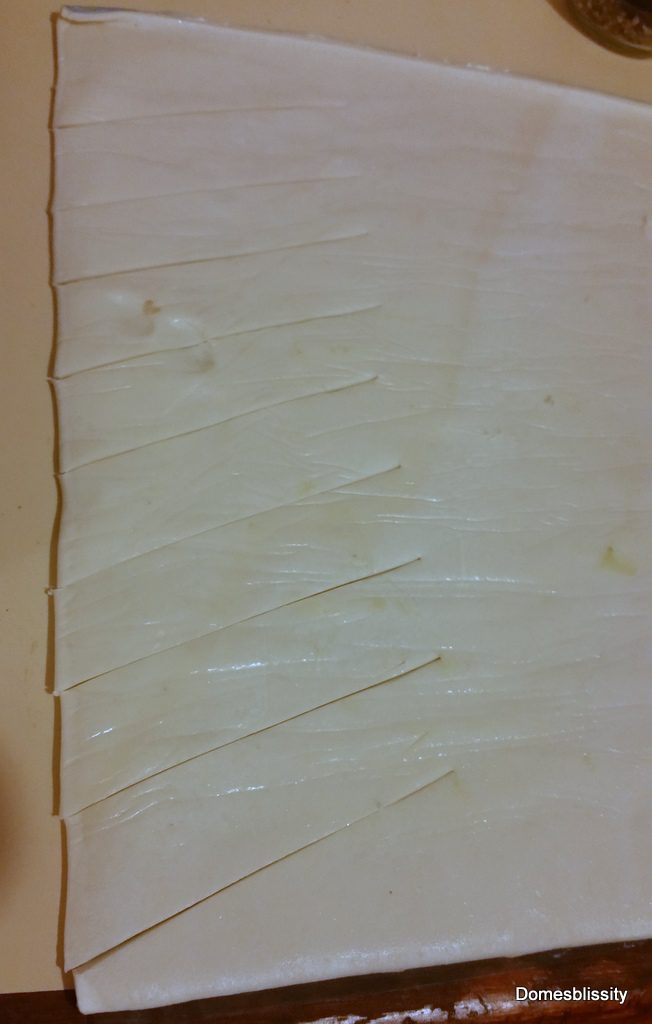
To make the plait, make cuts in the pastry on both sides as above, leaving a space in the middle to pile your filling.
Spinach, Bacon & Feta Plait www.domesblissity.com

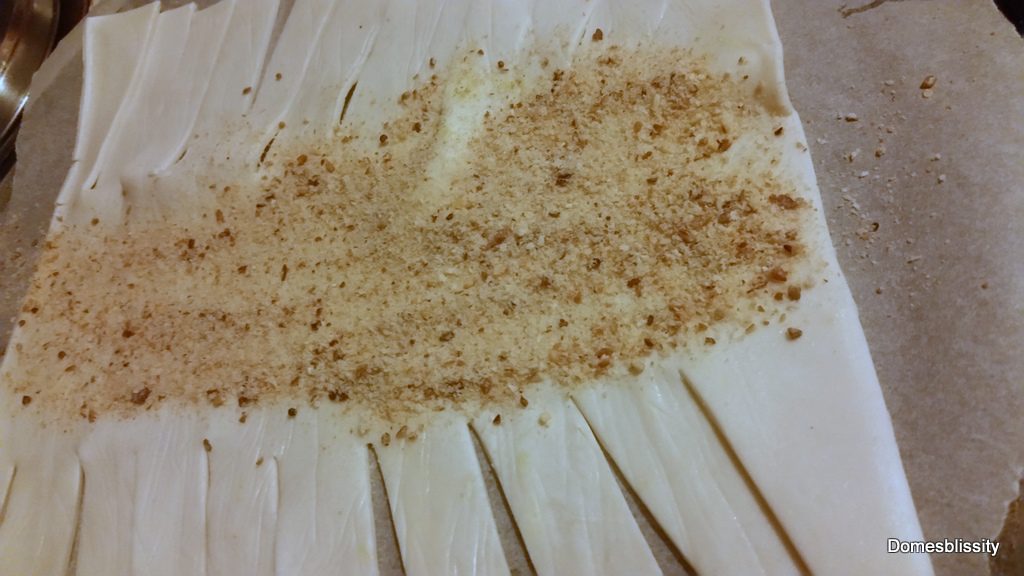
I also add a sprinkling of dried breadcrumbs on the pastry, just to be sure all that excess moisture is absorbed. Put the cut pastry on a piece of baking paper on a baking tray.
Spinach, Bacon & Feta Plait www.domesblissity.com

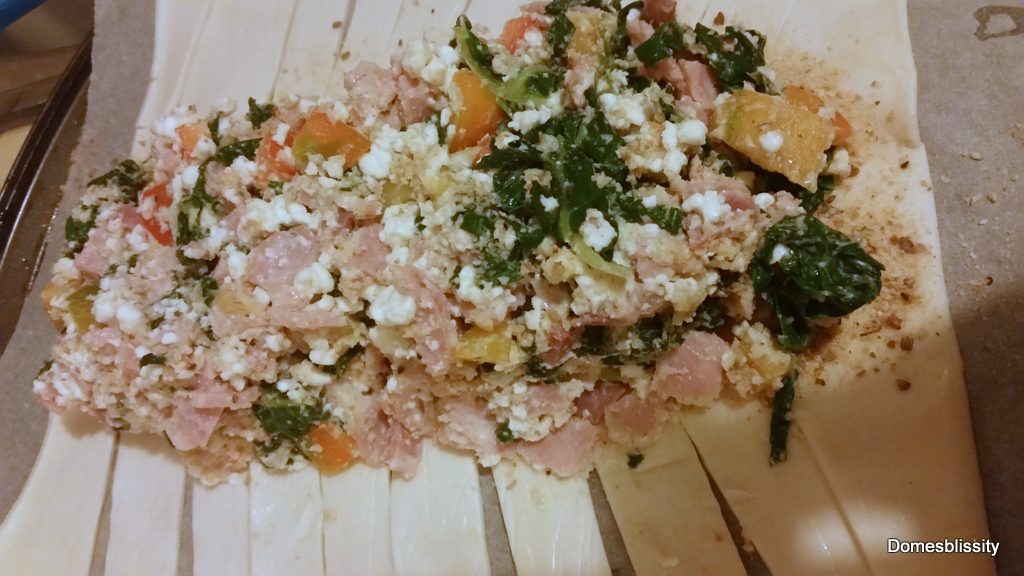
Pile on the filling.

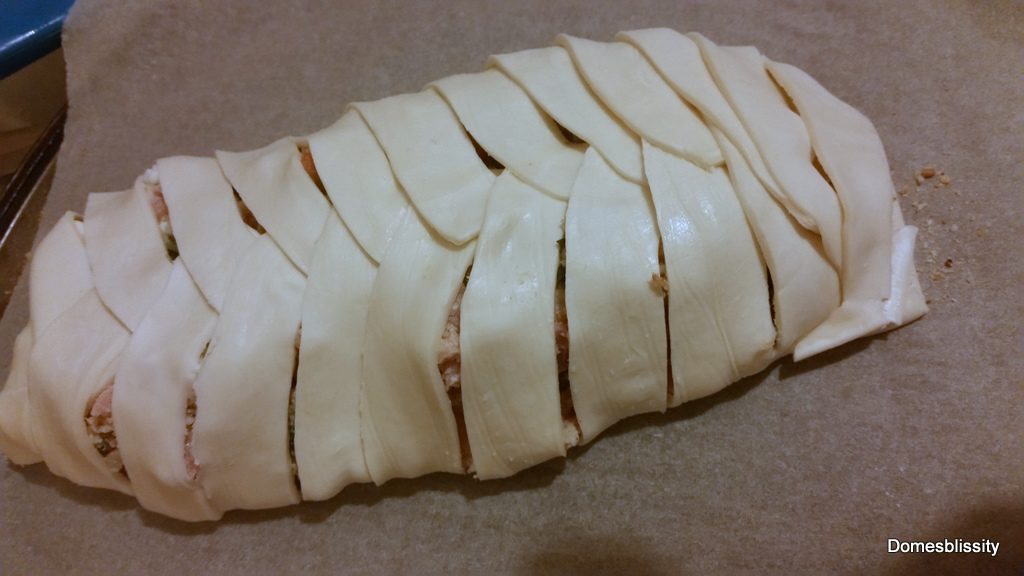
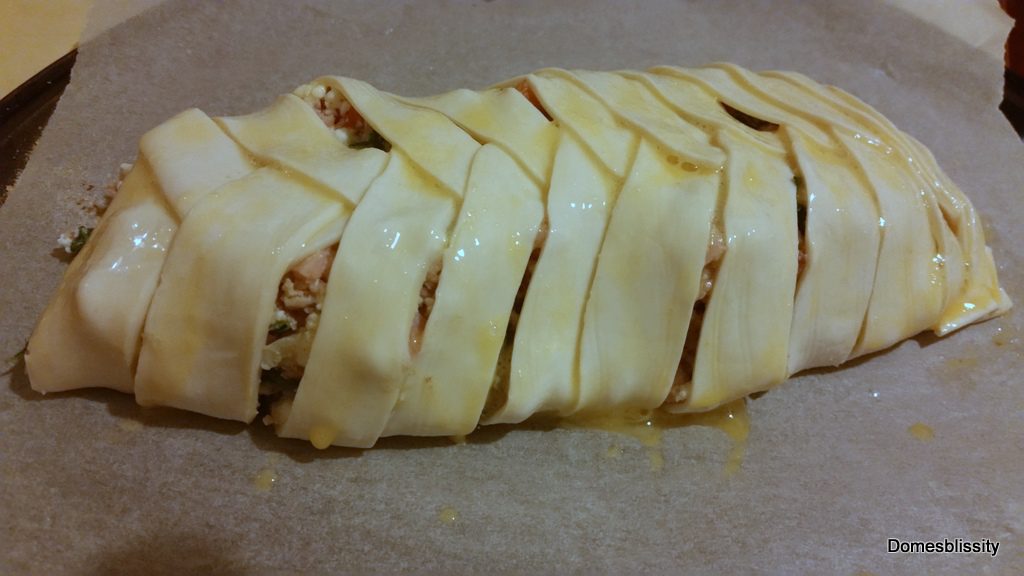
Starting from the back, start folding the pastry over the piece from the opposite side until you get to the front and tuck the ends in.
Spinach, Bacon & Feta Plait www.domesblissity.com

Brush with a beaten egg and bake for about 25 minutes in a 180 deg C oven.

Spinach, Bacon & Feta Plait www.domesblissity.com

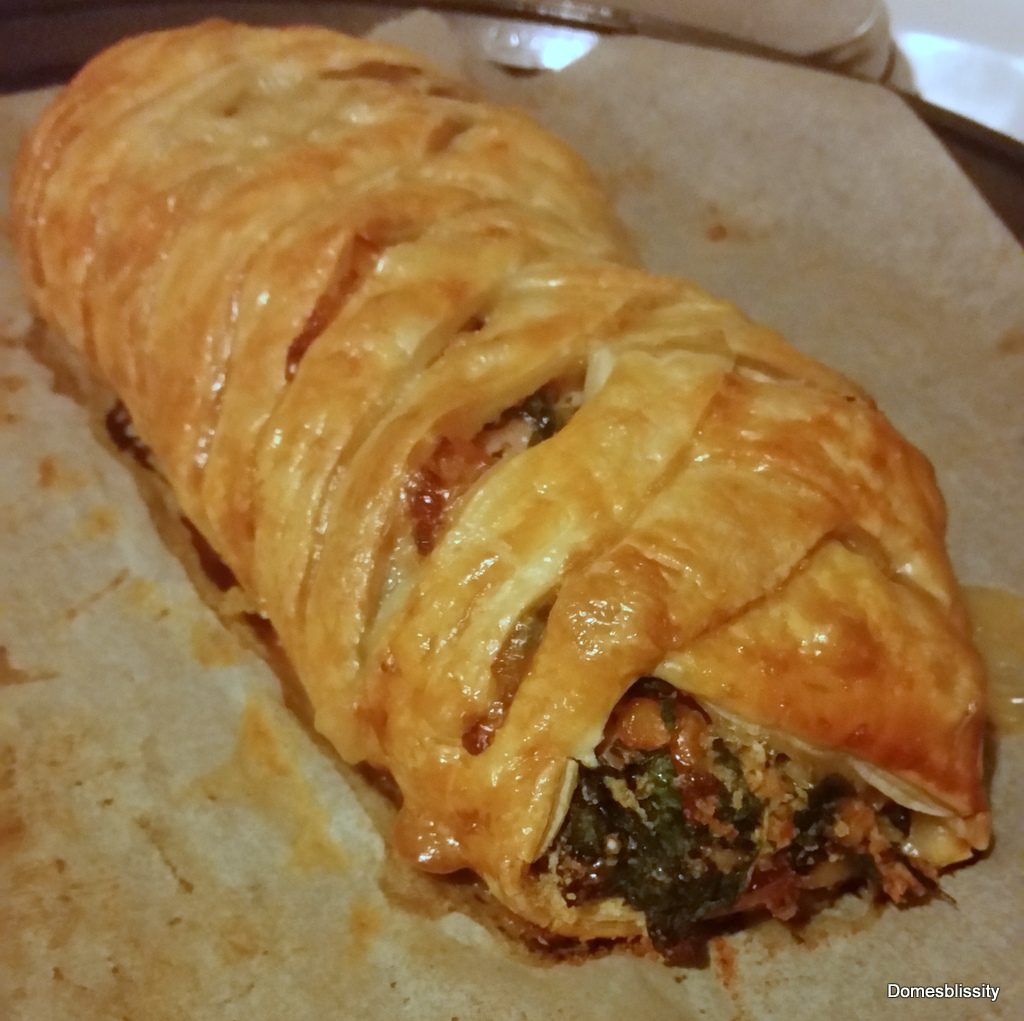
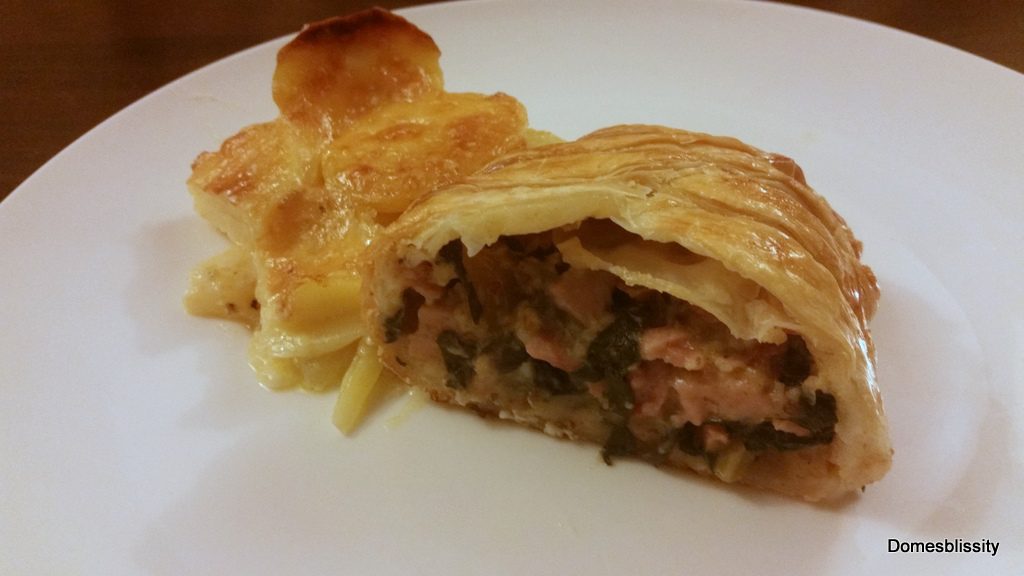
A lovely, golden, crisp pastry shell filled with all those delicious flavours of spinach, bacon and feta cheese.
Spinach, Bacon & Feta Plait www.domesblissity.com

Serve sliced with whatever you like. All I had to go with this was potatoes and a box of long life cream in the pantry so I made dauphinoise potatoes (potato bake) and it was delicious.

Making this dish reminded me of the time I made this Plum & Macadamia Plait. It was made with a basic sweet dough but you could quite easily just use frozen, ready made puff pastry for a quick dessert. It’s a great way to use up fruit that might be starting to turn. You could add just about anything to one of these plaits, sweet or savoury.

Puff pastry is also excellent to use when unexpected company arrives. You can make so many little bite sized snacks and I have 10 different recipes here. It pays to keep puff pastry in the freezer for a quick meal or fast snack.

Recipe
Spinach, Bacon & Feta Plait

For a quick meal when you don't have much left in the pantry, use what you have got left and fold it into this easy puff pastry plait.
Prep Time 15 minutes
Cook Time 25 minutes
Total Time 40 minutes
Servings 4
Author Anne

Ingredients

  • 1 sheet frozen puff pastry
  • 1 cup cooked spinach or silverbeet excess moisture removed
  • 2 rashers bacon chopped
  • capscim onion or other vegetables, diced
  • feta cheese crumbled
  • 1/2 cup breadcrumbs
  • salt & pepper
  • 1 egg beaten

Instructions

  1. Cook spinach and remove any excess liquid.
  2. Combine spinach, bacon and feta with 1/2 cup dried breadcrumbs and salt and pepper.
  3. Prepare sheet of puff pastry by making diagonal cuts about 1/3 from the centre of the pastry sheet.
  4. Repeat on the other side.
  5. Sprinkle some extra dried breadcrumbs on the pastry sheet to help absorb any excess moisture from the filling.
  6. Spoon filling onto the middle of the pastry sheet and starting from the back, fold over cut pastry slices over the top of the filling, tucking the ends in at the front.
  7. Brush pastry with 1 beaten egg and bake in a 180 deg C oven for approximately 25 minutes.
  8. Slice and serve.

Spinach, Bacon & Feta Plait www.domesblissity.com


Monday, January 19, 2015

Homemade Gozleme

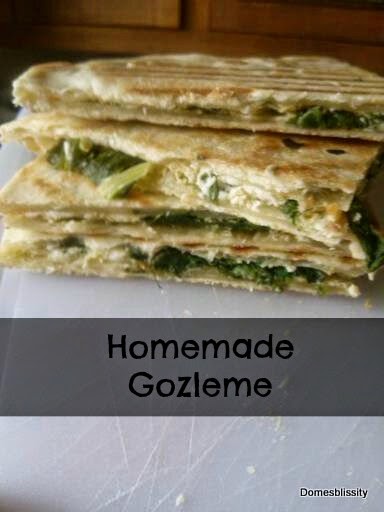
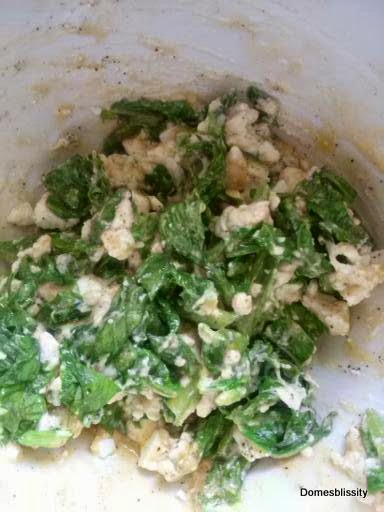
The Italians have calzone, the Mexicans have quesadillas and the Turkish people have gozleme. It’s amazing what you can do with just flour, oil and water. These tasty little treats take barely no time to whip up and you can fill them with whatever ingredients you have on hand. In this case, I used some English spinach I had wilting in the fridge and a little feta cheese. I made a mushroom and cheese gozleme for my son and a garlic and cheese one for Little Miss Fusspot.
This recipe, from Gourmet Wog has no yeast so no waiting around for it to rise etc. It’s a very basic dough that needs to rest for just a couple minutes while you prepare the filling. They can be cooked on the barbecue, on the stove top in a frying pan or, as I did, in my sandwich press so they were cooked in no time.
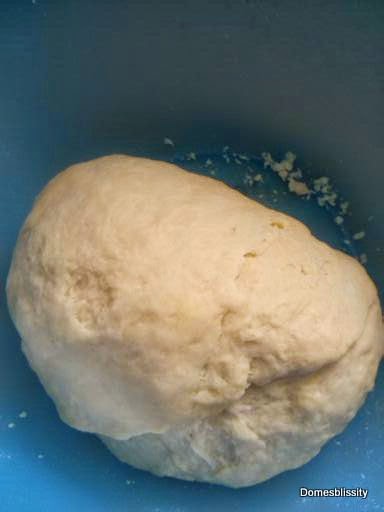
The dough forms into a lovely, silky smooth ball and is easy to work with and to roll out.
Let your imagination go wild with the fillings. The Turks also love to make a spicy lamb mince filling and fill in between these deliciously, light, crispy flatbreads.
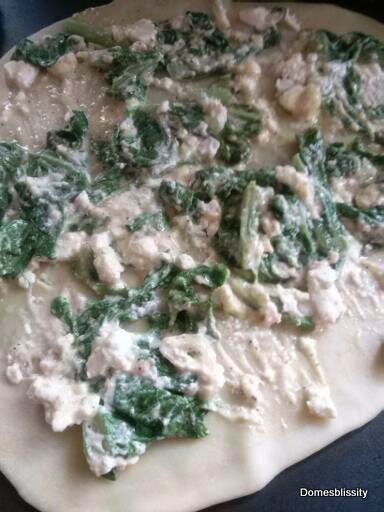
It’s just a matter of putting one layer of dough on the pan, top with the filling and place the second layer of dough on top and fry until golden. With the use of the sandwich press, I was able to cook both sides at once. If you cook it on the stove top, you’d have to be a dab hand at flipping the gozleme but once the filling melts and sticks, it’s pretty easy. Gozleme make a lovely alternative to boring old sandwiches for lunch or, served with a salad, a light and healthy evening meal.
Homemade Gozleme
  • 2 & 1/2 cups plain flour
  • 1 tsp salt
  • 1/3 cup olive oil
  • 3/4 cup water
  • olive oil spray or extra olive oil to brush pan

Spinach & Feta filling:
  • handful of spinach leaves (I used English spinach and wilted in the microwave for about 20 secs)
  • 100 grams feta cheese crumbled
  • 1 clove garlic, crushed
  • 1 egg to combine
  • salt & pepper

  1. Add salt to plain flour.
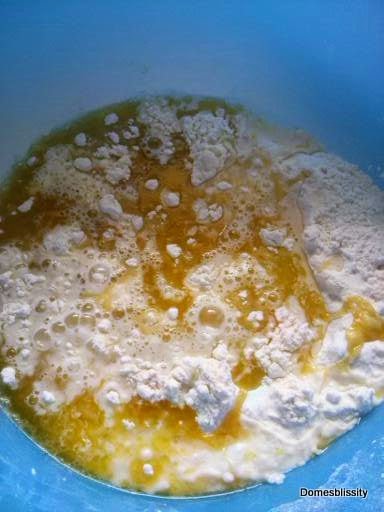
  2. Make a well in the middle and add olive oil and water.
  3. Mix until dough forms a ball.
  4. Knead for approximately 10 minutes until the dough is silky smooth.
  5. Allow to rest for 20 minutes and prepare your filling.
  6. Cut dough ball into 4 sections.
  7. Cut each of this sections into 2 and roll into a round shape of similar size and very thin.
  8. Place one piece of rolled dough into a well greased pan, on a barbecue plate or sandwich press and place the filling on top.
  9. Place the other piece of dough on top.
  10. Cook over a medium heat until dough has cooked and flip to cook the other side.
  11. Brush with extra olive oil if desired.
  12. Cut into wedges to serve. 

Sunday, November 3, 2013

Grilled Spinach & Feta Flatbreads

I hope you’re not getting bored with  my feta infatuation but a little goes a long way in my house so I have to use it up as quick as I can in as many ways I can. Besides, this was one of the dishes on my menu plan from the Donna Hay magazine I planned from.

You could make a complete meal out of these by serving with a side salad but I couldn’t wait. They were absolutely gorgeous and ready in a flash. I made mine in my sandwich press but they could be made on a barbecue or on a pan on the stove top. They were very filling too and one of these http://creditcardnow.us/comment/181#comment-181 babies could quite easily serve 2, with the salad. I was starving so ate the lot. A good one for an easy weekend dinner, barbecue or cut into slivers for a cocktail party.

Grilled Spinach & Feta Flatbreads

  • 2 Lebanese flatbreads (or tortillas, pita or even normal bread would work well)
  • bunch baby spinach leaves
  • small serve feta cheese, crumbled
  • grated mozarella cheese (or cheddar)
  • 1 clove garlic, crushed (or garlic spread)
  • olive oil
  1. Spread flatbread with crushed garlic (or spread).
  2. Top with spinach leaves, crumbled feta and grated cheese.
  3. Drizzle a little olive oil over the top and top with other flatbread which has also been spread with garlic.
  4. Toast until crispy and brown.
  5. Chop into four and serve with a simple garden salad.

Thursday, October 31, 2013

Tomato & Feta Bruschetta

In order to save money, eat healthy and eat what’s on my menu plan, I’ve been enjoying lunch at home nearly every day. I enjoy making something nice, sitting down with a magazine and enjoying each bite. You know they all say its the simple things in life that are best? Well how much more simple could you get than tomato and cheese on toast in the form of this Tomato & Feta Bruschetta (has a nice ring to it, don’t you think?).

I’ve also changed the way I shop. No longer do I spend $30 on a box full of fruit and vegies that will most likely get thrown out at the end of the fortnight because I haven’t incorporated it into my weekly meal plan. I’d rather menu plan these days and get 1 or 2 gourmet, vine ripened tomatoes and enjoy the flavour and taste than waste a whole bunch of food. It works out more economical for me and my family.

I’m still on the ‘feta bandwagon’ and am enjoying it in most meals and it doesn’t look like going away anytime soon.

Tomato & Feta Bruschetta

  • sour dough bread slices, toasted or grilled
  • oil for brushing
  • garlic clove or garlic spread
  • tomatoes
  • feta cheese
  • salt & pepper
  • dried basil
  • italian flat leaf parsley for garnish
  1. Spray or brush sour dough slices with oil and grill or toast until brown.
  2. Rub with peeled garlic clove or spread with garlic spread. (I have a nice garlic spread and put it on just about everything.)
  3. Meanwhile, chop tomatoes and add salt, pepper and dried (or fresh) basil.
  4. Add feta cheese to tomato mixture and put onto toasted bread. 
  5. Top with parsley to garnish.

Tuesday, September 10, 2013

Individual feta & mushroom omelettes

In an effort to reduce foods containing gluten I eat, I’ve been avoiding pastry and bread. This makes it a little hard to come up with transportable, quick and easy lunch foods considering we’re so used to eating sandwiches or wraps. I was going on my son’s school excursion last week and thought about making little quiches. What I came up with was basically an omelette baked in a muffin pan. They puffed up beautifully (and then sunk, as egg dishes usually do) but were just the right size for a quick lunch on the go.

There is nothing else in this recipe other than eggs, mushrooms and feta and then topped with a little grated cheese. A good protein ‘pop’ for a mid morning or afternoon snack or a couple with a salad for lunch. Of course they’d be just perfect for breakfast as well.

I’ll be remembering to cook my omelettes this way from now on. They’d freezer well or will keep in the fridge for a couple days. Next time, I might use some folded baking paper just to lift out of the pans or even cupcake papers to line the muffin pan. As much as I oiled the pan really well, they got a little stuck. Perfect little ‘pies’ eaten hot or cold.

Individual Feta & Mushroom Omelettes

  • 4 eggs
  • mushrooms, finely sliced
  • 125gm feta cheese, crumbled
  • 1 garlic clove, crushed
  • salt & pepper
  • grated cheese
  • oil or butter for greasing muffin pan
  1. Beat eggs well.
  2. Add other ingredients and pour into well greased (or lined with baking paper or cupcake paper) muffin pan.
  3. Top with grated cheese.
  4. Bake in a 170 deg C oven for approx 10 mins or until golden on top.
  5. Makes 6 individual omelettes.

Sunday, September 1, 2013

Lamb, roast capsicum & feta meatloaf

In the last week or so I have become addicted to feta cheese. I’ve always loved it but for some reason I can’t get enough of it. I guess our taste buds change over time and maybe my desire for the salty, smooth, creamy taste of feta has grown stronger. I had some lamb mince in the freezer and I thought about meatballs, moussaka and all of the other usual suspects but how could I incorporate my much loved feta? Time was running out for dinner so I threw it all together in a meatloaf.

There really wasn’t anything to it. Just add the ground lamb, chopped feta, onion, herbs, roast capsicum (bell peppers) etc. I was going to add olives but I didn’t think my son would eat them.

Lamb is has a very high fat content so it will shrink quite a bit which is good because you just drain the fat off after it’s cooked.

I just wish I would’ve had a bit of Greek yoghurt to blob on top but it was nice as is, just the same.

Lamb, Roast Capsicum & Feta Meatloaf

  • 300gm lamb mince (or beef, pork, veal)
  • 1 medium onion, chopped finely
  • 2 garlic cloves, chopped finely
  • roast capsicum (bell peppers), chopped finely
  • 125gm feta, crumbled
  • 1 egg
  1. Mix ingredients together.
  2. Press firmly into a greased baking dish and bake in a 170 deg C preheated oven for approximately 20 mins.
  3. Slice and serve warm with a Greek salad and a dollop of Greek yoghurt or serve cold in a salad or on a sandwich.

Thursday, August 22, 2013

Pumpkin & Feta Triangles

I’ve had a real craving for feta lately and I seem to be putting it into everything I cook.  I had a bit of pumpkin in the fridge and knew pumpkin and feta went well together. How did I want to cook it? I had been at the shops earlier and was thinking about buying filo pastry but knew I had some frozen puff sheets in the freezer that needed using up as they’d been there a while.

I peeled and roughly chopped the butternut pumpkin I had and briefly steamed in the microwave. I mixed it with a bit of feta, some red onion, some toasted pine nuts, a bit of honey and some balsamic vinegar, that’s all.
As the pastry defrosted, you could see how dried it was on the edges. I didn’t care. I just cut the sheet in quarters, piled a spoonful of mixture onto the pastry and folded over. They didn’t seal properly but they turned out fine.
They were really tasty and I served them with a salad. They’ve freezed well and are great to pop out for a quick lunch. You could add cooked chicken or a little bacon to them as well for a meat eater’s option.
Pumpkin & Feta Triangles
  • 2 sheets frozen puff pastry
  • 1/2 butternut pumpkin, peeled and roughly chopped
  • 1/2 red onion, finely diced
  • 125gm feta cheese
  • salt and pepper
  • 1 tbs balsamic vinegar
  • 1 tbs honey
  • 2 tbs pine nuts, toasted
  • 1 egg, beaten

  1. Preheat oven to 170 deg C.
  2. Steam pumpkin until just soft. (It will cook further in the oven.)
  3. Add onion, feta, pine nuts and mix thoroughly.
  4. In a small bowl mix together honey and balsamic vinegar and pour over pumpkin mixture.
  5. Season with salt and pepper to taste.
  6. Cut pastry into 4 squares and brush edges with beaten egg.
  7. Add 1-2 tbs of pumpkin mixture into centre of pastry and fold over diagonally.
  8. Seal and brush top with beaten egg.
  9. Bake until golden on top (approx 15 mins).

And while we’re at it, it must’ve been the week for it because my friend Jo from Country Life Experiment made pumpkin and feta spaghetti. Looks delicious, doesn’t it?