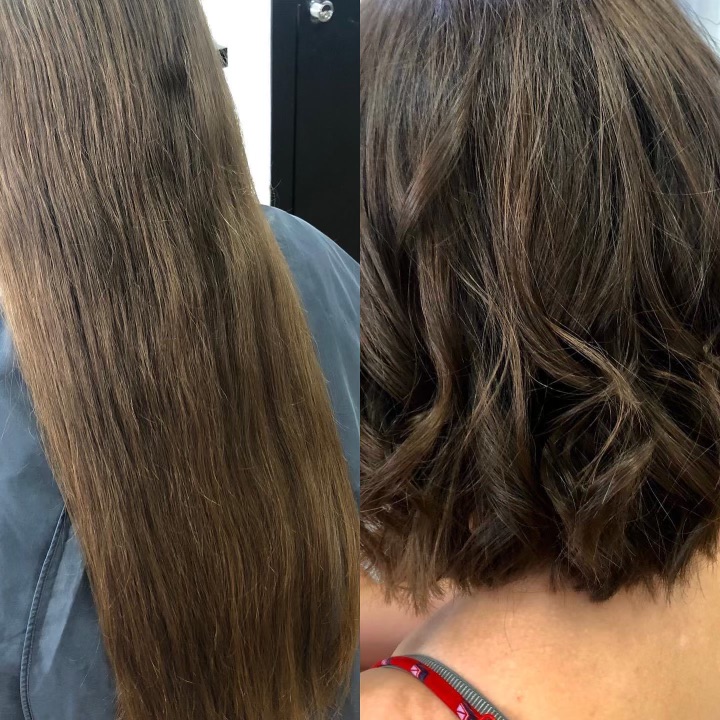
One of my nieces is a vibrant young woman in her 20s, who wants to make a difference in the world. She intentionally grew her hair to her waist – a process that took years – so that she could donate it.
In her own words:
“I donated my hair to make wigs for people with medical hair loss.
On the day of my hairdresser appointment, I was excited about getting a short new haircut. Afterwards though, I did have some pangs, especially when people lamented the loss of my long hair. I really didn’t expect it as they knew I’d donated my hair for a worthy cause. My way of coping with that was to point out that women don’t need long hair to be beautiful.
It gives me great satisfaction to know that my donation helped someone in need.”
How To Donate Your Hair
My niece found a hairdresser through the Sustainable Salons website. Once she typed in her postcode, the site directed her to a nearby hairdresser.
Sustainable Salons is a social enterprise that works with organisations like the Australian Alopecia Areata Foundation or the Cancer Council to make real hair wigs, as well as fundraise for people who’ve lost their hair.
Preparing Hair for Donation
After the hairdresser had washed and dried her hair without using any styling products, she then:
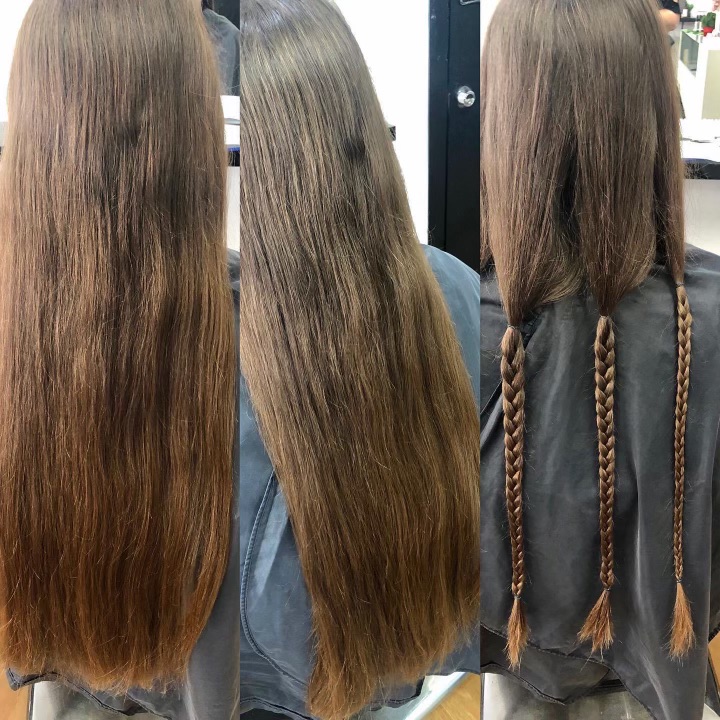
Divided hair into small ponytails around the head and tied them with elastic hair ties. The ties were approximately 2cm down from where the hair was to be cut.
Plaited the full length of the ponytail and secured it with another elastic tie at the bottom.
Measured the ponytail between the two elastic ties and made sure it was at least 20cm long.
Cut the hair 2cm above the elastic, then kept the plait flat and dry.
Sealed it into a snap lock bag and posted it to:
Sustainable Salons – Ponytails GPO Box 322 Sydney NSW 2001
You don’t have to see a hairdresser to donate your hair. If you’d prefer, you can prepare your hair and mail it yourself. Detailed instructions on how to do it are available on the Sustainable Salons website.
What Happens Next?
Once they’re received, ponytails are sorted and graded by hand, according to the colour, hair type and length.
Then, they’re sent to wigmakers and charitable organisations like Australia Alopecia Areata Foundation (AAAF) where they’re turned into charitable wigs for children or to fund life-changing programs.
How is Hair Made into Wigs?
The ponytails are brushed carefully to remove any knots. The hair is then separated into small strands, and a collection of strands is sewn onto a super-thin cloth strip known as a weft. These wefts are sewn onto the sides and back of a wig cap.
It takes at least 10 to 12 ponytails to make one wig. Donations need to be 20cm or longer as length is lost when the hair is sewn into the wig cap.
The difference a wig can make to someone in need can’t be underestimated. As my lovely niece said: “Donating my hair was a small gesture really. I wanted to do more than just send a financial donation. I wanted to give a piece of myself.”
This post was kindly written by Janet Camilleri. Based in Brisbane, Janet submitted her first article to a magazine at the tender age of twelve (no, it wasn’t published). Since then however her work has appeared in dozens of print and digital publications. If you enjoyed this article, check out her blog Janetti Spaghetti!
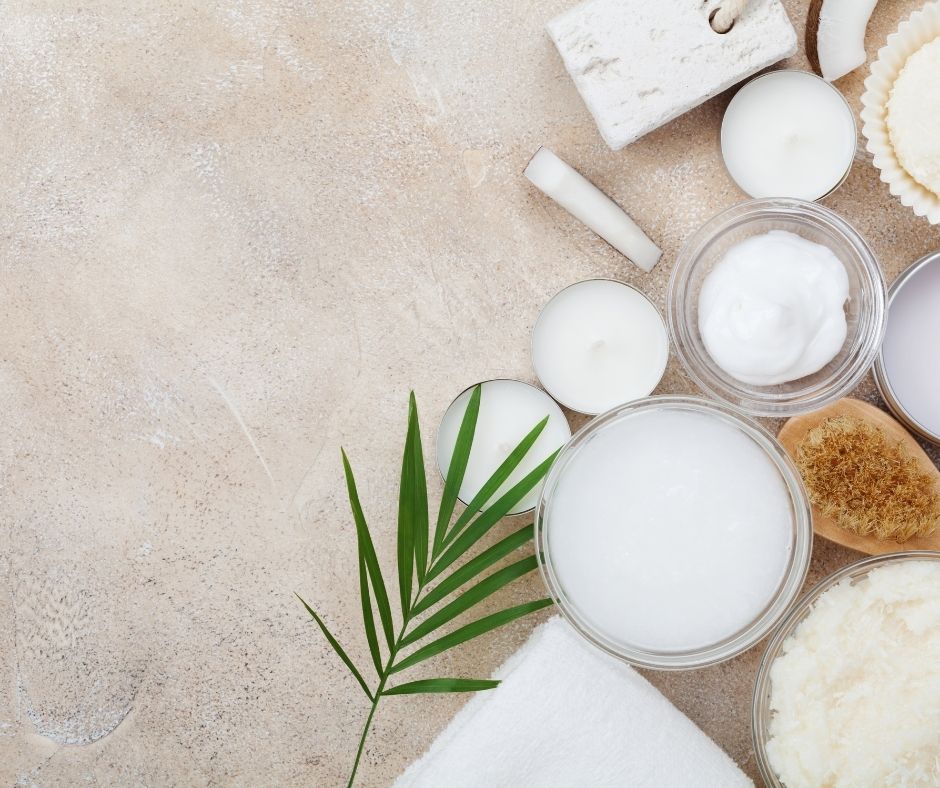
Day spa at home? Wouldn’t that be nice? It’s easier than you think using your basic pantry and fridge staples. There are many reasons why we can’t get to the day spa as much as we would like but you don’t have to make it hard for yourself. You can create a haven at home and treat yourself as often as you need.
WHY HAVE A DAY SPA AT HOME
Of course it’s just as easy to go out. But with the worldwide pandemic it was hard to get out of our homes at times and we missed out on our regular treatments.
We’re all busy too. It’s not just about the 20 to 30 minutes you’ll actually spend at the day spa. It’s about getting ready to go, driving there, coming home and what about your children or if you’re working out of the home full time? Creating a day spa at home is ideal for those who are time poor.
There are so many benefits to your overall health if you try some of these treatments. Not only are some of them great for your skin and hair, there are medicinal properties to some of the ingredients in these treatment recipes I’m going to share with you.
Stress, tired muscles, sore feet, damaged skin, nails and hair will all benefit from these treatments. Let’s also take into the account the benefit for your mental health when you’re able to treat yourself with kindness because you deserve it.
If you are at home most of the time, a bit of time out for yourself can be used as a reward. If you’ve got decluttering, organising or cleaning to do, say to yourself that you will reward yourself with a DIY facial, soak in the bath, pedicure or aromatic shower. You deserve to be treated in a way that is going to benefit your overall health.
It’s also a very cost effective option. Why spend hundreds of dollars to pay someone else to do this for you when you probably have all the ingredients yourself?
Sure. It is nice to go out and pamper yourself once in a while but even as an inexperienced beauty consultant you can easily apply these products to yourself.
WHAT TOOLS YOU’LL NEED
You really are spoiled for choice when it comes to finding ingredients for some of the following beauty spa treatments. Substitute where you can. If you only have rose essential oil, use that instead of lavender. Or if you only have white sugar and not brown sugar, use that.
Set yourself up with all the tools you’ll need and keep them in a tub or a box that can be your special home day spa treatment. Here are just some tools you might need before you start:
Like I mentioned above, these ingredients are only a guide to what you can use. If you don’t have the essential oil, use your favourite. If you don’t have a particular type of tea or fruit, use what you have. It’s all about being as cost effective as possible.
From the Pantry
Oats
Quinoa
Honey
Coconut Oil
Vanilla extra or vanilla bean pods
Extra virgin olive oil
White sugar or brown sugar
Salt including Himalayan Pink Salt
Tea bags including herbal tea, green tea or flavoured tea like Chai
Used coffee grounds
Milk powder
Canned coconut cream or coconut milk
Spices, eg turmeric, cinnamon, pepper etc
From the Fridge
Avocado
Citrus fruit, zest and/or juice
Mayonnaise
Greek yoghurt
Eggs
Miscellaneous
Epsom salts
Essential oils
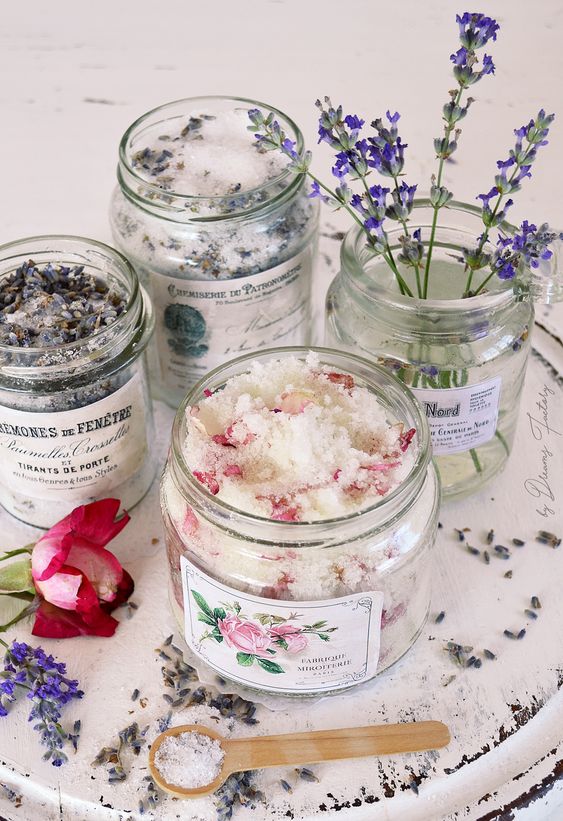
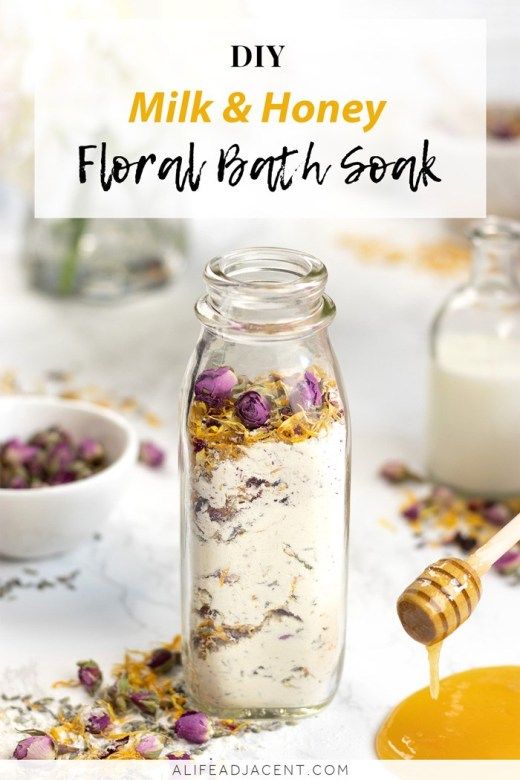
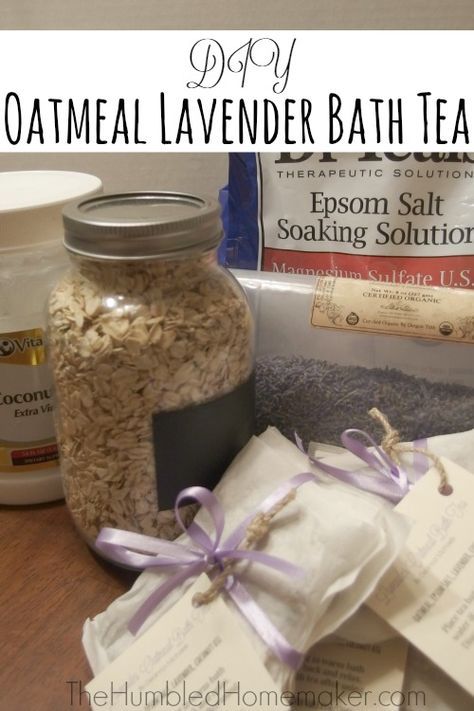
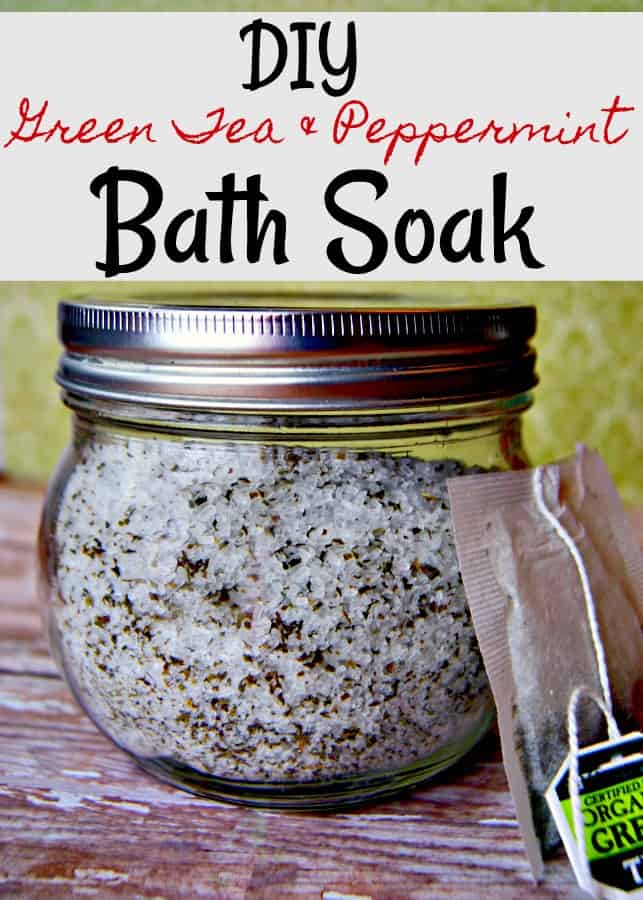
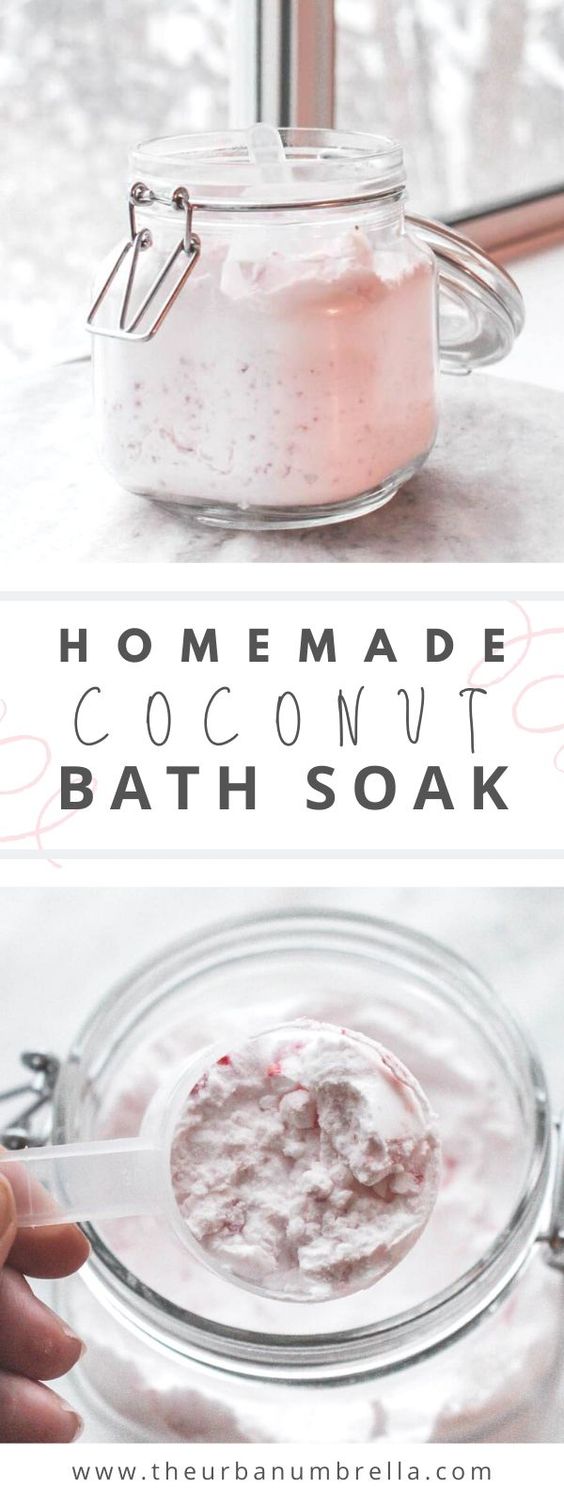
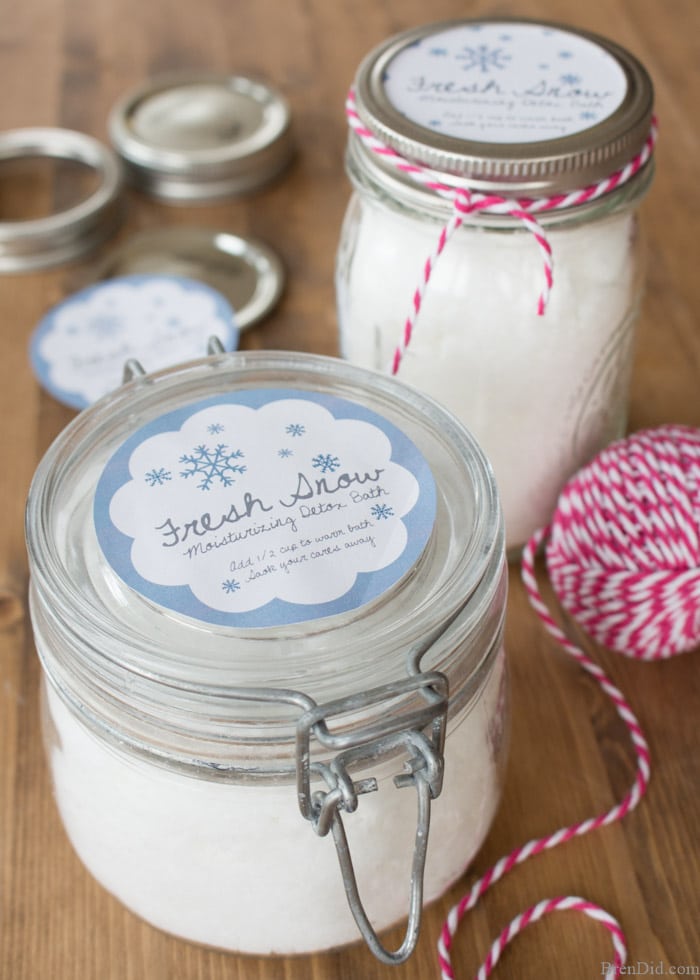
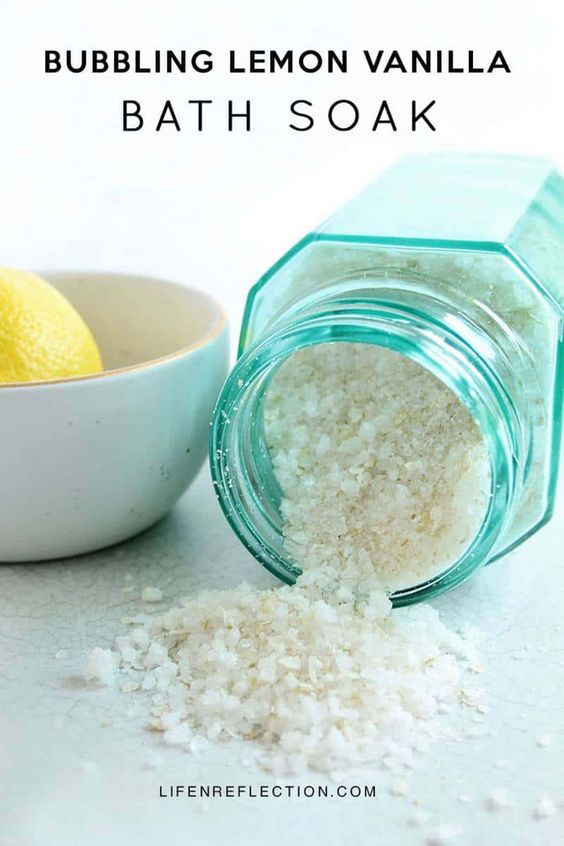
DIY BATH SOAKS
The following are only a limited number of DIY bath soak recipes for your DIY home day spa. Use what you have. You also don’t need anyone to tell you what time of the day you can take a bath. Have a bath when your young children have a sleep or they’ve gone to school.
Did you also know that In a recent study on metabolic diseases or in other terms diseases linked obesity, heat exposure in the form of a hot bath is shown to have the same effect as exercising (Faulkner, S.H. 2017). The study indicates that just one hour spent in a hot bath burns as many calories as a half hour walk. Passive heating decreases inflammation and boosts metabolism exactly like exercising.
We may not have time for a long soak in the bath but an all over body scrub in the shower can leave you feeling refreshed plus exfoliate and replenish your skin. Remember to substitute ingredients with what you have an use your favourite essential oils.
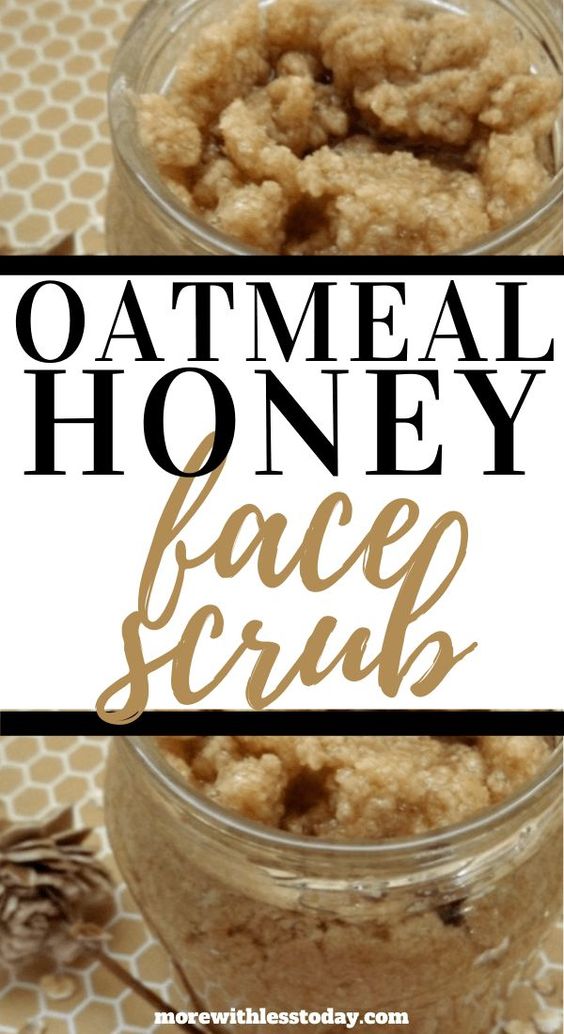
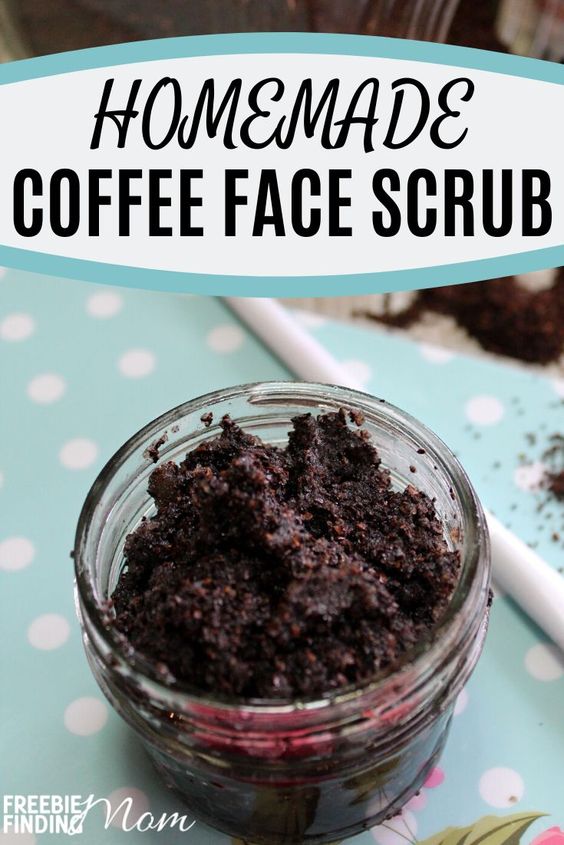
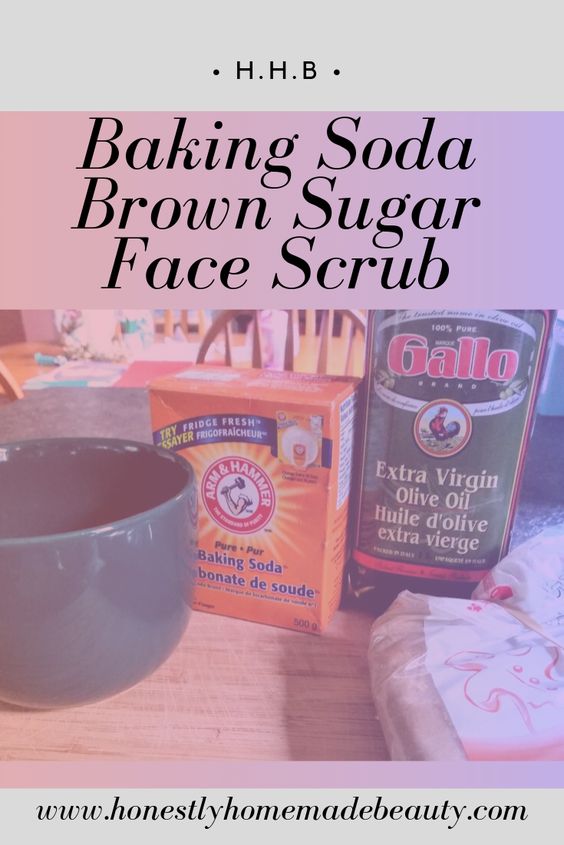
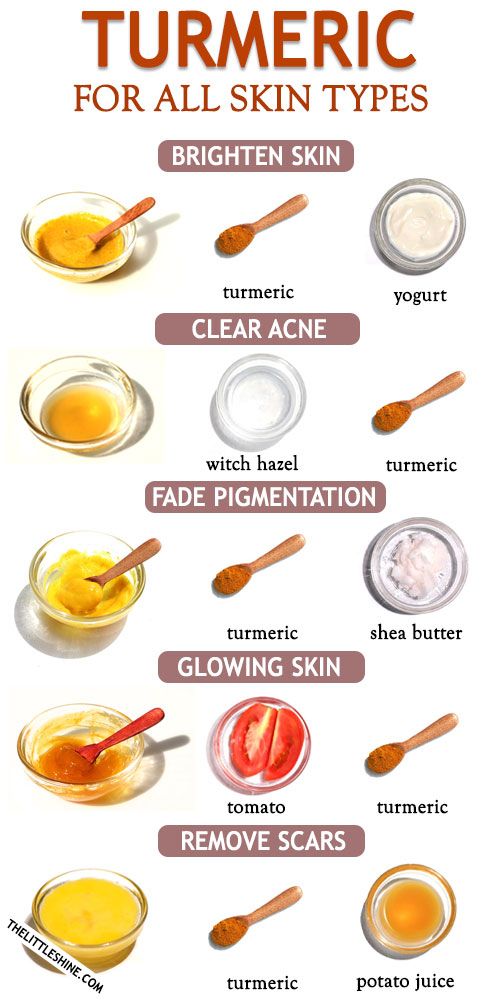
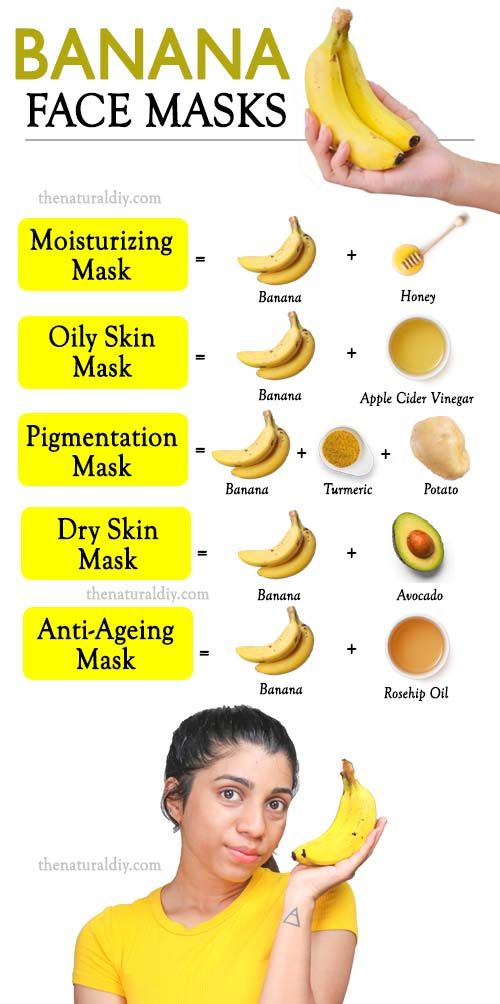
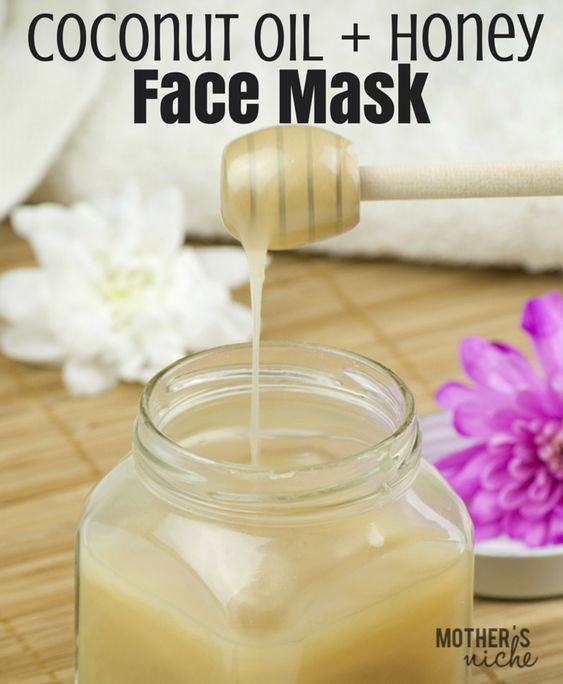
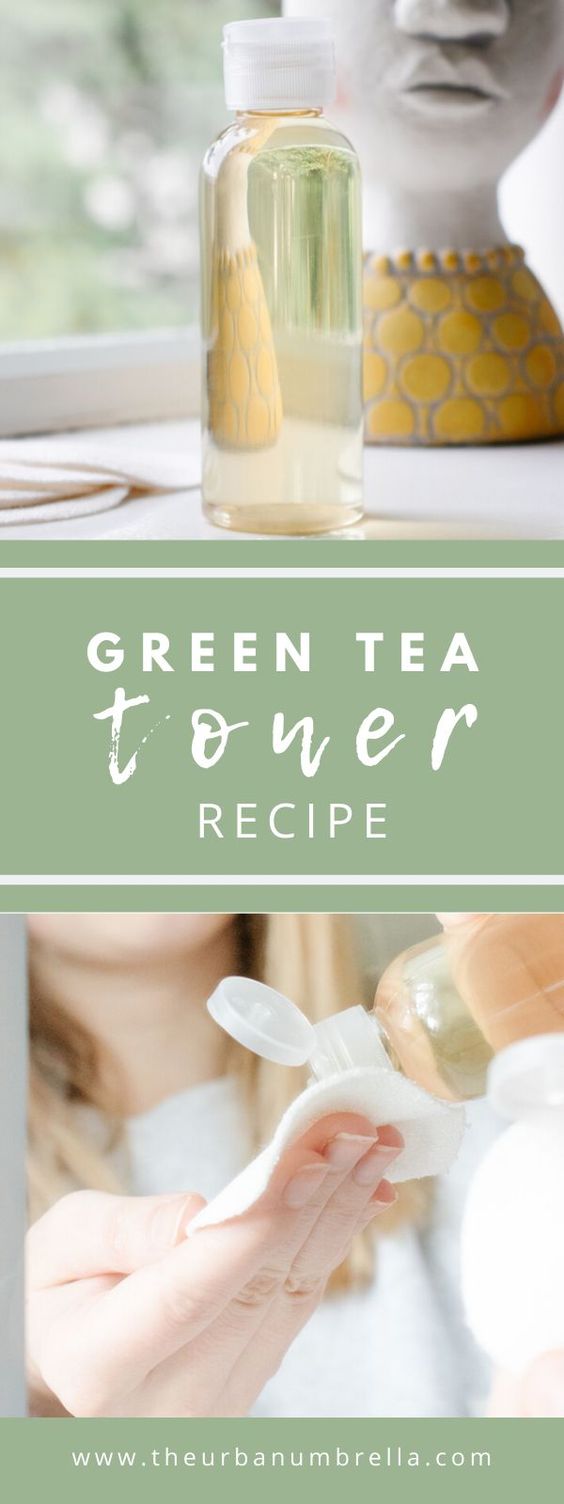
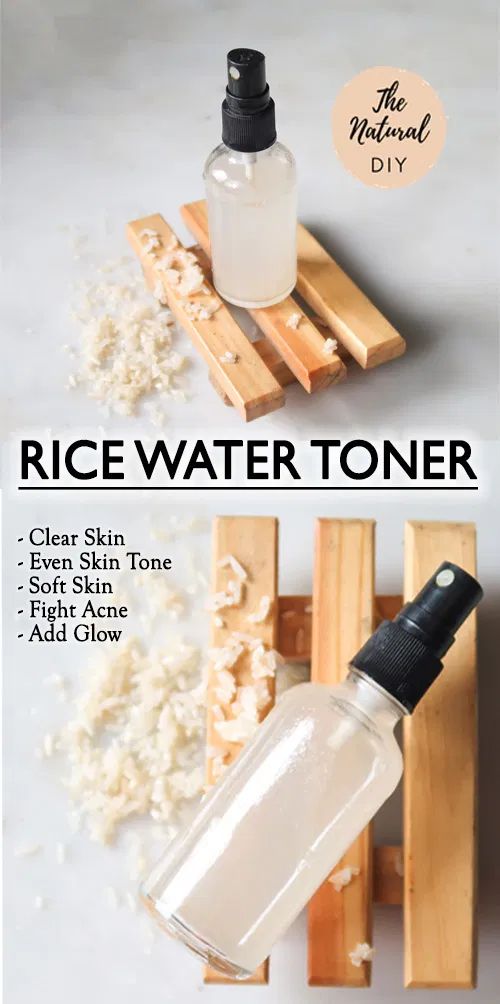
One of the things I used to love going to the day spa for (before children and when I was working full time) was for a full facial. It was so relaxing to have someone else really cleanse my face but I always found the products irritated my skin and left it feeling greasy.
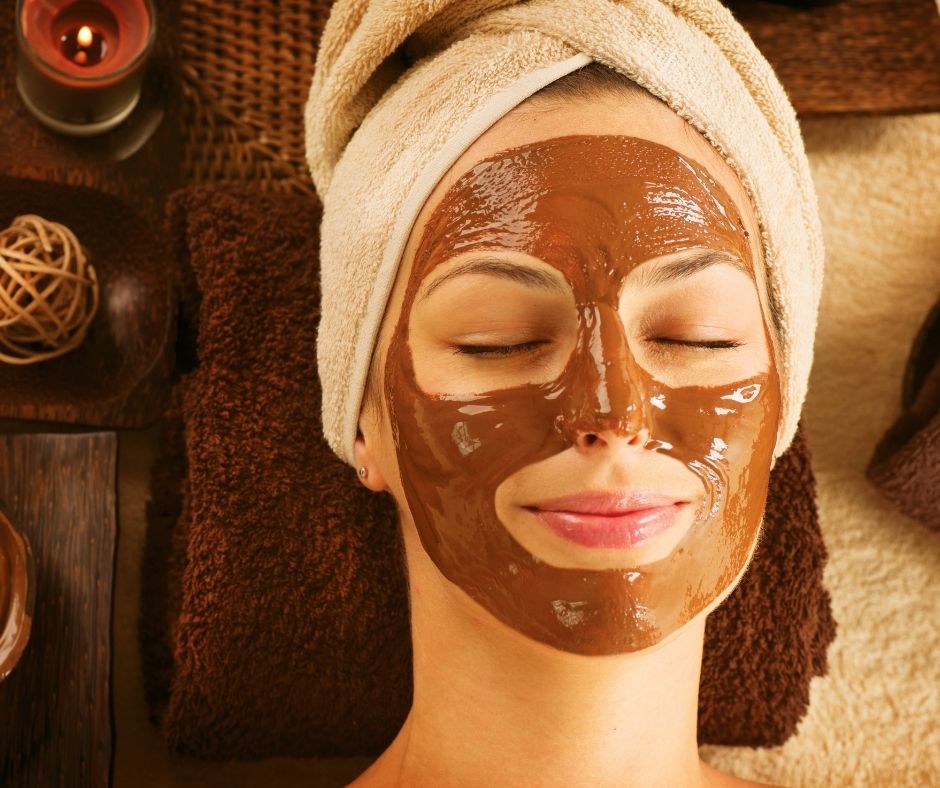
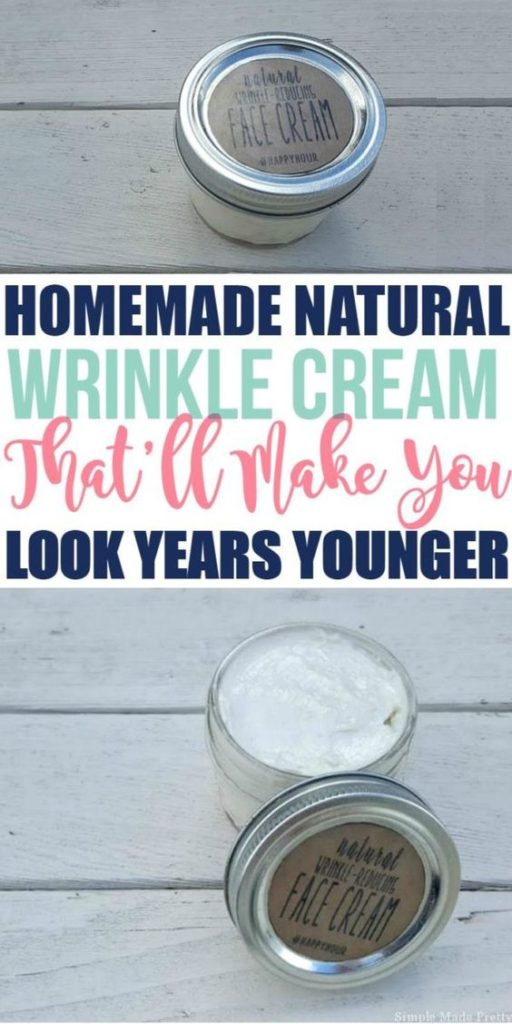
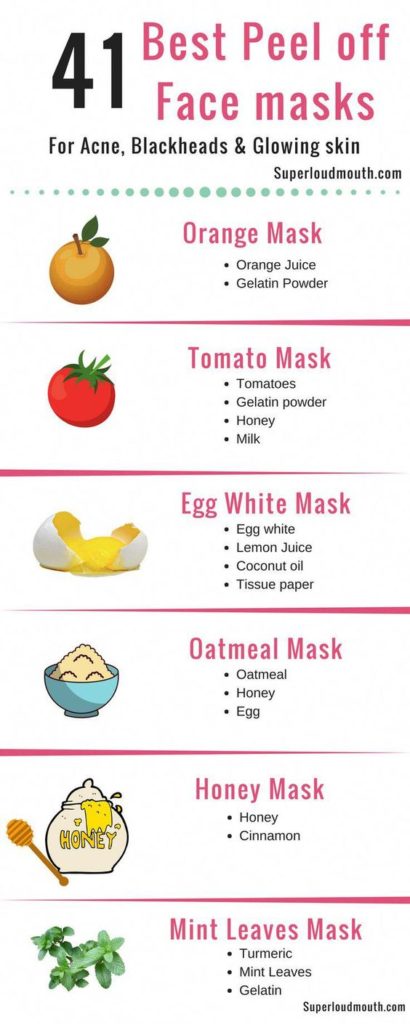
I soon learned to do it easily from home and I can leave on a DIY mask while I have a soak in the bath or while showering. Create that ambience at home while doing a facial with soft music and lighting and put your feet up, have a cup of tea or glass of wine, read a book or meditate.
Whatever you can do to relax to allow the benefits of a facial to do it’s magic, do it. Here are some recipes for a simple DIY facial at home.
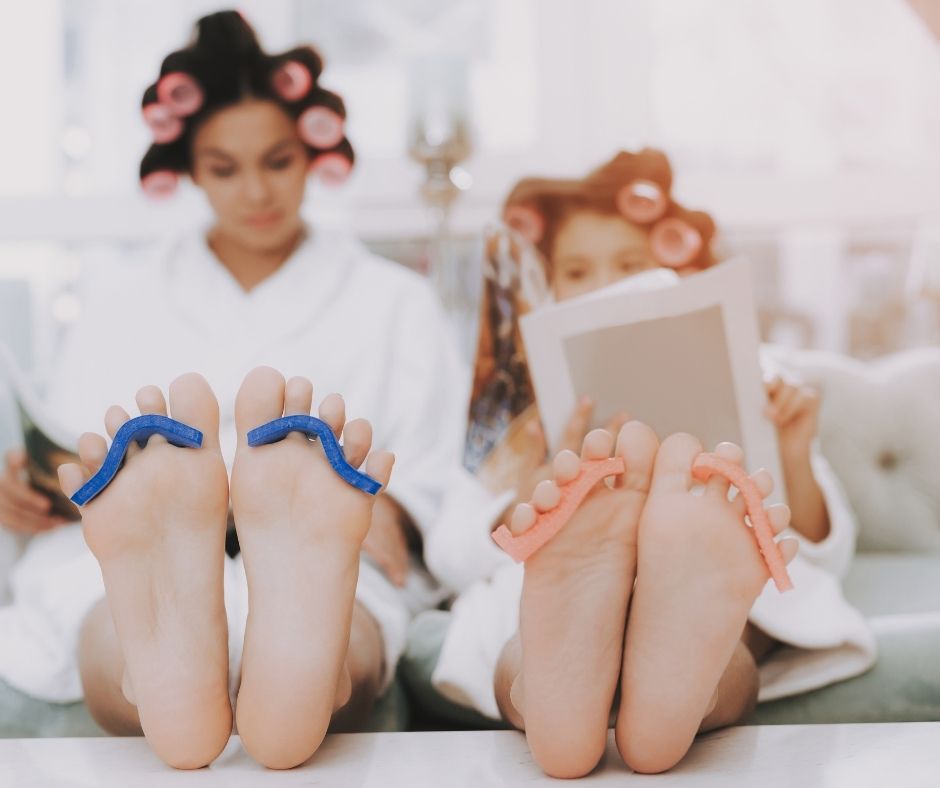
I actually feel sorry for the women (or men) at the day spa that have to work on my feet after a long hibernation. My husband actually bought me a foot spa last Christmas and I intend using it more often. Prior to that, I would use a shallow tub, wide enough to put my feet in.
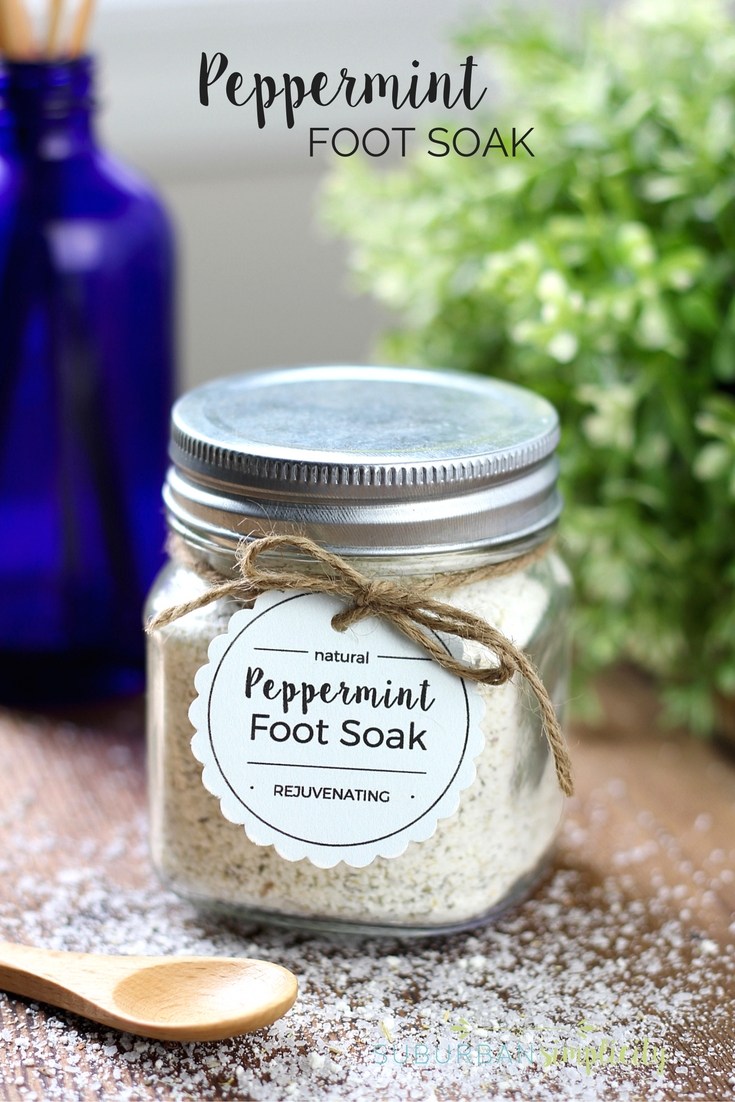
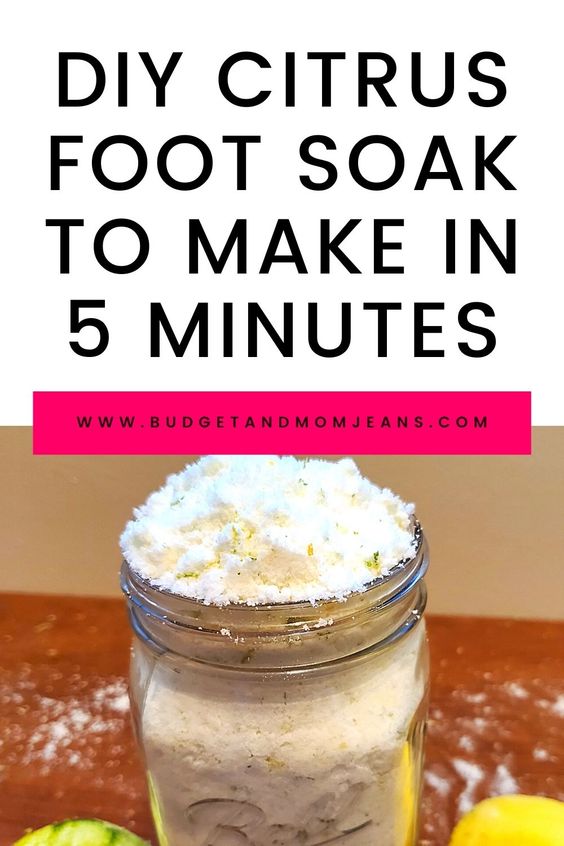
With a few simple ingredients added to warm water, you can give your tired aching feet a long soothing soak after a long day at work, a day in the garden, a day running around after your children or working out or running.
Smooth off the dry skin with a pumice stone, trim your nails and give your toe nails and feet a rub with coconut oil or your nails a lick of nail polish.
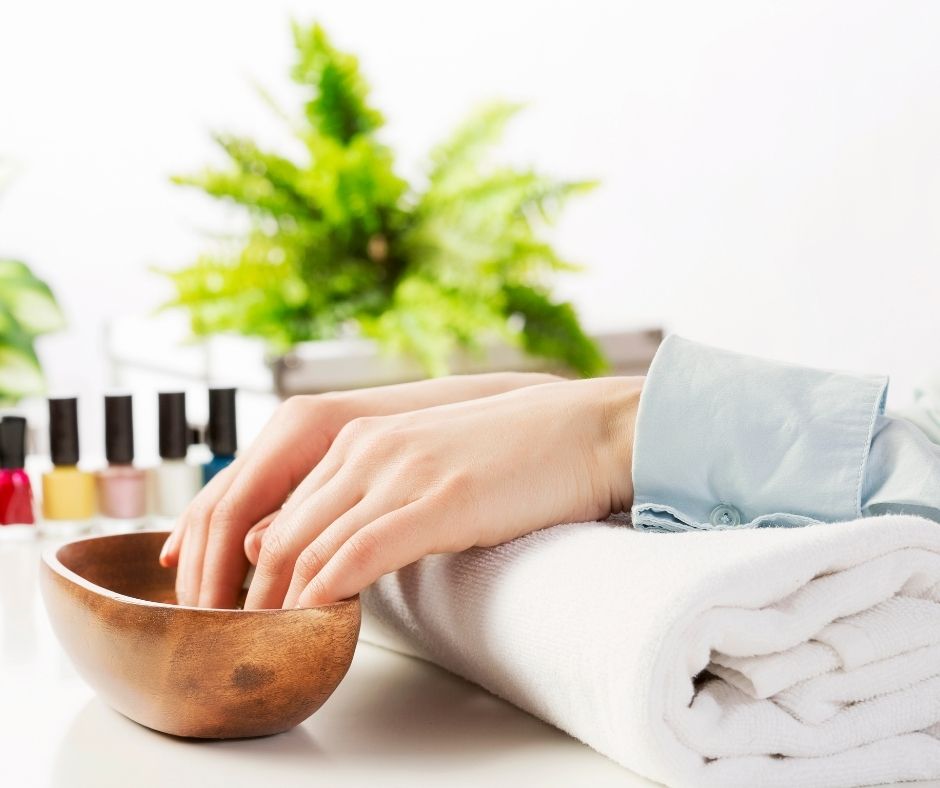
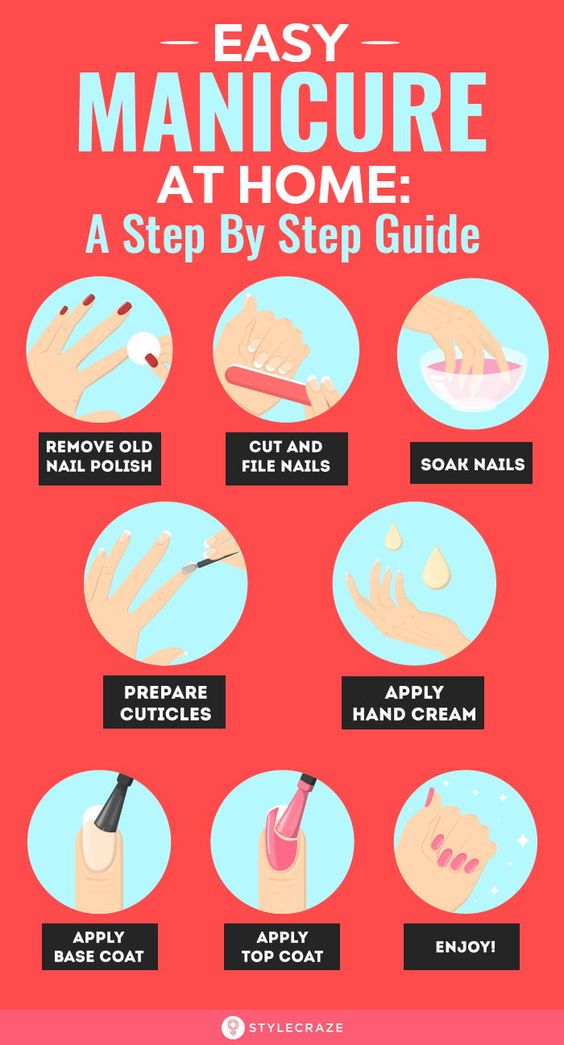
‘I’ve had so many manicures, acrylic nails and gel nails over the years and every time I get them, I soon regret it. They weaken my nails when the nail ‘artists’ buff off the polish or acrylic. I type a lot so don’t like long nails so I’m happy with short, natural nails. I do like to give my hands a good moisturising so sometimes treat myself to a DIY manicure.
Here is a step by step guide to help you.
DIY Manicure at Home
CONCLUSION
Whether you use your favourite brand named products or some of these DIY recipes using common ingredients you can find in your home, treating yourself to time out to rejuvenate, replenish and restore you is what you’re trying to achieve.
Not only are you treating your skin, hair, nails and body to a therapeutic treatment, you are taking time out for yourself. Sometimes you just need a total distraction from the stress in your day and what better way to do than with a DIY day spa day at home.
Make this time really special for yourself by putting on the music, lighting a candle or diffusing essential oils. Treat yourself to a new fluffy towel or hand towel and make the most of the experience.
The other thing is a lot of these products make great gifts for your friends and family. Why not share some of the recipes with them made up into jars with instructions. I’m sure someone you know also needs a reminder to take time out for themselves.
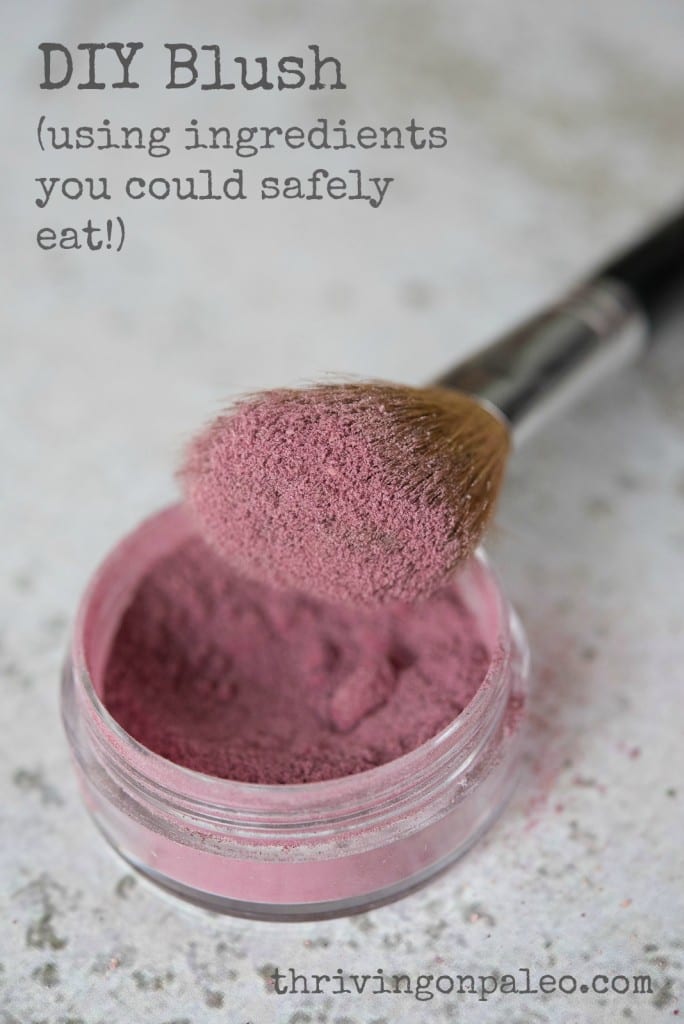
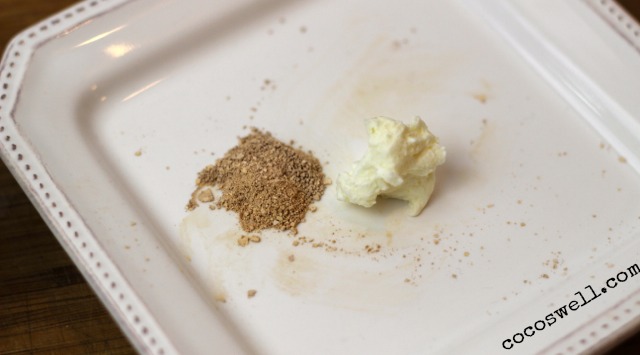
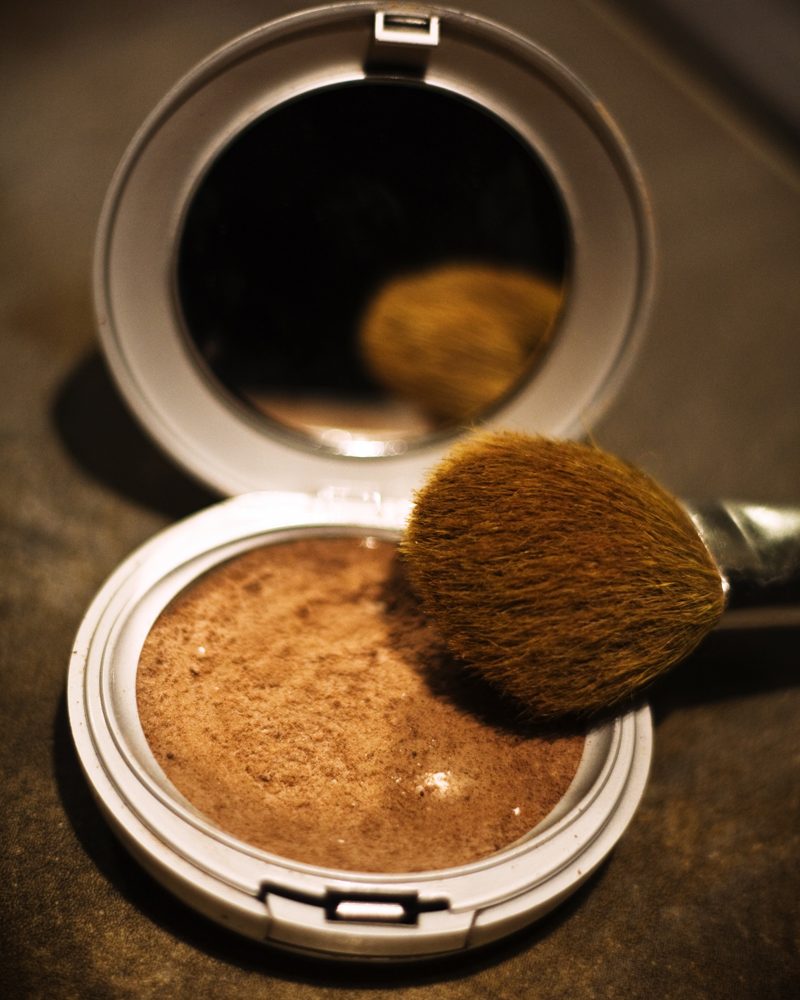
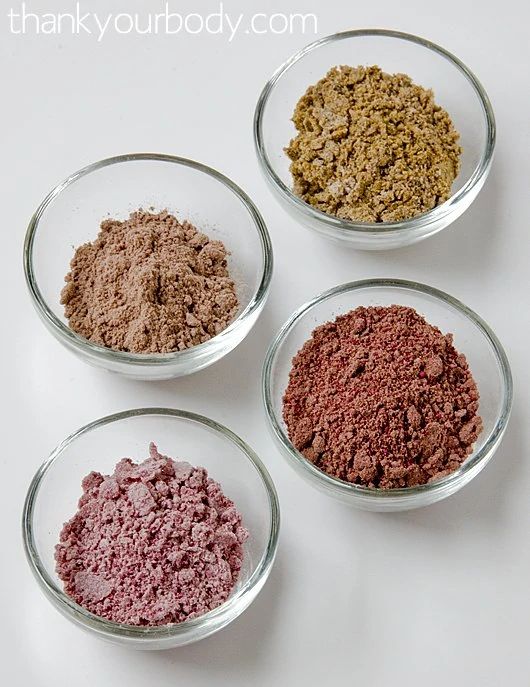
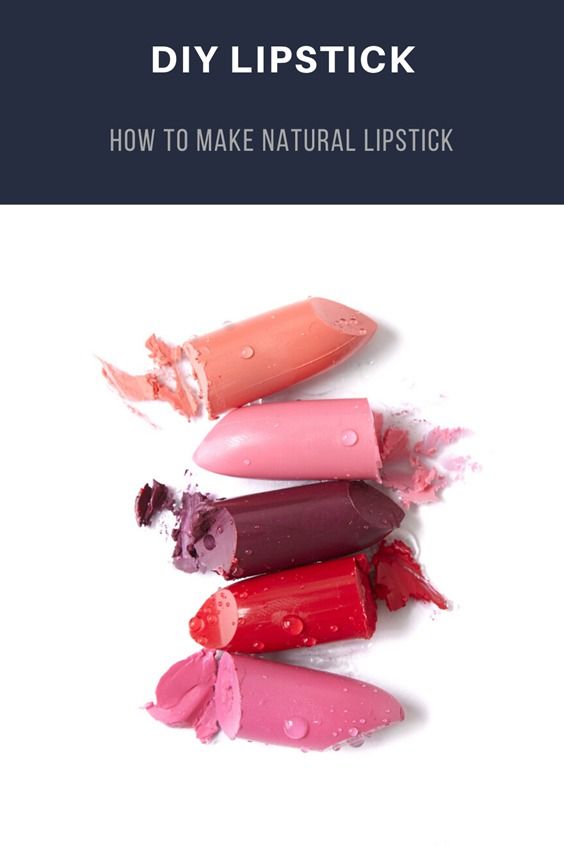
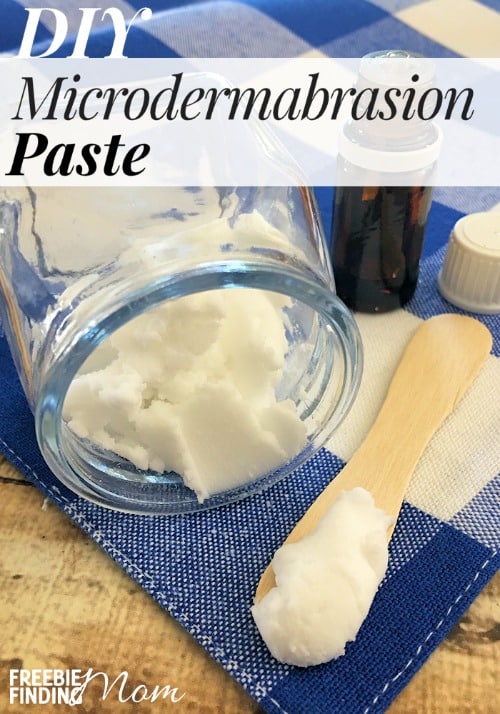
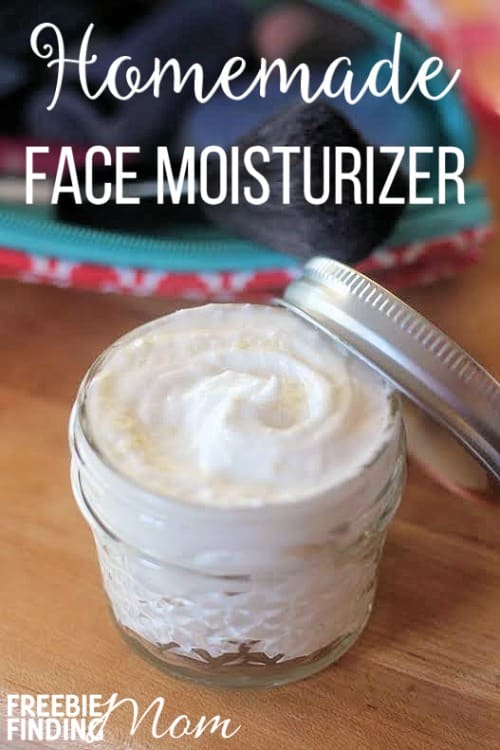
DIY make up. Have you ever tried it? I’ve been using a few DIY products for a while now but wanted to share with you 14+ DIY Make Up and Beauty Treatments you can make at home. They’ll save you a ton of money.
I’ve never really been one to wear a lot of makeup, even in my younger years. I often get comments on my complexion (for someone my age) and I think it comes from not wearing a lot of make up. But if I do, I like to keep what I put on my skin as natural as possible.
The following beauty treatments are just like you pay hundreds of dollars in a beauty spa but can be done easily and safely in your own home with ingredients you probably already have.
There are so many other homemade beauty treatment ideas on the worldwide web, especially if you’re looking for something for a particular skin type. I’m still a big believer in a soft cotton cloth and warm water to clean your face and to moisturise, drink plenty of water. Something I work on every day.