Showing posts with label strawberry. Show all posts

Monday, September 25, 2017

Strawberry Crumble Bars

Can’t get through the new season strawberries quick enough? If your family is the same as mine, as soon as they turn a bit ‘squishy’ they no longer eat them. Don’t throw them away. Use them in baking like these easy Strawberry Crumble Bars.

Strawberry Crumble Bars www.domesblissity.com


This is one of those melt and mix recipes I love so well. No having to worry about creaming butter and sugar together. The base is also the crumble topping so not a lot to this recipe.

Strawberry Crumble Bars www.domesblissity.com

Make a start on the crumble topping and base by mixing all the dry ingredients together then mix in the melted butter.

Strawberry Crumble Bars www.domesblissity.com

Using half the mixture, press into a slice tin and bake for approximately 20 minutes or just starting to go golden brown on top. You don’t want to overcook it at this stage as it will need more baking once the fruit and topping has been added.

Strawberry Crumble Bars www.domesblissity.com

Set aside and prepare the strawberries.

Strawberry Crumble Bars www.domesblissity.com

Cut your strawberries in half or quarters and place in a saucepan with sugar. For 1 cup of strawberries I added 1/2 cup sugar. Slowly cook the strawberries until softened. You don’t want the strawberries to dissolve completely but still have some shape to them.

Strawberry Crumble Bars www.domesblissity.com

Spread across the prepared base.

Strawberry Crumble Bars www.domesblissity.com

Lightly cover the fruit with the remaining mixture, ‘crumbling’ it on top. Press lightly with the top of your hand and bake for a further 10 to 15 minutes or until golden brown on top.

Strawberry Crumble Bars www.domesblissity.com

Allow to cool and slice into squares or bars. Eat as is or drizzle with a simple icing glaze. These bars freeze really well and are perfect for lunch boxes or afternoon tea treats.

Strawberry Crumble Bars www.domesblissity.com

I’m not sure I had many leftover to freeze when I made this batch. The best part about this recipe is that you can use any fruit, fresh or tinned. No need to go and buy strawberries especially for it. Use what’s in season or what might lurking in the fridge. Apples, pears, pineapple, kiwifruit, mangoes, cherries, plums, nectarines, the choice is endless. Suitable to serve warm as a dessert too.

Strawberry Crumble Bars

An easy cookie bar that is a melt and mix recipe and the biscuit mixture acts as the base and the crumble topping. You can substitute the strawberries with any fruit.
Prep Time 20 minutes
Cook Time 40 minutes
Total Time 1 hour
Servings 12
Author Anne Murphy

Ingredients

  • 185 gm 6.1/2 oz butter, melted
  • 1 cup brown sugar
  • 1.1/2 cups plain all purpose flour
  • 1/2 tsp bicarbonate soda
  • 1.1/2 cups rolled oats oatmeal
  • 1/2 cup shredded coconut

Fruit

  • 1 cup strawberries or other fruit
  • 1/2 cup sugar

Instructions

  1. For the biscuit base, melt butter and add brown sugar, stir.
  2. Add other ingredients and combine.
  3. Place half of the mixture into a slice pan, 16x26cm (6″x10″), press down into pan and bake in a 180 deg C (360 deg F) oven for approx 20 minutes or until just golden.
  4. For the fruit, over moderate heat, allow strawberries to soften and sugar to dissolve.
  5. Remove from heat to cool.
  6. Spread cooked strawberries over base.
  7. Crumble remaining biscuit base mixture over the top of the fruit.
  8. Return to oven for approx 10 minutes or until golden on top.
  9. Serve warm with ice cream or cream for dessert or allow to cool and cut into bars.

Recipe Notes

Use any fruit you have, fresh or canned.
Eg apples, pears, pineapple, cherries, plums, nectarines, etc.
For extra flavour, add chopped nuts to the biscuit mixture to match the fruit eg walnuts with cherries or macadamia nuts with pineapple.


Tuesday, January 5, 2016

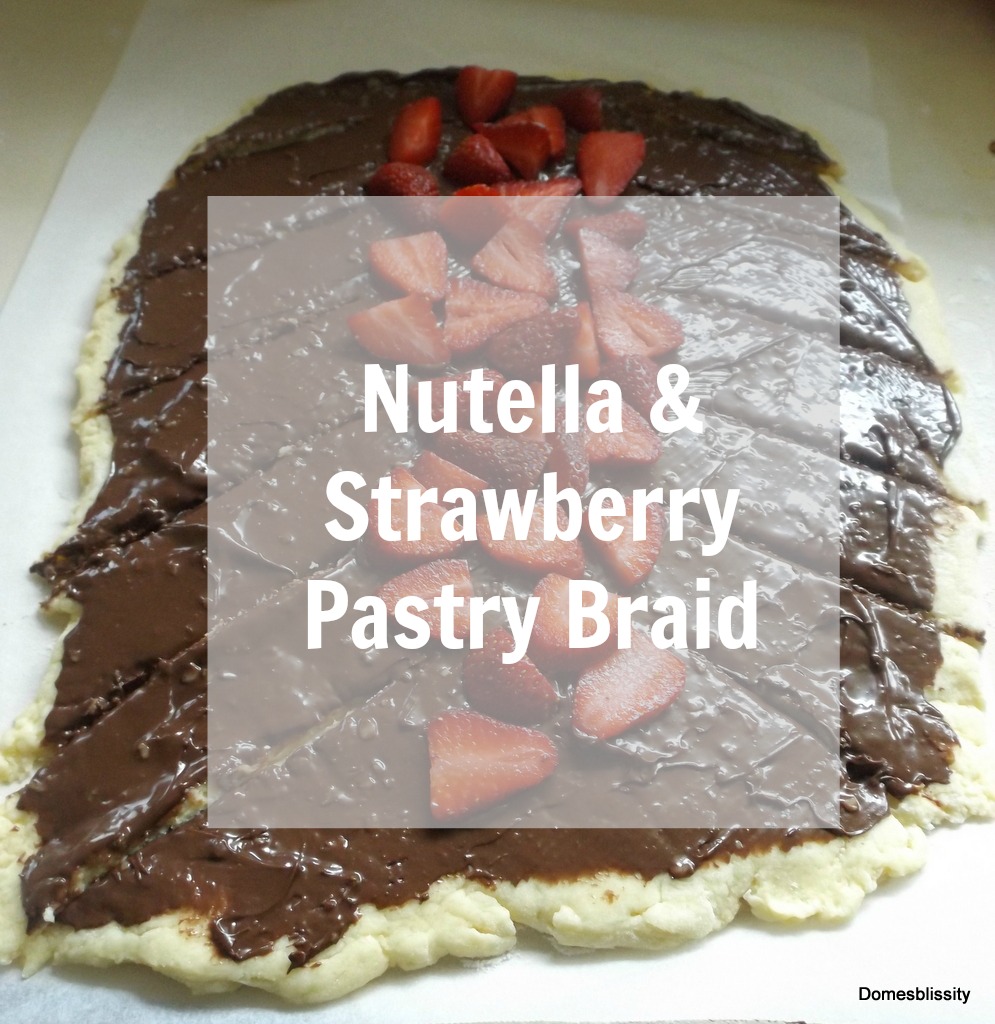
Nutella & Strawberry Pastry Braid

There was a time, towards the end of 2015, when I had so many recipes waiting to be posted. I’d really forgotten just what I had done and what was still waiting to be posted. It was such a hectic (and sad) end to 2015, I had to let many things go and blogging recipes was just one of them. This Nutella & Strawberry Braid was obviously only a couple of months ago with the abundance of fresh strawberries that were around. They’re starting to go up in price again and the quality isn’t that good but, from memory, the strawberries this last season were absolutely gorgeous. (In fact, I think I still have quite a few in the freezer ready for muffins, smoothies and other recipes.)

Nutella & Strawberry Pastry Braid www.domesblissity.com

This recipe is based on my Nanna’s Fruit Plait recipe. I’ve made it before using plums and macadamias and it was delicious. I love how Nanna even drew a diagram of how to ‘plait’ the pastry.

 Nutella & Strawberry Pastry Braid www.domesblissity.com

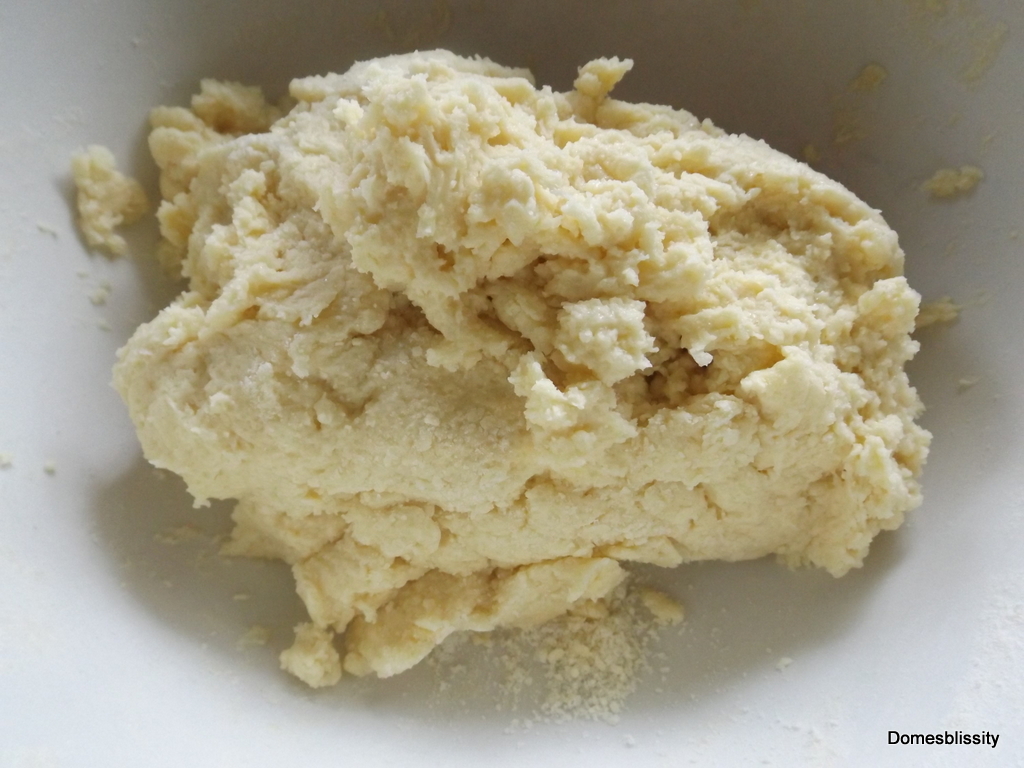
For some people, the thought of making your own pastry can send shivers up your spine but let me tell you this recipe is made in no time with little effort. I don’t own a mixmaster so I make it all by hand. It’s just a matter of ‘rubbing’ butter and flour together until ‘breadcrumbs’ are formed. This really only takes a couple of minutes. I love hands on baking. There’s no better kitchen tool than your own hands and fingers.

Nutella & Strawberry Pastry Braid www.domesblissity.com

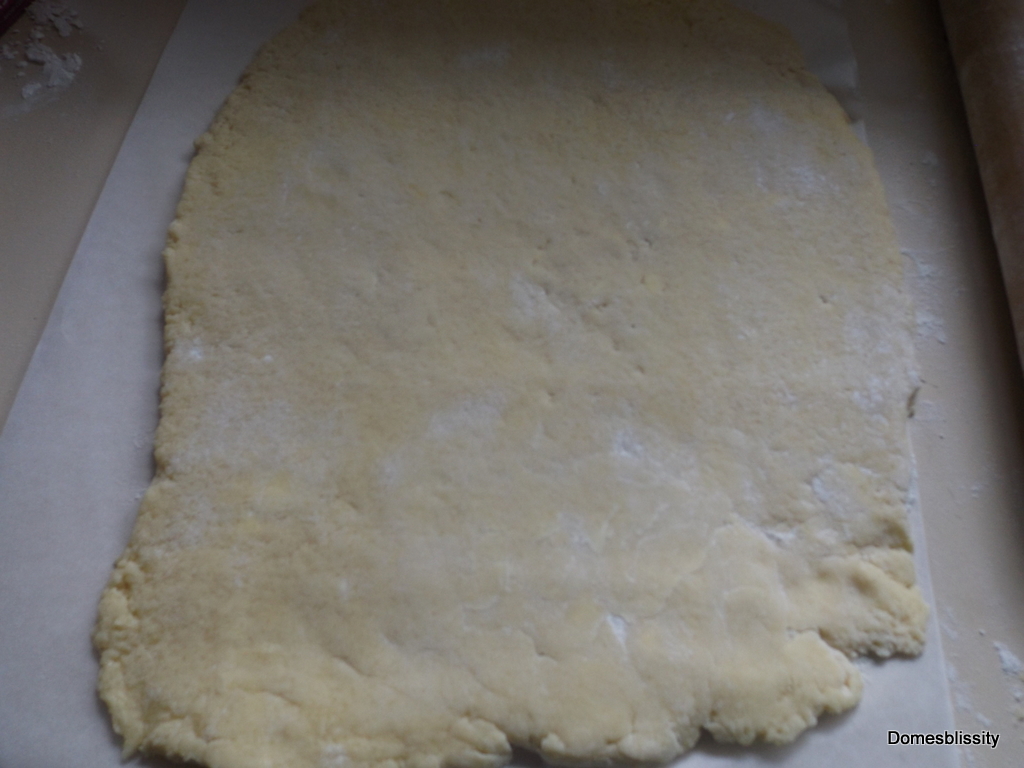
Once mixed, turn the pastry onto a floured surface and roll out into a rectangle shape.

[Tweet “Tip: Roll dough in between two sheets of baking paper. It won’t stick and there’s less clean up.”]

Nutella & Strawberry Pastry Braid www.domesblissity.com

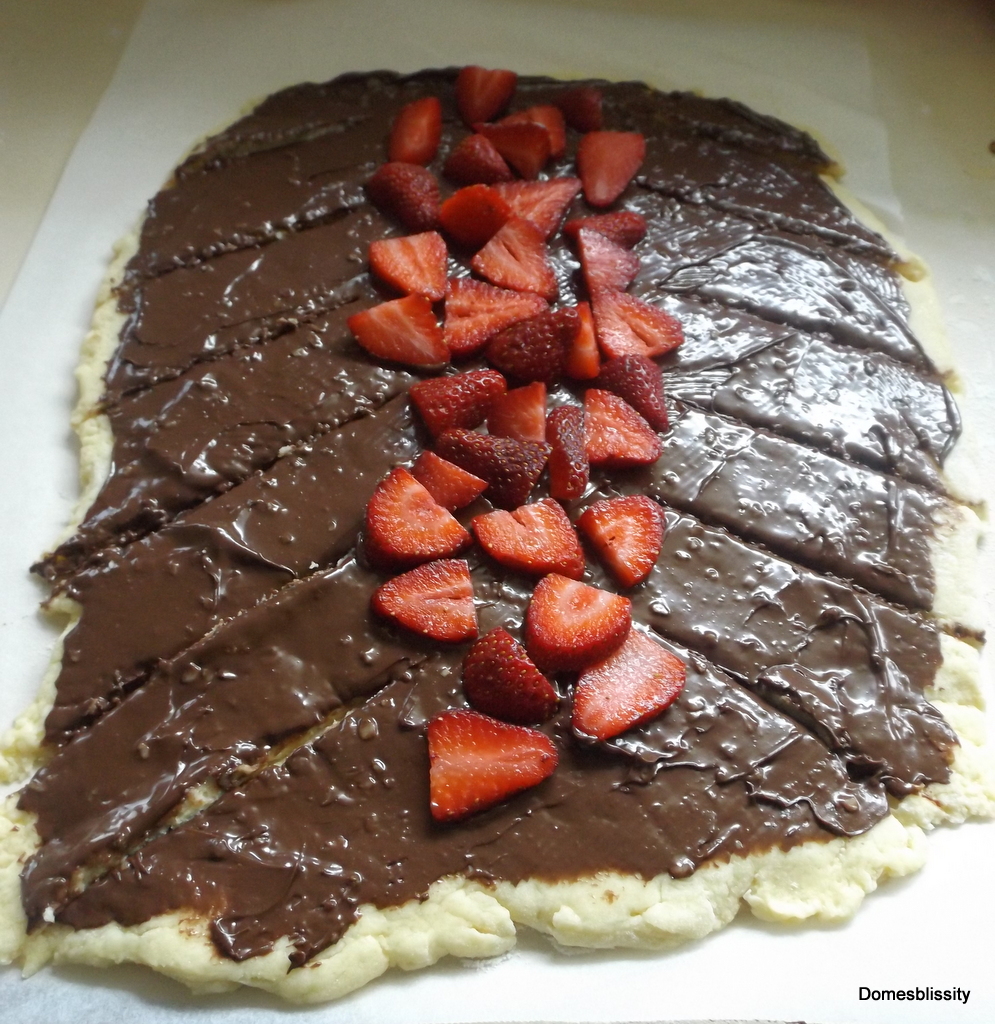
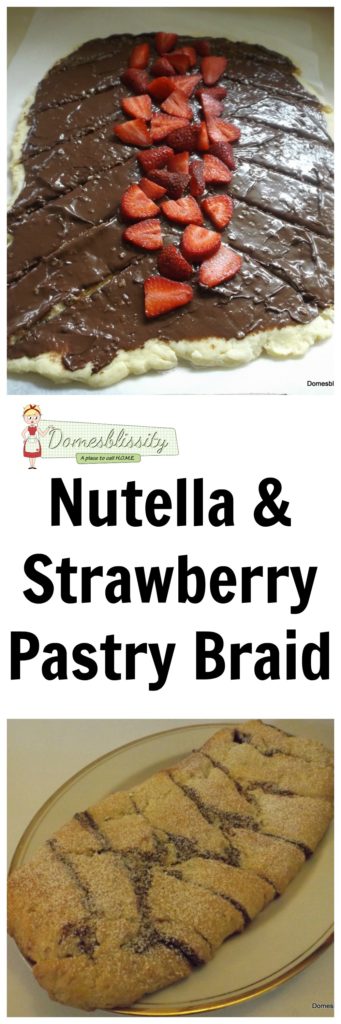
 Spread the surface with your favourite chocolate nut spread. I just happened to have a bit of chocolate and macadamia nut spread left which I mixed with Nutella. Sprinkle the chopped strawberries into the centre of pastry.

Nutella & Strawberry Pastry Braid www.domesblissity.com

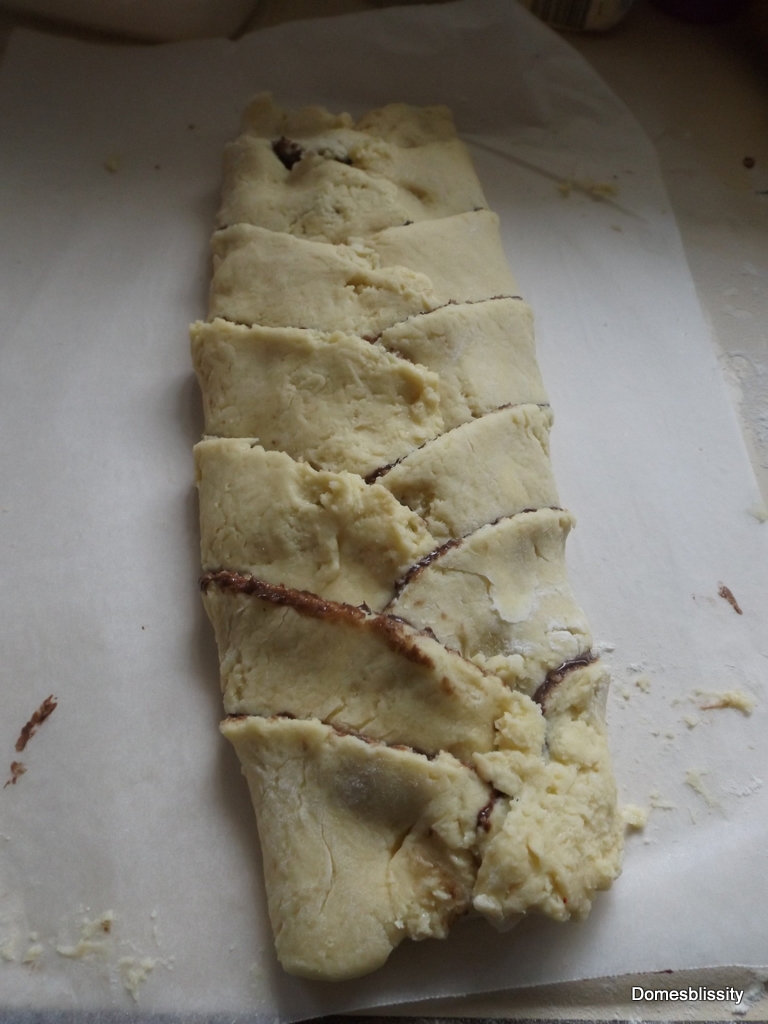
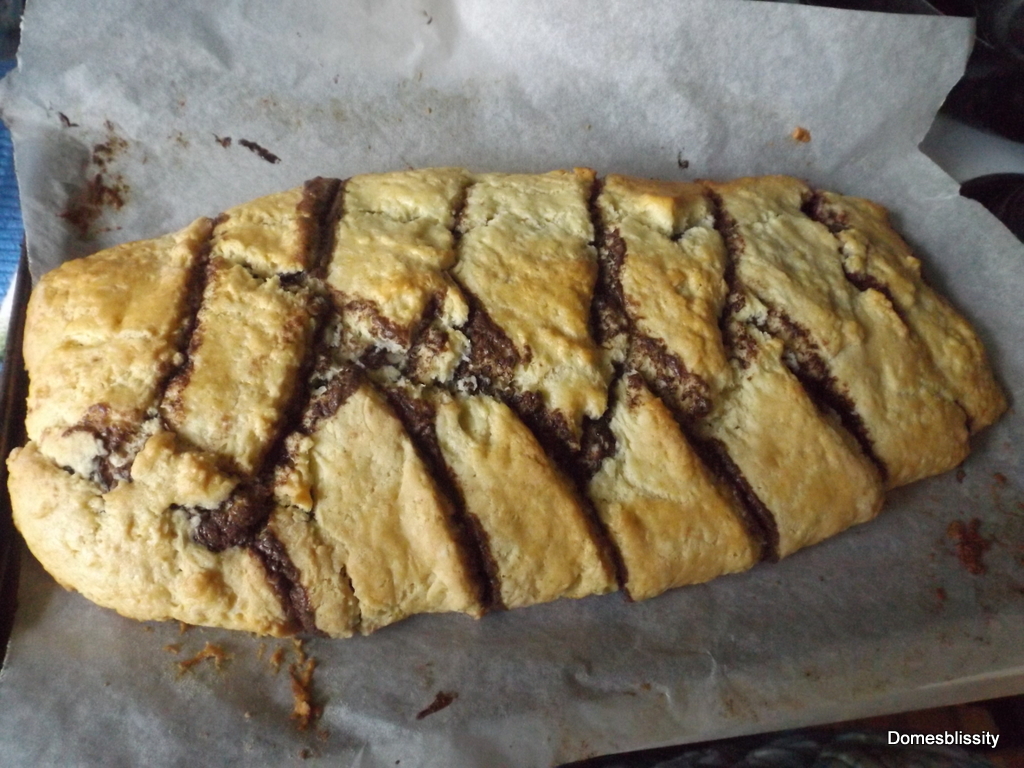
Cut the pastry as per the previous photo and then start ‘plaiting’. Brush with a little egg wash and baking in a moderate oven until golden brown.

Nutella & Strawberry Pastry Braid www.domesblissity.com

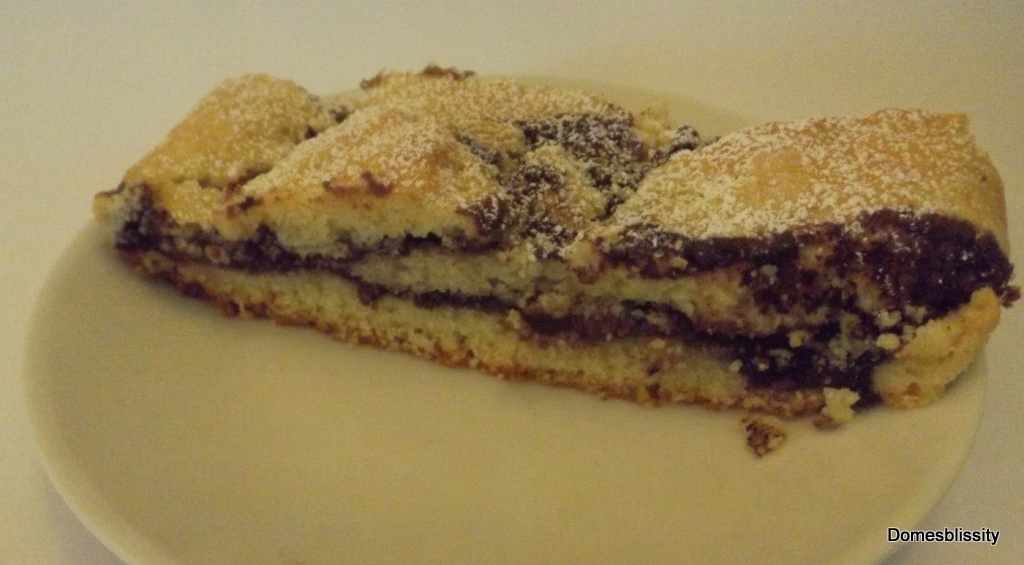
I didn’t drizzle this one with icing and top with nuts as I found the Nutella filling was rich enough. What you get with this pastry braid is a soft but firm pastry filled with delicious ingredients. Bit like in between a cake and a biscuit. So, so good.

Nutella & Strawberry Pastry Braid www.domesblissity.com

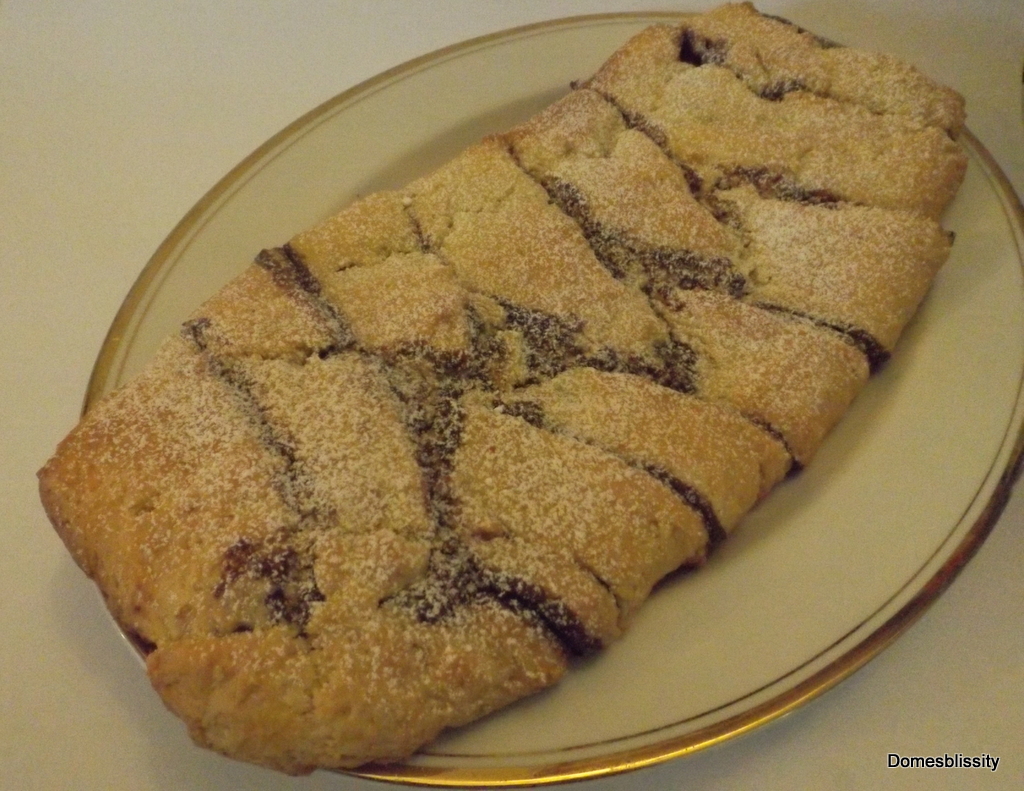
To serve I sprinkled a little icing sugar over it, purely for decorative purposes. It really doesn’t need anymore. If you wanted to serve with a dollop of cream and extra strawberries, who am I to say no?

Nutella & Strawberry Pastry Braid www.domesblissity.com

This is such a good recipe to have in your ‘go to’ pile. It’s made in next to no time and it ‘fancies up’ fruit that is starting to turn bad. You can add chocolate, nuts, dried fruit, other spreads like jam or peanut butter. People might think you’re a French pastry chef when you bring this one out. Hope you give it a try.

Nutella & Strawberry Pastry Braid

A quick and easy pastry recipe, easily made by hand and filled with Nutella and strawberries. Can be made with any kind of fruit or spread.
Prep Time 10 minutes
Cook Time 25 minutes
Servings 8
Author Anne

Ingredients

Pastry

  • 4 oz 125gm butter
  • 11 oz 350gm approx Self Raising flour
  • 4 oz 125gm sugar
  • 1 egg
  • 3/4 cup milk
  • 1/2 cup Nutella or similar chocolate nut spread
  • 1 cup chopped strawberries

Instructions

  1. Sift flour and salt, add butter and rub butter into flour until it resembles fine breadcrumbs.
  2. Add sugar and mix well.
  3. Add beaten egg and milk.
  4. Mix until a firm dough forms. (You may need to add more flour, as I did.)
  5. Knead slightly until pastry is smooth.
  6. Roll out dough on a floured surface to a rectangular shape (approx 20x25cm), trim ends to form rectangle shape.
  7. Spread Nutella all over the pastry and top with strawberries in the centre of the pastry.
  8. Cut strips approx 1.5cm wide on the diagonal on either side of the fruit.
  9. Wrap or 'plait' each strip over the fruit, forming a plait pattern.
  10. Optional: Brush with an egg wash before baking, if desired.
  11. Bake for approx 30 mins in a 180 deg C oven.
  12. Dust with icing sugar to serve.

Recipe Notes

Use any kind of fruit that might be starting to turn.
Use any kind of spread like jams, peanut butters, fruit curds etc.
Top with a drizzle of icing and/or nuts if desired.


Nutella & Strawberry Pastry Braid www.domesblissity.com

Tuesday, August 7, 2012

DIY Strawberry Sundae Ice Cream Cone

If you’ve been to the “Ekka”, Queensland’s agricultural show, you’ll know about the Strawberry Sundae. Tomorrow is the beginning of the great Brisbane tradition, the Royal National Agricultural Show (like the State Fair), what we like to call the “Ekka”. Here’s how you can make you own DIY Strawberry Sundae Ice Cream Cone.

DIY Strawberry Sundae Ice Cream Cone Domesblissity.com

According to the Ekka website:

The first ‘Royal’ Show was held in 1921, when the Association was granted the prefix under warrant from His Majesty King George V. Since then, the shortened name “Ekka” has replaced “Exhibition” in the Queensland vernacular, indicating locals’ affection for the Show. Ekka has since been held every year with only two exceptions. In 1919, Brisbane suffered a Spanish influenza epidemic, and in 1942 during wartime the Showgrounds were used as a staging depot for troops moving north.


I grew up not too far from the showgrounds and we went every year as kids. You could always guarantee August to be windy, warm and dry but cool in the evenings so we’d pop in extra coats and afghan rugs to the cloak room while we walked and walked and walked with Mum and Dad looking at all the exhibits. We’d return to pick up our coats in the evening when we made our way to Machinery Hill for dinner of hot dogs and watch the fireworks before catching the bus home.

source

I particularly loved the fruit and vegetable grower’s displays, the dogs, cakes and other homemade goodies, the ring events like sheep dog trials and evening fireworks, Dagwood dogs, show bags and my most favourite of all, the Strawberry Sundae Ice Cream.

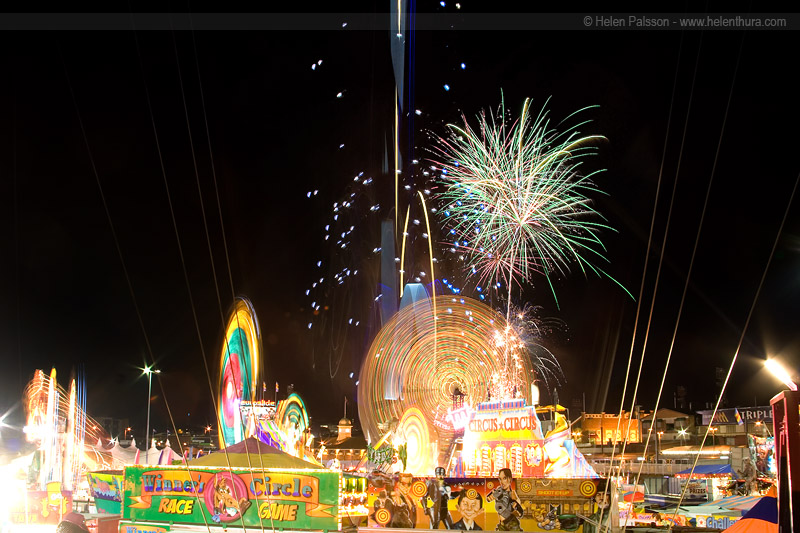
The 2011 EKKA at the RNA showgrounds.

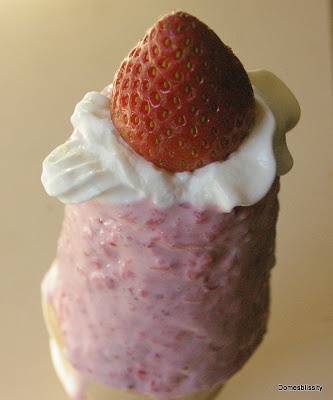
August is the start of strawberry season and what better way to feature them in this simple delight of strawberry flavoured ice cream, a blob of fresh cream, topped with a strawberry and filled with chopped strawberries in the cone. I haven’t been to the Ekka for a few years (I’m lucky my kids don’t know about it and we live a little way out from the showgrounds now) so I couldn’t tell you how much they are but making them this cheat’s way will satisfy that little craving and take you back to the days of your youth, or it did mine.

Ekka (c.1936) – enjoying the spoils. Things never change. Show bags were free in these days and known as ‘sample’ bags.
source


The Ekka in the 1950’s (my vintage was about 20 years later but some show bags were still free in those days. Also notice how everyone is holding hands. One of the worst places to get lost.
source

The Chief Taste Tester’s after school treat. His favourite fruit, he tells me, is strawberries.

DIY Strawberry Sundae Ice Cream Cone

  • quantity of fresh strawberries
  • quantity of vanilla ice cream
  • ice cream cones
  • fresh cream

Chop strawberries using a stick blender or food processor until pureed. (You could pass through a strainer to remove the seeds.)

Mix with softened vanilla ice cream. Place strawberry ice cream into suitable moulds to fit cones. (I used a small plastic cup.)


Return to freezer until firm.

Fill the ice cream cone with fresh strawberries.

Remove the ice cream from its mould.

Top ice cream with fresh cream and another fresh strawberry.

source

Maybe if I was more financial and had money to burn, I would take my kids. What’s not to love about the thrill of a machine giving you whiplash (a ride), some shonky “carni” (sideshow alley operator) taking your $5 to throw a couple ping pong balls down a clown’s throat to win a 10 cent stuffed toy that’s bound for the rubbish bin, the crowds, more chances of picking up colds and flus and the kids wanting to spend dollars and dollars on show bags and not wanting to see one thing that you’re interested in. I think I might go and leave them at home!

Brisbane RNA Show (the “Ekka“)

DIY Strawberry Sundae Ice Cream Cone (Just like the "Ekka") Domesblissity.com

Tuesday, July 26, 2011

Crunchy Almond Topped Strawberry & Apple Crumble

We were down to about 6 strawberries in the punnet that were starting to soften and 1 green apple in the fridge. I wasn’t sure if I’d use the strawberries in muffins or a cake but it was going to be a cool night so what better way than to use them up in a crumble. I didn’t peel the apple because I just loved the look of the red strawberries with the green of the Granny Smith apple but once cooked the apple skin fades, but it doesn’t alter the taste. I made the crunchy topping more like granola and it was really scrummy. Another good one for a cold night. (Note, what we call a ‘crumble’ here in Australia is called a ‘crisp’ in the USA.)

Crunchy Almond topped Strawberry & Apple Crumble

strawberries, cut in half
apples, diced in chunks
2 tbs lemon juice

Granola topping:
1 cup oats
1/2 cup brown sugar
1/2 cup almonds, chopped finely
1/2 cup shredded coconut
2 tbs butter, melted

  1. Combine fruit with lemon juice and put in an ovenproof dish.
  2. Combine ingredients for topping and place on top of fruit.
  3. Bake in a 180 deg C oven until fruit has softened and topping is golden (approx 15 mins).
  4. Serve with ice cream or cream.

Note: absolutely any fruit could be used here and any nut in the topping.