Showing posts with label cushion. Show all posts

Friday, September 21, 2018

How to make your own custom pet photo print cushion

I get an idea for a gift and start Googling. When I see the prices on some of these things, I always say “I can make that for cheaper” so usually do. You can really make anything you find to buy online. This post is about how to make your own custom pet photo print cushion.
How to make your own pet photo cushion www.domesblissity.com

What prompted me to make this was it was Father’s Day a couple weeks ago and I wanted to give my husband something a little bit unique for Father’s Day. He’s not the father of my children and we both don’t have fathers alive anymore but he was the ‘Dad’ to our 2 fur babies.

We lost our dear little girl Bonnie a couple of months ago after 17.5 years of age. She bought so much joy to my life and my husband’s life when he moved in with us. She really took to him as well and they both adored each other.
How to make a pet photo print cushion www.domesblissity.com

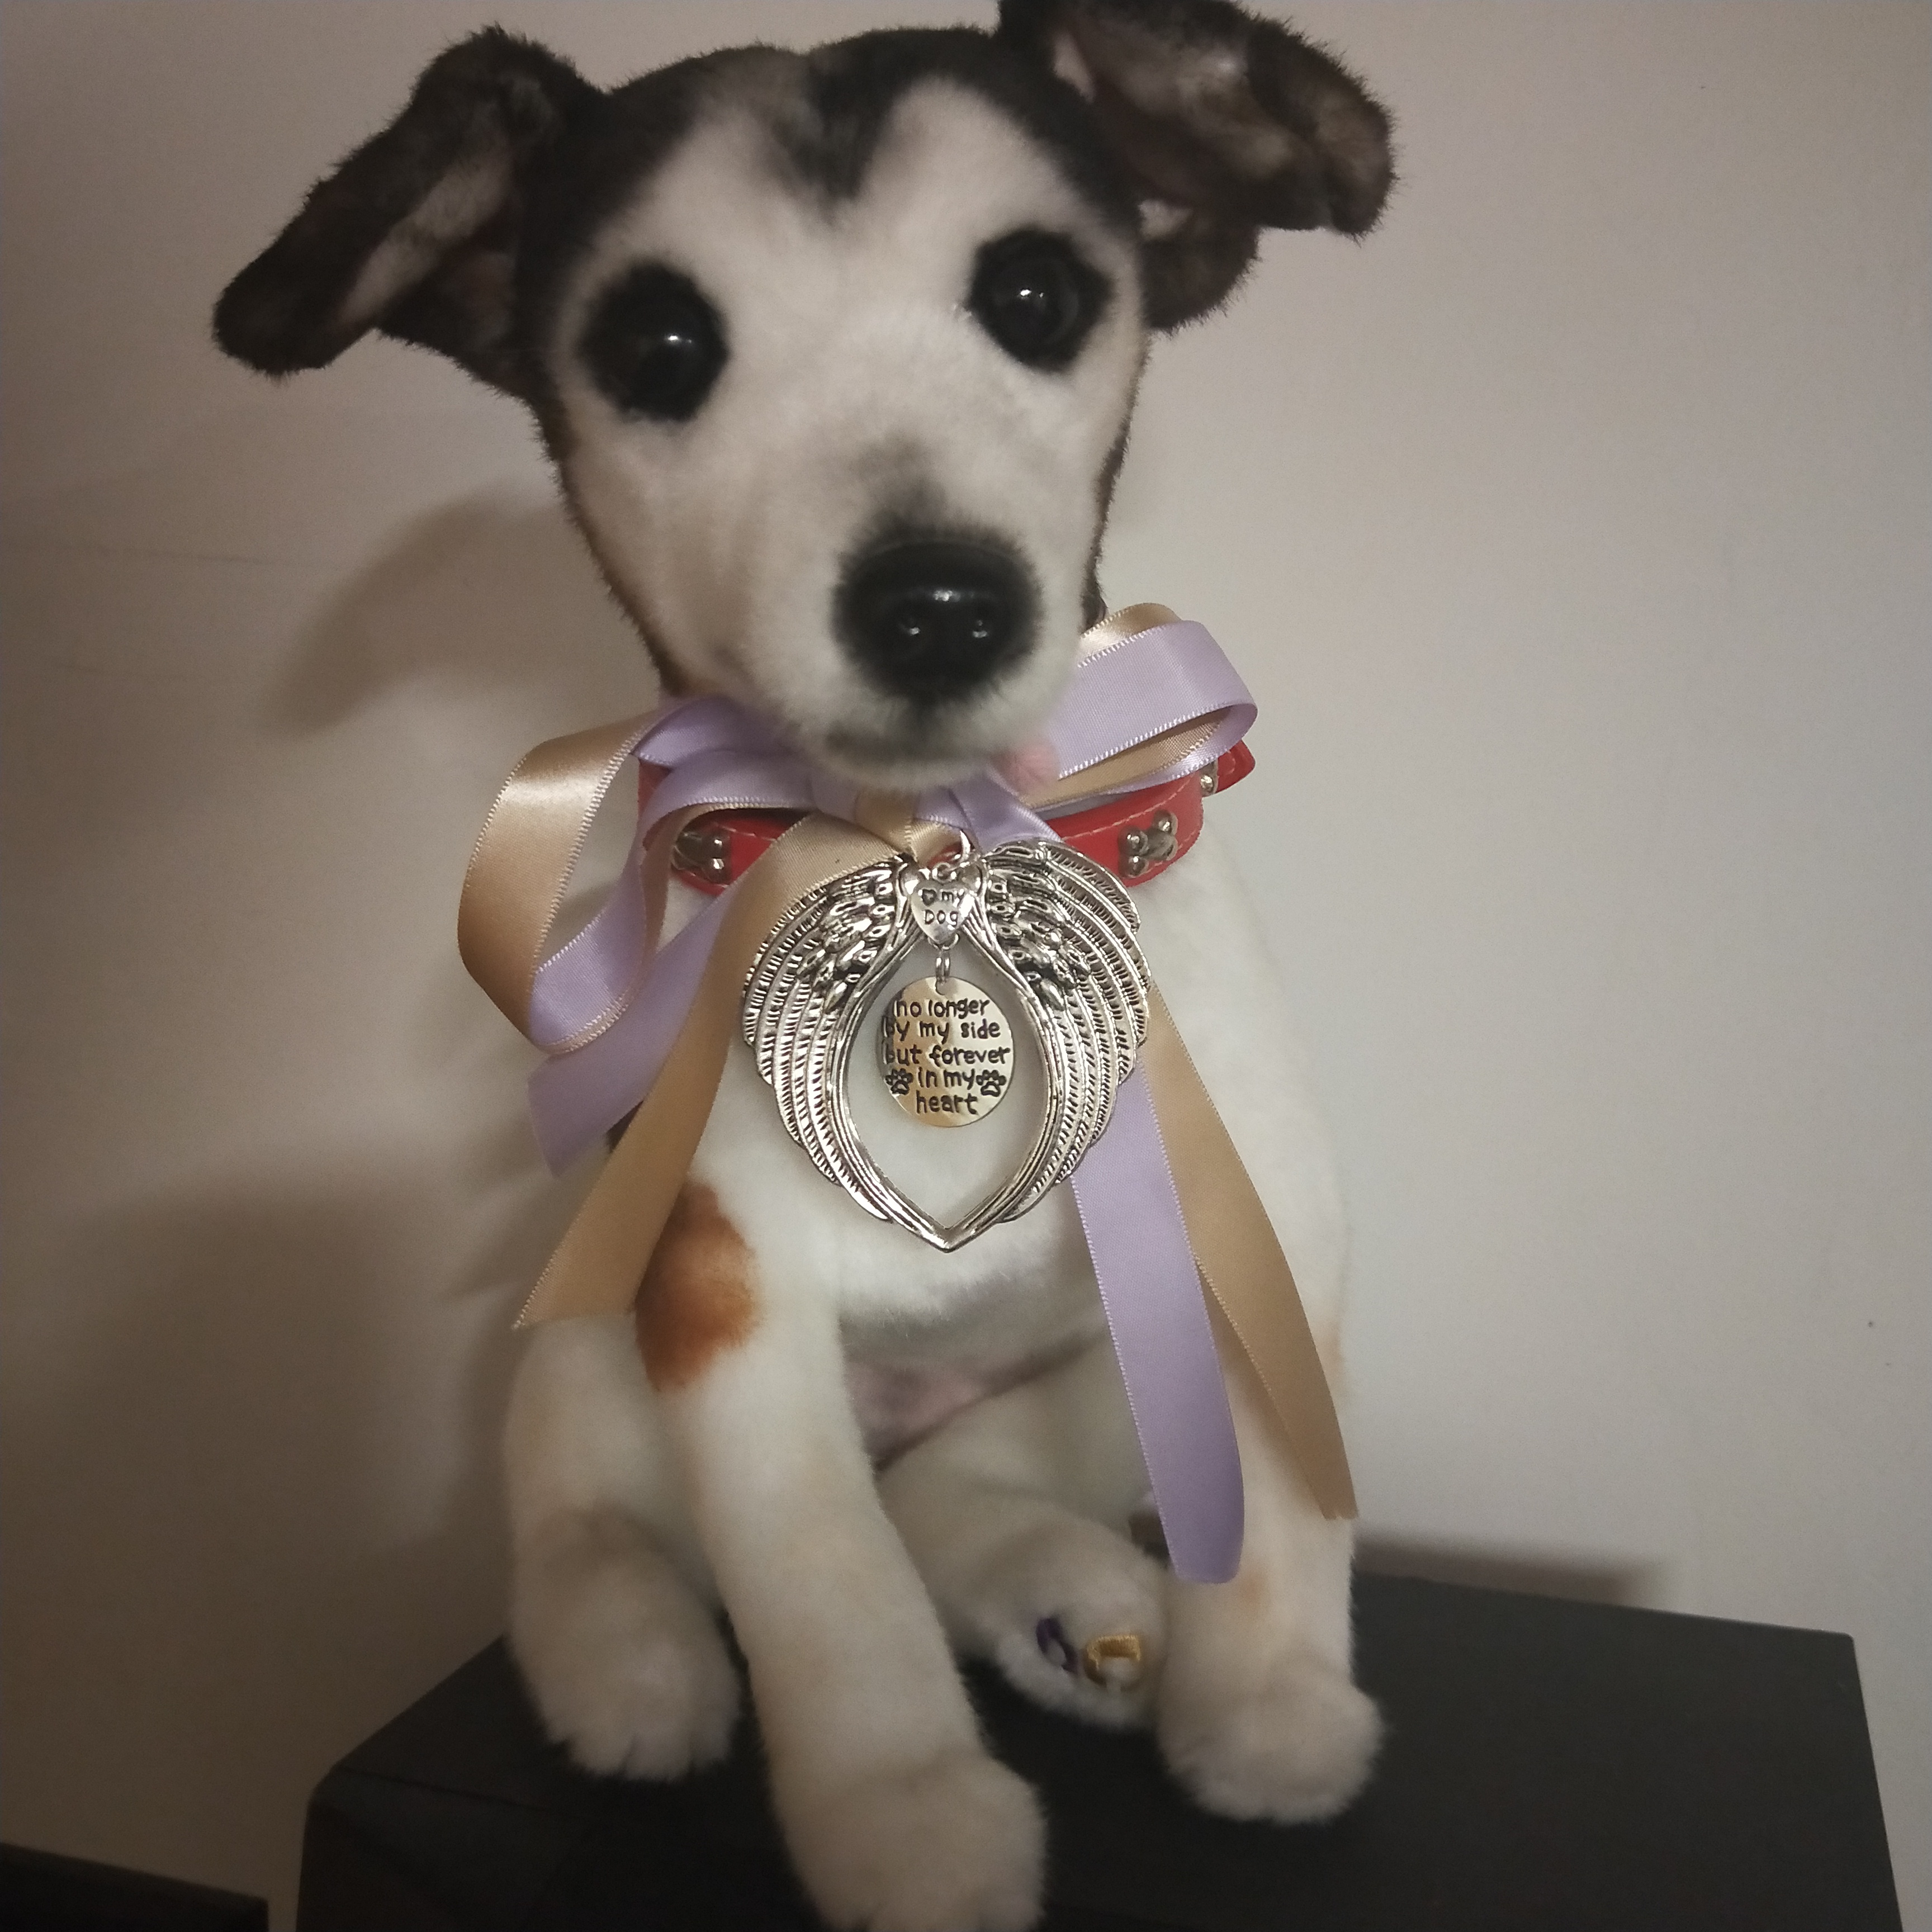
For Christmas last year I bought him a clone of our dear girl from an American company called Cuddle Clones. (If you’d like to order your own Cuddle Clone for any pet, use the code DOMESBLISSITY for 10% off the purchase price). *Affiliate link

They really did a fantastic job recreating an exact likeness of her. I wasn’t going to attempt to recreate this one. My husband was over the moon with this gift so I knew he’d appreciate a gift with her image on it in some way.

What You’ll Need

  • Electronic image of your pet
  • Cotton fabric to print your image
  • Tshirt transfer paper
  • Scissors
  • Cotton for sewing
  • Cushion stuffing

How to Make

How to make a pet photo print cushion www.domesblissity.com

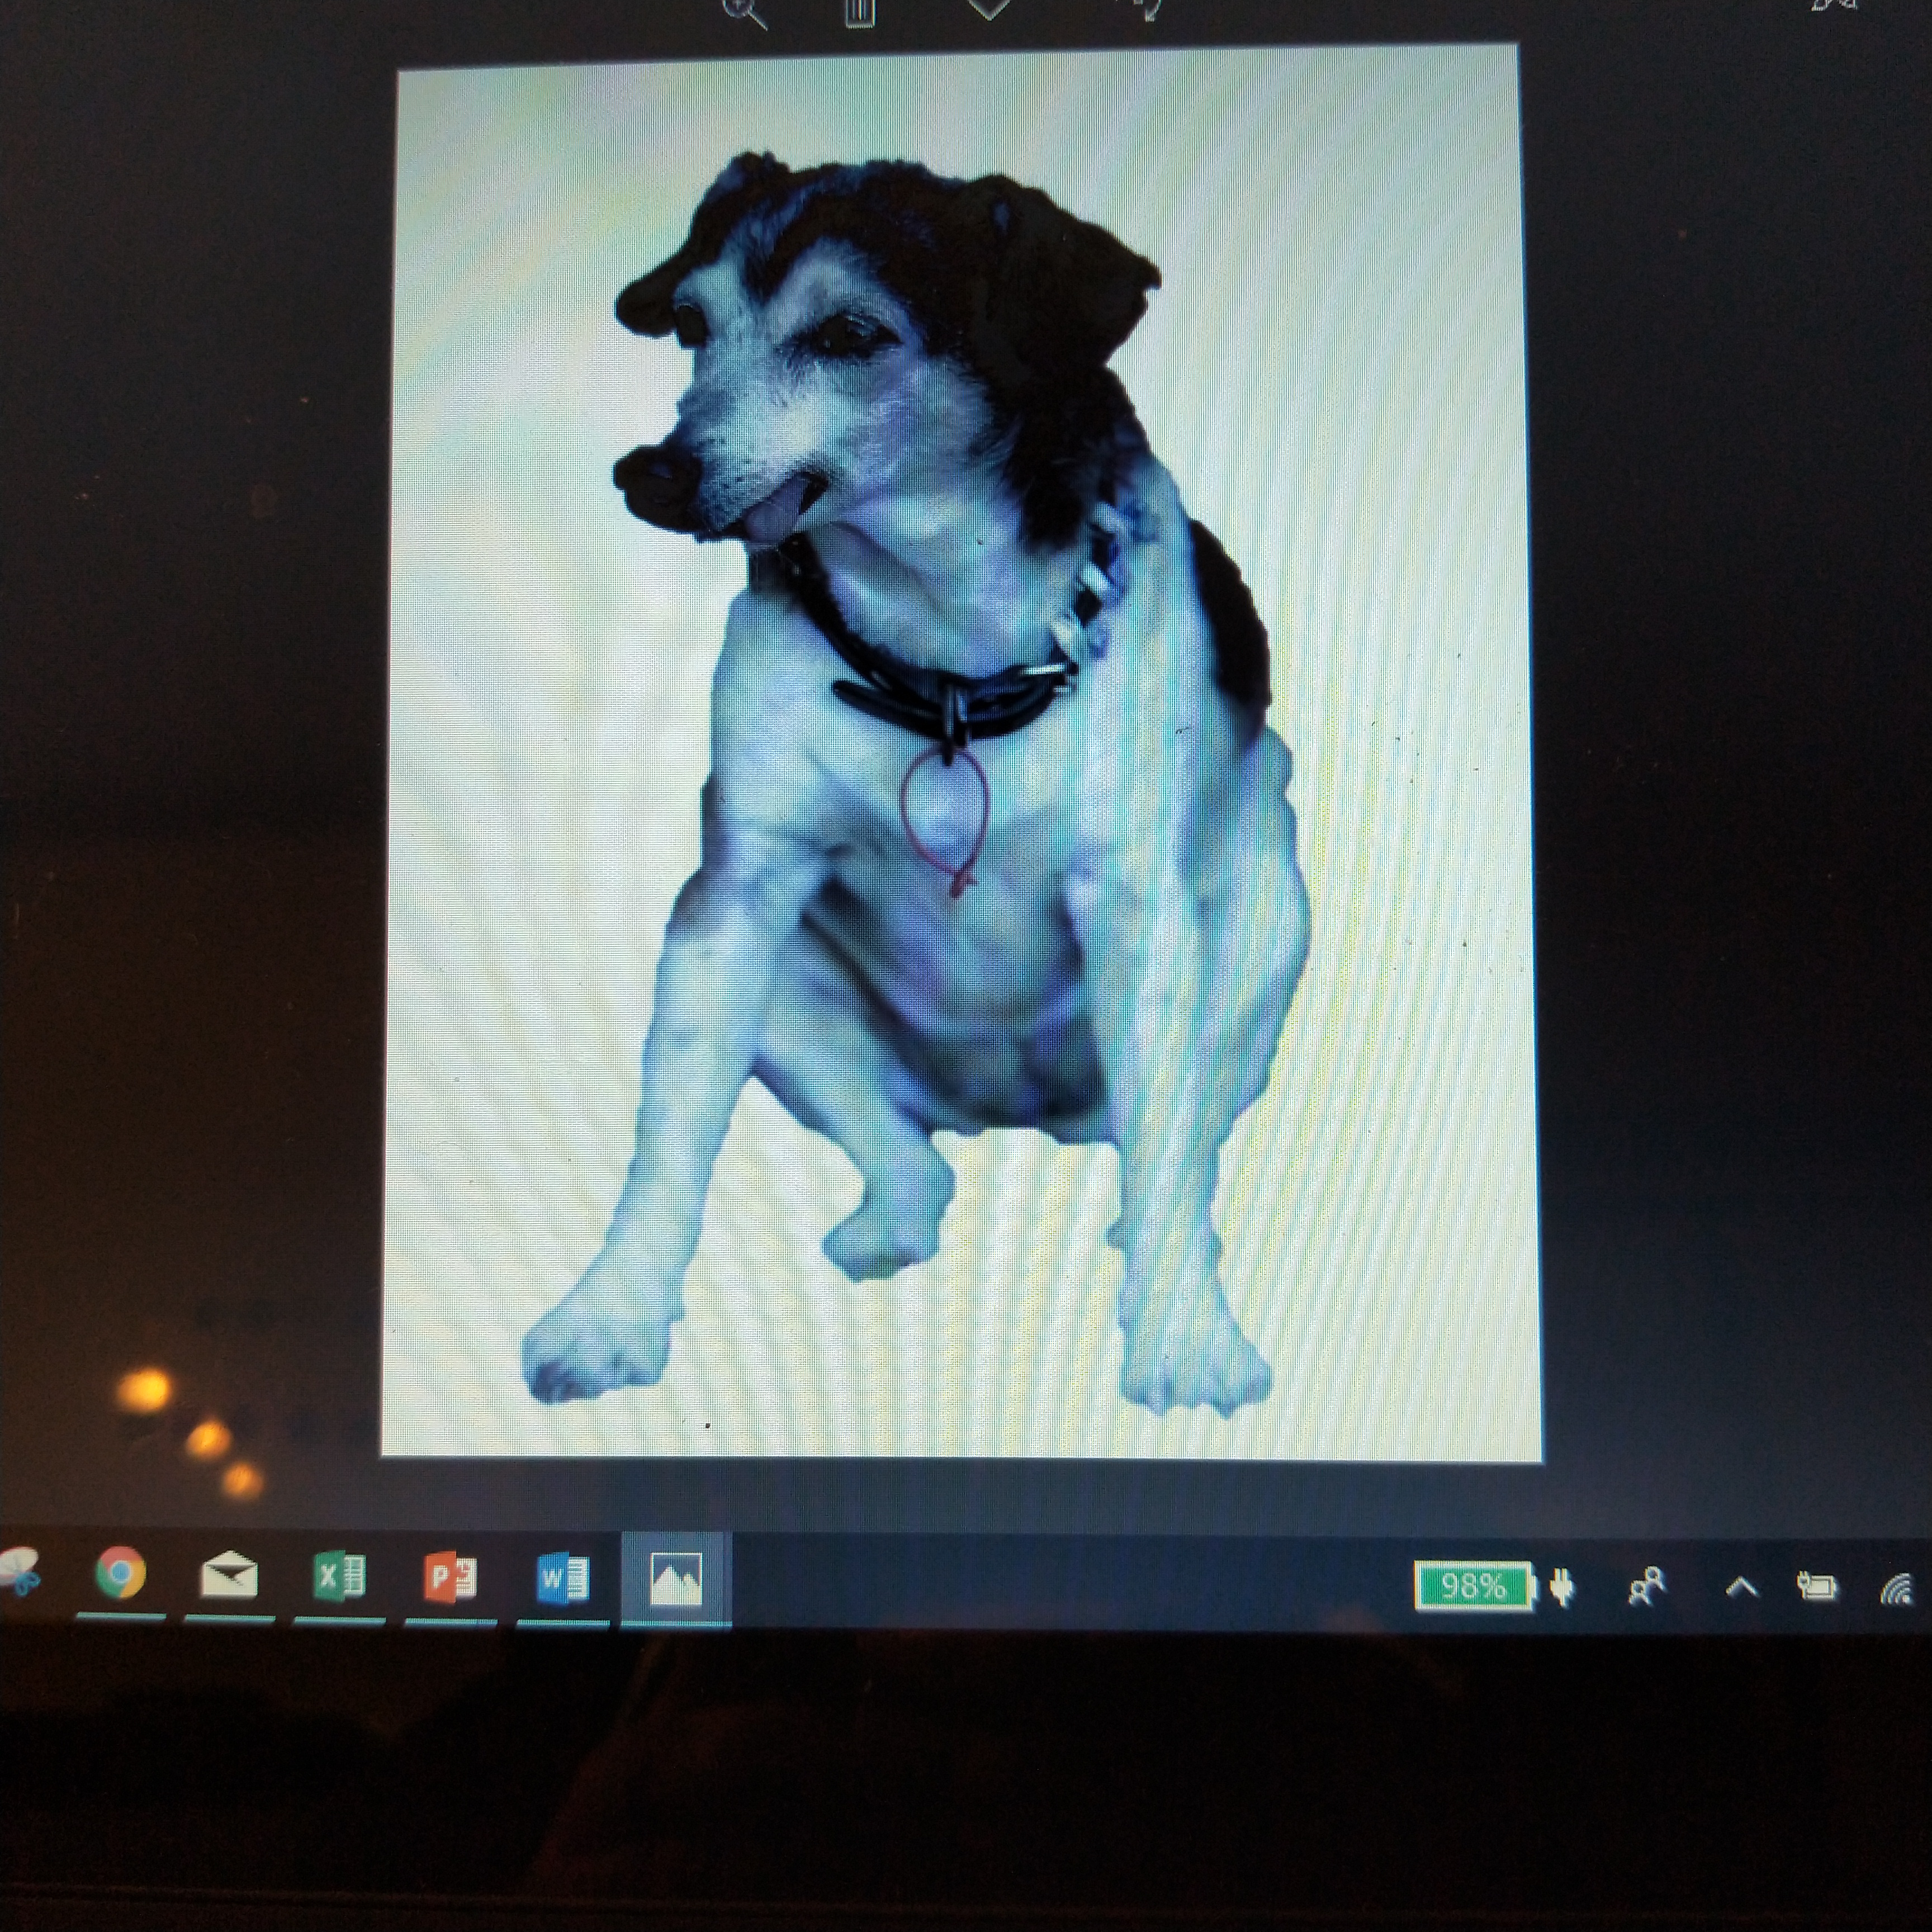
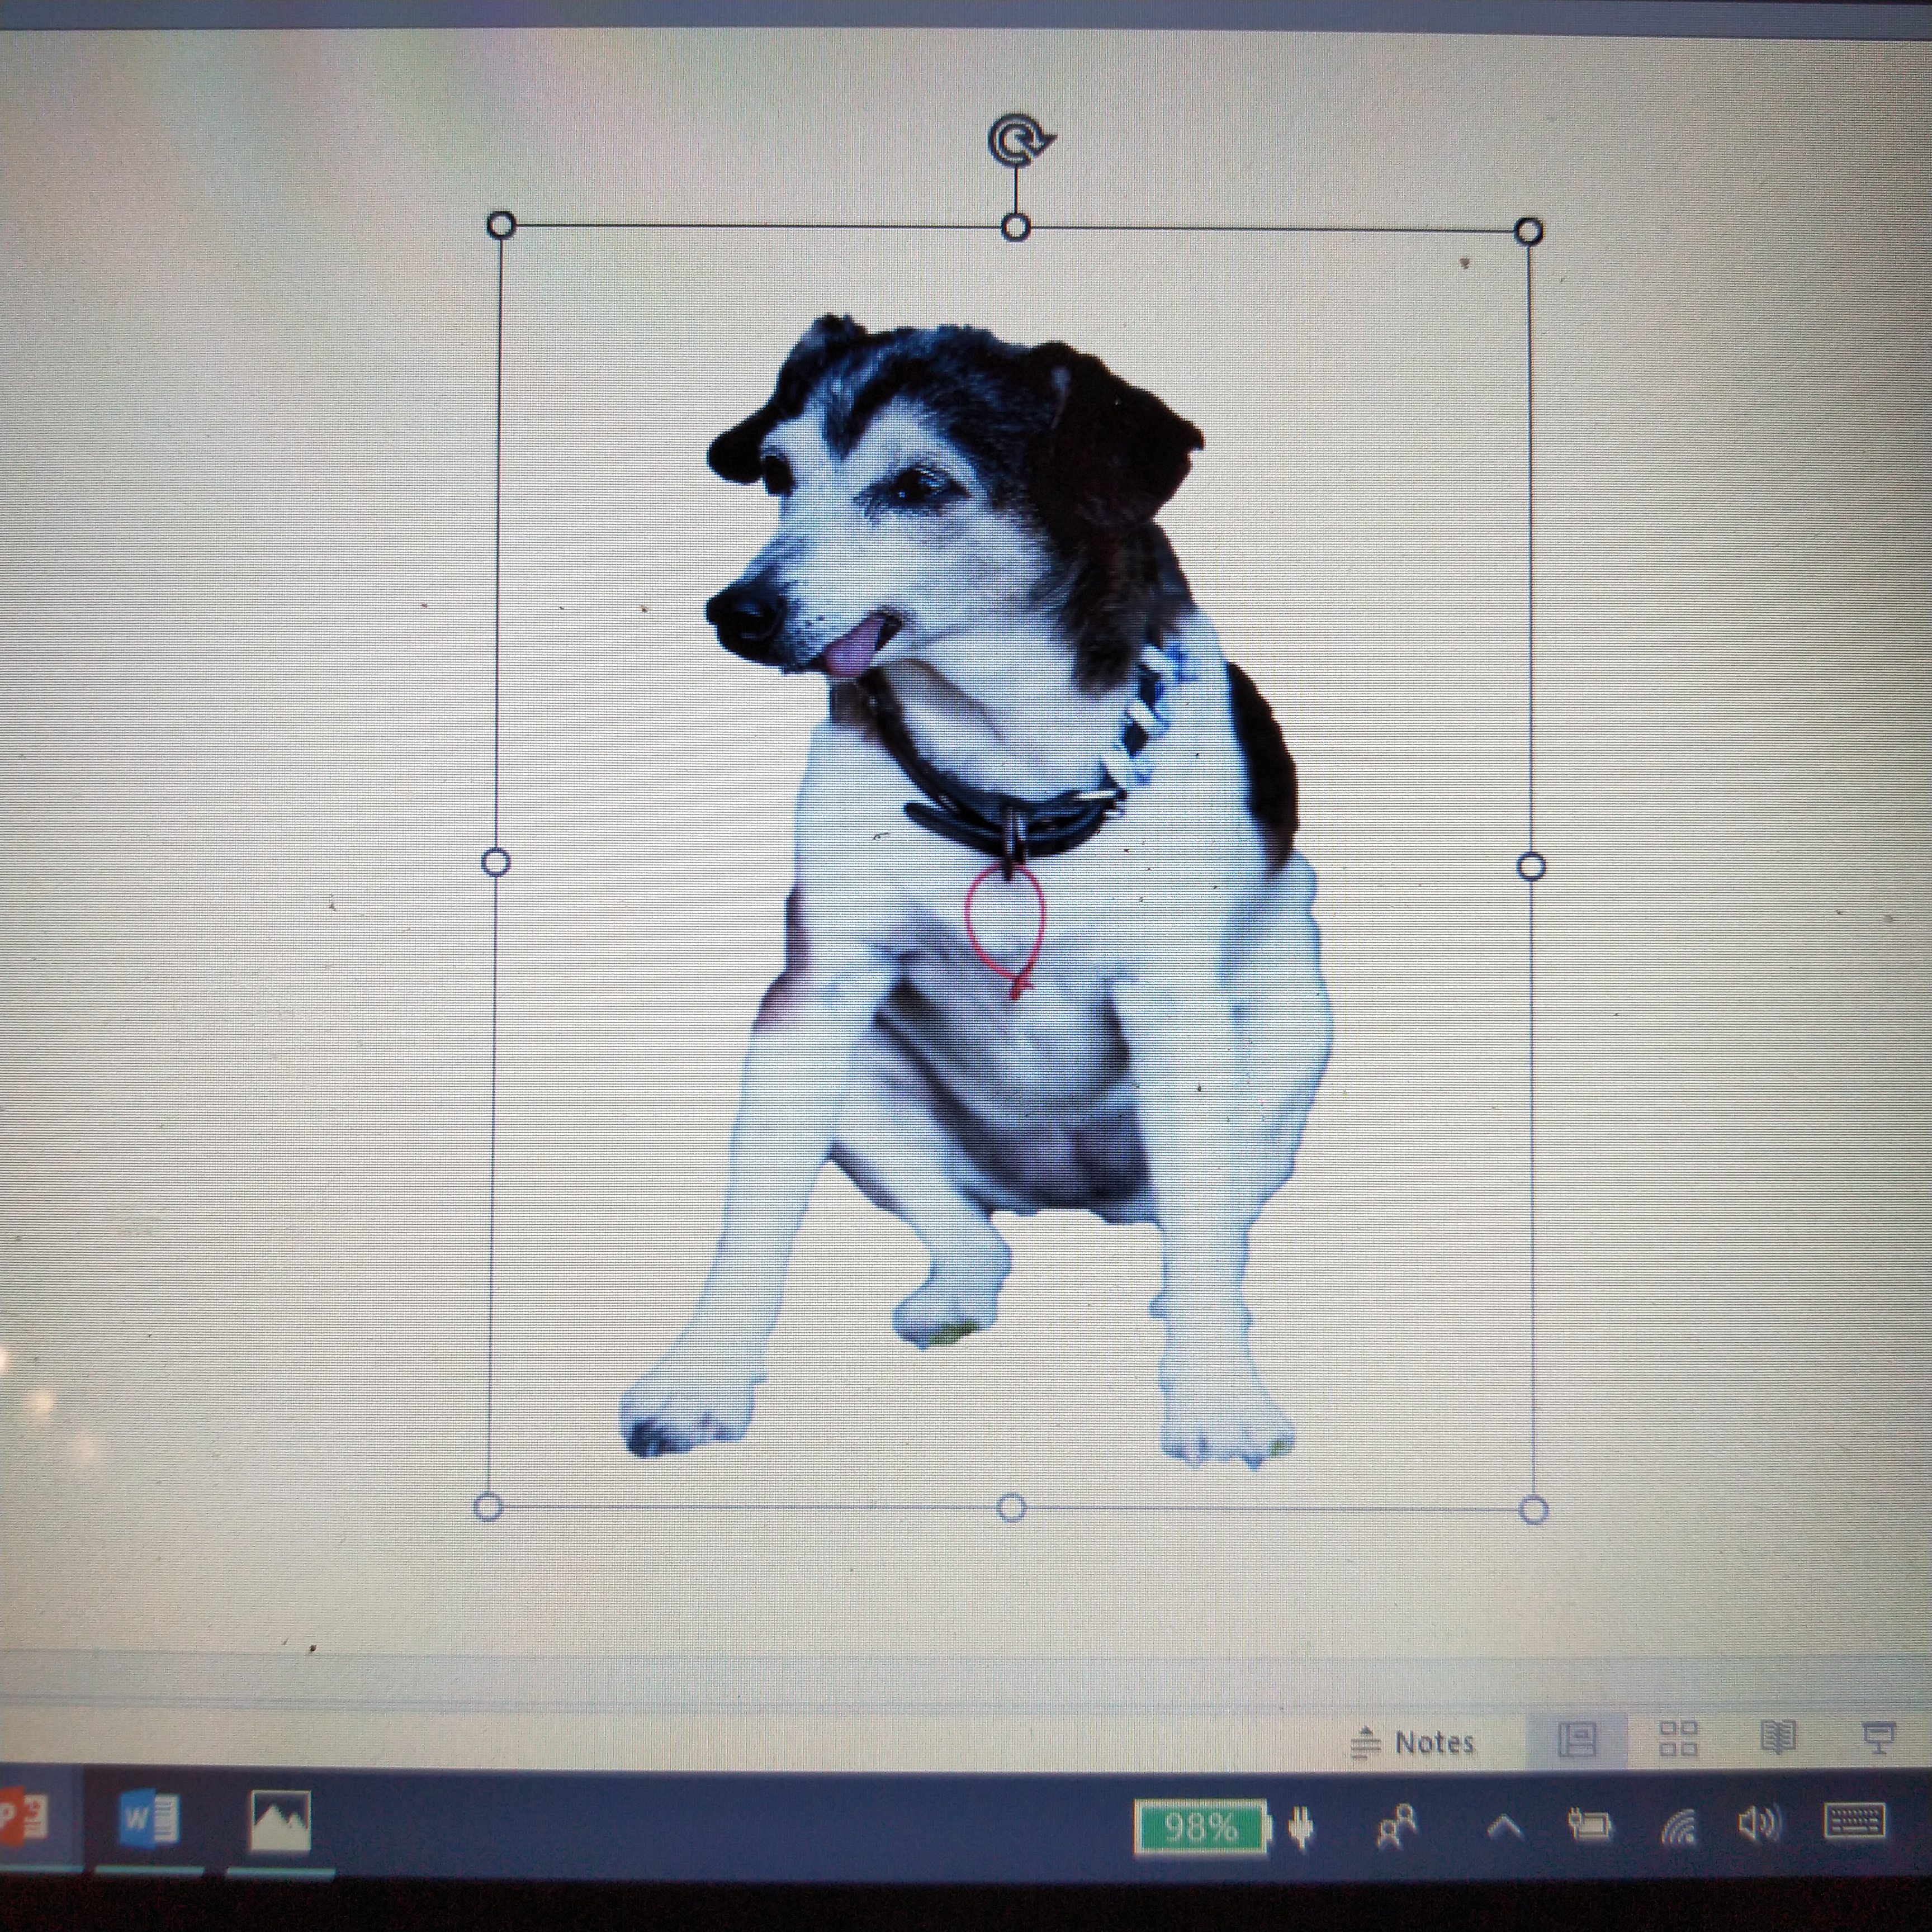
First of all, select your image. If you can, remove all the background from the photo. I do this using PowerPoint and it’s quite easy. You can read a tutorial on how to do that here.

How to make a pet photo print cushion www.domesblissity.com

Next, insert the picture into a Word document, stretching the photo enough so that it will use up most of the space on the A4 page. Print the page onto tshirt transfer paper. I bought these for 3 for a pack at $19.95 and only because I left it until the last minute but you could probably find the tshirt transfer paper cheaper online. Just be sure the transfer paper is suitable for the type of printer you have, ie bubble jet, ink jet etc.
How to make a pet photo print cushion www.domesblissity.com

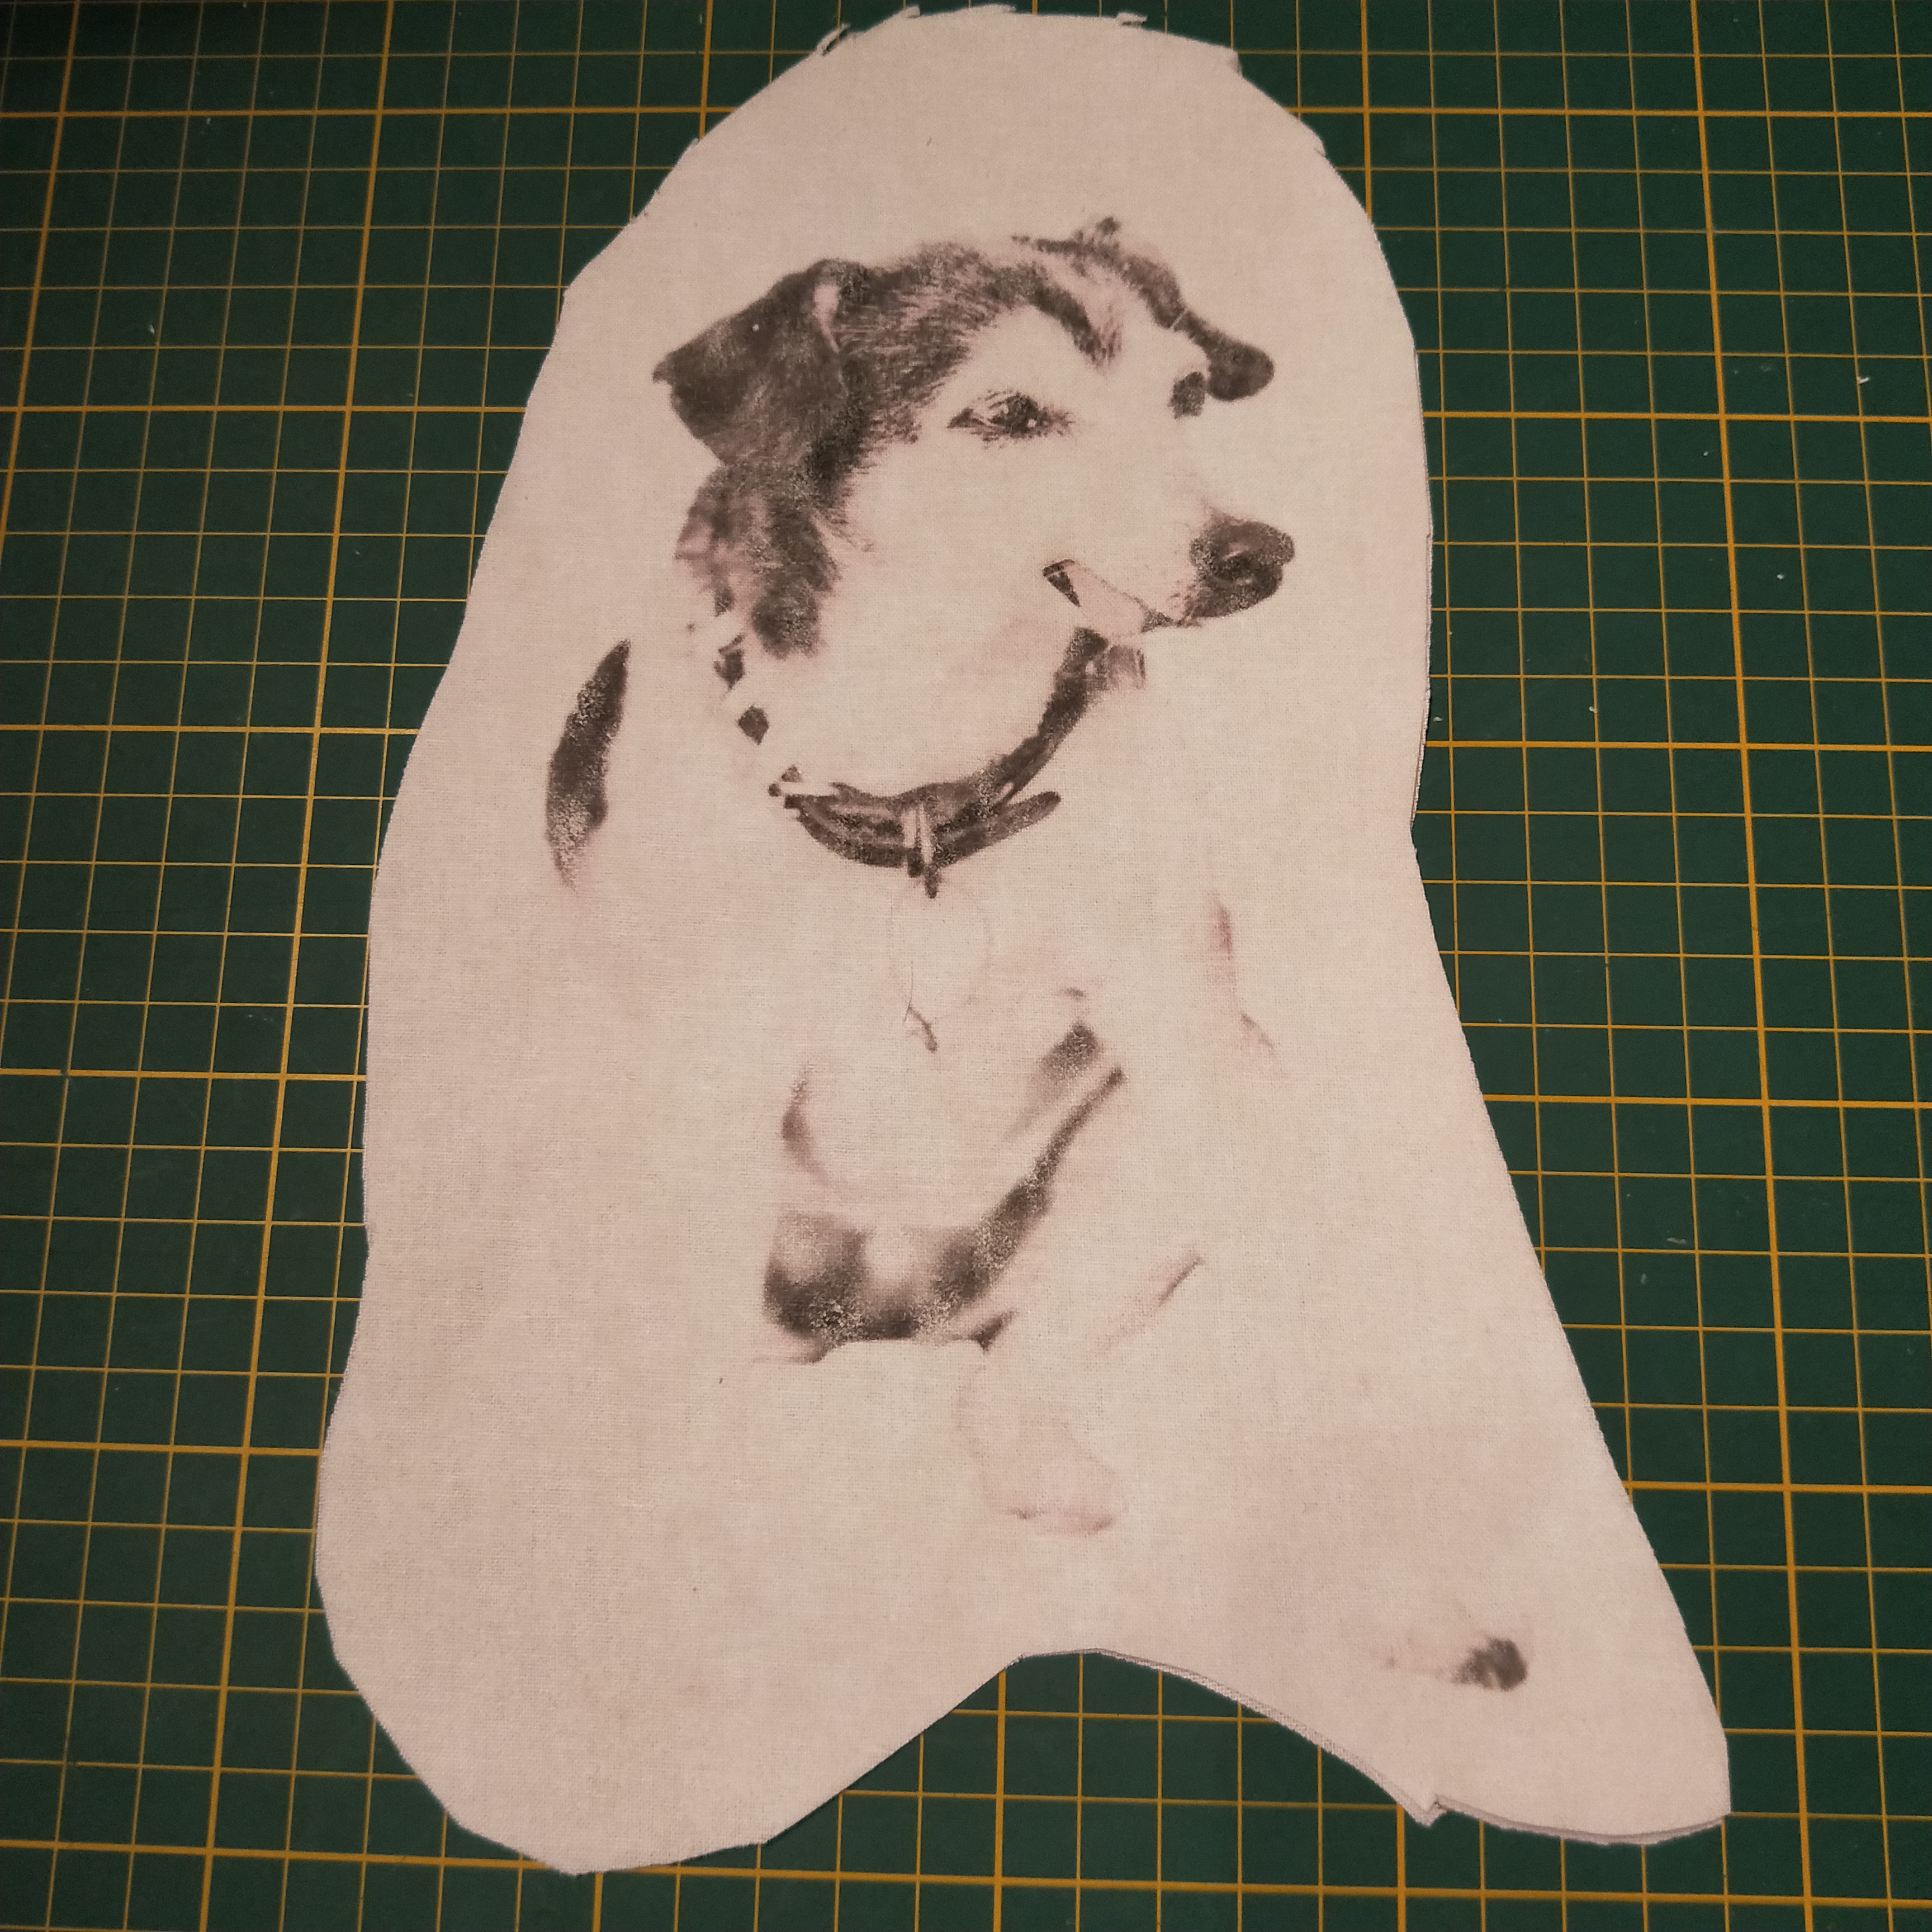
Once you’ve printed the photo onto the transfer paper, according the manufacturer’s instructions, cut out around the image ensuring you leave up to around 1″ around the actual image. Cut the exact same shape for the backing of the cushion. The more random the shape of the image, the more realistic your pet photo cushion will be.

(Note: The image will be flipped when you print unless you choose to flip the image inside Microsoft Word before printing. You can find out how to do that here.)
How to make your own pet photo print cushion www.domesblissity.com

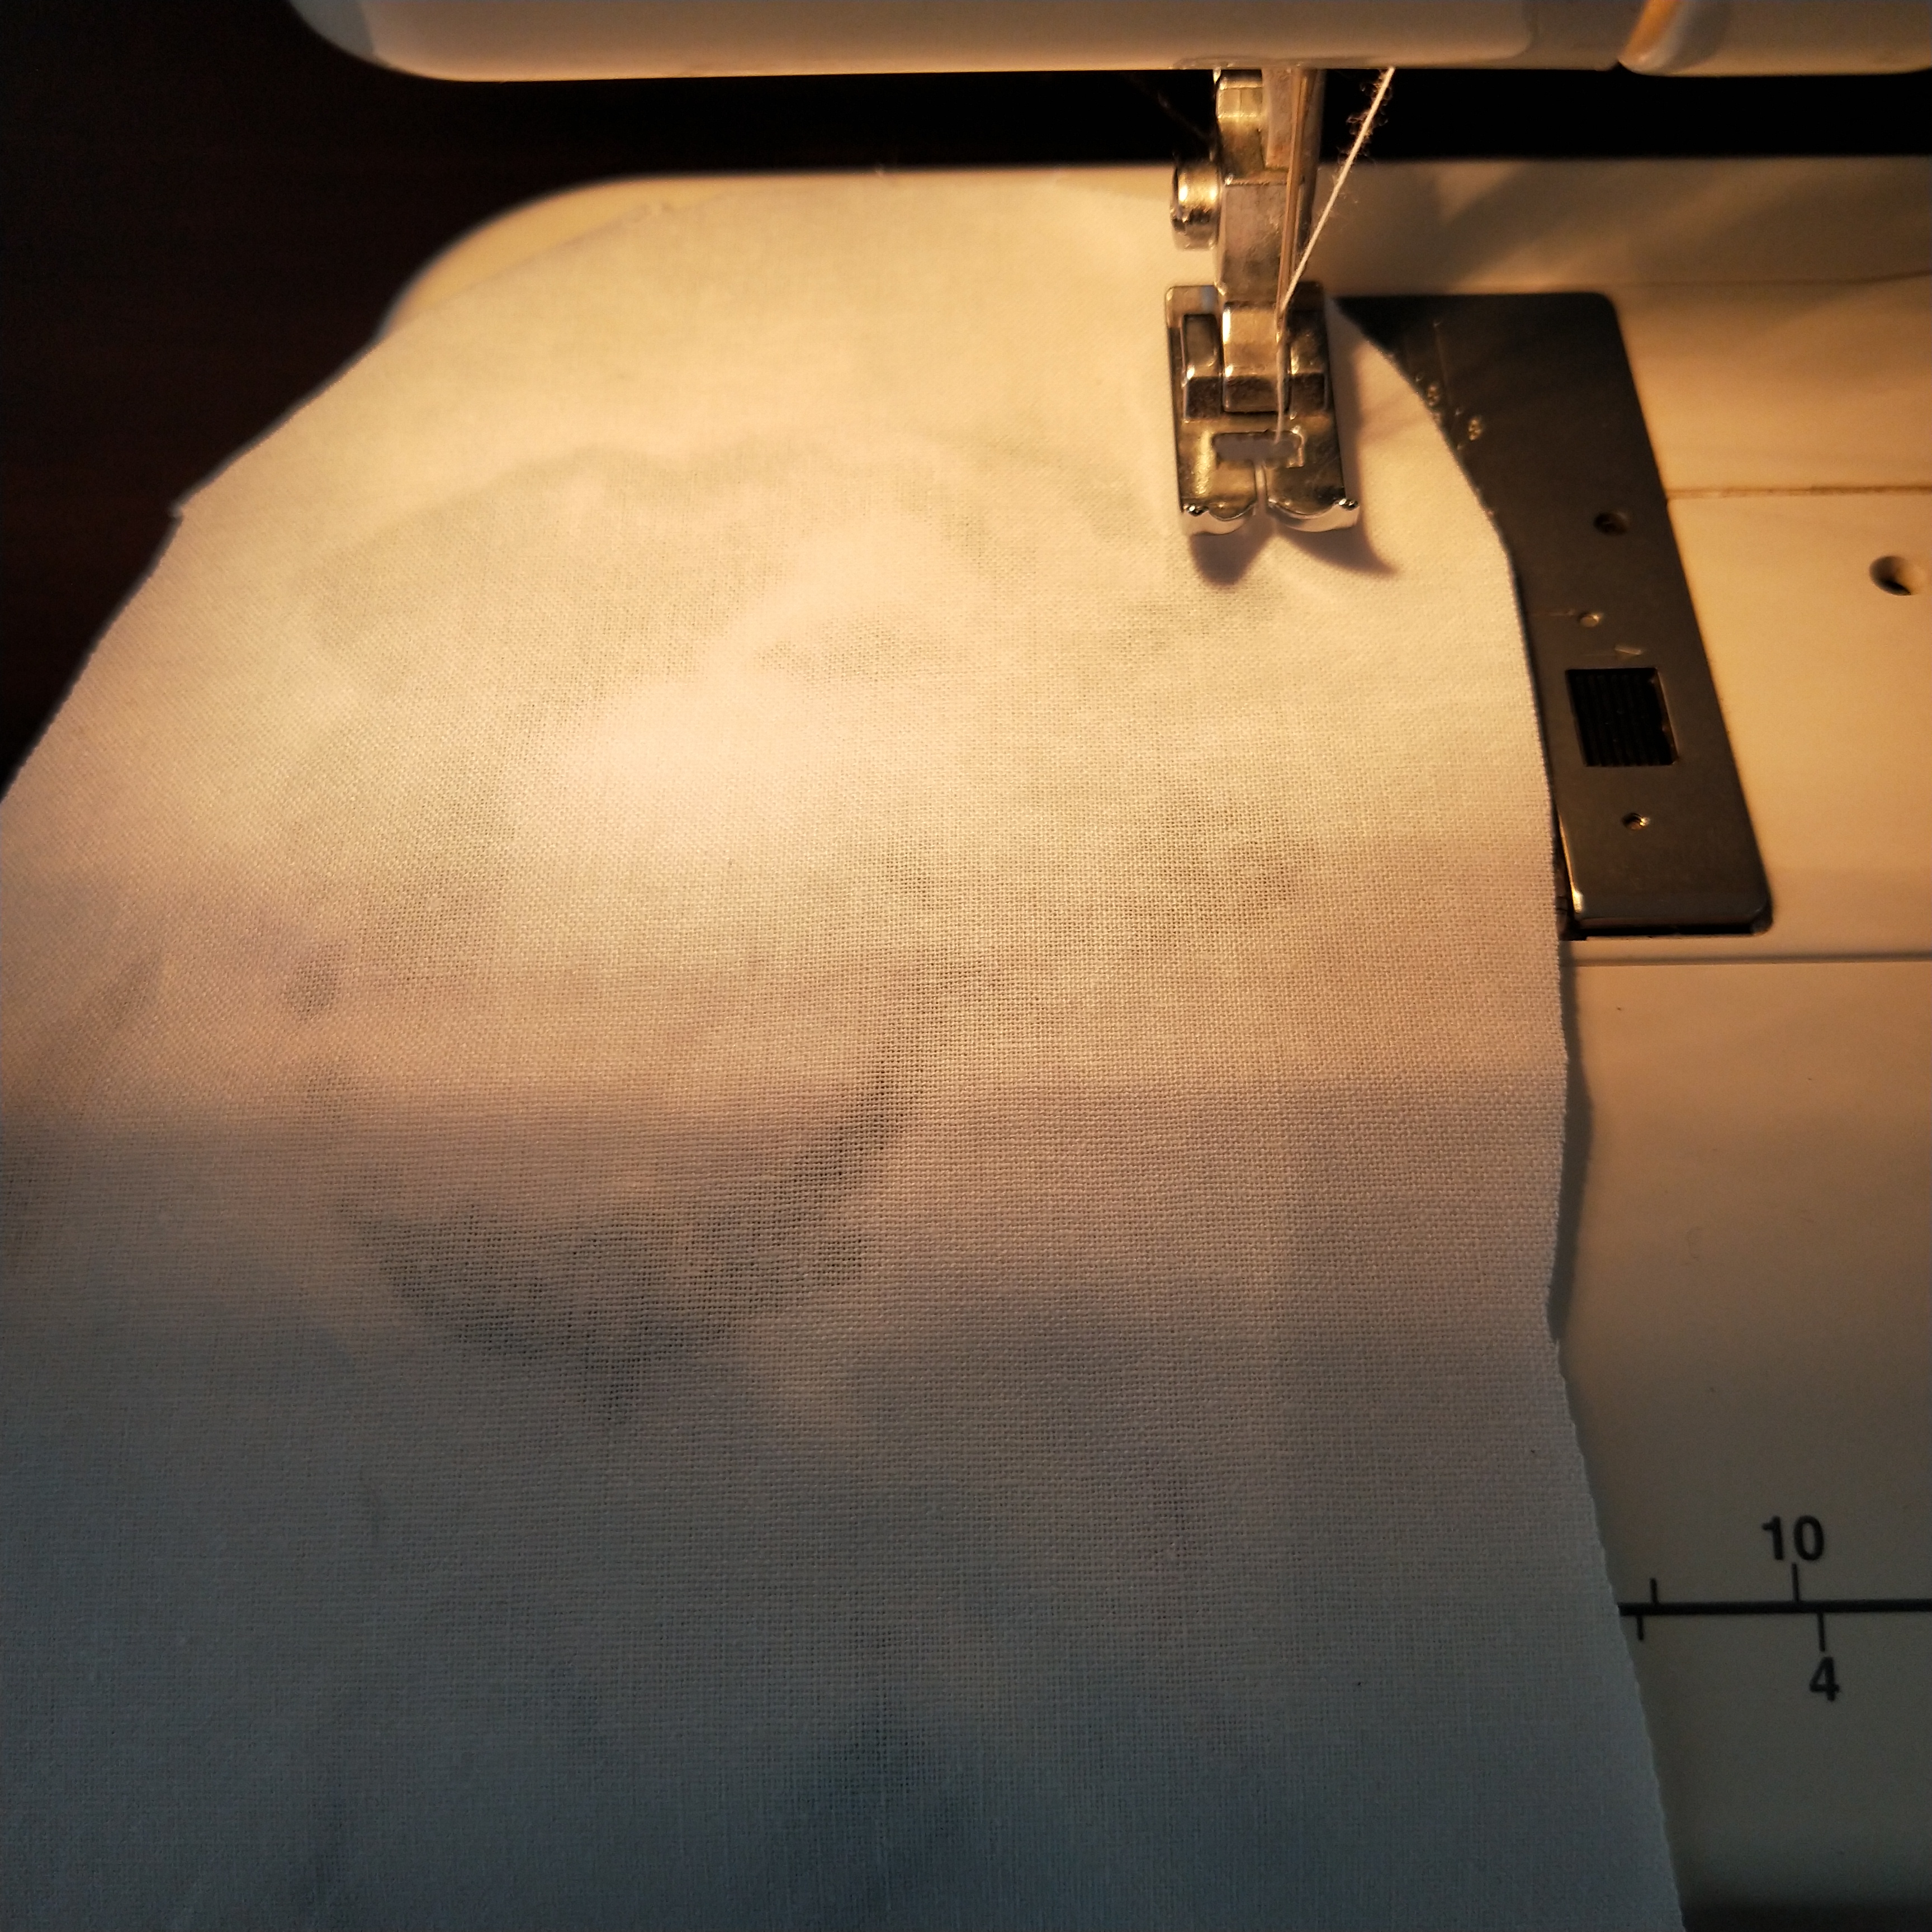
Sew the 2 sides, wrong sides facing, leaving an opening of about 10cm at the bottom of the cushion to insert the stuffing.

How to make a pet photo cushion www.domesblissity.com

Finishing Off

How to make your own pet photo cushion www.domesblissity.com

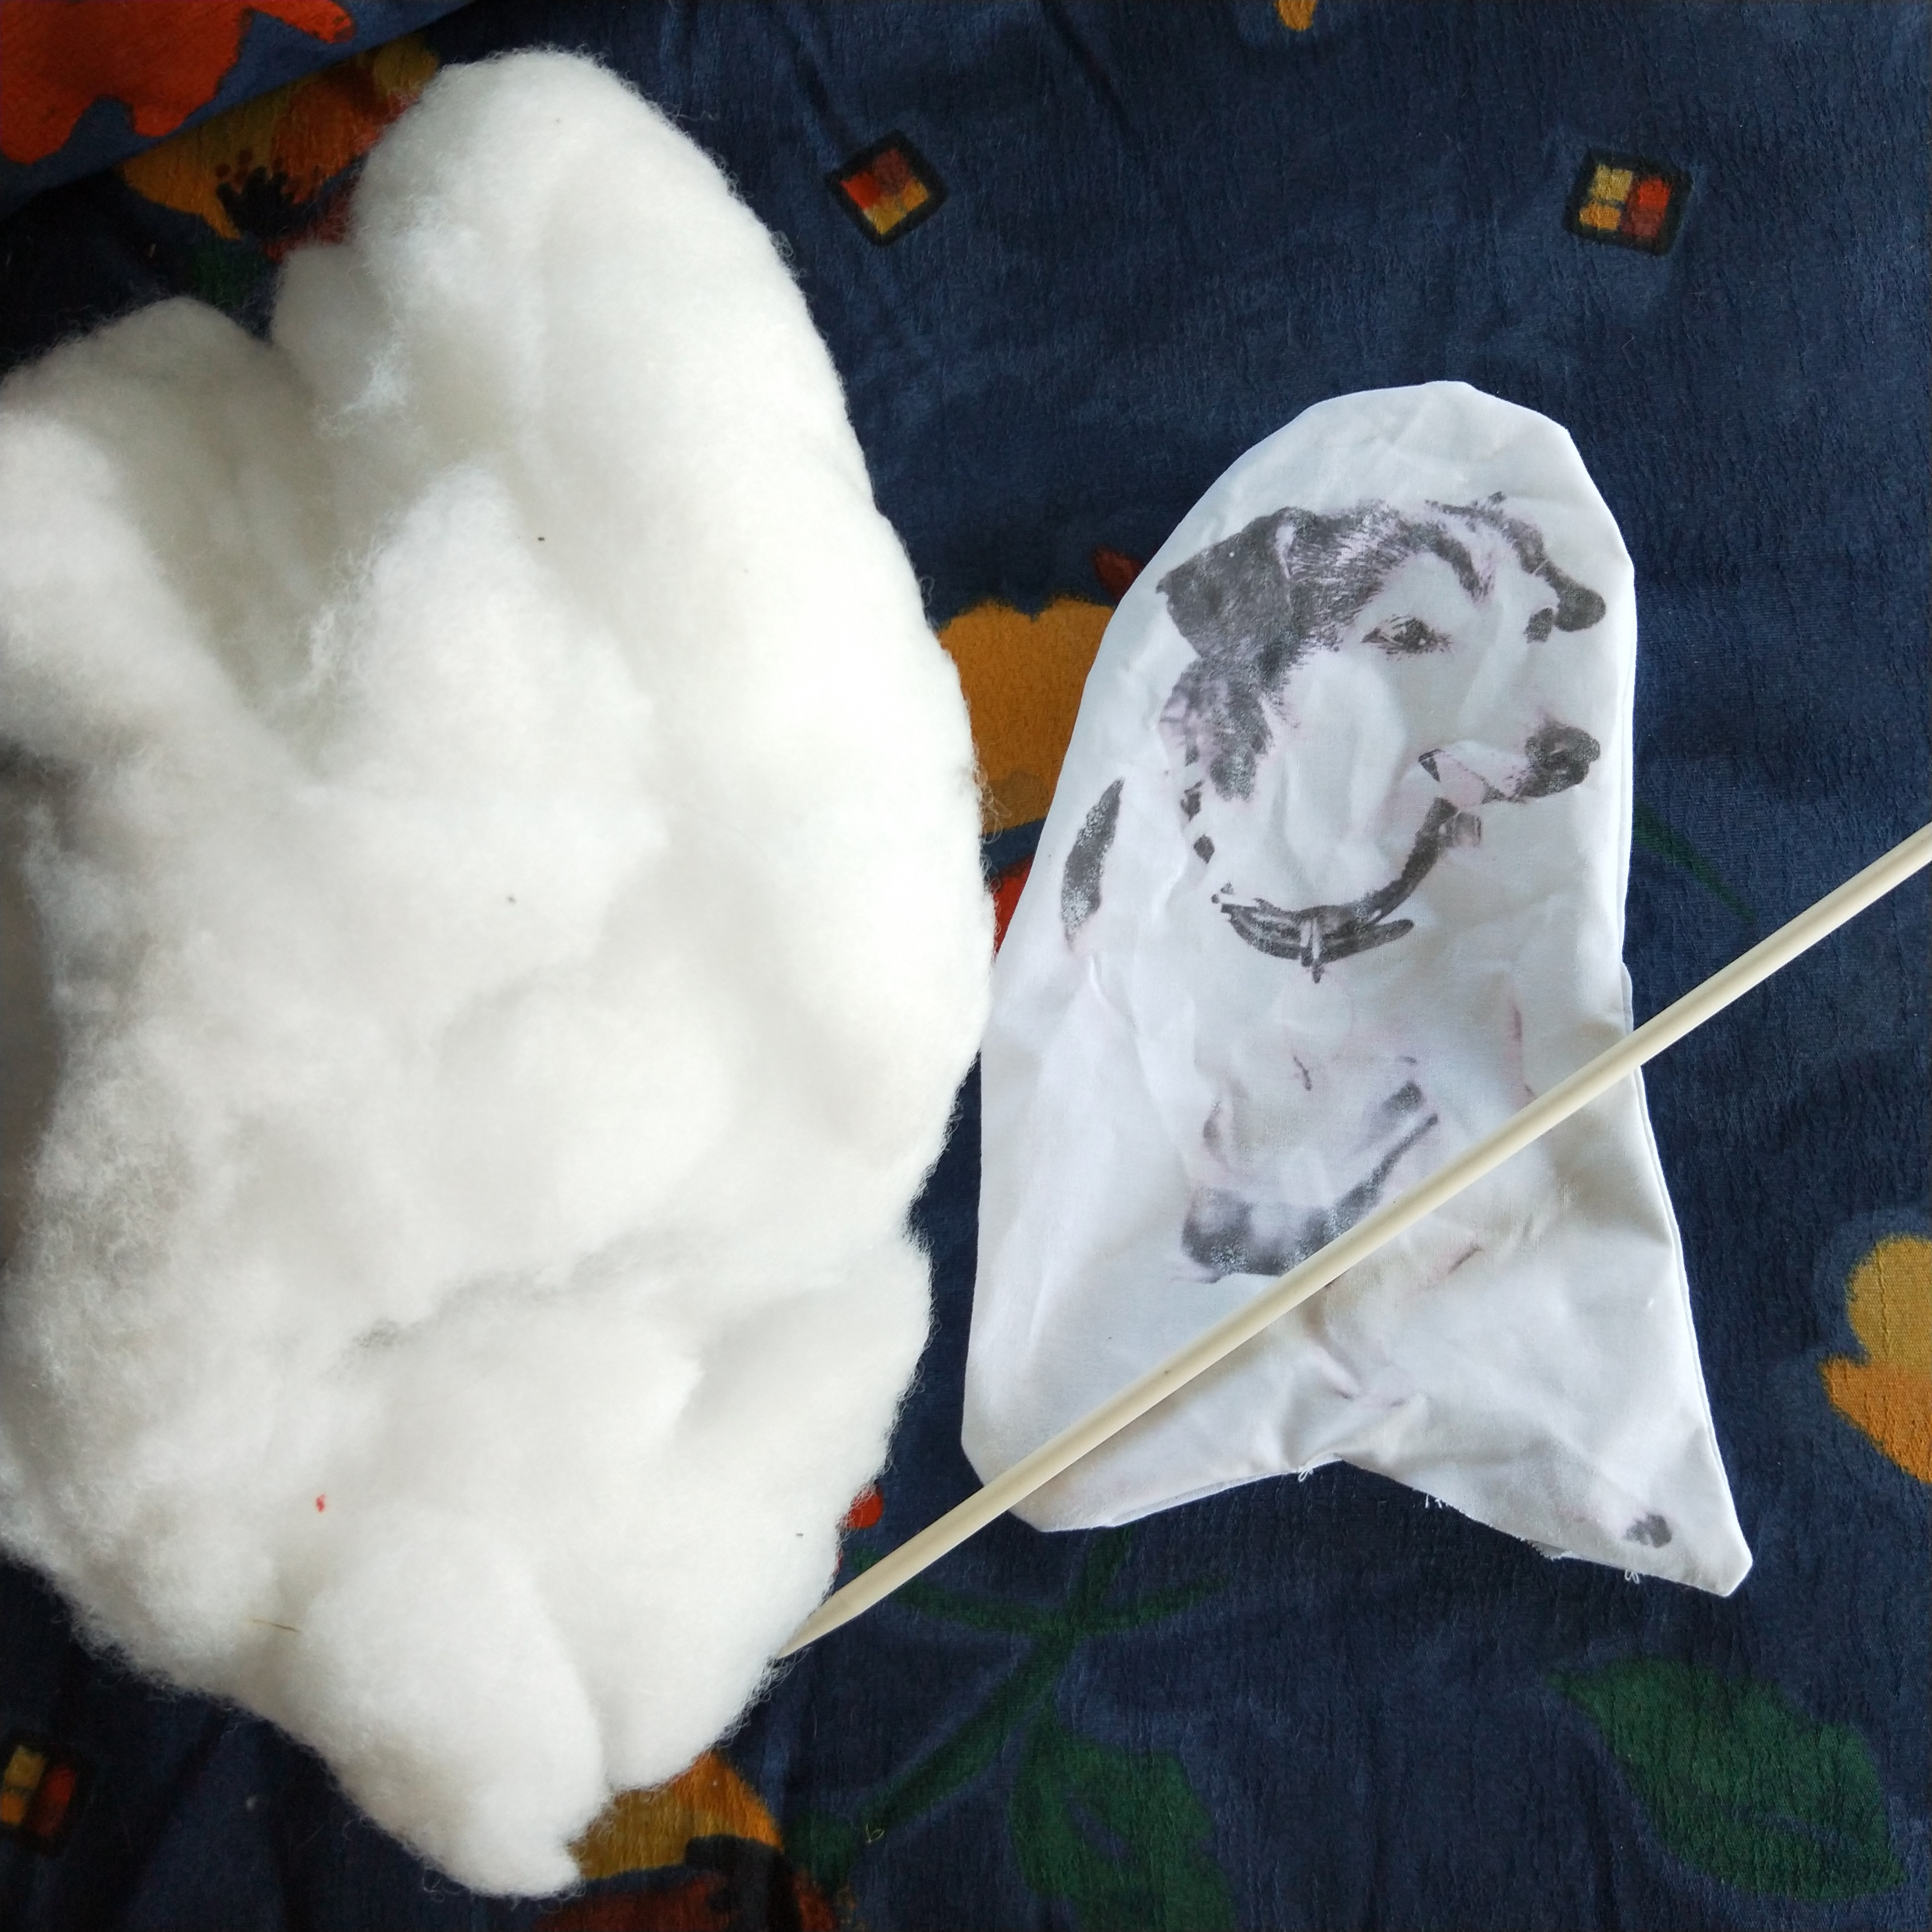
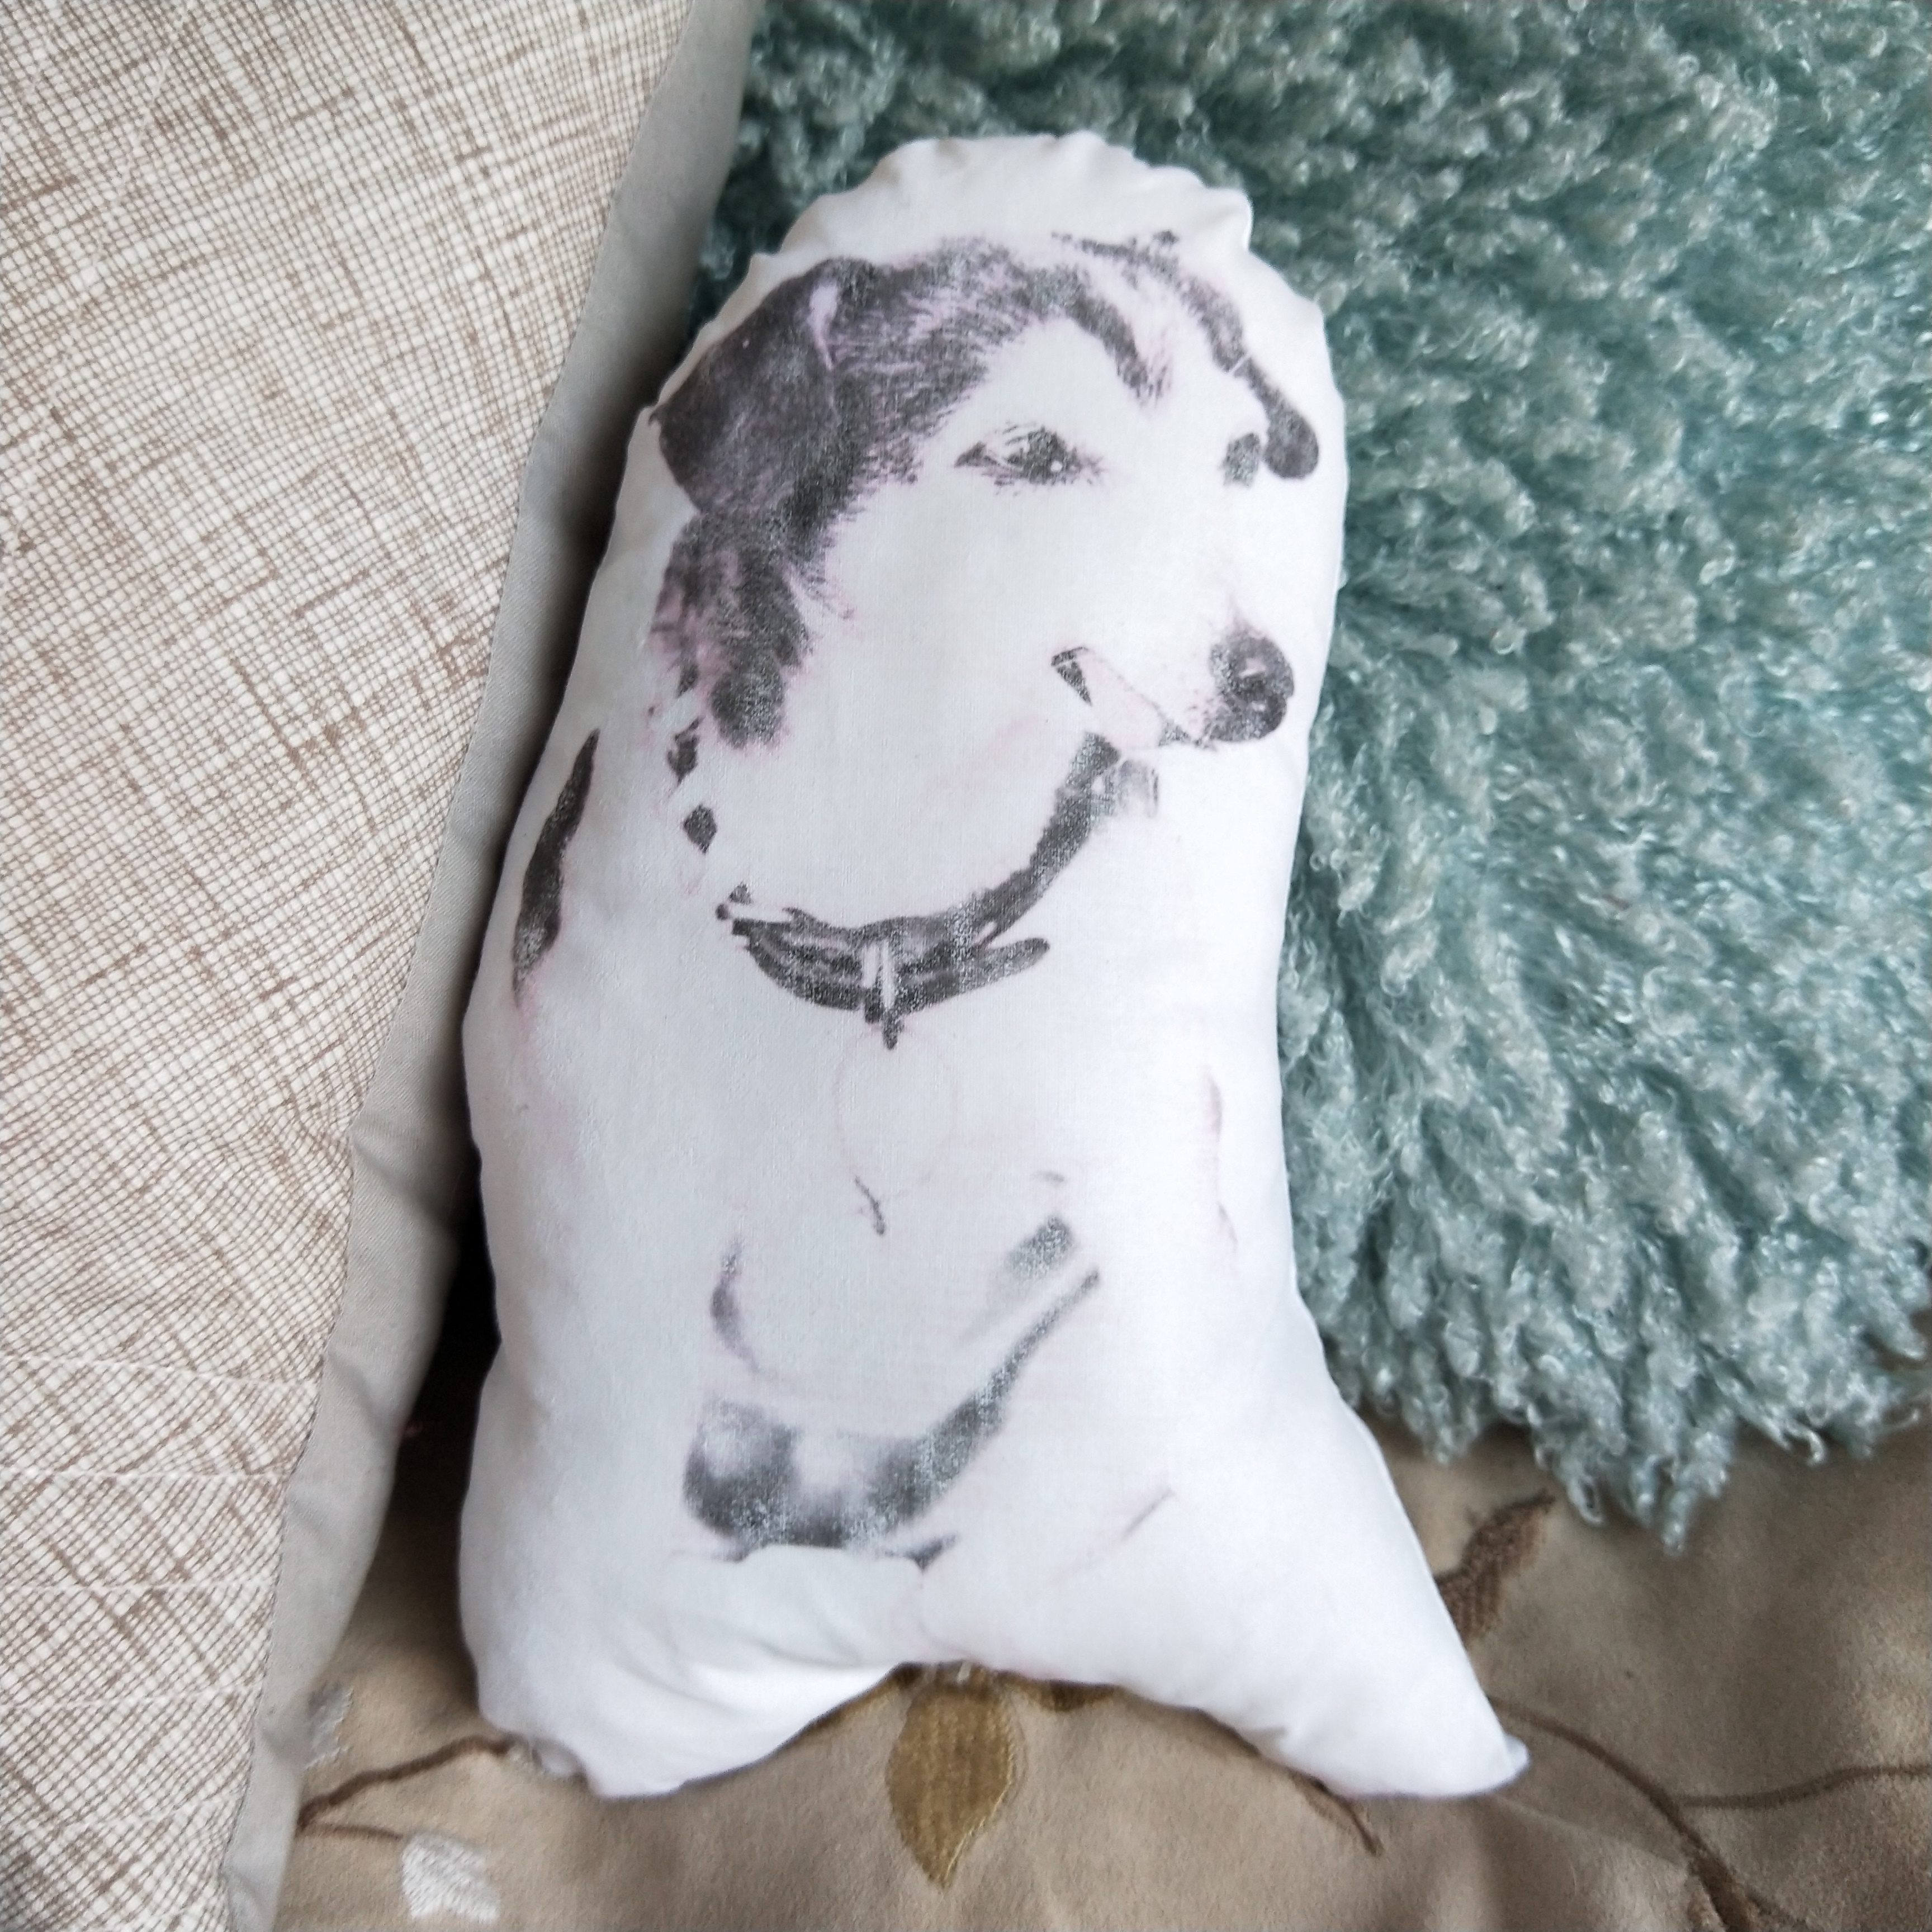
Turn the sewn cushion right side around (press with a cool iron if needed) and insert cushion stuffing. I had a knitting needle I used to ensure stuffing reached all edges of the cushion.
How to make your own pet photo cushion www.domesblissity.com

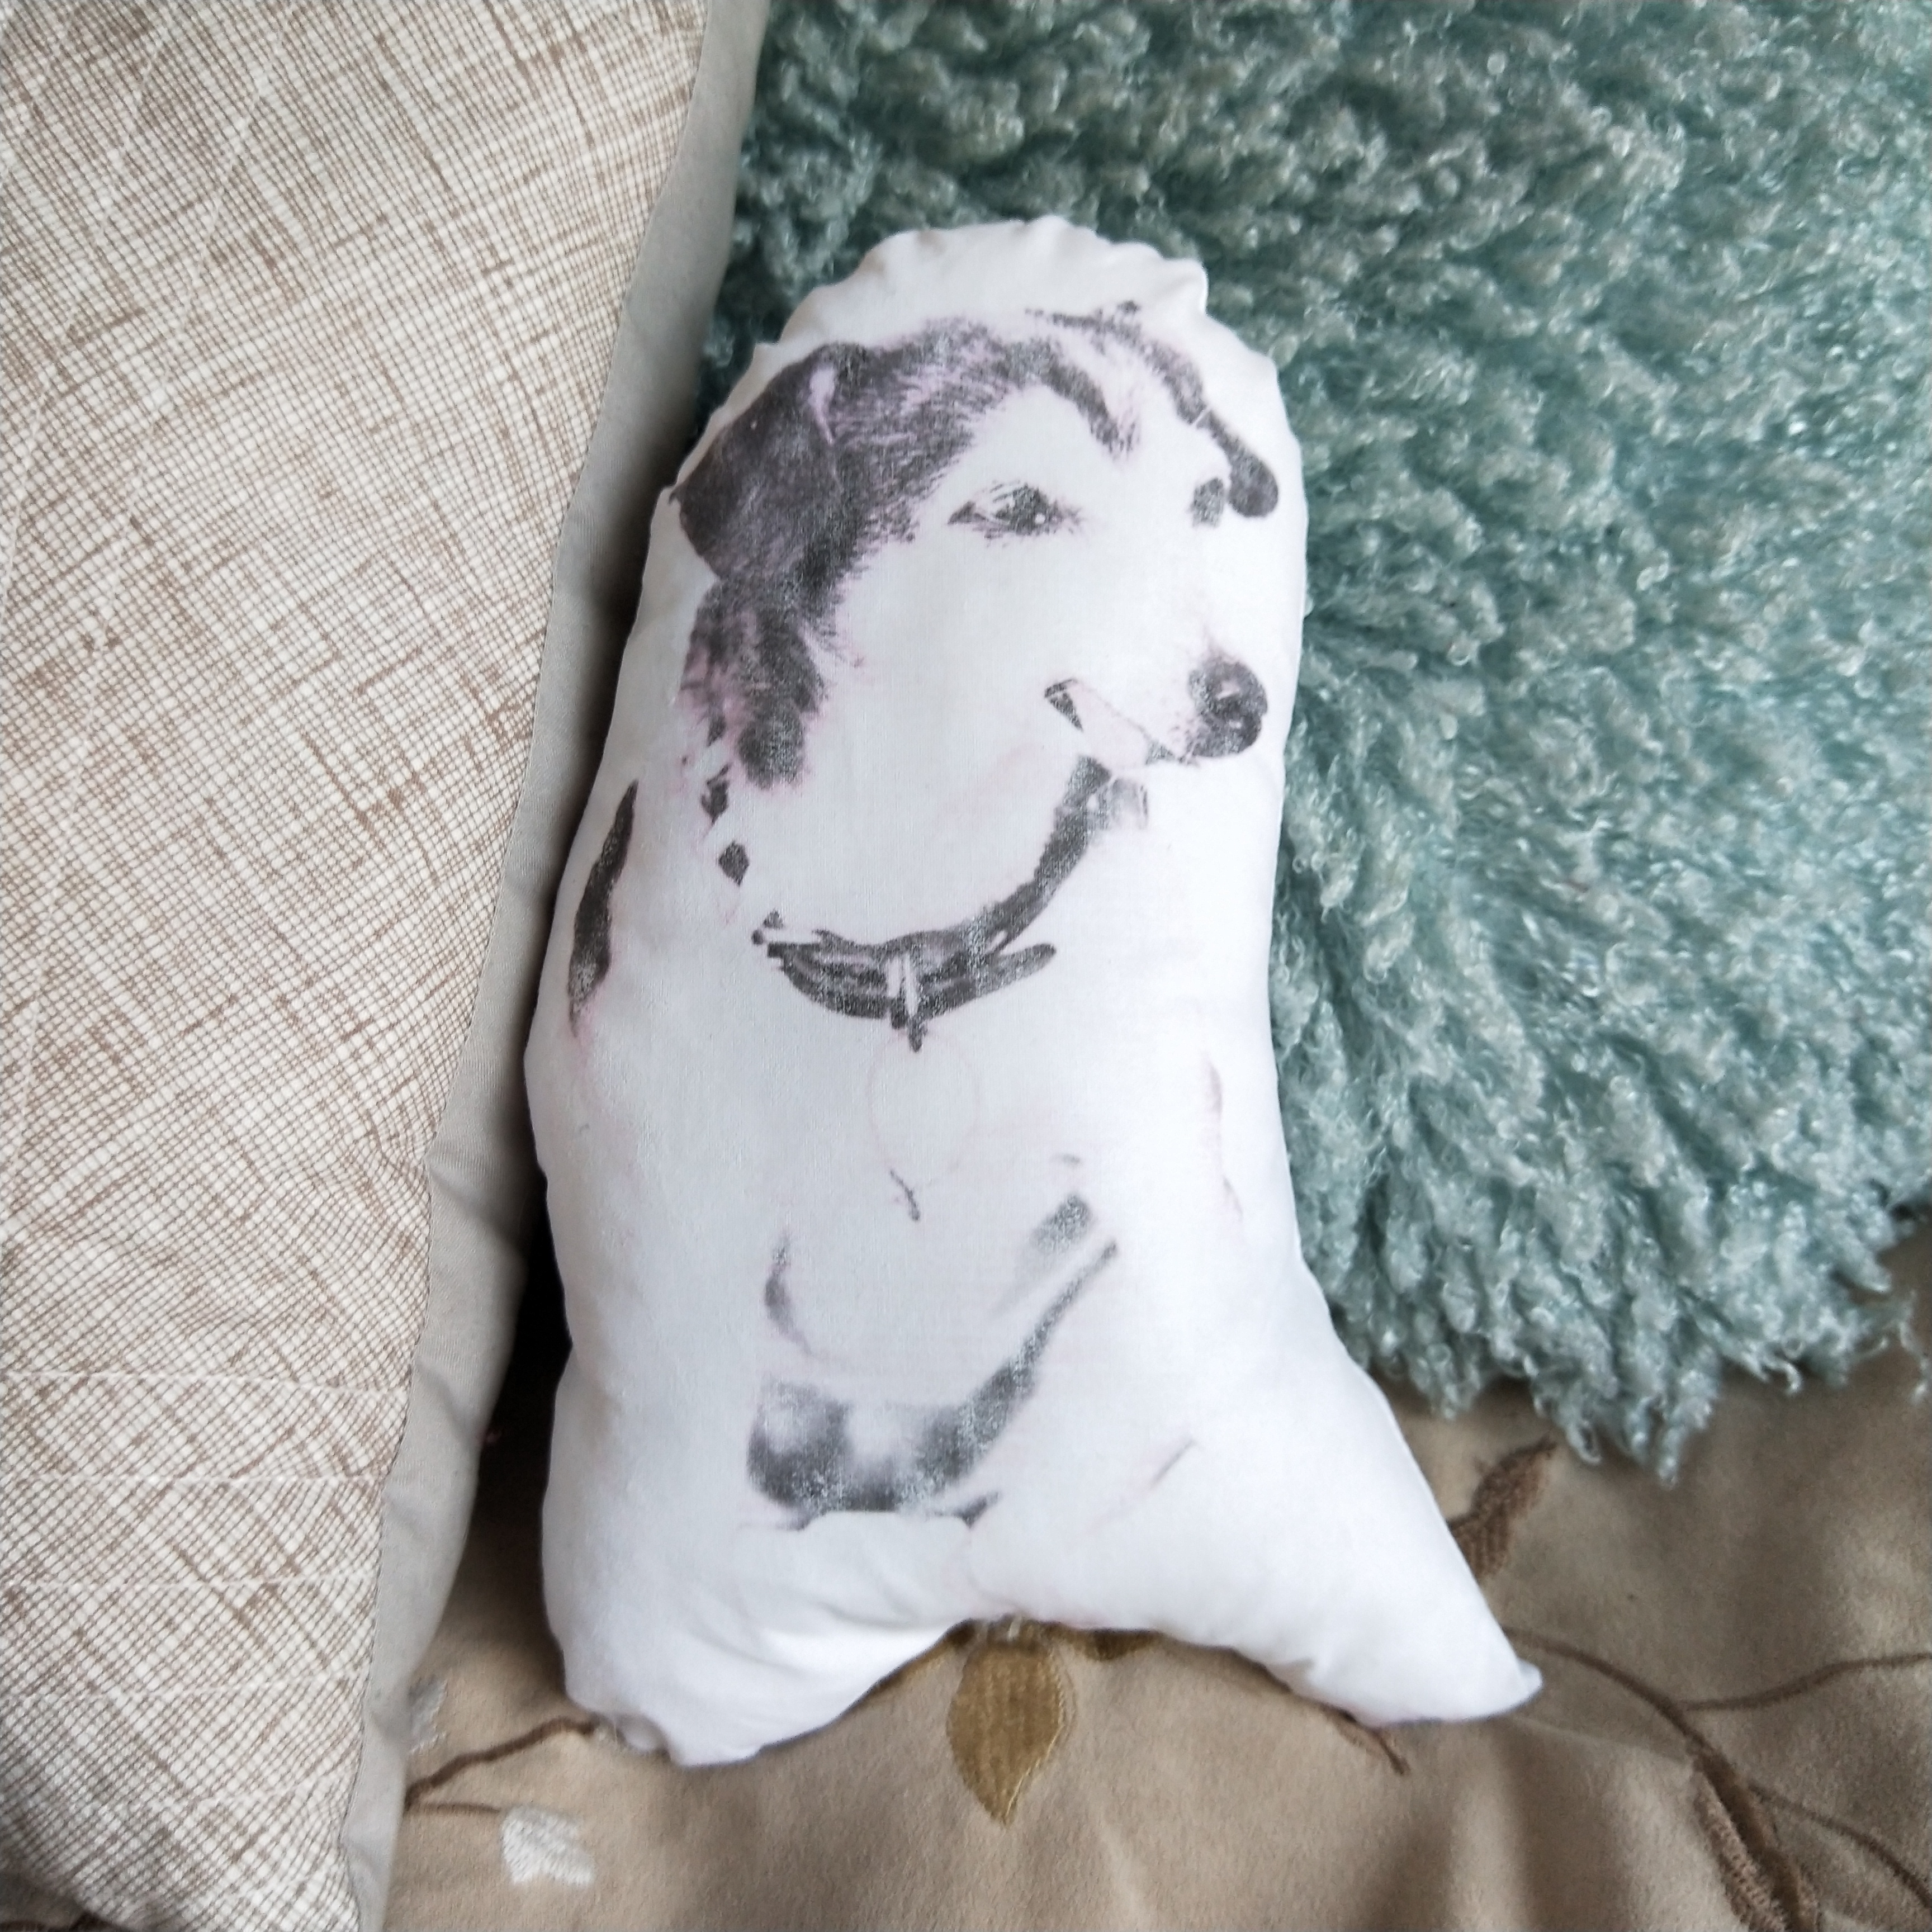
And that’s basically it. In hindsight, I could’ve used an off white coloured fabric as my dog’s legs were white so didn’t really show up well against the white fabric but my husband loved it nonetheless.

These cushions retail anywhere upwards of $30 so I saved myself a pretty penny using fabric and other materials I already had. I still have 2 sheets of the tshirt transfer paper to use for other projects. Anyone who can do basic sewing can make this as a wonderful gift for the pet lover.
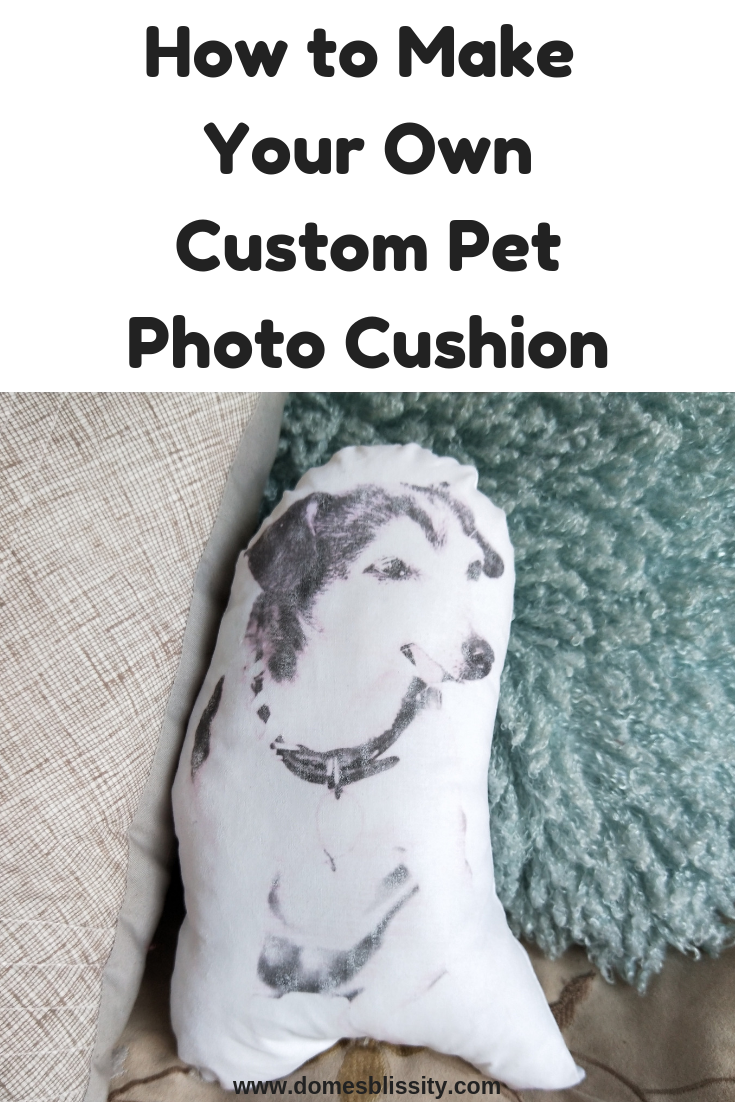
How to make your own custom pet photo print cushion www.domesblissity.com

Tuesday, September 3, 2013

Spring themed Pom Pom Cushion + Pom Pom No Bake Treats

I can’t begin to tell you how excited I was to be asked to join in on the Spring has Sprung 2013 blog tour being hosted by Jane of Lil Pip Designs and Cass from Cass Can Sew. I’ve never been involved in anything like this before but absolutely adore Spring time and thought what a great way to do a little craft or create a recipe. This was of course months ago and when the reminder came around about a week or so ago I just about jumped out of my skin and, as usual, had nothing prepared.

I remember seeing a really cute idea for sewing pom poms onto a cushion cover which I’d pinned from Pinterest and thought that would look so cute in Spring colours. I have heaps and heaps of crochet cotton in every colour under the rainbow and decided to keep it simple with orange, lavender, yellow and pink. This cushion cover was 50 cents from the op shop and the green embroidery thread used for the stems is a variegated green. This project didn’t take long at all and I’d love to do a more detailed embroidery project using this method and frame it.

This is a little spot I have on the front verandah where I can watch the world go by and have a cup of tea, which doesn’t happen often but with Spring in the air, I’ll certainly be making the most of it and trying to get out there.


The cushion is so easy to do. Just

make pom poms in the usual method, leaving extra long pieces of thread once the pom pom has been tied. Embroider stems directly onto the cushion and then thread one length of that extra thread onto an embroidery needle and thread through the cushion. Repeat with the other side. Tie a knot and your flower has been formed.

You know me and how I make the most of every opportunity to have a cuppa and something sweet and I whipped up these Pom Pom no bake treats. Nothing fancy. Just your basic biscuit truffle mix made with all the broken biscuits at the bottom of the bikkie barrel and some condensed milk and rolled in coloured shredded coconut. One with a cup of tea is just perfect.

Pom Pom No Bake Treats

  • 250gm biscuit crumbs (can include iced biscuits)
  • 1/3 cup cocoa
  • 1/4 cup coconut
  • 395gm can condensed milk
  • shredded coconut for rolling (can colour with food colouring, if desired)
  1. Mix all of ingredients together.
  2. Refrigerate mixture for 30 minutes before rolling.
  3. Take spoonfuls of mixture and roll into balls.
  4. Roll into coconut and store in refrigerator until required.
  5. Will keep up to a week.
 
I’m linking up with the Spring has Sprung 2013 blog tour, celebrating Spring in Australia. You can check out all of the other projects and bloggers who are taking part. Thanks for including me girls!
 
Sunday 1 September 
Lil Pip Designs 
Things for Boys

Monday 2 September 
Cass Can Sew 
Sew Cook Laugh Live

Tuesday 3 September  
Sew Delicious 
Mend and Make New

Wednesday 4 September  
The Janelle Wind Collection 
Domesblissity

Thursday 5 September
Max California
Sew Jereli

Friday 6 September
sewpony
Sweet Little Pretties

Saturday 7 September
Blossom Heart Quilts
Actually Amy