

I’ve been on a mission. A mission to makeover both of my children’s bedrooms in a theme of their choice, on a budget. There really is no budget. If I can, I’d prefer not to use any money at all, rather reuse, recycle or redo already what I have. I find it exciting and challenging and it makes me feel proud when I get the job done. When my daughter requested a ‘peacock’ themed room though, I found that even more challenging because it seems ‘peacock’ themed anything isn’t really ‘in’ at the moment and I’ve been finding it hard to track down anything remotely peacock themed. I give her 100% for originality for an 11 year old girl.

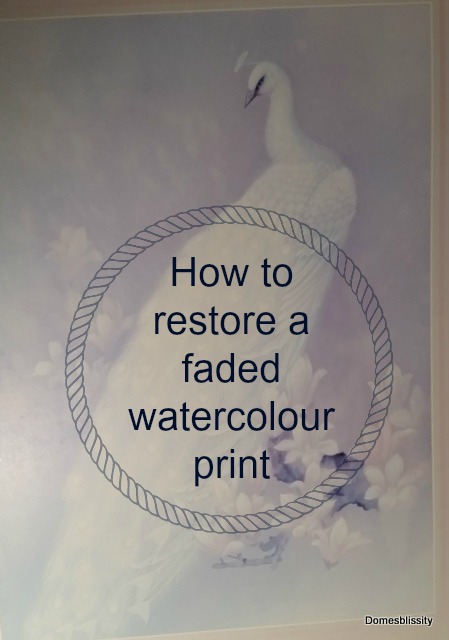
Upon my regular thrift store travels, I did find this beautiful white peacock watercolour print and decided not to buy, opting to keep looking for anything with traditional peacock colours. I looked and looked but just couldn’t find anything so on my next visit to this particular store, I decided to buy it and see if I could inject some colour somehow. The print was professionally framed so with a bit of googling I found it was a reproduction lithographic print of a watercolour done by the artist T. C. Chui, circa 1984 titled “White Peacock in a Magnolia Tree” so probably cost the original buyer a fair bit, with framing. I picked it up for $15 and set about trying to restore it.

I like to dabble in a bit of art but haven’t done much in a long, long time so didn’t want to try with traditional watercolour paint so decided to use the watercolour colouring pencils I had. There’s not a lot of colour in the print so I really only had to enhance the few colours used in the picture.

On the edge of the subject, I coloured in a little darker and went lighter away from the subject.

Thoroughly wet a fine paint brush and remove all excess water. Softly blend the area that you just coloured with the pencils.

You can really notice the difference above. There wasn’t really a lot to it. It’s not like I was repainting an entire picture. I was just using what the artist had already painted as a guide, gently going over defined areas. I didn’t enhance the white areas in the picture, only the shaded, coloured areas.

The feathered area on the actual peacock was a little more time consuming but all I really needed to do was draw strokes to replicate feathers, as the original artist had done. Any larger areas were softened with the wet paintbrush. The whole thing only took me a couple of nights.

You can see the difference in the above picture where I had done just the right area of the picture. A huge difference.

I was silly and put the print back into the frame when I took the ‘after’ picture above so there’s a bit of reflection in the photo but it really did come up a treat for little or no cost and effort. With the colour scheme I’ve chosen for my daughter’s room, it fits in perfectly. I’ve already made over an old Barbie lamp for her room and am just waiting for a couple things to come in the post before I give you the ‘big’ reveal. She was really stoked when she saw it and is pleased with the way her room is looking. Now just getting her to keep her room tidy will be the hardest part! I hope I’ve done Mr Chui proud with my very amateur handiwork.
I feel pretty pleased that I rescued this poor lady from the thrift store and injected a bit of life into her. She now takes pride of place on the wall of my daughter’s bedroom, away from the sunlight. Think twice about passing over some of those faded thrift store prints. They can be brought back to life quite easily.


It’s amazing how you were able to restore this painting. I give you a lot of credit though, you have amazing drawing skills. Beautiful work:)
Oh thank you so much Ilka. I really just went over what was already there. I give all the credit to the original artist.
Anne xx
I love this Anne. Restoring a watercolour painting that has faded has never passed my mind but now that I’ve seen this it’s certainly something I’d give a go. You know I like my art and craft and already have everything necessary to attempt. Looking forward to the room reveal.
Oh, I’m so glad you saw it Trudie because I thought of you. You wouldn’t believe how many more faded prints I’ve noticed on my op shop travels lately, all worthy of a little TLC. Gave me great pleasure doing this and I hope to pick up a few more in time. Just need to find more wall space!
Anne xx
Wow Anne, I’m super impressed – what a lovely addition to her bedroom. So clever! xx
Awww, thanks love. It’s nearly there.
Anne xx
This looks fantastic! I never thought about restoring fading paintings before, but …. Thanks so much for sharing with us at Funtastic Friday.